
Kirby is a Content Management System (CMS) that does not use a database. Kirby will adapt your projects and help you easily build your personal or professional website in only a few minutes. Kirby CMS offers incredible features that may not be available in other PHP based CMSs. Kirby is configured with YAML files and does not need a special template engine like Twig, and works with pure PHP and HTML. In this article, we will show you how to install Kirby CMS on Ubuntu 18.04.
Table of Contents
1. Connect to Your Server
Before we begin, you need to connect to your server via SSH as the root user, or as a user with root privileges. To do this, use the following command:
ssh root@IP_Address -p port_number
Of course, you will need to replace IP_Address and port_number with your actual server IP address and SSH port number.
Once logged in, make sure that your server is up-to-date by running the following commands:
sudo apt update
sudo apt upgrade
2. Install Apache2 HTTP Server on Ubuntu
Apache2 is among the most popular web servers in use today. In order to run Kirby we need a web server, and in this tutorial, we will use Apache2.
Execute the following command to install Apache2:
sudo apt install apache2
Once Apache2 is installed on your server, you will be able to use the commands below to start, stop and enable the service.
sudo systemctl stop apache2.service
sudo systemctl start apache2.service
sudo systemctl enable apache2.service
To confirm that you have properly installed Apache2, you can open your favorite browser and type your server IP address or your domain (with the assumption that it is already pointed to your server) – you should then be able to view the Apache2 Ubuntu Default Page.
3. Install PHP 7.2 and Related Modules
In this step, we will install PHP 7.2 because one of the requirements of Kirby is to have PHP 7.1 or newer. However, if you want to use PHP 7.3 you can check out our tutorial on How to Install PHP 7.3 on Ubuntu 18.04.
To get this version of PHP, we need to add third-party repositories to our system.
Run the following commands to add the ondrej/php repository:
sudo apt-get install software-properties-common
sudo add-apt-repository ppa:ondrej/php
Then update and upgrade to PHP 7.2
sudo apt update
With this command, we will install PHP 7.2 together with the required modules for Kirby.
sudo apt install php7.2 libapache2-mod-php7.2 php7.2-common php7.2-mbstring php7.2-xmlrpc php7.2-sqlite3 php7.2-soap php7.2-gd php7.2-xml php7.2-cli php7.2-curl php7.2-zip
After the installation, we can edit some of the default PHP values in the configuration file. We will use nano as our text editor:
sudo nano /etc/php/7.2/apache2/php.ini
Find and change the values of the lines shown below:
file_uploads = On
allow_url_fopen = On
memory_limit = 256M
upload_max_filesize = 32M
max_execution_time = 360
After you are finished with making changes, save and close the file.
For the changes we made to take effect, we need to restart Apache:
sudo systemctl restart apache2.service
We can verify our PHP 7.2 settings by creating an info.php file in Apache2 root directory:
sudo nano /var/www/html/info.php
Add the following code to the file:
<?php phpinfo( ); ?>
Save and close the file, then browse your server IP address followed by /info.php
For example:
http://server_IP_address/info.php
You should be able to see the PHP default test page.
4. Download the Latest Release of Kirby
Now is the time to download and install Kirby CMS. We will clone Kirby from their official GitHub with the commands below:
cd /var/www/html/
sudo apt install git
sudo git clone --recursive https://github.com/getkirby/starterkit.git kirby
We will then set the proper ownership of these files:
sudo chown -R www-data:www-data /var/www/html/kirby/
5. Configure Apache2 for the Kirby Site
Now we will create a new virtual host configuration file so that we can access our Kirby application using a domain name. Open a new configuration file like so:
sudo nano /etc/apache2/sites-available/kirby.conf
Then add the following content to the file:
<VirtualHost *:80>
ServerAdmin admin@domain_name.com
DocumentRoot /var/www/html/kirby/
ServerName domain_name.com
ServerAlias www.domain_name.com

<Directory /var/www/html/kirby/>
Options FollowSymlinks
AllowOverride All
Require all granted
</Directory>

ErrorLog ${APACHE_LOG_DIR}/error.log
CustomLog ${APACHE_LOG_DIR}/access.log combined

<Directory /var/www/html/kirby/>
RewriteEngine on
RewriteBase /
RewriteCond %{REQUEST_FILENAME} !-f
RewriteCond %{REQUEST_FILENAME} !-d
RewriteRule ^panel/(.*) panel/index.php [L]
</Directory>

</VirtualHost>
of course, you will need to replace domain_name with your actual domain name in order for this to work. When you finish with editing the configuration file, save the file and exit.
6. Configuring the Firewall
If you are using a firewall, you will need to open ports 80 and 443 so that you will be able to access Kirby. We will assume that you are using UFW to manage the firewall – you can open the ports with the commands below:
sudo ufw allow 80
sudo ufw allow 443
We can verify the changes with the following command:
sudo ufw status
Output:
To                         Action      From
--                         ------      ----
80                         ALLOW       Anywhere
443                        ALLOW       Anywhere
OpenSSH                    ALLOW       Anywhere
80 (v6)                    ALLOW       Anywhere (v6)
443 (v6)                   ALLOW       Anywhere (v6)
OpenSSH (v6)               ALLOW       Anywhere (v6)
7. Enable the Kirby Site and Rewrite Module
We are almost done. We need to disable the default virtual host and enable our kirby.conf virtual host so that we should be able to see our Kirby CMS.
First, we will disable the default virtual host with:
sudo a2dissite 000-default
then, we will enable our Kirby virtual host:
sudo a2ensite kirby.conf
also, we need to make sure that the mod rewrite is enabled:
sudo a2enmod rewrite
Restart Apache2:
sudo systemctl restart apache2.service
Once you have finished, open your preferred web browser and type your domain_name.
http://domain_name.com8. Allow the Panel to be Installed on a Remote Server
As a security measure, Kirby does not install the Panel on a public server by default. In order to allow this, we need to make some changes in the Kirby configuration file.
Run the following command:
sudo nano /var/www/html/kirby/site/config/config.php
Change the current PHP code with the following:
return [
  'panel' =>[
    'install' => true
  ]
];
Save and exit. You can now access the panel by typing:
http://domain_name.com/panel/installation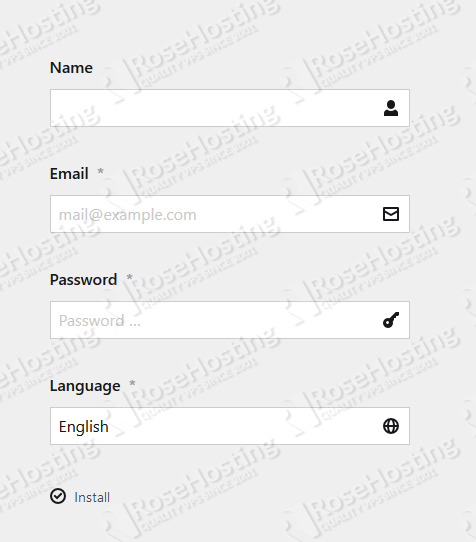
When you first access the site, you will be prompted to create a new admin account. After creating the first admin account, you will be able to log in with the username and password that you created during the initial setup.
You should now have access to the panel in your browser by entering:
http://domain_name.com/panel/login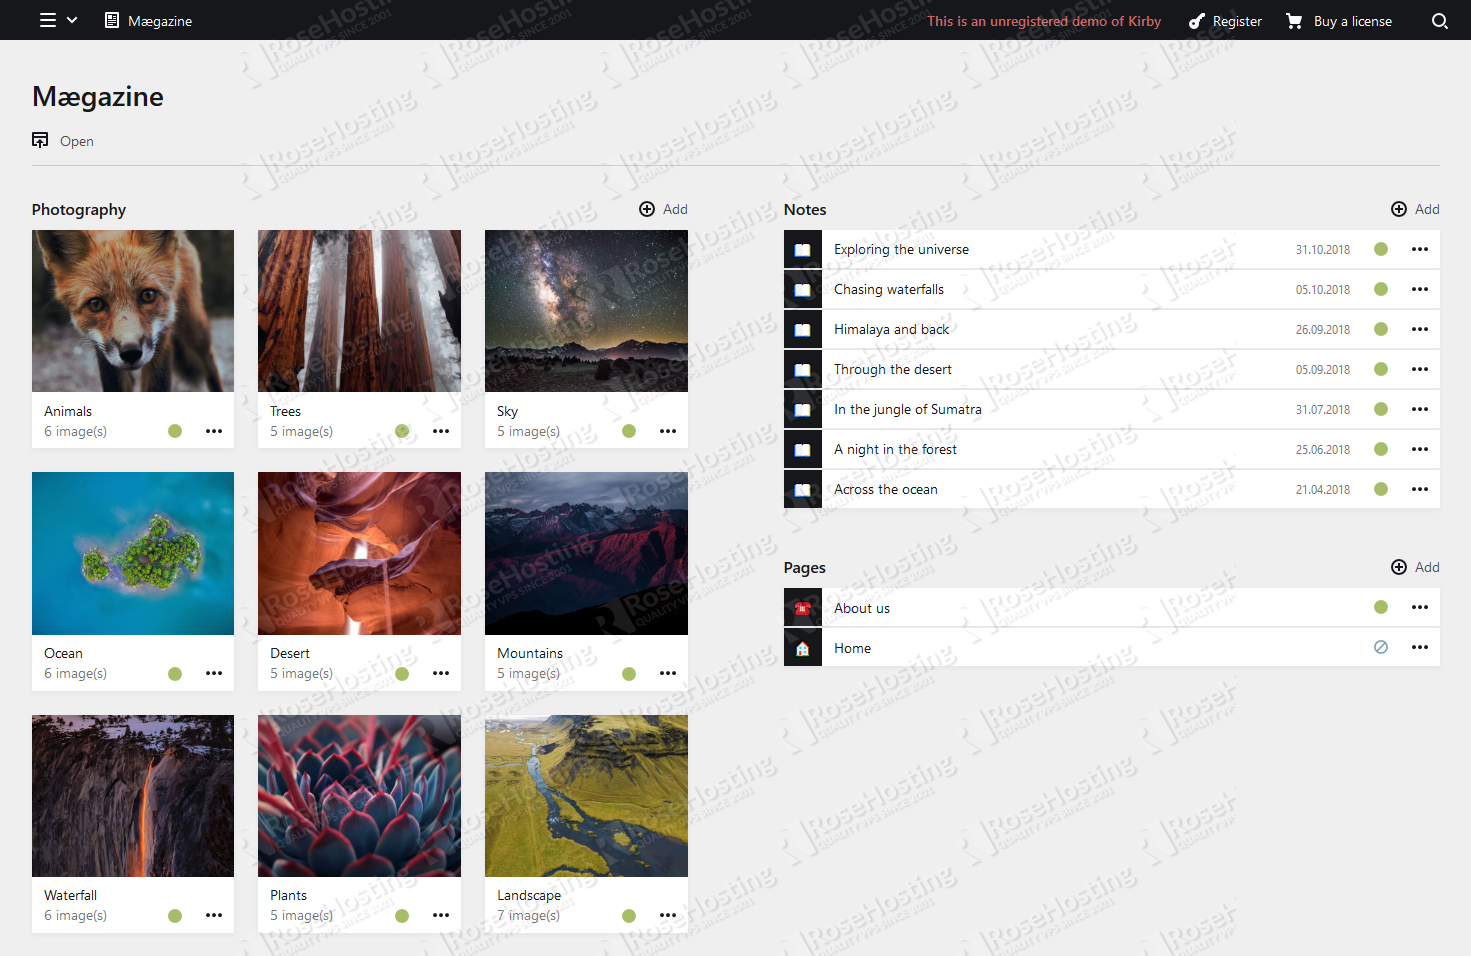
Congratulations! You have successfully installed Kirby on your server.
In this article, we showed you how to install Apache2, PHP 7.2, install Kirby, customize the firewall, and create an admin user. Now you can continue exploring this excellent application.
Of course, if you are one of our Ubuntu Hosting customers, you don’t have to install Kirby on your Ubuntu 18.04 VPS – simply ask our admins, sit back, and relax. Our admins will install Kirby CMS on Ubuntu 18.04 for you immediately.
PS. If you liked this post about how to install Kirby on an Ubuntu 18.04 VPS, please share it with your friends on the social networks using the share buttons below, or simply leave a comment in the comments section. Thanks.
great document about installing kirby cms on ubuntu. you saved my day, thanks a lot!