How to Install Bludit CMS with NGINX on Debian 9
Bludit is a simple, fast, secure, flat-file CMS that allows you to create your own website or blog in seconds. It's completely free and open source. You can browse its source code on Github. Bludit uses files in JSON format to store the content, you don't need to install or configure a database. You only need a web server with PHP support. Bludit incorporates all the SEO tools to improve your ranking in all the search engines and social networks. It has a rich themes and plugins system that you can use to change the look and feel of your site. In this tutorial, we will go through the Bludit CMS installation and setup on Debian 9 (stretch) system by using NGINX as a web server.
Requirements
Make sure your system meets the following requirements:
- PHP version 5.3 or greater with the following extensions: mbstring, gd, dom and JSON.
- A web server with PHP support like Nginx, Apache, Lighttpd, H2O. This tutorial will use NGINX.
Prerequisites
- An operating system running Debian 9 (stretch).
- A non-root user with sudo privileges.
Initial steps
Check your Debian version:
lsb_release -ds
# Debian GNU/Linux 9.8 (stretch)
Set up the timezone:
sudo dpkg-reconfigure tzdata
Update your operating system packages (software). This is an important first step because it ensures you have the latest updates and security fixes for your operating system's default software packages:
sudo apt update && sudo apt upgrade -y
Install some essential packages that are necessary for basic administration of the Debian operating system:
sudo apt install -y curl wget vim git unzip socat apt-transport-https
Step 1 - Install PHP
Install PHP, as well as the necessary PHP extensions:
sudo apt install -y php7.0 php7.0-cli php7.0-fpm php7.0-common php7.0-mbstring php7.0-zip php7.0-pgsql php7.0-sqlite3 php7.0-curl php7.0-gd php7.0-mysql php7.0-intl php7.0-json php7.0-opcache php7.0-xml
To show PHP compiled in modules, you can run:
php -m

ctype
curl
exif
fileinfo
. . .
. . .
Check the PHP version:
php --version

# PHP 7.0.30-0+deb9u1 (cli) (built: Jun 14 2018 13:50:25) ( NTS )
# Copyright (c) 1997-2018 The PHP Group
# Zend Engine v3.2.0, Copyright (c) 1998-2018 Zend Technologies
#     with Zend OPcache v7.2.15-0debian0.18.04.1, Copyright (c) 1999-2018, by Zend Technologies
PHP-FPM service is automatically started and enabled on reboot on Debian 9 system, so there is no need to start and enable it manually. We can move on to the next step, which is the database installation and setup.
Step 2 - Install acme.sh client and obtain Let's Encrypt certificate (optional)
Securing your website with HTTPS is not necessary, but it is a good practice to secure your site traffic. In order to obtain a TLS certificate from Let's Encrypt we will use Acme.sh client. Acme.sh is a pure Unix shell software for obtaining TLS certificates from Let's Encrypt with zero dependencies.
Download and install Acme.sh:
sudo mkdir /etc/letsencrypt
git clone https://github.com/Neilpang/acme.sh.git
cd acme.sh
sudo ./acme.sh --install --home /etc/letsencrypt --accountemail [email protected]
cd ~
Check Acme.sh version:
/etc/letsencrypt/acme.sh --version
# v2.8.0
Obtain RSA and ECC/ECDSA certificates for your domain/hostname:
# RSA 2048
sudo /etc/letsencrypt/acme.sh --issue --standalone --home /etc/letsencrypt -d example.com --keylength 2048
# ECDSA
sudo /etc/letsencrypt/acme.sh --issue --standalone --home /etc/letsencrypt -d example.com --keylength ec-256
After running the above commands, your certificates and keys will be in:
- For RSA: /etc/letsencrypt/example.com directory.
- For ECC/ECDSA: /etc/letsencrypt/example.com_ecc directory.
Step 3 - Install and configure NGINX
Download and install NGINX from the Debian repository:
sudo apt install -y nginx
Check the NGINX version:
sudo nginx -v
# nginx version: nginx/1.10.3
Run sudo vim /etc/nginx/sites-available/bludit.conf and configure NGINX for Bludit.
server {
  listen 80;
  listen 443 ssl;

  ssl_certificate /etc/letsencrypt/example.com/fullchain.pem;
  ssl_certificate_key /etc/letsencrypt/example.com/private.key;
  ssl_certificate /etc/letsencrypt/example.com_ecc/fullchain.pem;
  ssl_certificate_key /etc/letsencrypt/example.com_ecc/private.key;

  server_name example.com;
  root /var/www/bludit;

  index index.php;

  location ~ \.php$ {
    fastcgi_pass unix:/var/run/php/php7.0-fpm.sock;
    fastcgi_index index.php;
    include fastcgi.conf;
  }

  location / {
    try_files $uri $uri/ /index.php?$args;
  }

  location ^~ /bl-content/tmp/ { deny all; }
  location ^~ /bl-content/pages/ { deny all; }
  location ^~ /bl-content/databases/ { deny all; }
}
Activate new bludit.conf configuration by linking the file to the sites-enabled directory:
sudo ln -s /etc/nginx/sites-available/bludit.conf /etc/nginx/sites-enabled/
Test NGINX configuration:
sudo nginx -t
Reload NGINX:
sudo systemctl reload nginx.service
Step 4 - Install Bludit
Create a document root directory where Bludit should reside in:
sudo mkdir -p /var/www/bludit
Change the ownership of the /var/www/bludit directory to {jour_user}:
sudo chown -R {your_user}:{your_user} /var/www/bludit
Navigate to the document root directory:
cd /var/www/bludit
Download the latest version from the official page and extract the zip file:
wget https://www.bludit.com/releases/bludit-3-8-1.zip
unzip bludit-3-8-1.zip
rm bludit-3-8-1.zip
mv bludit-3-8-1/* . && mv bludit-3-8-1/.* .
rmdir bludit-3-8-1
NOTE: Update download URL if there is a newer release.
Change ownership of the /var/www/bludit directory to www-data:
sudo chown -R www-data:www-data /var/www/bludit
Step 5 - Complete the Bludit installation wizard
Open your site in a web browser. After opening your site in a web browser, you should be redirected to the following page, to choose your language:

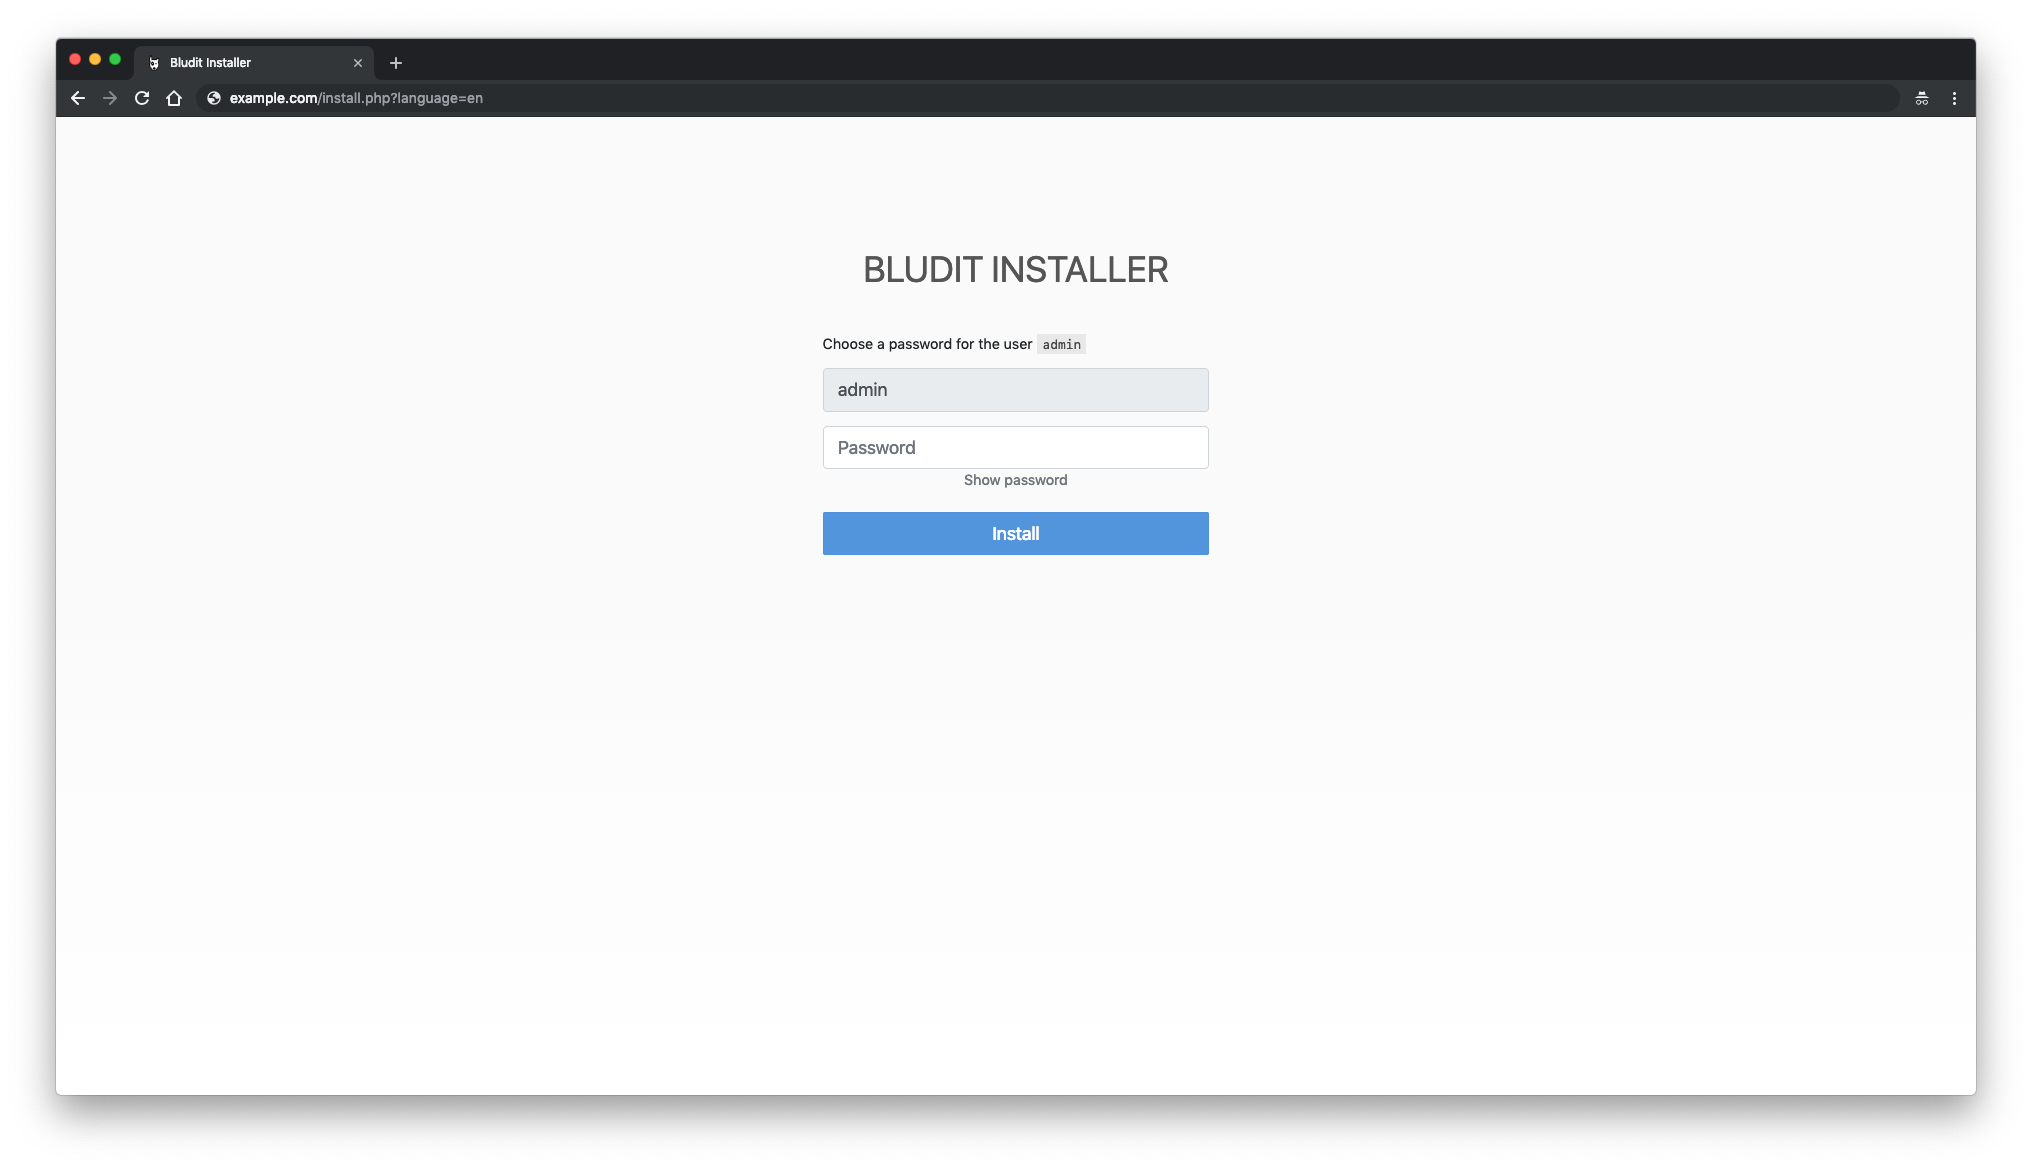
Next, create a password for the user admin, and click "Install":
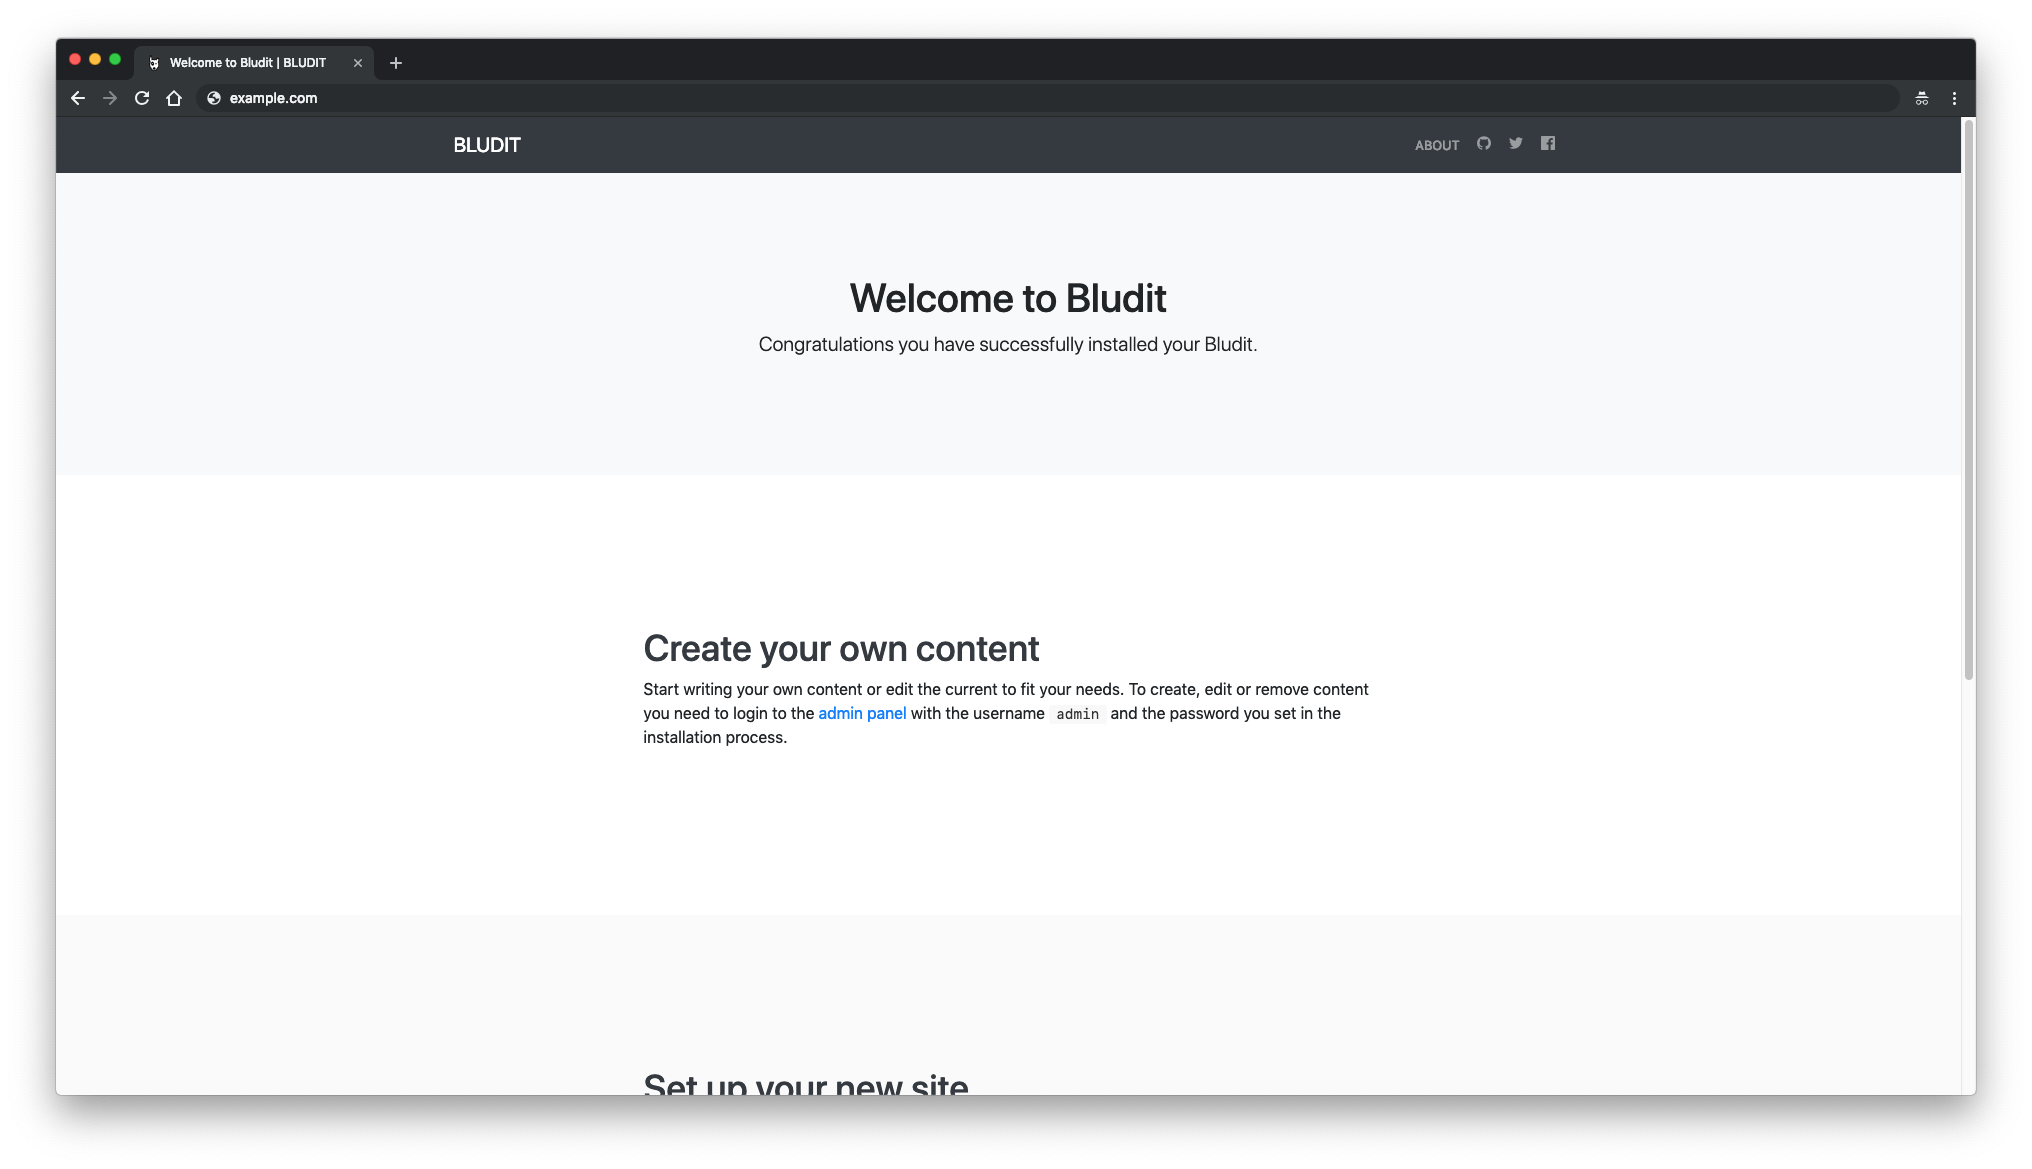
After creating an admin password, you will be redirected to the Bludit frontend:
To access Bludit admin area, append /admin to your site IP or URL. This is how Bludit admin looks like:
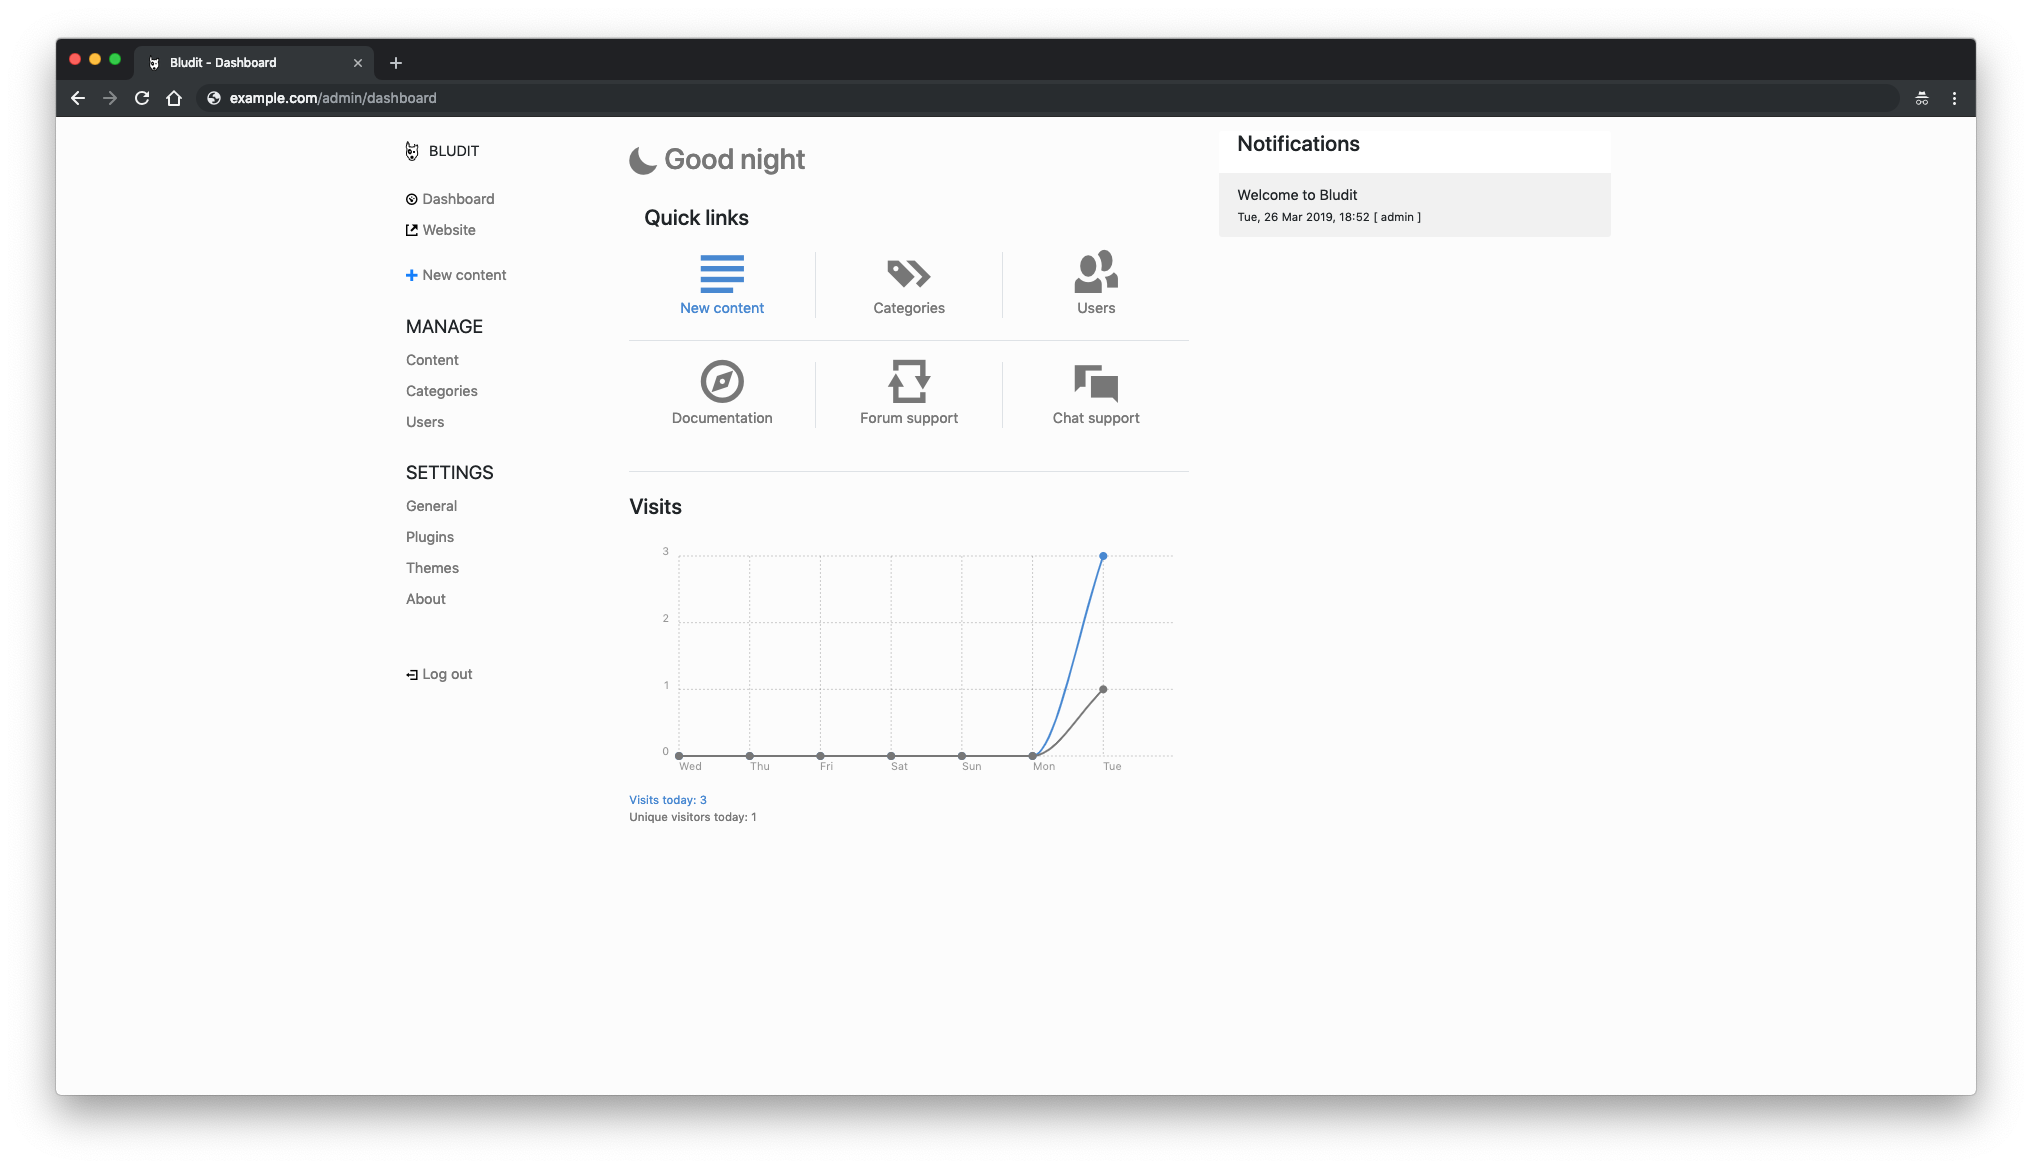
Installation is complete. Happy blogging with Bludit CMS.

