
 In this tutorial, we will show you how to install NodeBB on Debian 9, NodeBB is a free and open-source discussion platform that utilizes web sockets for instant interactions and real-time notifications. Powered by Node.js, NodeBB is fast, simple, and easy-to-use. It has lots of features, such as social network integration and streaming discussions.
Prerequisites
- Access to a system administrator user with root privileges, or access to the root user account
- Debian 9 VPS with at least 1GB of memory
- Node.js version 8 or higher
- MongoDB database server version 2.6 or greater
- Apache or Nginx web server
Step 1: Login and Update the System
The very first step in this tutorial is to log in to your Debian 9 VPS as the root user (or as a system administrator) via SSH
ssh root@IP_Address -p Port_number
replace ‘IP_Address‘ and ‘Port_number‘ with the respective IP address and SSH port number that your server uses.
Once you are logged in, run the following command to make sure that all installed packages on your server are updated to the latest available version:
apt update && apt upgrade
Step 2: Install Node.js
As we mentioned earlier, NodeBB is powered by Node.js, so we’ll have to install Node.js and the npm package manager onto our server. To do that, we have to install the NodeSource Node.js repository first, as it is not a pre-installed software repository.
apt install curl
curl -sL https://deb.nodesource.com/setup_10.x | sudo -E bash -
Once the repository is added, we can go ahead and install Node.js and npm. We will also need the development tools in order to build native addons.
apt install -y nodejs gcc g++ make
After the installation is completed, check the installed versions of Node.js and npm.
For Node.js, run:
node -v
v10.15.3
In order to check the npm version, run this:
node -v
6.4.1
Step 3: Install MongoDB Database Server
NodeBB uses MongoDB as its default database server, so the next requirement is to install the MongoDB database server from MongoDB’s official repository. To begin, we will execute the following command to import the MongoDB public key. This ensures package consistency and authenticity.
apt-key adv --keyserver hkp://keyserver.ubuntu.com:80 --recv 9DA31620334BD75D9DCB49F368818C72E52529D4
Output:
Executing: /tmp/apt-key-gpghome.GX3VagKFsu/gpg.1.sh --keyserver hkp://keyserver.ubuntu.com:80 --recv 9DA31620334BD75D9DCB49F368818C72E52529D4
gpg: key 68818C72E52529D4: public key "MongoDB 4.0 Release Signing Key <packaging@mongodb.com>" imported
gpg: Total number processed: 1
gpg:               imported: 1
Add the official MongoDB repository by creating a ‘/etc/apt/sources.list.d/mongodb-org-4.0.list’ file using the following command:
echo "deb http://repo.mongodb.org/apt/debian stretch/mongodb-org/4.0 main" | sudo tee /etc/apt/sources.list.d/mongodb-org-4.0.list
Now, update the local package database and install MongoDB:
apt update && apt install mongodb-org
Once the installation of MongoDB has been completed, start the MongoDB service and enable it to start upon a reboot:
systemctl start mongod
systemctl enable mongod
You can also check its status by issuing the following command:
systemctl status mongod
Output:
	mongod.service - MongoDB Database Server
   Loaded: loaded (/lib/systemd/system/mongod.service; enabled; vendor preset: enabled)
   Active: active (running) since Fri 2019-04-19 07:39:09 EDT; 16s ago
     Docs: https://docs.mongodb.org/manual
 Main PID: 14793 (mongod)
   CGroup: /system.slice/mongod.service
           ââ14793 /usr/bin/mongod --config /etc/mongod.conf
Step 4: Create a Database for NodeBB
We now have our MongoDB server installed and running – therefore, the next thing we need to do is to create a MongoDB database and user through the MongoDB Shell for our NodeBB installation. Run through the following commands to access the shell and switch to the built-in admin database:
mongo
use admin
Then create an admin user.
db.createUser( { user: "admin", pwd: "PASSWORD", roles: [ { role: "root", db: "admin" } ] } )
Remember to replace PASSWORD with a strong password.
Once the administrative user is created, we then proceed with creating a database for NodeBB. It can be easily done using the ‘use’ command
use nodebb
Next, create a nodebb database user with the necessary privileges:
db.createUser( { user: "nodebb", pwd: "NODEBBPASSWORD", roles: [ { role: "readWrite", db: "nodebb" }, { role: "clusterMonitor", db: "admin" } ] } )
And again, don’t forget to replace ‘NODEBBPASSWORD‘ with an actual password.
Finally, exit the MongoDB Shell using the following command:
quit()
Modify the MongoDB configuration to enable database authorization, as shown below:
nano /etc/mongod.conf

security:
  authorization: enabled
Restart the MongoDB server for the changes to take effect:
systemctl restart mongod
Step 5: Install NodeBB
Now that we have all the requirements installed and configured, we can finally download and install NodeBB on the server. First, we need to create a directory for the NodeBB installation:
mkdir -p /var/www/html/nodebb
Clone the NodeBB repository from the v1.11.x branch.
git clone -b v1.11.x https://github.com/NodeBB/NodeBB.git
Once the repository is cloned, run the setup script provided by NodeBB to install some required modules:
cd nodebb && ./nodebb setup
During the setup, you will be prompted to answer several questions. After the setup is completed, the NodeBB installation will be ready to use. You can start it with the following command.
./nodebb start
Step 6: Install and Configure Nginx
In order to be able to access NodeBB with a domain name instead of using the IP address and the port number, we have to install the Nginx web server and set up a reverse proxy.
To install the Nginx web server, run this command:
apt install nginx
After the installation has completed, start the web server and enable it to automatically start after a server restart:
systemctl start nginx
systemctl enable nginx
Create an Nginx virtual block directive for your domain name. We will use mydomain.com as a domain name.
/etc/nginx/sites-available/mydomain.com.conf

server {
    listen 80;

    server_name mydomain.com;

    location / {
        proxy_set_header X-Real-IP $remote_addr;
        proxy_set_header X-Forwarded-For $proxy_add_x_forwarded_for;
        proxy_set_header X-Forwarded-Proto $scheme;
        proxy_set_header Host $http_host;
        proxy_set_header X-NginX-Proxy true;

        proxy_pass http://127.0.0.1:4567;
        proxy_redirect off;

        # Socket.IO Support
        proxy_http_version 1.1;
        proxy_set_header Upgrade $http_upgrade;
        proxy_set_header Connection "upgrade";
    }
}
Save the changes and enable the virtual block directive:
ln -s /etc/nginx/sites-available/yourdomain.conf /etc/nginx/sites-enabled/
Restart the Nginx web server for the changes to take effect.
systemctl restart nginx
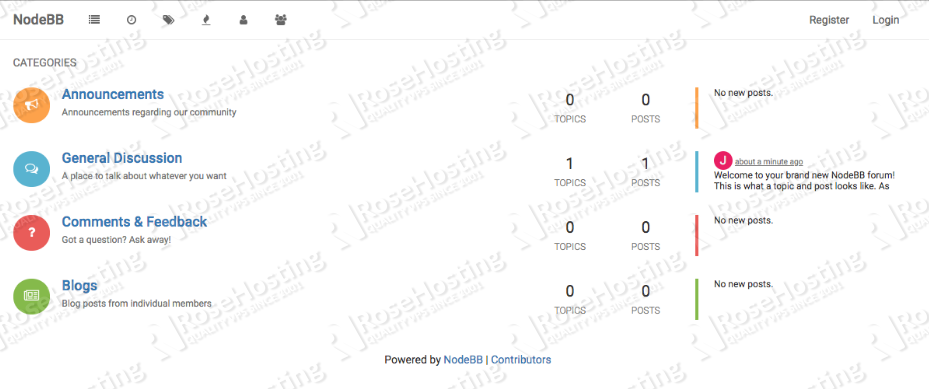
With this step, the installation and configuration of NodeBB on your Debian 9 server is now complete. You can open your preferred web browser and navigate to http://mydomain.com to access the NodeBB instance.
Of course, you don’t have to Install NodeBB on Debian 9 if you use one of our Debian VPS Hosting services, in which case you can simply ask our expert Linux admins to install the NodeBB forum software for you. They are available 24×7 and will take care of your request immediately.
PS. If you liked this post on how to Install NodeBB on Debian 9, please share it with your friends on the social networks using the share shortcuts below, or simply leave a comment down in the comments section. Thanks.