How to Install Shopware with NGINX and Let's Encrypt on CentOS 7
This tutorial exists for these OS versions
- CentOS 8
- CentOS 7.6
On this page
- Requirements
- Prerequisites
- Initial steps
- Step 1 - Install PHP and PHP extensions
- )
- Step 3 - Install MariaDB and create a database for Shopware
- Step 4 - Install Acme.sh client and obtain Let's Encrypt certificate (optional)
- Step 5 - Install and configure NGINX
- Step 6 - Install Shopware
- Step 7 - Complete the Shopware setup
- Links
Shopware is the next generation of open source e-commerce software. Based on bleeding edge technologies like Symfony 3, Doctrine2 and Zend Framework Shopware comes as the perfect platform for your next e-commerce project. This tutorial will walk you through the Shopware Community Edition (CE) installation on CentOS 7 system by using NGINX as a web server.
Requirements
Make sure your system meets the following minimum requirements:
- Linux-based operating system with NGINX or Apache 2.x (with mod_rewrite) web server installed.
- PHP 5.6.4 or higher with ctype, gd, curl, dom, hash, iconv, zip, json, mbstring, openssl, session, simplexml, xml, zlib, fileinfo, and pdo/mysql extensions. PHP 7.1 or above is strongly recommended.
- MySQL 5.5.0 or higher.
- Possibility to set up cron jobs.
- Minimum 4 GB available hard disk space.
- IonCube Loader version 5.0.0 or higher (optional).
NOTE: Shopware is currently up to PHP 7.2.x compatible.
Prerequisites
- An operating system running CentOS 7.
- A non-root user with sudo privileges.
Initial steps
Check your CentOS version:
cat /etc/centos-release
Set up the timezone:
timedatectl list-timezones
sudo timedatectl set-timezone 'Region/City'
Update your operating system packages (software). This is an important first step because it ensures you have the latest updates and security fixes for your operating system's default software packages:
sudo yum update -y
Install some essential packages that are necessary for basic administration of the CentOS operating system:
sudo yum install -y curl wget vim unzip socat epel-release
Step 1 - Install PHP and PHP extensions
Setup the Webtatic YUM repo:
sudo rpm -Uvh https://mirror.webtatic.com/yum/el7/webtatic-release.rpm
Install PHP, as well as the necessary PHP extensions for Shopware:
sudo yum install -y php72w php72w-cli php72w-fpm php72w-common php72w-mysql php72w-curl php72w-json php72w-zip php72w-gd php72w-xml php72w-mbstring php72w-opcache
To show PHP compiled in modules, you can run:
php -m

ctype
curl
exif
fileinfo
. . .
. . .
Check the PHP version:
php --version
# PHP 7.2.14 (cli) (built: Jan 12 2019 12:47:33) ( NTS )
# Copyright (c) 1997-2018 The PHP Group
# Zend Engine v3.0.0, Copyright (c) 1998-2017 Zend Technologies
#     with Zend OPcache v7.2.14, Copyright (c) 1999-2018, by Zend Technologies
Start and enable PHP-FPM service:
sudo systemctl start php-fpm.service
sudo systemctl enable php-fpm.service
We can move on to the next step, which is the IonCube Loader installation.
Step 2 - Install IonCube Loader (optional)
Download IonCube Loader:
cd /tmp && wget https://downloads.ioncube.com/loader_downloads/ioncube_loaders_lin_x86-64.tar.gz
Extract the loader:
tar xfz ioncube_loaders_lin_*.gz
Find the PHP extensions directory on the system by running the command below:
php -i | grep extension_dir
# extension_dir => /usr/lib64/php/modules => /usr/lib64/php/modules
Copy the ionCube Loader into the PHP extensions directory:
sudo cp /tmp/ioncube/ioncube_loader_lin_7.2.so /usr/lib64/php/modules
Include the loader via PHP configuration:
sudo vim /etc/php.ini
Then add a line in the file to include ionCube loader. It can be anywhere in the file below [PHP] line:
zend_extension = /usr/lib64/php/modules/ioncube_loader_lin_7.2.so
Save the file and restart PHP-FPM:
sudo systemctl restart php-fpm.service
Step 3 - Install MariaDB and create a database for Shopware
Install MariaDB database server:
sudo yum install -y mariadb-server
Check the MariaDB version:
mysql --version
# mysql  Ver 14.14 Distrib 5.7.26, for Linux (x86_64) using  EditLine wrapper
Start and enable MariaDB service:
sudo systemctl start mariadb.service
sudo systemctl enable mariadb.service
Run mysql_secure installation script to improve MariaDB security and set the password for MariaDB root user:
sudo mysql_secure_installation
Answer each of the questions:
Would you like to setup VALIDATE PASSWORD plugin? N
New password: your_secure_password
Re-enter new password: your_secure_password
Remove anonymous users? [Y/n] Y
Disallow root login remotely? [Y/n] Y
Remove test database and access to it? [Y/n] Y
Reload privilege tables now? [Y/n] Y
Connect to MariaDB shell as the root user:
sudo mysql -u root -p
# Enter password
Create an empty MariaDB database and user for Shopware and remember the credentials:
mysql> CREATE DATABASE dbname;
mysql> GRANT ALL ON dbname.* TO 'username' IDENTIFIED BY 'password';
mysql> FLUSH PRIVILEGES;
Exit from MariaDB:
mysql> exit
Replace dbname, username and password with your own names.
Step 4 - Install Acme.sh client and obtain Let's Encrypt certificate (optional)
Securing your website with HTTPS is not necessary, but it is a good practice to secure your site traffic. In order to obtain a TLS certificate from Let's Encrypt we will use acme.sh client. Acme.sh is a pure Unix shell software for obtaining TLS certificates from Let's Encrypt with zero dependencies.
Download and install acme.sh:
sudo su - root
git clone https://github.com/Neilpang/acme.sh.git
cd acme.sh
./acme.sh --install --accountemail [email protected]
source ~/.bashrc
cd ~
Check acme.sh version:
acme.sh --version
# v2.8.1
Obtain RSA and ECC/ECDSA certificates for your domain/hostname:
# RSA 2048
acme.sh --issue --standalone -d example.com --keylength 2048
# ECDSA
acme.sh --issue --standalone -d example.com --keylength ec-256
If you want fake certificates for testing you can add --staging flag to the above commands.
After running the above commands, your certificates and keys will be in:
- For RSA: /home/username/example.com directory.
- For ECC/ECDSA: /home/username/example.com_ecc directory.
To list your issued certs you can run:
acme.sh --list
Create a directory to store your certs. We will use a directory /etc/letsencrypt.
mkdir -p /etc/letsecnrypt/example.com
sudo mkdir -p /etc/letsencrypt/example.com_ecc
Install/copy certificates to /etc/letsencrypt directory.
# RSA
acme.sh --install-cert -d example.com --cert-file /etc/letsencrypt/example.com/cert.pem --key-file /etc/letsencrypt/example.com/private.key --fullchain-file /etc/letsencrypt/example.com/fullchain.pem --reloadcmd "sudo systemctl reload nginx.service"
# ECC/ECDSA
acme.sh --install-cert -d example.com --ecc --cert-file /etc/letsencrypt/example.com_ecc/cert.pem --key-file /etc/letsencrypt/example.com_ecc/private.key --fullchain-file /etc/letsencrypt/example.com_ecc/fullchain.pem --reloadcmd "sudo systemctl reload nginx.service"
All the certificates will be automatically renewed every 60 days.
After obtaining certs exit from root user and return back to normal sudo user:
exit
Step 5 - Install and configure NGINX
Install the NGINX web server:
sudo yum install -y nginx
Check the NGINX version:
nginx -v
Start and enable Nginx service:
sudo systemctl start nginx.service
sudo systemctl enable nginx.service
Configure NGINX for Shopware. Run sudo vim /etc/nginx/conf.d/shopware.conf and add the following configuration:
server {
    listen 80;
    listen 443 ssl;

    server_name example.com;
    root /var/www/shopware;

    ssl_certificate /etc/letsencrypt/example.com/fullchain.cer;
    ssl_certificate_key /etc/letsencrypt/example.com/example.com.key;
    ssl_certificate /etc/letsencrypt/example.com_ecc/fullchain.cer;
    ssl_certificate_key /etc/letsencrypt/example.com_ecc/example.com.key;

    index shopware.php index.php;

    location / {
        try_files $uri $uri/ /shopware.php$is_args$args;
    }

    location /recovery/install {
      index index.php;
      try_files $uri /recovery/install/index.php$is_args$args;
    }

    location ~ \.php$ {
        include fastcgi.conf;
        fastcgi_pass 127.0.0.1:9000;
    }
}
Check NGINX configuration for syntax errors:
sudo nginx -t
Reload NGINX service:
sudo systemctl reload nginx.service
Step 6 - Install Shopware
Create a document root directory for Shopware:
sudo mkdir -p /var/www/shopware
Change ownership of the /var/www/shopware directory to {jour_user}:
sudo chown -R {your_user}:{your_user} /var/www/shopware
Navigate to the document root directory:
cd /var/www/shopware
Download and unzip the latest Shopware release via wget:
wget https://releases.shopware.com/install_5.5.8_d5bf50630eeaacc6679683e0ab0dcba89498be6d.zip?_ga=2.141661361.269357371.1556739808-1418008019.1556603459 -O shopware.zip
unzip shopware.zip
rm shopware.zip
NOTE: Update download URL if there is a newer release.
Change ownership of the /var/www/shopware directory to nginx.
sudo chown -R nginx:nginx /var/www/shopware
Run sudo vim /etc/php-fpm.d/www.conf and set user and group to nginx.
sudo vim /etc/php-fpm.d/www.conf
# user = nginx
# group = nginx
Create /var/lib/php/session directory and change its ownership to a user nginx.
sudo mkdir -p /var/lib/php/session && sudo chown -R nginx:nginx /var/lib/php/session
Increase memory_limit = 256M and upload_max_filesize = 6M, and set allow_url_fopen = On if not already set in /etc/php.ini file.
sudo vim /etc/php.ini
After making changes in /etc/php.ini file, reload php-fpm.service:
sudo systemctl reload php-fpm.service
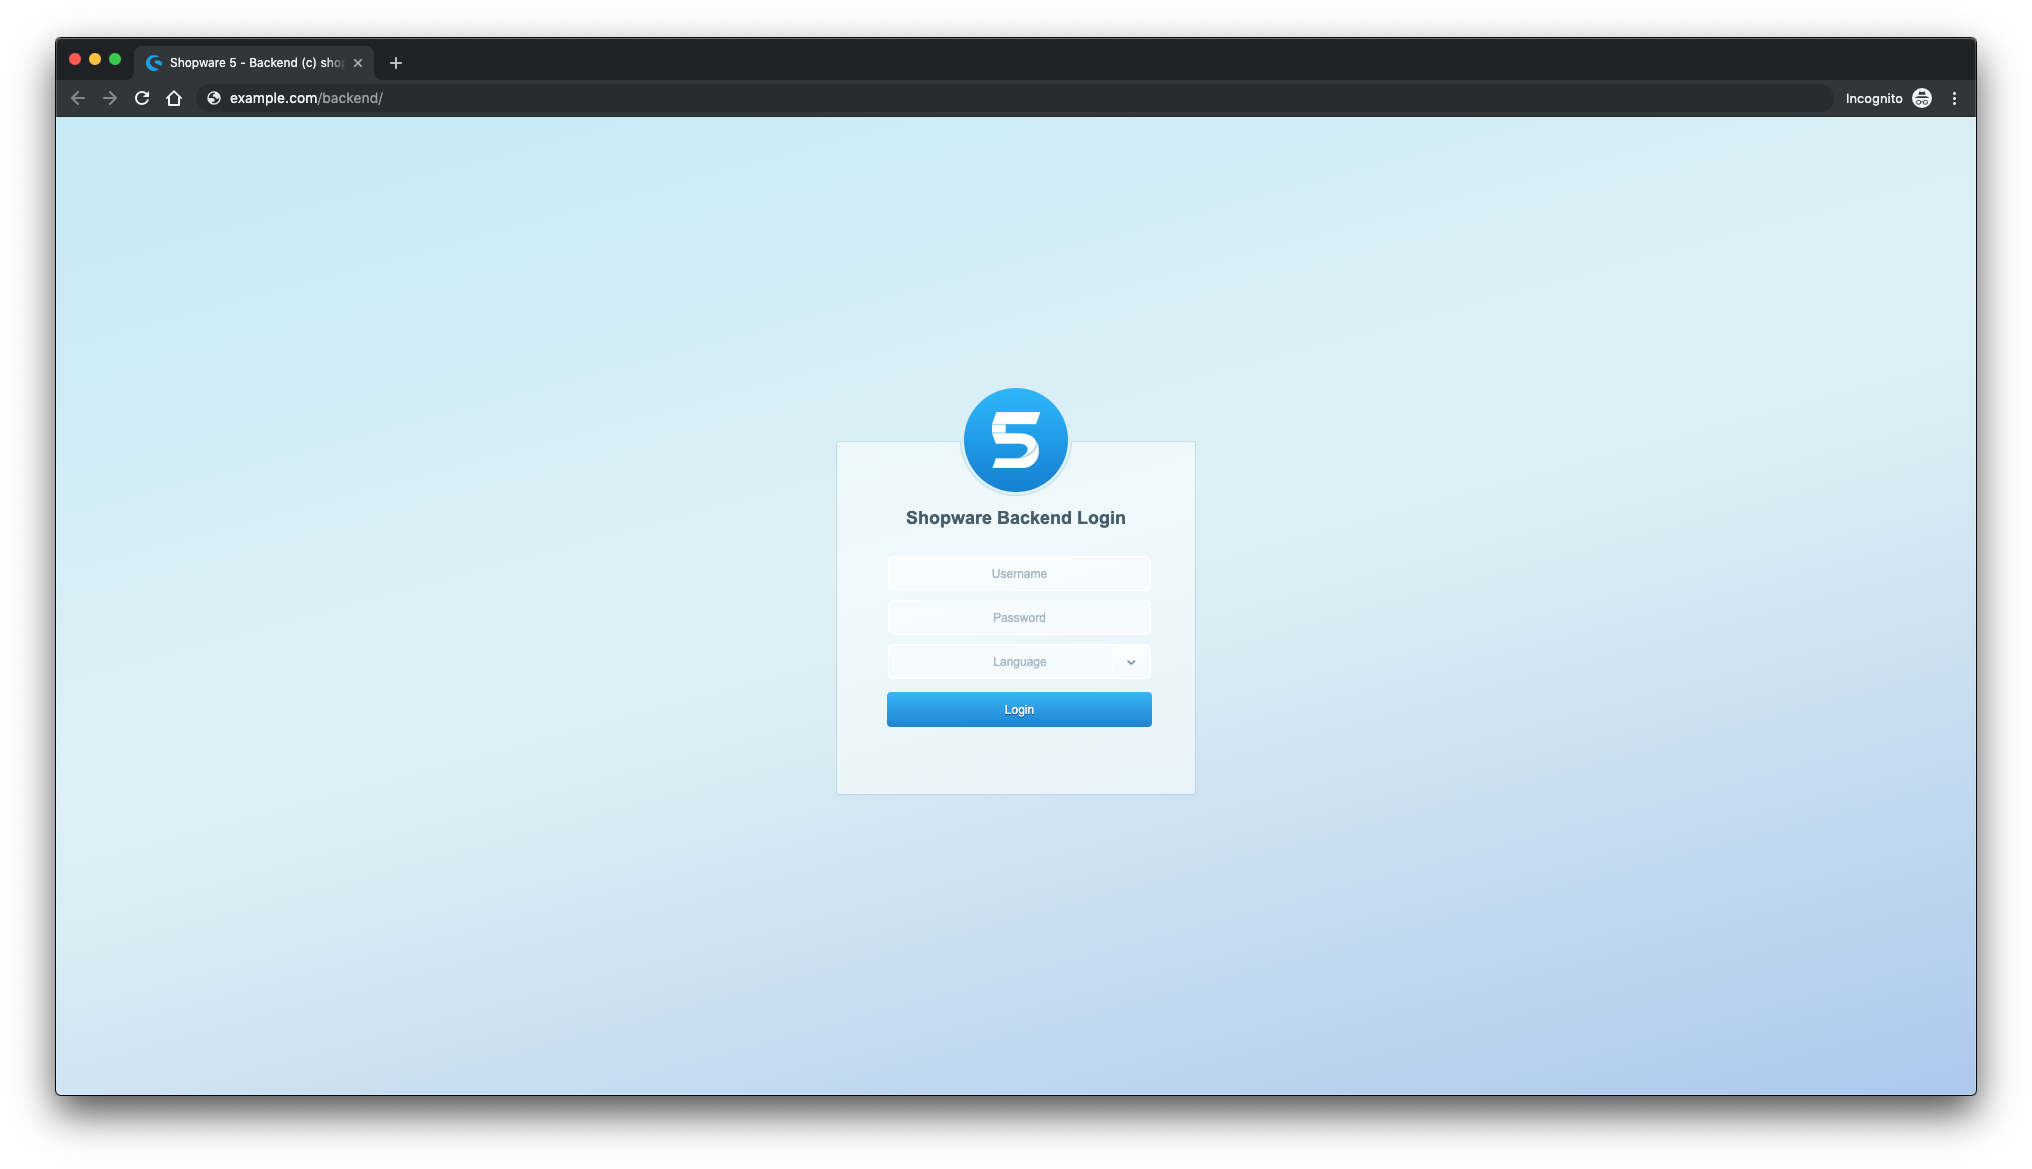
Open your domain/IP in the web browser and follow the installation wizard. The backend of Shopware is located at /backend example: http://example.com/backend.
Step 7 - Complete the Shopware setup
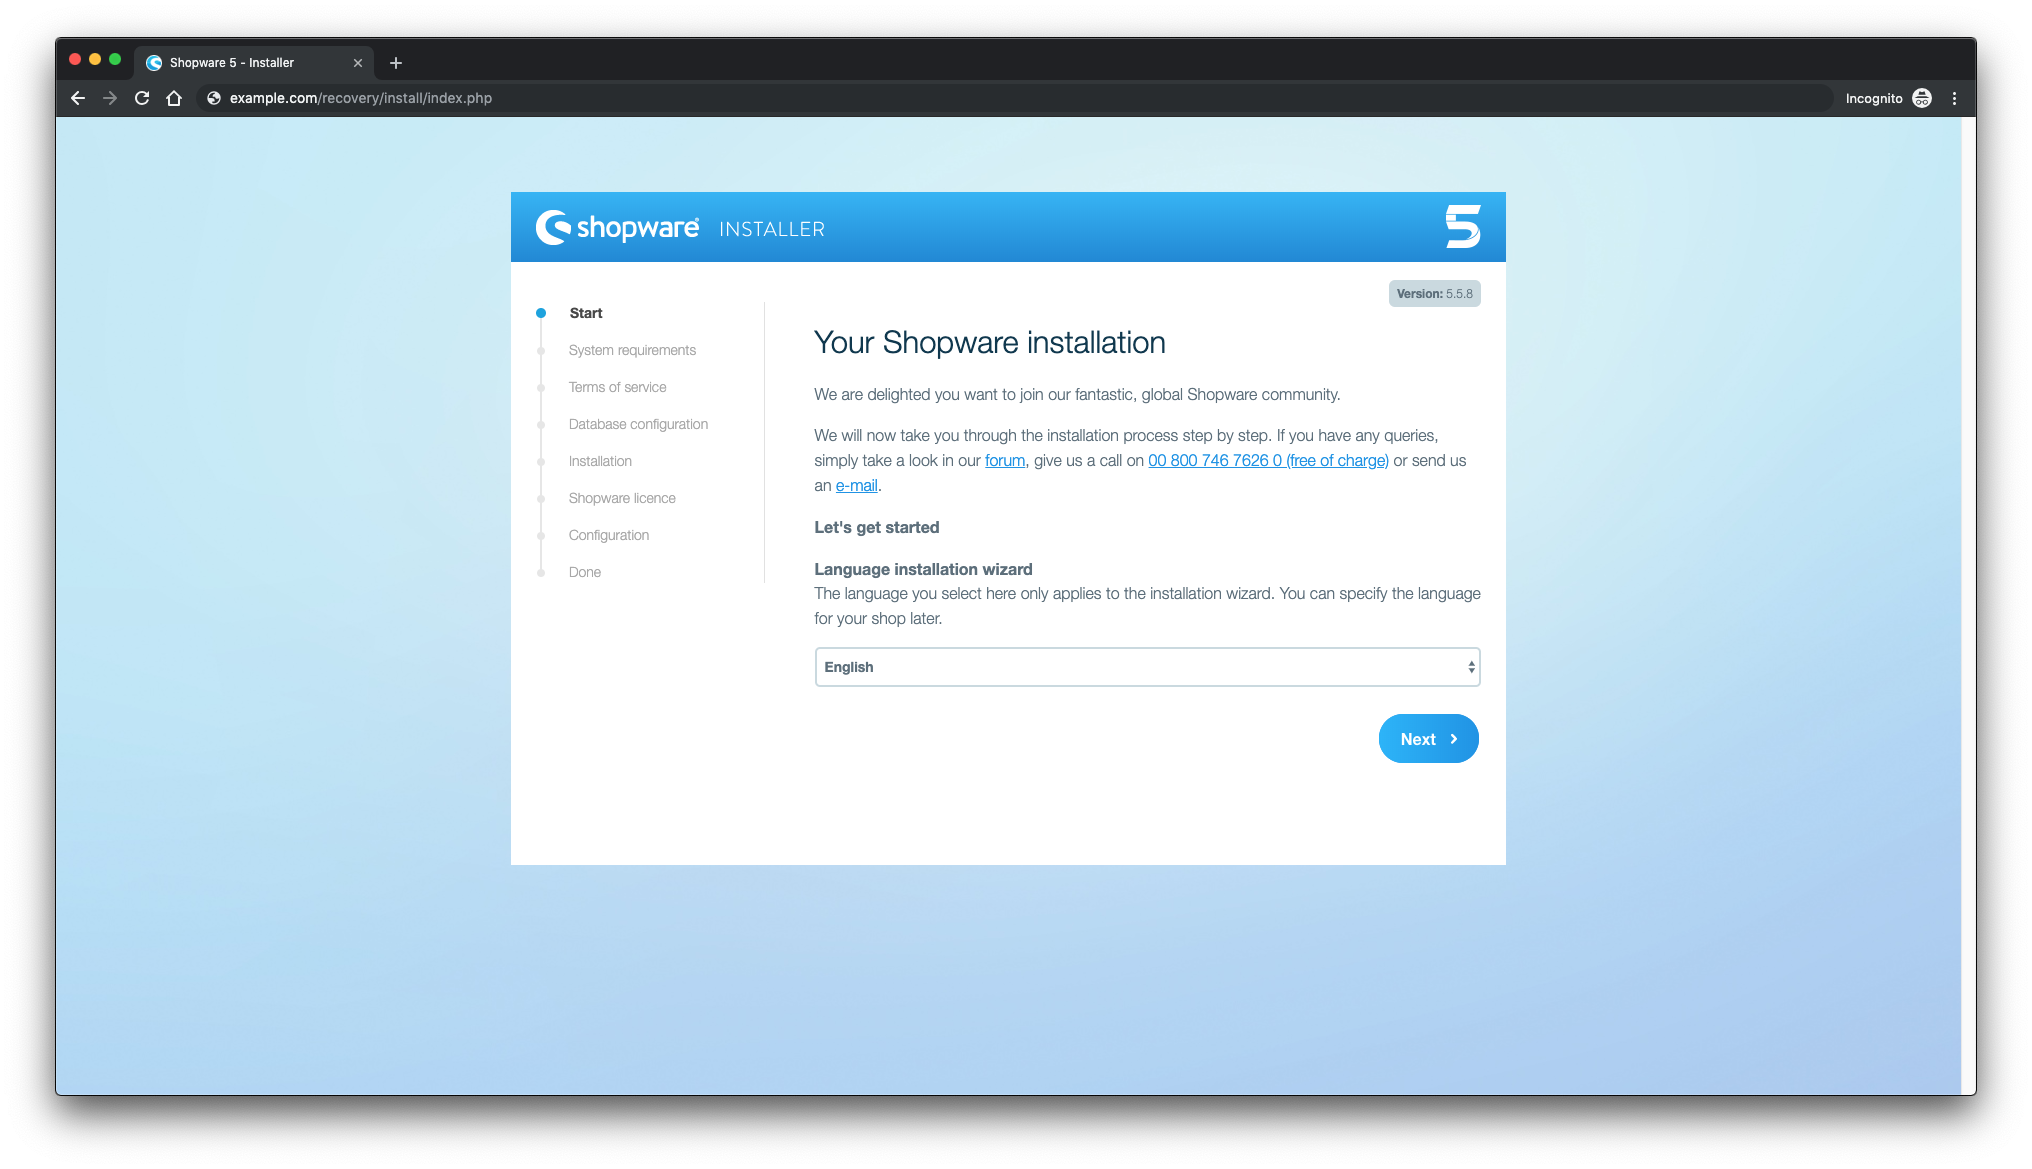
Start by selecting the language and click Next:
Next, make sure you meet all the Shopware requirements:

Agree with Shopware TOS and click Next:

Enter database credentials and click Next:

Start the installation to create database tables:

After that, you will see a message about successful database import:

Choose a license and click Next:

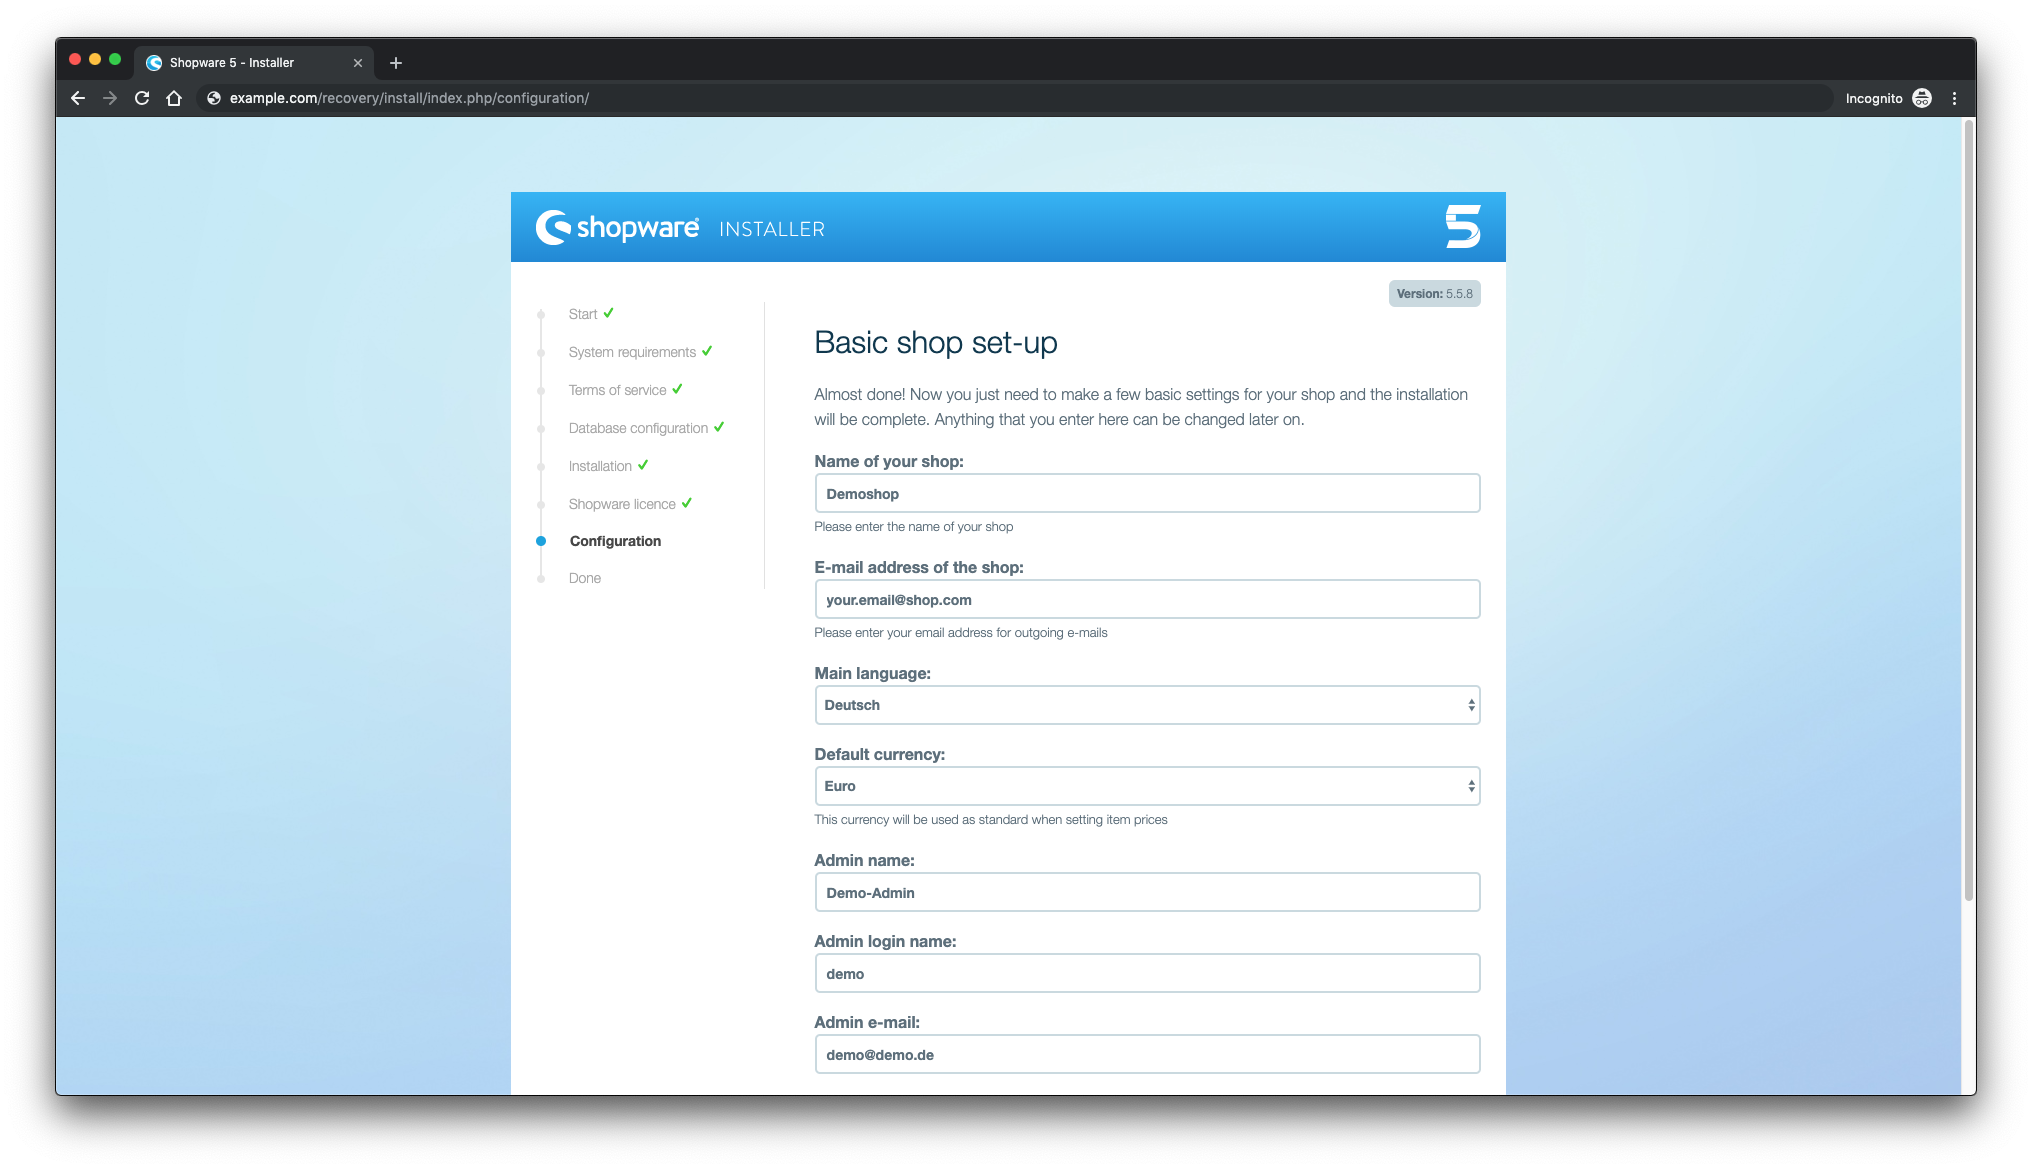
Fill in a few basic settings to finish up the setup and click Next:
Installation is complete.

To access admin area append /backend to your URL.
You have successfully installed Shopware. Enjoy your new online shop!

