
If you’re interested at all in DIY electronics, you’ve probably heard of the Arduino. Simply put, an Arduino lets you add logic to everything from homemade robots to something as simple as a thermostat. It lets you do this without all the low-level work you’d have to do to create these from whole cloth.
All you need to do is buy an Arduino, either by itself or as part of a kit. Add a few accessories, install the Arduino IDE, and you’re ready to get started on your new electronics project.
Before You Start
We’ll be going over how to install the Arduino IDE but not how to use it. Learning any programming language can be daunting, so you’ll have to handle that on your own. Fortunately, you’ll find plenty of resources to help you learn online.
For this guide we’re assuming you’re running Ubuntu 16.04 or higher. You’ll also obviously need an Arduino board as well as a mini-USB cable to connect it to your computer.
A Word of Warning
The Arduino IDE is available via Ubuntu’s built-in repositories, but this isn’t the recommended way to install. Installing the recommended way isn’t much more difficult, and this ensures you have more up-to-date software.
Download and Install the Tarballs
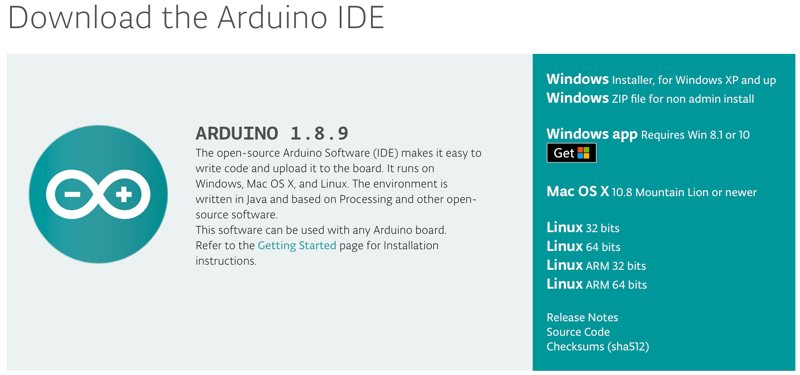
To get started, download the Arduino IDE from the Arduino website. Take note of where you download it, but typically this will be in “/home/USERNAME/Downloads,” where USERNAME is your user name.
Open the Terminal app, and change to this directory:
cd ~/Downloads
Extract the file with the following command:
tar xzf FILENAMEHere, FILENAME will be something like “arduino-1.8.9-linux64.tar.xz.” To get the exact name, type ls to list the contents of your Downloads folder.
It’s time to run the installer. There will be a new folder in this directory. Just cd into it, then type the following:
./install.shHit Enter, and if everything goes well, the installer should print “done!”
Launch the Arduino IDE
You’re almost finished. Connect your Arduino to your computer. Open the Arduino IDE, either via the Applications menu or by typing Arduino in the Terminal.
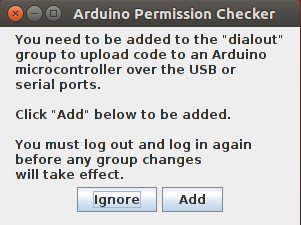
You’ll see a prompt to add your user name to the “dialout” group. Hit “Add” and you’ll see the main IDE window launch.
You’re almost ready, but you may notice if you explore the window, some of the options are grayed out. This is because you need to fix a minor permissions issue.
Fix Your Permissions
A “permissions issue” may sound daunting, but it’s nothing to worry about. The problem is that while your username was added to the “dialout” group, this doesn’t take effect immediately.
All you need to do is log out of your account and then log back in. Once you’ve logged back in, launch the Arduino IDE, and you’re ready to get started.
Conclusion
Now you’re ready to get started. How much progress you’ll make on your first day has a lot to do with how experienced you are when it comes to programming. It also helps if you’ve programmed for similar devices before.
If you’re not sure what to do now that you’re ready, we can help. Take a look at our list of cool Arduino projects to get an idea of what you can do.
Get the best of IoT Tech Trends delivered right to your inbox!


