
A VPN, or virtual private network, lets you send and receive data across a public network as if you were on your own private network. This is handy if you’re connecting to public Wi-Fi, for example. Using a VPN means everyone else in the coffee shop won’t be able to potentially intercept your data.
There are plenty of companies out there that let you use their VPN services for a fee. Did you know that with a Raspberry Pi and a free afternoon, you could build your own VPN? It’s incredibly simple to do, too.
Why Build Your Own VPN?
One of the main reasons to build your own VPN is to avoid paying the monthly fees most VPN services charge. You also don’t have to worry about putting your data in their hands. You can almost always trust your own hardware more than someone else.
The other benefit of building your own VPN is that you’re actually connecting to your own network from afar. This means that not only is your browsing more private, but you can connect to files and devices on your home network, assuming you give them access.
What You Need to Get Started
To get started, you’ll need a Raspberry Pi, of course. You’ll also want to be running the Raspbian operating system on the device, and you’ll need to be connected to a network, either wired or wireless.

We’ll be using the PiVPN project, which makes setting up your Raspberry Pi as a VPN shockingly simple. PiVPN recommends using a Static IP to make connecting to your network easy, but not all ISPs offer this. If you can’t get a Static IP (which some ISPs offer for an additional fee) you can use a service like No-IP, which can emulate this for you.
Install PiVPN
For this guide, we’re going to assume you already have your Raspberry Pi set up and running Raspbian. The PiVPN website recommends the Lite image but says the standard Raspbian image works fine as well. If you need help getting set up, we have a guide to getting your Raspberry Pi set up.
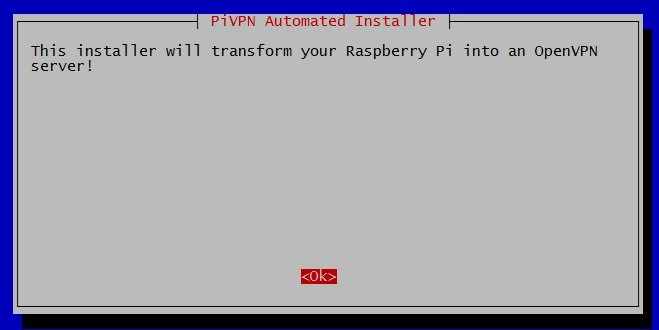
Once your Raspberry Pi is set up, installing the PiVPN setup script is very easy. If you’d like to look at it, view the script first. Otherwise, run the command below:
curl -L https://install.pivpn.io | bash
Once you’ve run the script, you’ll be presented with a series of prompts. For the most part, following the defaults should be fine, but it won’t hurt to carefully read through all the screens as you’re following them.
Once the script has gathered the information it needs from you, it will return to the command line. This can take anywhere from forty minutes to several hours, so be prepared to wait for a while.
The script will inform you when it’s finished and will ask if you want to reboot. This is not strictly necessary, but it can’t hurt to do.

Manage PiVPN
Once PiVPN is installed, you can use the pivpn command to configure and manage it. One of the basic pieces of functionality is adding clients.
Use the pivpn add command to add clients. You’ll be prompted to pick a name and a pass phrase. Make sure this is something you’ll remember. If you need to create a client certificate for a router or something else that isn’t password protected, use pivpn add nopass.
Other commands include pivpn list to list all clients and pivpn revoke to revoke a client’s certificate. If you’re not sure what you can run, just running pivpn will give you a list of possible commands.
Conclusion
Obviously, keeping your data private and secure is important. This is especially important when it comes to IoT devices. We tend to forget about these, so setting them up to be secure in the first place is paramount.
Unless you think about it, you may not be aware of the potential security risks that IoT devices may pose. For a few examples, take a look at our list of common IoT security threats.
Get the best of IoT Tech Trends delivered right to your inbox!


