How to install ONLYOFFICE 10.0 on Ubuntu 18.04 LTS
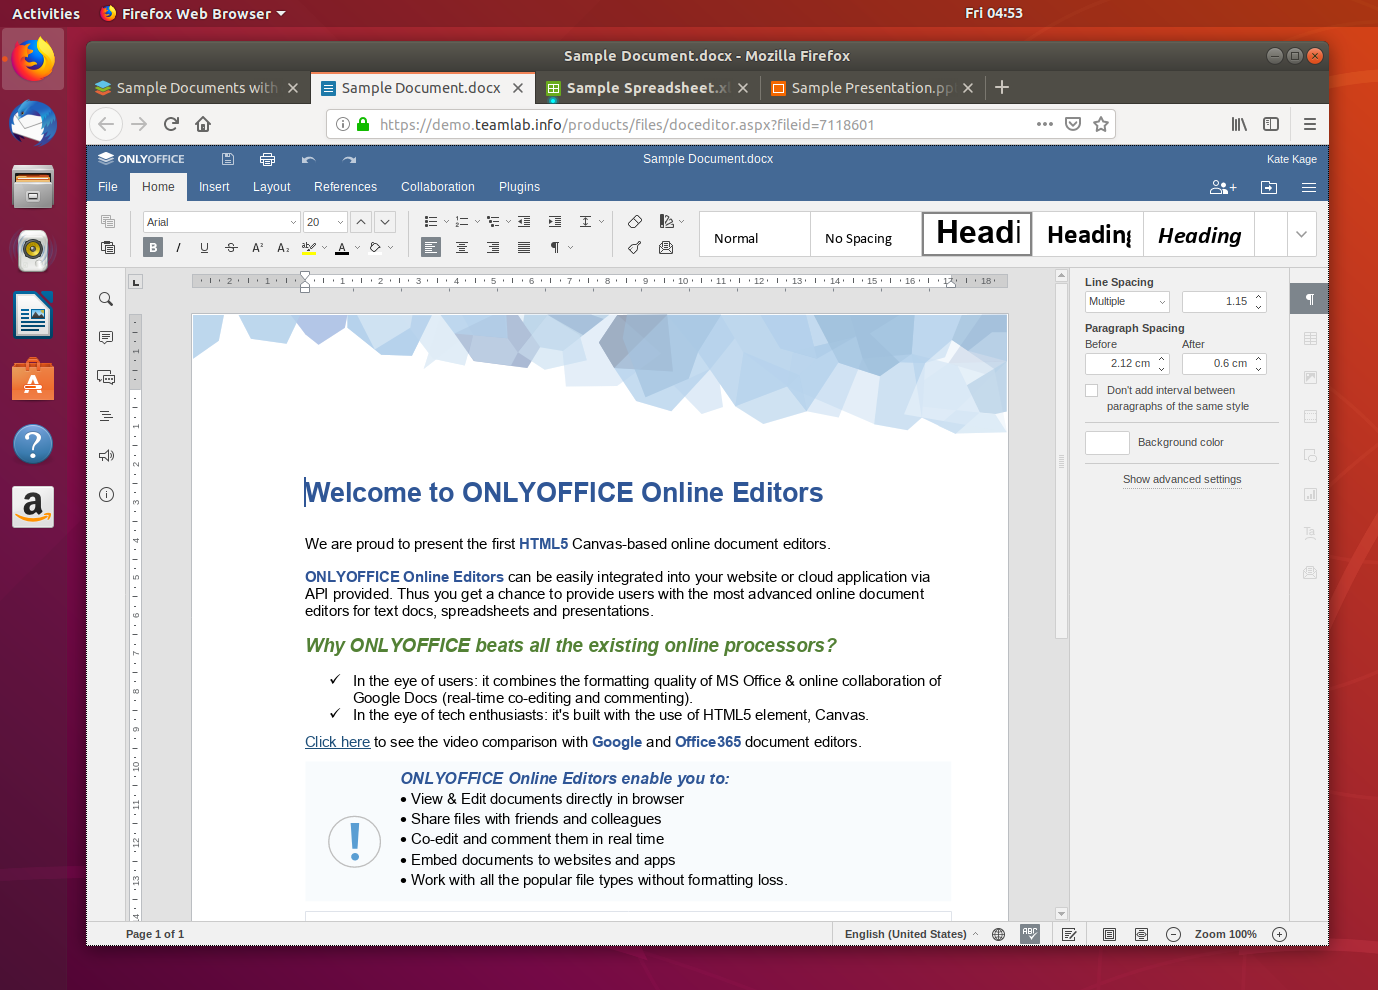
ONLYOFFICE is an open source solution that comprises online editors for text documents, spreadsheets, and presentations, as well as productivity tools such as mail, document and project management, CRM, calendar, communication hub.
ONLYOFFICE Document Server is distributed under GNU AGPL v3.0, ONLYOFFICE Community Server - under GNU GPL v3.0.
In this tutorial, we’ll learn how to install ONLYOFFICE Community Edition (the latest version of Community Server with integrated Document Server) on Ubuntu 18.04 from the DEB package using the provided script.
What's new
ONLYOFFICE Document Server 5.3
- Tabbed interface layout and several features previously available only in commercial builds (Content Controls, bookmarks, navigation panel, pivot tables, Presenter view);
- Text To Columns, Paste Wizards, Print areas in spreadsheets;
- ASC, BETAINV, HYPERLINK and support for Array formula in sheets;
- 204 new document languages, hieroglyphic alphabets, improved support for CJK fonts;
- Saving documents as MS Office Open XML templates (DOTX, XLTX and POTX), OpenDocument templates (OTT, OTS and OTP), and PDF-A.
ONLYOFFICE Community Server 10.0
- Comment and Form Filling document access rights;
- Integrated multi-format media player;
- Folders and filters management, delivery and read receipt in Mail;
- Calendar synchronization via CalDAV;
- Bulk import wizard and user list optimization;
- Two-factor authentication via an authenticator app.
System requirements
- CPU: dual-core 2 GHz or better
- RAM: 6 GB or more
- HDD: at least 40 GB of free space
- Additional requirements: at least 6 GB of swap
Step 1: Get Community Edition script
Download the installation script file:
wget http://download.onlyoffice.com/install/opensource-install.sh
Step 2: Run Community Edition installation
Start the installation process (root rights are required):
bash opensource-install.sh
Once the specified command is entered, you are prompted to select the way to install ONLYOFFICE Community Edition. Type N and press Enter to install it from the DEB package.
Step 3: Check Community Edition for correct work
Launch the browser and type the local network computer IP address into the URL bar. Don’t use localhost or 127.0.0.1 network address for the same computer where you have Community Edition installed, use its IP address in the local network instead.
That’s all! ONLYOFFICE Community Edition must be up and running indicating the successful installation.

