How to migrate from Microsoft Exchange Server to ONLYOFFICE
ONLYOFFICE is an open-source solution that comprises online editors for text documents, spreadsheets, and presentations combined with the groupware platform: mail, projects, CRM, calendar, chat.
ONLYOFFICE Mail Server is developed on the base of the open-source iRedMail package and contains the following components: Postfix, Dovecot, SpamAssassin, ClamAV, OpenDKIM, Fail2ban.
Integrated with ONLYOFFICE Community Server (distributed under GNU GPL v3.0), the Mail Server allows you to:
- connect your own domain name,
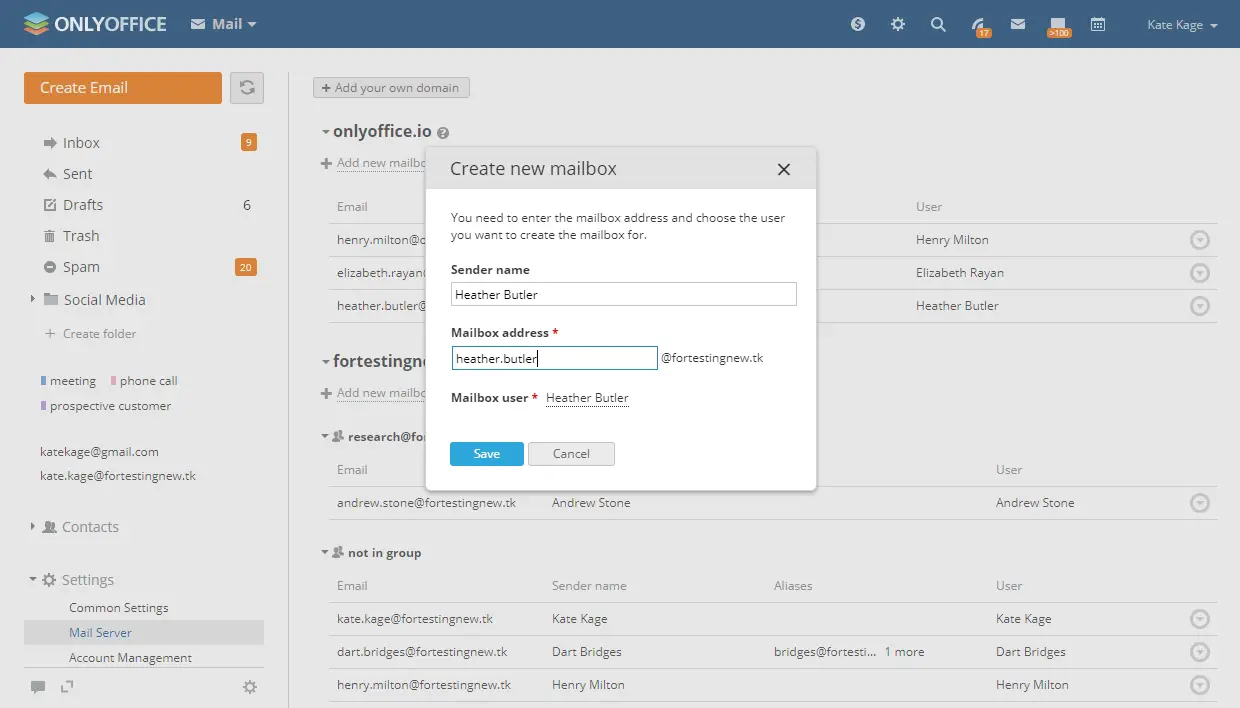
- create mailboxes,
- add aliases for each mailbox,
- create mailbox groups.
In this tutorial, we’ll learn how to switch from MS Exchange and transfer users, mailboxes, and messages to ONLYOFFICE.
Before you start
If you’re new to ONLYOFFICE, you can install the complete solution all at once (with integrated Mail Server) using Docker script. Refer to these instructions.
In case you have ONLYOFFICE Community Server already installed, you need to install the Mail Server Docker version to your machine.
Download the script:
wget https://download.onlyoffice.com/install/opensource-install.sh
Once done, run the command specifying the mail server hostname instead of yourdomain.com:
bash opensource-install.sh -ics false -ids false -icp false -ims true -md yourdomain.com -es true
Part 1: Export data from MS Exchange
Step 1. Launch Microsoft Exchange Mailbox Replication service and run the following command in the cmd console:
Get-Service -name MSExchangeMailboxReplication
Step 2. Acquire the necessary administrative rights. Run the command in the console specifying your user name instead of <user name>:
New-ManagementRoleAssignment –Role "Mailbox Import Export" –User <user name>
Step 3. Restart the Exchange Web Services (EWS) console with the given administrator rights.
Step 4. Download the export script and run it in the EWS console:
.\ExportExchangeData.ps1 -dir "C:\Temp"
where .\ExportExchangeData.ps1 is the path to the script, -dir "C:\Temp" is the path to the folder which will be used for the file export.
Step 5. Place the folder with the exported data to the machine where ONLYOFFICE is installed.
Part 2: Import the MS Exchange data to ONLYOFFICE
Step 1. Download and unpack the import script with the command:
wget -O "ImportExchangeData.tar" "https://bit.ly/2jdOn8t" && tar -xvf ImportExchangeData.tar && cd ./Import
Step 2. Install Python v.2.7 (in case you don’t have it already installed):
apt install python
python -V
Python 2.7.12
Step 3. Install the pip package manager:
apt install python-pip
pip -V
pip 9.0.1 from /usr/local/lib/python2.7/dist-packages (python 2.7)
Step 4. Install the required packages:
pip install -r requirements.txt
Step 5. Run the script replacing the parameters in brackets with your own data (add -s "https" parameter if your portal is using HTTPS):
./ImportExchangeData.py -d "<portal domain>" -u "<portal administrator email>" -pw "<portal administrator password>" -f <path to the folder with the exported data>

Done! Now you can use ONLYOFFICE Mail with users, mailboxes, and messages imported from MS Exchange.

