How to Install Matomo Web Analytics with Nginx on FreeBSD 12.0
On this page
- Requirements
- Prerequisites
- Initial steps
- Step 1 - Install MySQL and create a database for Matomo
- Step 2 - Install PHP and necessary PHP extensions
- Step 3 - Install
acme.shclient and obtain Let">) - Step 3 - Install NGINX and configure NGINX for Matomo
- Step 4 - Install Matomo Analytics
- Step 5 - Complete the Matomo Analytics setup
- Links
Matomo (formerly Piwik) is a free and open-source web analytics application developed by a team of international developers, that runs on a PHP/MySQL webserver. It tracks online visits to one or more websites and displays reports on these visits for analysis. You can think of it as an alternative to Google Analytics. Matomo is an open-source and its code is publicly available on Github. Some of the features it has are - A/B Testing, Heatmaps, Funnels, Tracking and Reporting API, Google AdWords, Facebook Ads, Bing Ads, Cost Per Click (CPC), etc. This tutorial will show you how to install Matomo on a FreeBSD 12.0 system using Nginx as the webserver and we will secure the website with a Let's Encrypt SSL certificate.
Requirements
To run Matomo (Piwik) on your FreeBSD 12.0 system you will need a couple of things:
- A web server such as Apache, Nginx, IIS.
- PHP version 5.5.9 or higher with pdo and pdo_mysql or mysqli, gd, xml, curl, and mbsting extensions. PHP 7+ is recommended.
- MySQL version 5.5 or higher, or the equivalent MariaDB version. MySQL 5.7+ is recommended.
Prerequisites
- An operating system running FreeBSD 12.0.
- A non-root user with sudo privileges.
Initial steps
Check your FreeBSD version:
uname -ro
# FreeBSD 12.0-RELEASE
Set up the timezone:
tzsetup
Update your operating system packages (software). This is an important first step because it ensures you have the latest updates and security fixes for your operating system's default software packages:
freebsd-update fetch install
pkg update && pkg upgrade -y
Install some essential packages that are necessary for basic administration of FreeBSD 12.0 operating system:
pkg install -y sudo vim unzip wget bash
Step 1 - Install MySQL and create a database for Matomo
Matomo supports MySQL and MariaDB databases. In this tutorial, we will use MySQL as a database server.
Install MySQL database server:
sudo pkg install -y mysql57-server
Check MySQL version:
mysql --version
# mysql  Ver 14.14 Distrib 5.7.26, for FreeBSD12.0 (amd64) using  EditLine wrapper
Enable and start MySQL service:
sudo sysrc mysql_enable="yes"
sudo service mysql-server start
Run mysql_secure installation script to improve MySQL security and set the password for MySQL root user:
sudo mysql_secure_installation
Answer each of the questions:
Would you like to setup VALIDATE PASSWORD plugin? N
New password: your_secure_password
Re-enter new password: your_secure_password
Remove anonymous users? [Y/n] Y
Disallow root login remotely? [Y/n] Y
Remove test database and access to it? [Y/n] Y
Reload privilege tables now? [Y/n] Y
Connect to MySQL shell as the root user:
sudo mysql -u root -p
# Enter password
Create an empty MySQL database and user for Matomo and remember the credentials:
CREATE DATABASE dbname;
CREATE USER 'username'@'localhost' IDENTIFIED BY 'password';
GRANT ALL ON dbname.* TO 'username' IDENTIFIED BY 'password';
FLUSH PRIVILEGES;
Exit from MySQL:
exit
Replace dbname, username and password with your own names.
Step 2 - Install PHP and necessary PHP extensions
Install PHP, as well as the necessary PHP extensions:
sudo pkg install -y php73 php73-ctype php73-curl php73-dom php73-hash php73-iconv php73-gd php73-json php73-mbstring php73-openssl php73-session php73-simplexml php73-xml php73-zip php73-zlib php73-pdo php73-pdo_mysql php73-mysqli php73-filter php73-ftp php73-tokenizer php73-calendar php73-pecl-APCu php73-opcache
Check the PHP version:
php --version

# PHP 7.3.7 (cli) (built: Jul 25 2019 01:28:53) ( NTS )
# Copyright (c) 1997-2018 The PHP Group
# Zend Engine v3.3.7, Copyright (c) 1998-2018 Zend Technologies
# with Zend OPcache v7.3.7, Copyright (c) 1999-2018, by Zend Technologies
Enable and start PHP-FPM service:
sudo sysrc php_fpm_enable=yes
sudo service php-fpm start
We can move on to the next step, which is obtaining free SSL certs from Let's Encrypt CA.
Step 3 - Install acme.sh client and obtain Let's Encrypt certificate (optional)
Securing your website with HTTPS is not necessary, but it is a good practice to secure your site traffic. In order to obtain TLS certificate from Let's Encrypt we will use Acme.sh client. Acme.sh is a pure UNIX shell software for obtaining TLS certificates from Let's Encrypt with zero dependencies.
Download and install Acme.sh:
sudo pkg install -y acme.sh
Check Acme.sh version:
acme.sh --version
# v2.8.2
Obtain RSA and ECC/ECDSA certificates for your domain/hostname:
# RSA
sudo acme.sh --issue --standalone --home /etc/letsencrypt -d example.com --keylength 2048
# ECDSA
sudo acme.sh --issue --standalone --home /etc/letsencrypt -d example.com --keylength ec-256
After running the above commands, your certificates and keys will be in:
- For RSA:
/etc/letsencrypt/example.comdirectory. - For ECC/ECDSA:
/etc/letsencrypt/example.com_eccdirectory.
Step 3 - Install NGINX and configure NGINX for Matomo
Matomo can work fine with many popular web server software. In this tutorial, we selected Nginx.
Download and install the latest mainline release of Nginx from the FreeBSD repository:
sudo pkg install -y nginx-devel
Check the Nginx version:
nginx -v
# nginx version: nginx/1.17.2
Enable and start Nginx:
sudo sysrc nginx_enable=yes
sudo service nginx start
Configure Nginx for Matomo by running:
sudo vim /usr/local/etc/nginx/matomo.conf
And populate the file with the following configuration:
server {

  listen [::]:443 ssl;
  listen 443 ssl;
  listen [::]:80;
  listen 80;

  ssl_certificate /etc/letsencrypt/example.com/fullchain.cer;
  ssl_certificate_key /etc/letsencrypt/example.com/example.com.key;
  ssl_certificate /etc/letsencrypt/example.com_ecc/fullchain.cer;
  ssl_certificate_key /etc/letsencrypt/example.com_ecc/example.com.key;

  server_name example.com;

  root /usr/local/www/matomo;

  index index.php;

  location ~ ^/(index|matomo|piwik|js/index).php {
    fastcgi_split_path_info ^(.+\.php)(/.+)$;
    try_files $fastcgi_script_name =404;
    set $path_info $fastcgi_path_info;
    fastcgi_param PATH_INFO $path_info;
    fastcgi_index index.php;
    fastcgi_param SCRIPT_FILENAME $document_root$fastcgi_script_name;
    include fastcgi_params;
    fastcgi_param HTTP_PROXY "";
    fastcgi_pass 127.0.0.1:9000;
  }

  location = /plugins/HeatmapSessionRecording/configs.php {
    fastcgi_split_path_info ^(.+\.php)(/.+)$;
    try_files $fastcgi_script_name =404;
    set $path_info $fastcgi_path_info;
    fastcgi_param PATH_INFO $path_info;
    fastcgi_index index.php;
    fastcgi_param SCRIPT_FILENAME $document_root$fastcgi_script_name;
    include fastcgi_params;
    fastcgi_param HTTP_PROXY "";
    fastcgi_pass 127.0.0.1:9000;
  }

  location ~* ^.+\.php$ {
    deny all;
    return 403;
  }

  location / {
    try_files $uri $uri/ =404;
  }

  location ~ /(config|tmp|core|lang) {
    deny all;
    return 403;
  }

  location ~ /\.ht {
    deny  all;
    return 403;
  }

  location ~ \.(gif|ico|jpg|png|svg|js|css|htm|html|mp3|mp4|wav|ogg|avi|ttf|eot|woff|woff2|json)$ {
    allow all;
    expires 1h;
    add_header Pragma public;
    add_header Cache-Control "public";
  }

  location ~ /(libs|vendor|plugins|misc/user) {
    deny all;
    return 403;
  }

  location ~/(.*\.md|LEGALNOTICE|LICENSE) {
    default_type text/plain;
  }

}NOTE: For complete and production-ready Nginx config for Matomo visit https://github.com/matomo-org/matomo-nginx.
Run sudo vim /usr/local/etc/nginx/nginx.conf and add the below line to http {} block to include Matomo config.
include matomo.conf;Check Nginx configuration for syntax errors:
sudo nginx -t
Reload Nginx service:
sudo service nginx reload
Step 4 - Install Matomo Analytics
Navigate to /usr/local/www directory:
cd /usr/local/www/
Download the latest release Matomo via wget and unzip it:
sudo wget https://builds.matomo.org/matomo.zip && sudo unzip matomo.zip
Remove downloaded matomo.zip file:
sudo rm matomo.zip
Change ownership of the /usr/local/www/matomo directory to www user:
sudo chown -R www:www /usr/local/www/matomo
Step 5 - Complete the Matomo Analytics setup
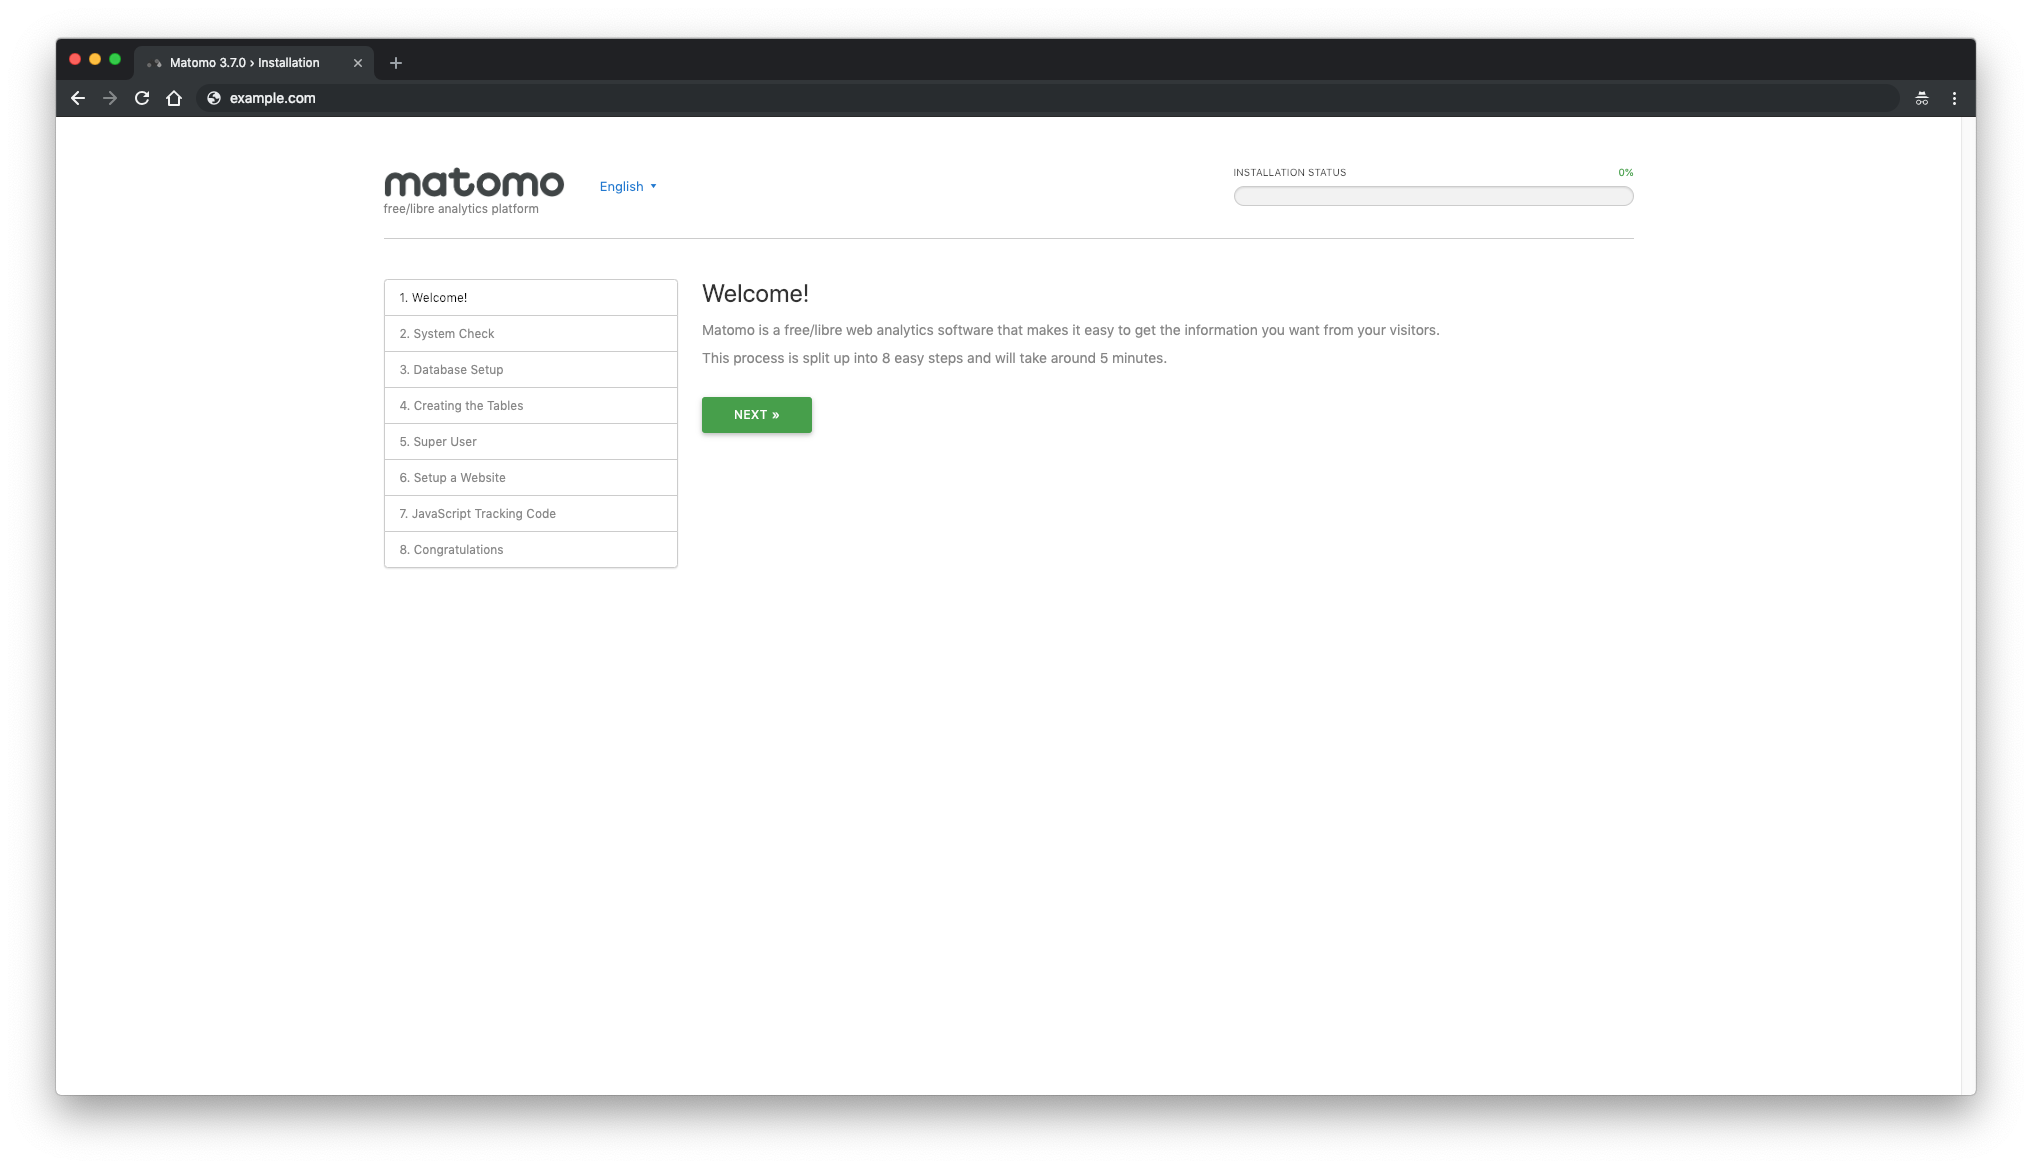
Open your site in a web browser and follow the Matomo web installation wizard.
First, Matomo welcome message should appear. Click on the "Next" button:
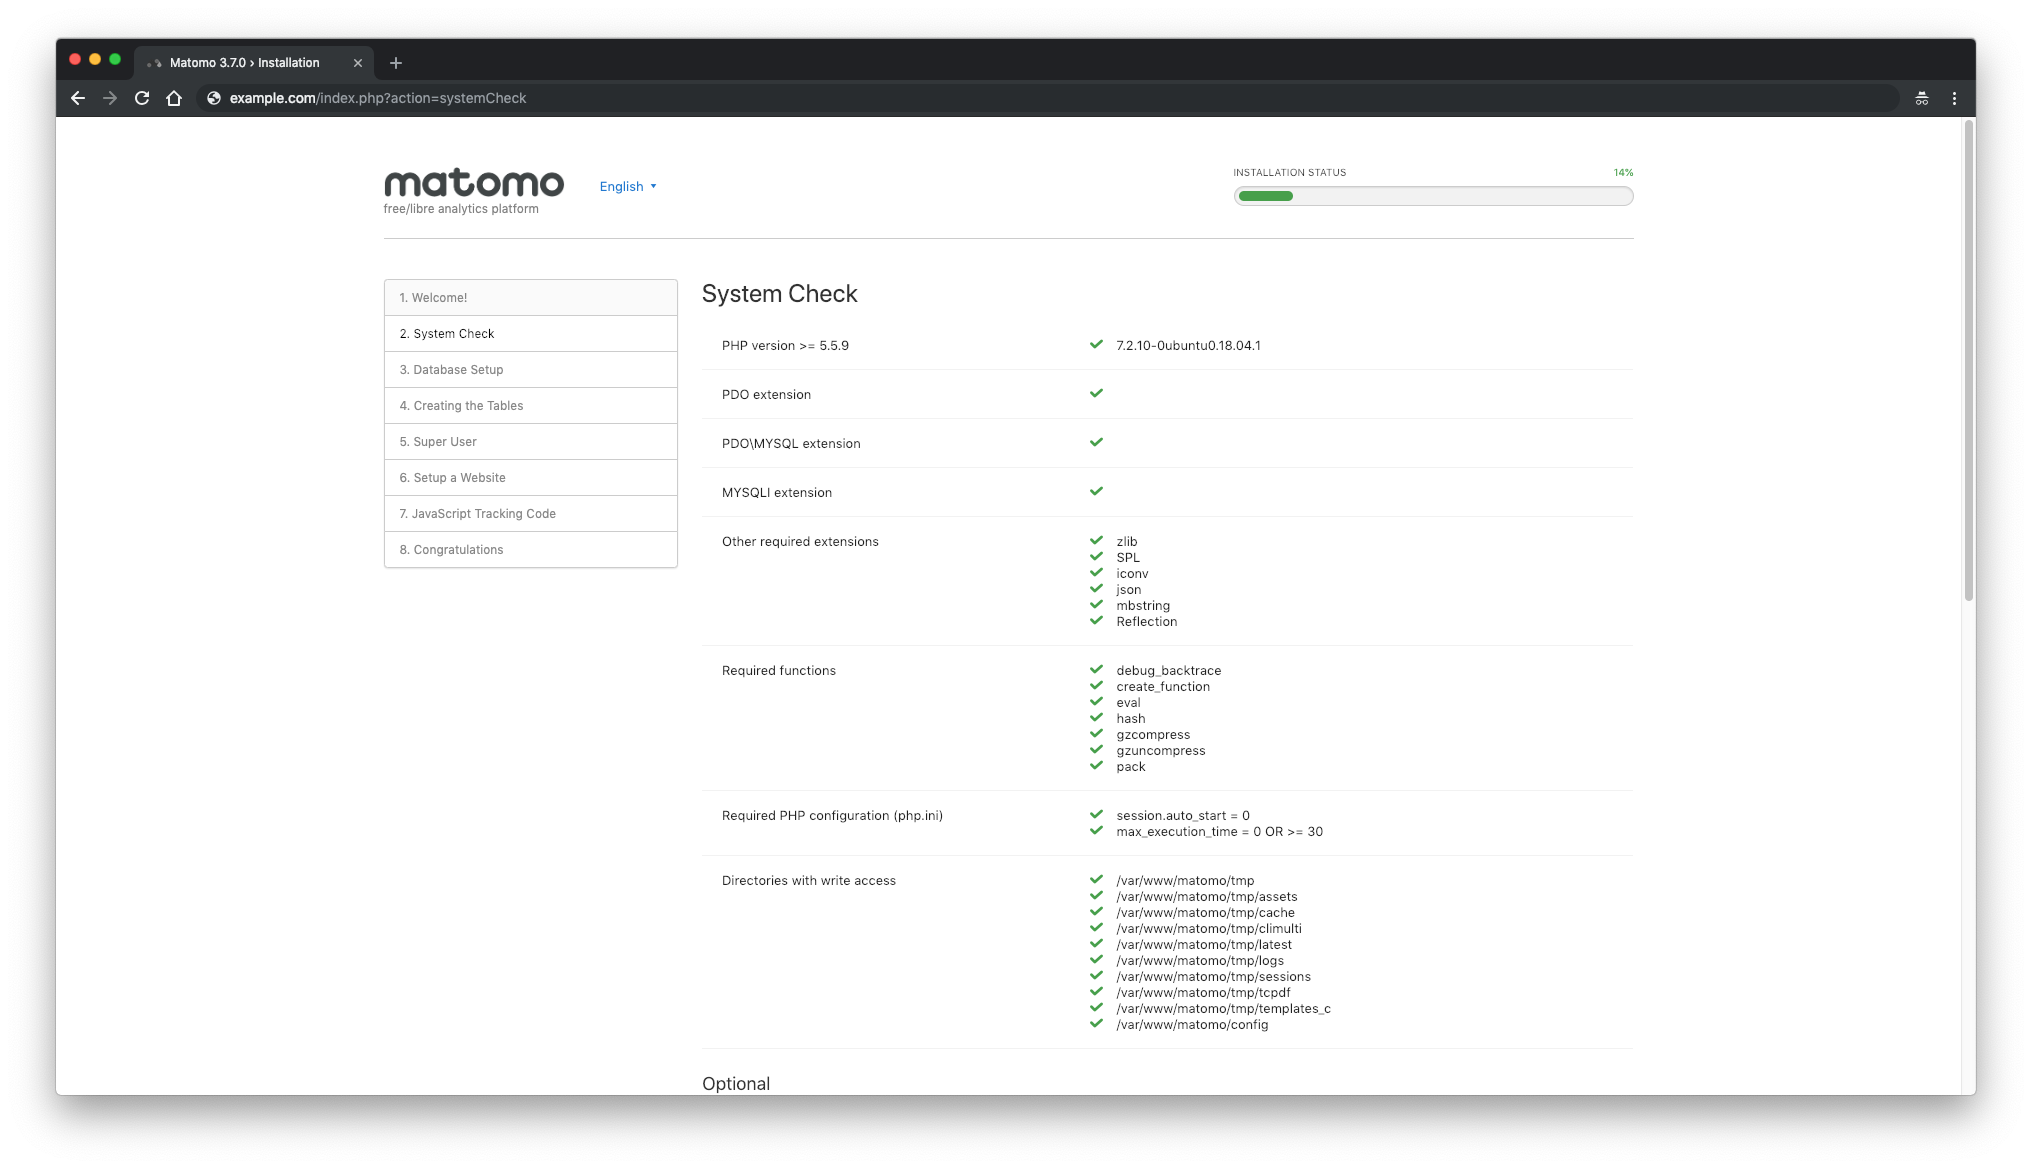
After, you will see a "System Check" page. If something is missing, you will see a warning. If everything is marked with green checkmark click on the "Next" button to proceed to the next step:
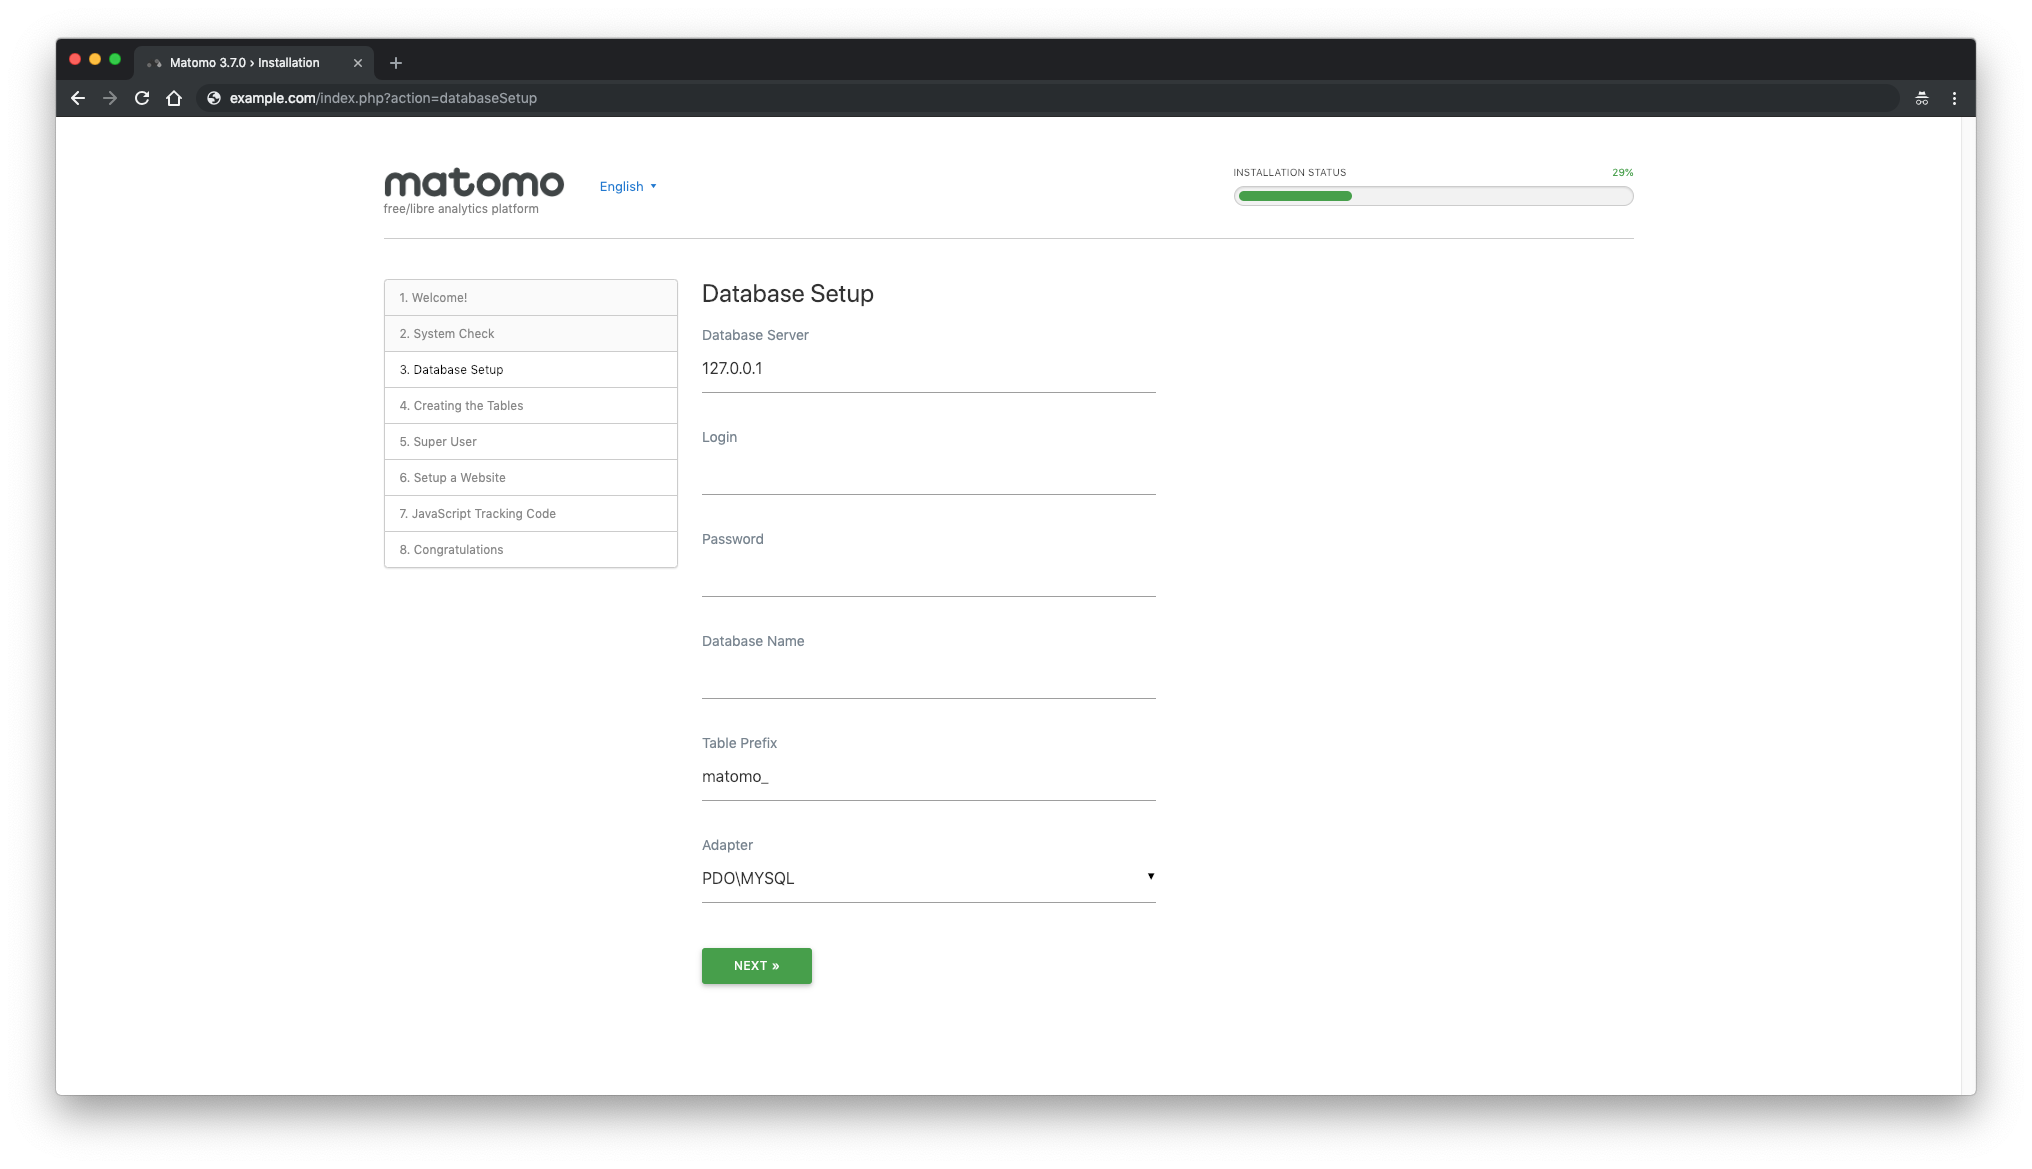
Next, fill in database details and click on the "Next" button:
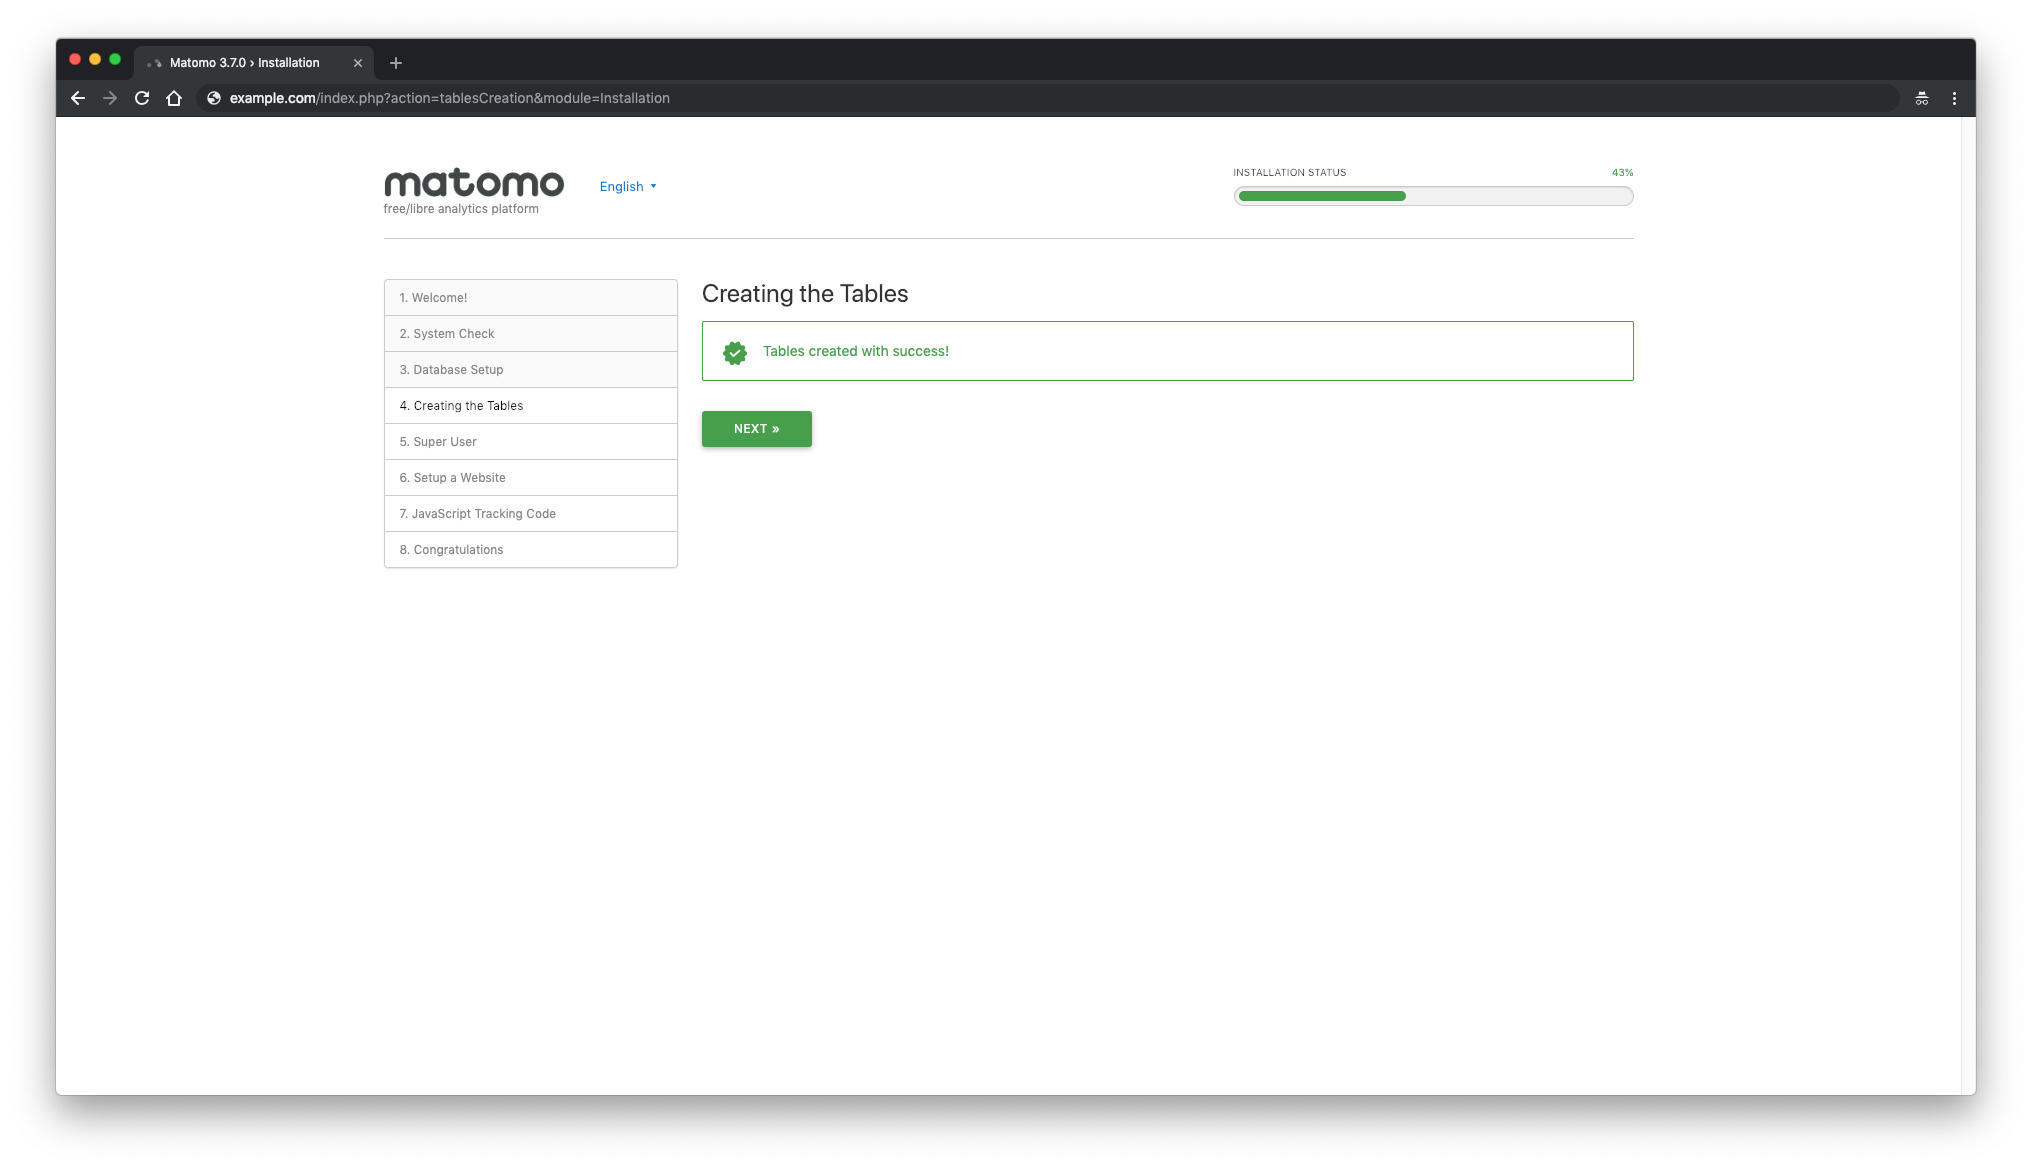
If everything went well with database setup you should see "Tables created with success!" message:
Create Matomo super user account and click on the "Next" button:

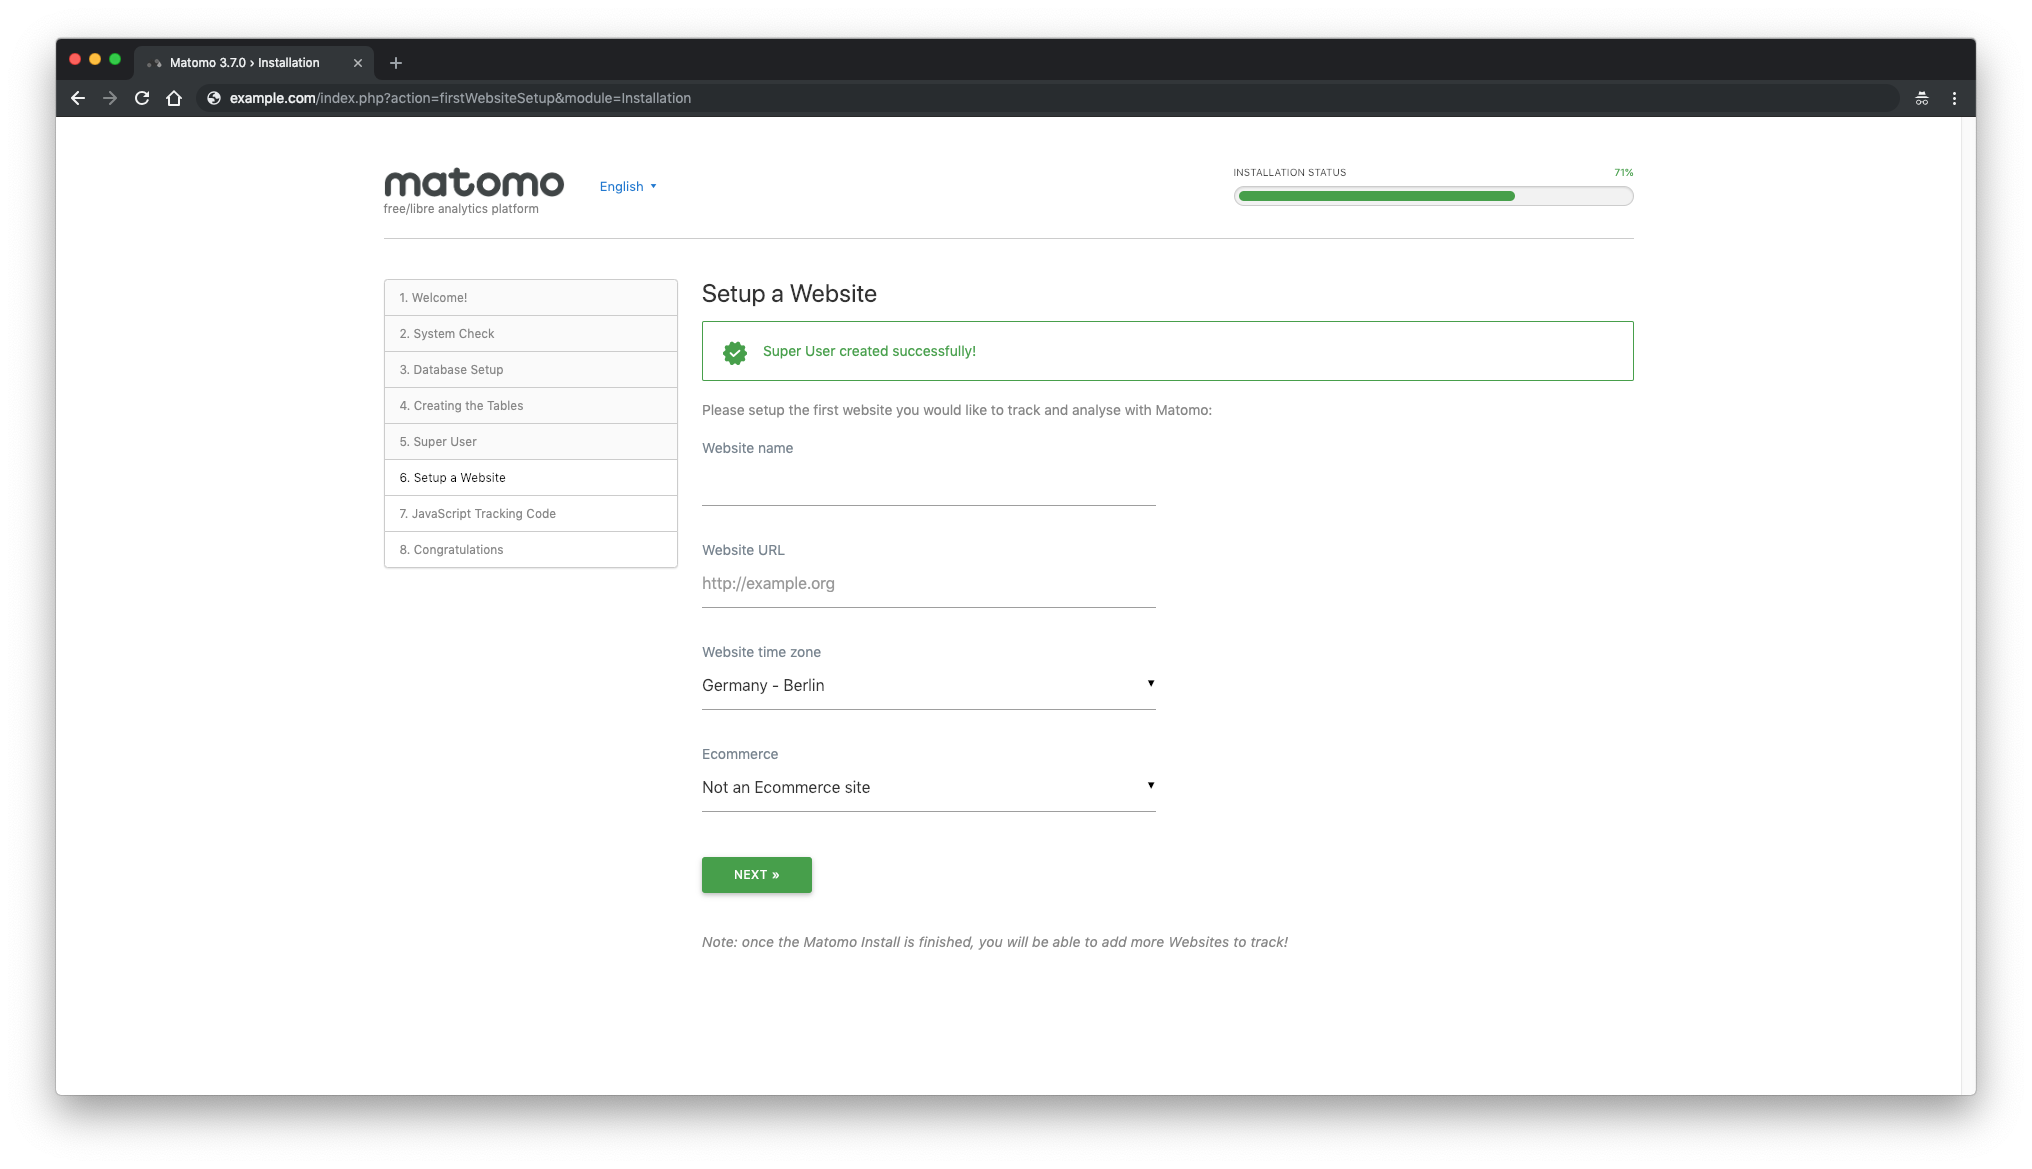
Next, set up the first website you would like to track and analyze with Matomo. Later on, you can add more sites to track with Matomo:
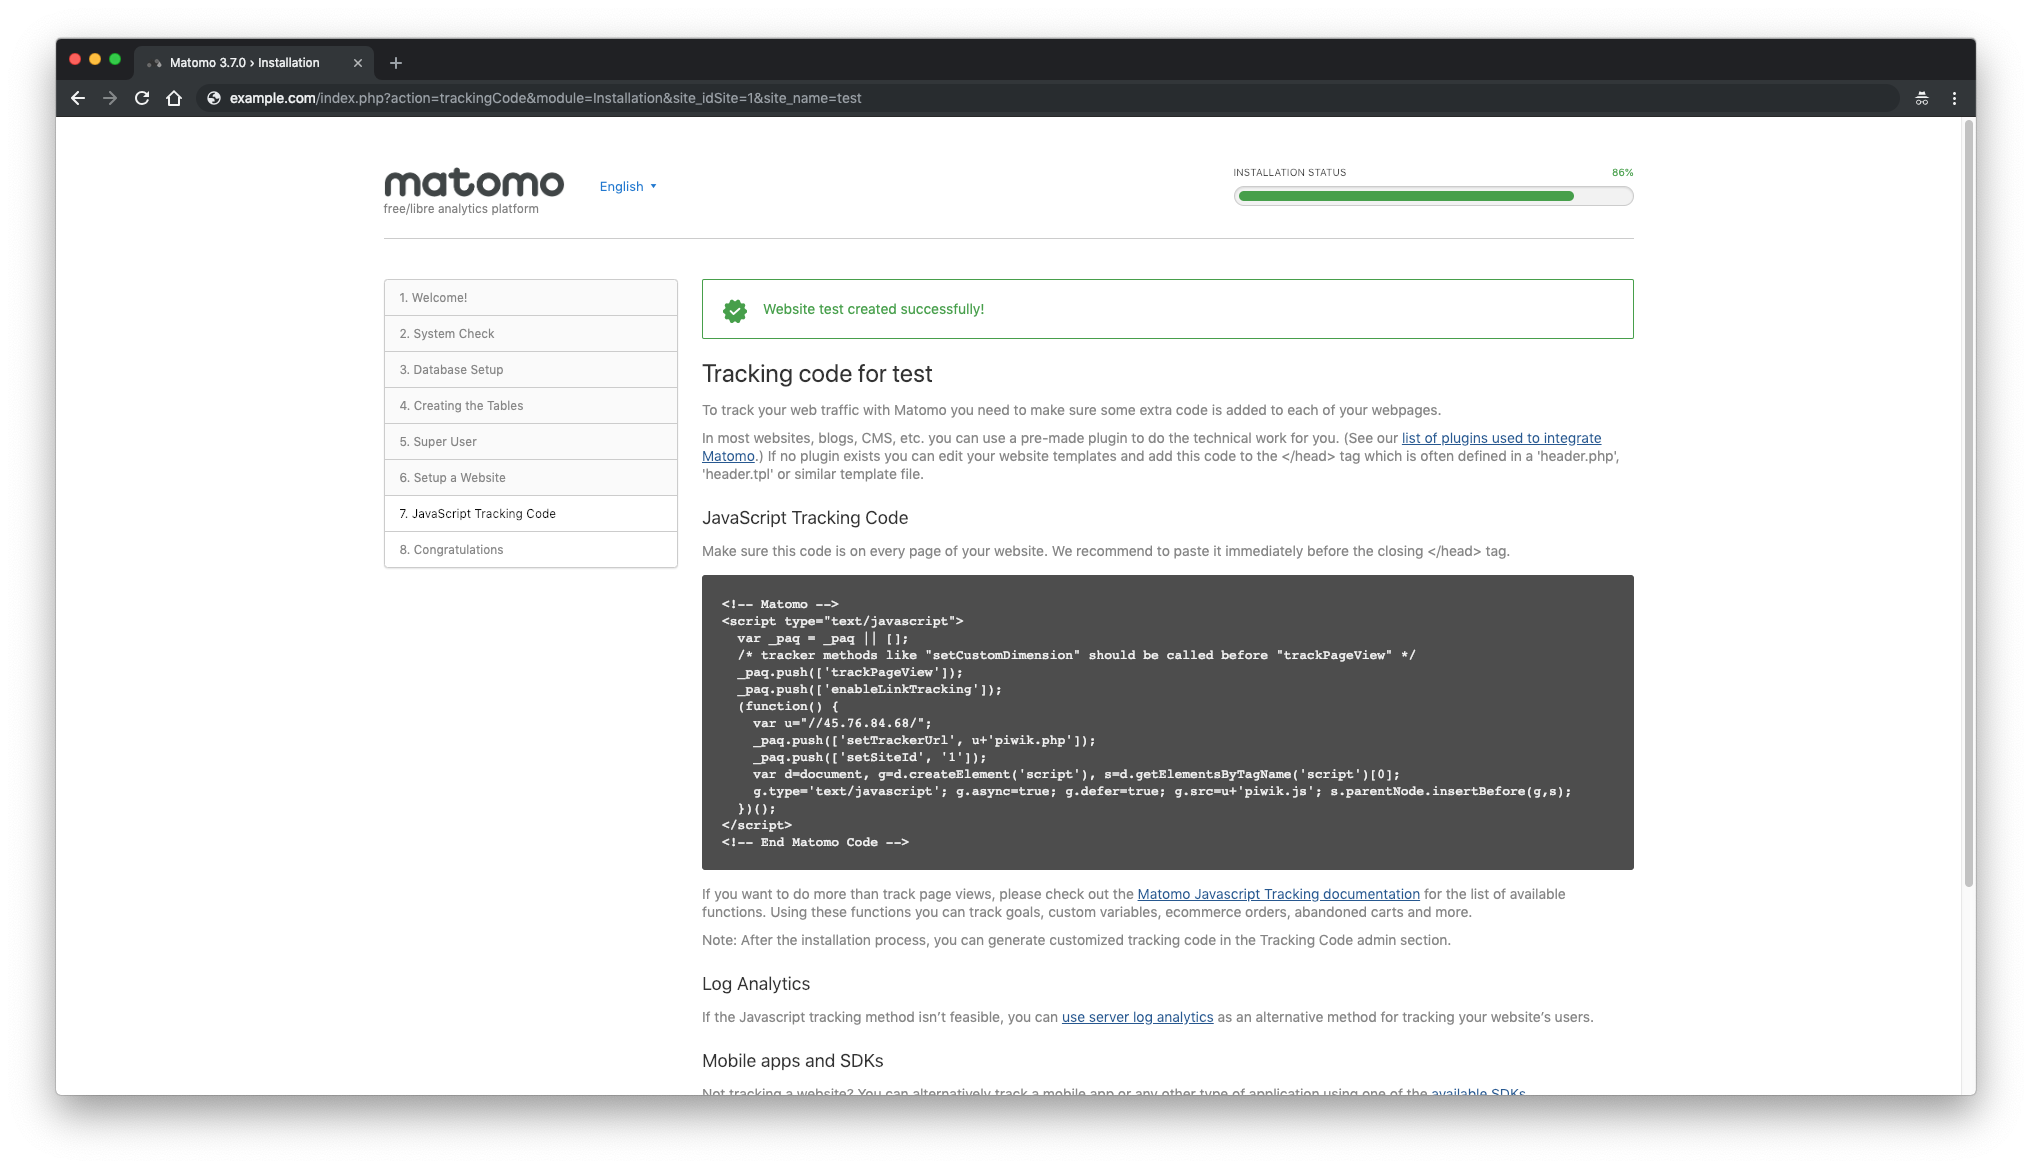
Next, you will be provided with the JavaScript tracking code for your site that you need to add to start tracking.
Next, you should see that the Matomo installation is completed.
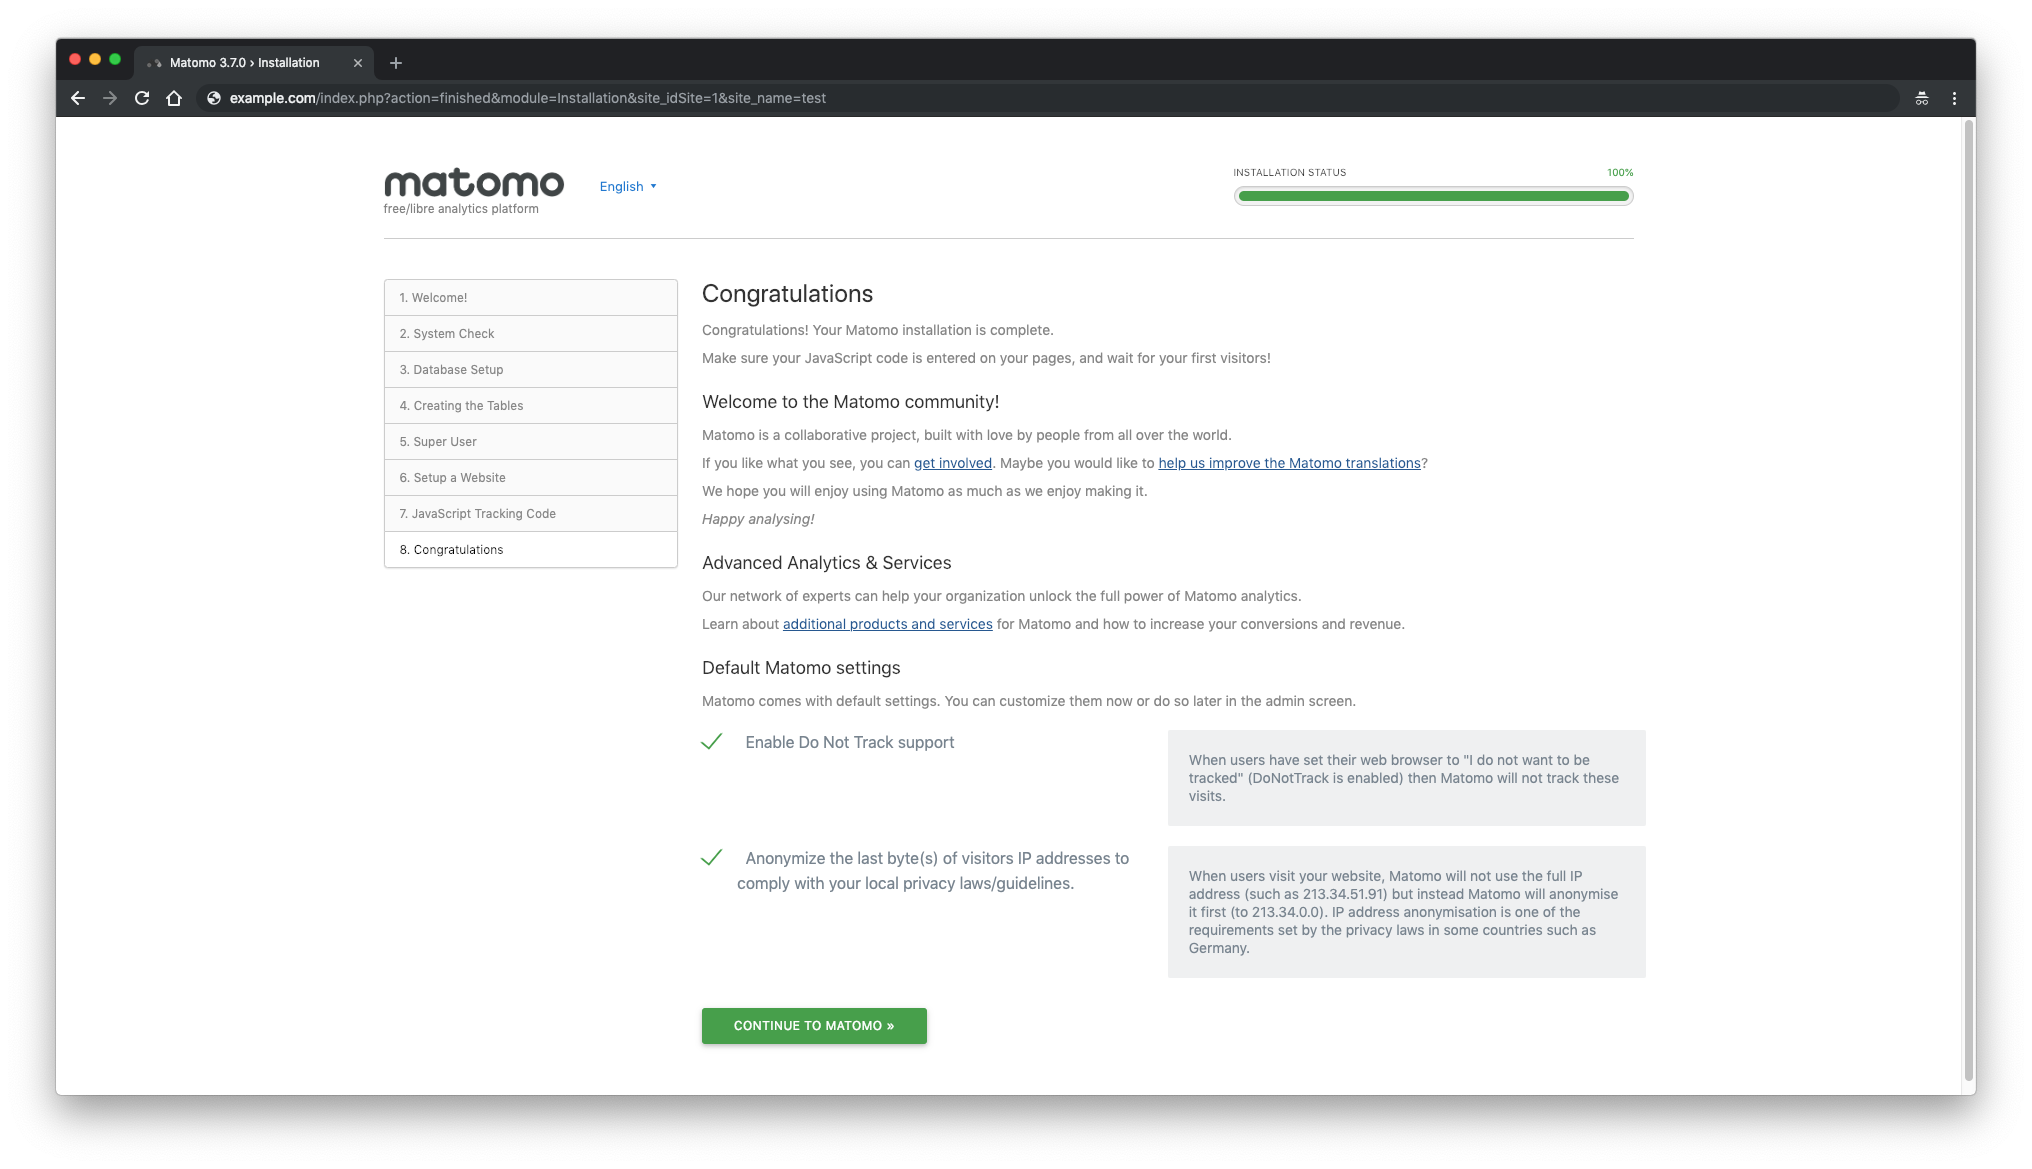
Congratulations! Your Matomo installation is complete.

