How to Install Pico CMS with Nginx and Let's Encrypt on CentOS 7
Pico is an open-source simple and fast flat-file CMS written in PHP. This means there is no administration backend and database to deal with. You simply create .md files in the content folder and that becomes a page. Pico uses the Twig templating engine, for powerful and flexible themes. Pico source code is available on Github. In this tutorial, we will install Pico CMS with Nginx on CentOS 7 system.
Requirements
Requirements for running Pico are:
- Nginx
- PHP version 5.3.6 or greater
- Composer
Prerequisites
- A CentOS 7 operating system.
- A non-root user with
sudoprivileges.
Initial steps
Check your CentOS version:
cat /etc/centos-release
# CentOS Linux release 7.6.1810 (Core)
Set up the timezone:
timedatectl list-timezones
sudo timedatectl set-timezone 'Region/City'
Update your operating system packages (software). This is an important first step because it ensures you have the latest updates and security fixes for your operating system's default software packages:
sudo yum update -y
Install some essential packages that are necessary for basic administration of the CentOS operating system:
sudo yum install -y curl wget vim git unzip socat bash-completion epel-release
Step 1 - Install PHP
Setup the Webtatic YUM repo:
sudo rpm -Uvh https://mirror.webtatic.com/yum/el7/webtatic-release.rpm
Install PHP, as well as the necessary PHP extensions:
sudo yum install -y php72w php72w-cli php72w-fpm php72w-common php72w-curl php72w-gd php72w-json php72w-zip php72w-xml php72w-mbstring
To show PHP compiled in modules, you can run:
php -m

ctype
curl
exif
fileinfo
. . .
. . .
Check the PHP version:
php --version
# PHP 7.2.19 (cli) (built: Jan 12 2019 12:47:33) ( NTS )
# Copyright (c) 1997-2018 The PHP Group
# Zend Engine v3.0.0, Copyright (c) 1998-2017 Zend Technologies
# with Zend OPcache v7.2.14, Copyright (c) 1999-2018, by Zend Technologies
Start and enable PHP-FPM service:
sudo systemctl start php-fpm.service
sudo systemctl enable php-fpm.service
Step 2 - Install acme.sh client and obtain Let's Encrypt certificate (optional)
Securing your forum with HTTPS is not necessary, but it is a good practice to secure your site traffic. In order to obtain a TLS certificate from Let's Encrypt we will use acme.sh client. Acme.sh is a pure UNIX shell software for obtaining TLS certificates from Let's Encrypt with zero dependencies.
Download and install acme.sh:
sudo su - root
git clone https://github.com/Neilpang/acme.sh.git
cd acme.sh
./acme.sh --install --accountemail [email protected]
source ~/.bashrc
cd ~
Check acme.sh version:
acme.sh --version
# v2.8.2
Obtain RSA and ECC/ECDSA certificates for your domain/hostname:
# RSA 2048
acme.sh --issue --standalone -d example.com --keylength 2048
# ECDSA
acme.sh --issue --standalone -d example.com --keylength ec-256
If you want fake certificates for testing you can add --staging flag to the above commands.
After running the above commands, your certificates and keys will be in:
- For RSA:
/home/username/example.comdirectory. - For ECC/ECDSA:
/home/username/example.com_eccdirectory.
To list your issued certs you can run:
acme.sh --list
Create a directory to store your certs. We will use /etc/letsencrypt directory.
mkdir -p /etc/letsecnrypt/example.comsudo mkdir -p /etc/letsencrypt/example.com_ecc
Install/copy certificates to /etc/letsencrypt directory.
# RSA
acme.sh --install-cert -d example.com --cert-file /etc/letsencrypt/example.com/cert.pem --key-file /etc/letsencrypt/example.com/private.key --fullchain-file /etc/letsencrypt/example.com/fullchain.pem --reloadcmd "sudo systemctl reload nginx.service"
# ECC/ECDSA
acme.sh --install-cert -d example.com --ecc --cert-file /etc/letsencrypt/example.com_ecc/cert.pem --key-file /etc/letsencrypt/example.com_ecc/private.key --fullchain-file /etc/letsencrypt/example.com_ecc/fullchain.pem --reloadcmd "sudo systemctl reload nginx.service"
All the certificates will be automatically renewed every 60 days.
After obtaining certs exit from root user and return back to normal sudo user:
exit
Step 3 - Install and configure NGINX
Download and install Nginx from the CentOS repository:
sudo yum install -y nginx
Check the Nginx version:
nginx -v
# nginx version: nginx/1.12.2
Start and enable Nginx service:
sudo systemctl start nginx.service
sudo systemctl enable nginx.service
Configure NGINX for Pico CMS by running:
sudo vim /etc/nginx/conf.d/pico.conf
And populate the file with the following configuration:
server {

  listen 80;
  listen 443 ssl;
  server_name example.com;
  root /var/www/pico;

  ssl_certificate /etc/letsencrypt/example.com/fullchain.pem;
  ssl_certificate_key /etc/letsencrypt/example.com/private.key;
  ssl_certificate /etc/letsencrypt/example.com_ecc/fullchain.pem;
  ssl_certificate_key /etc/letsencrypt/example.com_ecc/private.key;

  index index.php;

  location ~ ^/((config|content|vendor|composer\.(json|lock|phar))(/|$)|(.+/)?\.(?!well-known(/|$))) {
    deny all;
  }

  location / {
    index index.php;
    try_files $uri $uri/ /index.php$is_args$args;
  }

  location ~ \.php$ {
    try_files $uri =404;
    fastcgi_index index.php;
    fastcgi_pass 127.0.0.1:9000;
    fastcgi_param SCRIPT_FILENAME $document_root$fastcgi_script_name;
    include fastcgi_params;
    fastcgi_param PICO_URL_REWRITING 1;
  }

}
Check NGINX configuration for syntax errors:
sudo nginx -t
Reload NGINX service:
sudo systemctl reload nginx.service
Step 4 - Install Composer
Install Composer, the PHP dependency manager globally:
php -r "copy('https://getcomposer.org/installer', 'composer-setup.php');"

php -r "if (hash_file('sha384', 'composer-setup.php') === 'a5c698ffe4b8e849a443b120cd5ba38043260d5c4023dbf93e1558871f1f07f58274fc6f4c93bcfd858c6bd0775cd8d1') { echo 'Installer verified'; } else { echo 'Installer corrupt'; unlink('composer-setup.php'); } echo PHP_EOL;"

php composer-setup.php

php -r "unlink('composer-setup.php');"

sudo mv composer.phar /usr/local/bin/composer
Check the Composer version:
composer --version
# Composer version 1.9.0 2019-08-02 20:55:32
NOTE: Composer installation commands will change in the future, so check https://getcomposer.org/download/ for the most up to date commands if the above commands don't work.
Step 5 - Install Pico CMS
Create a document root directory for Pico CMS:
sudo mkdir -p /var/www/pico
Change ownership of the /var/www/pico directory to your_username that you should have created before and you should be logged in as this user.
sudo chown -R your_username:your_username /var/www/pico
NOTE: Don't forget to replace your_username with the name that you have chosen.
Navigate to the document root directory:
cd /var/www/pico
Download Pico with composer:
composer create-project picocms/pico-composer .
Provide the appropriate ownership:
sudo chown -R nginx:nginx /var/www/pico
Run sudo vim /etc/php-fpm.d/www.conf and set the user and group to nginx. Initially, they will be set to apache. Run:
sudo vim /etc/php-fpm.d/www.conf
And set user and group to nginx, like below:
user = nginx
group = nginx
And finally, restart PHP-FPM service for these changes to take effect:
sudo systemctl restart php-fpm.service
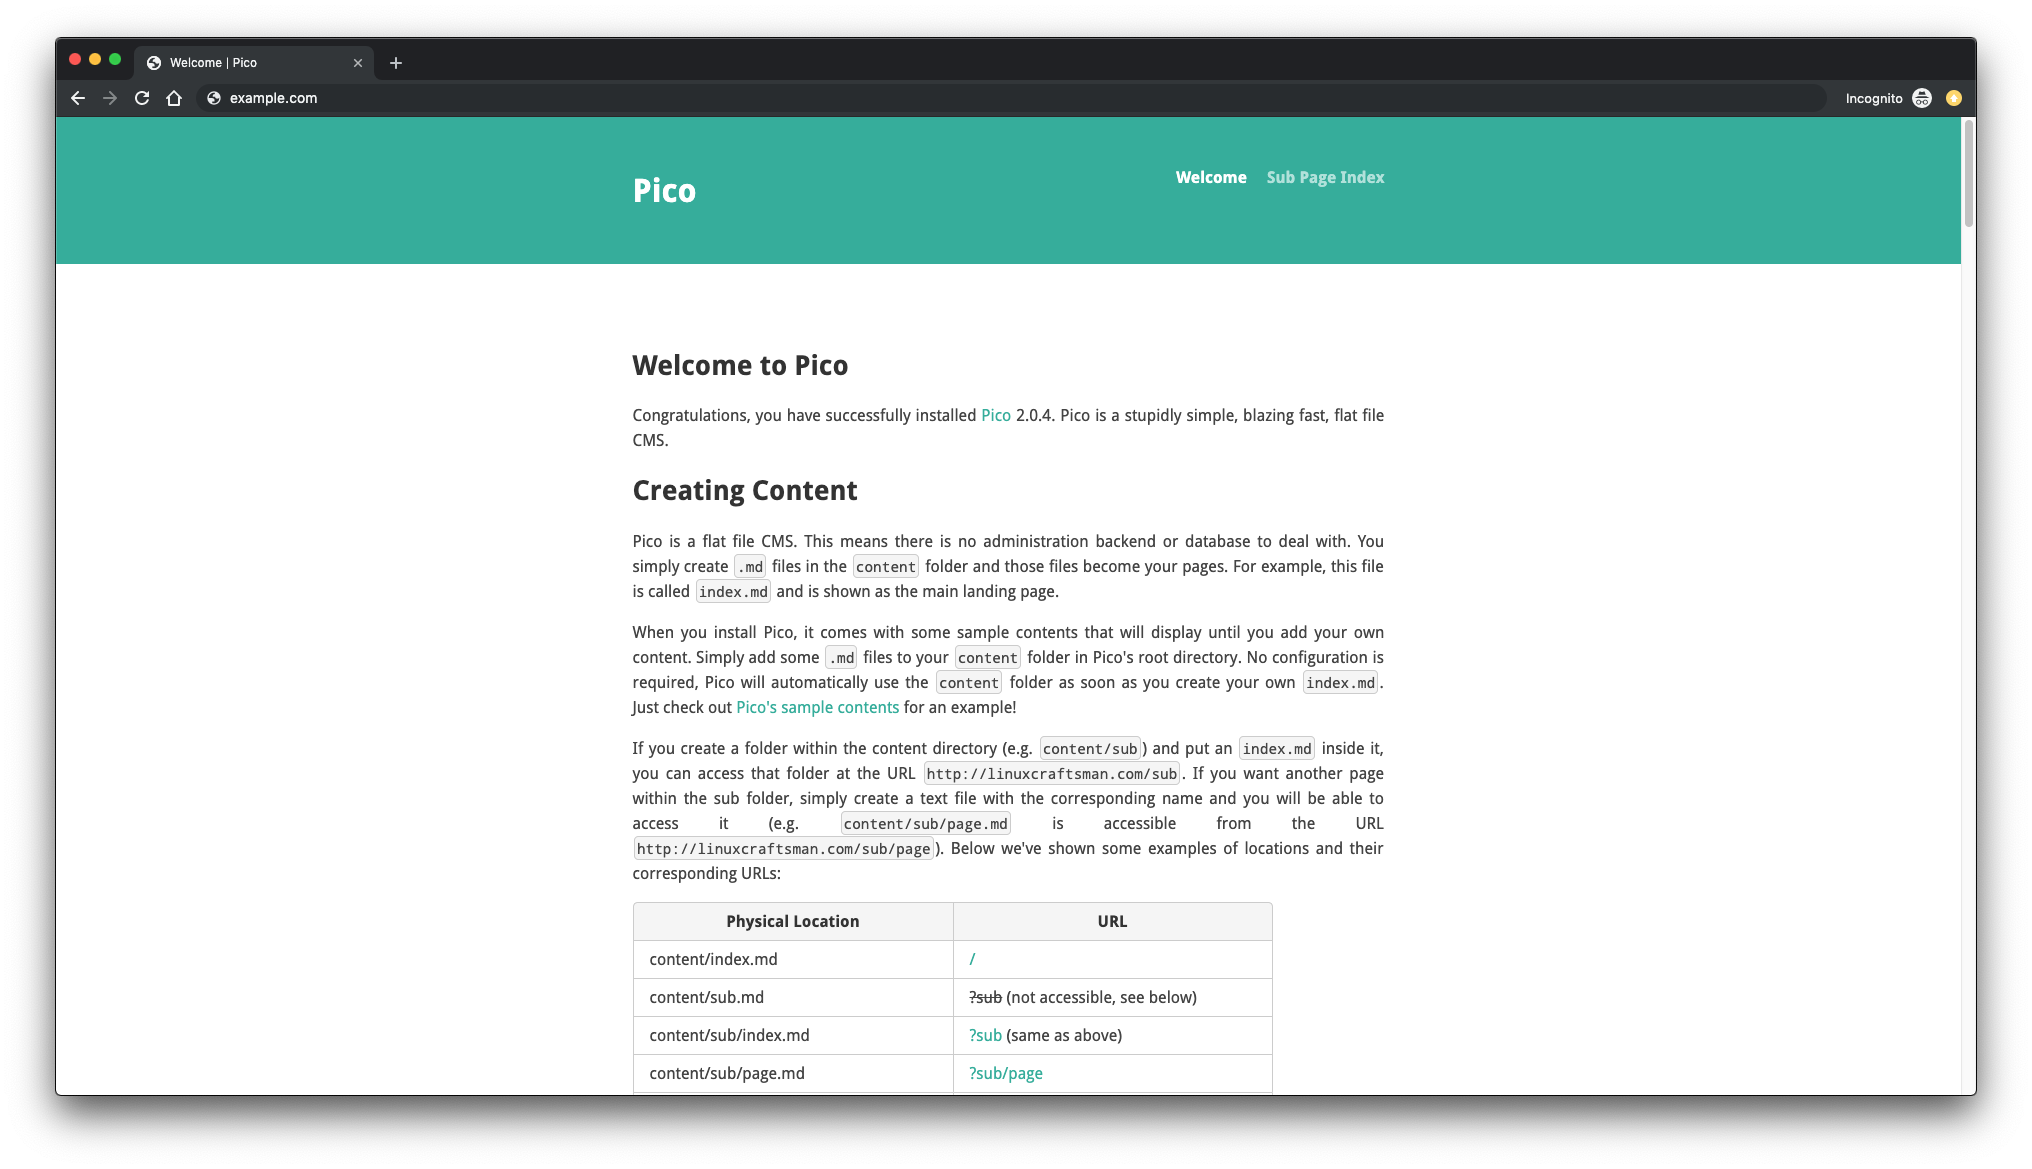
You have successfully installed Pico CMS on CentOS 7 server. You can now simply create your own content folder in Pico's root directory, create .md files in the content directory and those files become your pages.