How to Install FreeRADIUS and daloRADIUS on Ubuntu 18.04 LTS
This tutorial exists for these OS versions
- Ubuntu 20.04 (Focal Fossa)
- Ubuntu 18.04 (Bionic Beaver)
On this page
FreeRADIUS is a free and open-source client/server protocol that provides centralized network authentication on systems. It is a high-performance and feature-rich RADIUS server ships with both server and client, development libraries and RADIUS related utilities. RADIUS allows you to maintain user-profiles and track usage for billing from the central server. It provides support for various databases, including, OpenLDAP, MySQL, Redis, Microsoft AD, Apache Cassandra, PostgreSQL, etc.
daloRADIUS is a web-based application for managing RADIUS server. It is an advanced web-based application for managing hotspots and ISP deployments. It is written in PHP and JavaScript and supports MySQL, PostgreSQL, SQLite, MsSQL as a database backend. It comes with a rich set of features such as, Access Control Lists, graphical reporting, billing engine, graphical reporting, and accounting, create, delete and edit users, create, delete and edit HotSpot, Create, delete and edit NAS, and much more.
FreeRADIUS works as the back-end while daloRADIUS works as the front-end.
In this tutorial, I will explain step by step how to install FreeRADIUS server and Daloradius web client on Ubuntu 18.04 LTS.
Requirements
- A server running Ubuntu 18.04.
- A root password is set up on your server.
Getting Started
First, update your system's package to the latest version with the following command:
apt-get update -y
 apt-get upgrade -y
Once all the packages are updated, restart your system to apply all the configuration changes.
Install LAMP Server
First, you will need to install Apache, MariaDB, PHP and other required packages to your system. You can install all of them with the following command:
apt-get install apache2 mariadb-server php libapache2-mod-php php-mail php-mail-mime php-mysql php-gd php-common php-pear php-db php-mbstring php-xml php-curl unzip wget -y
Once all the packages are installed, you can proceed to the next step.
Configure Database for FreeRADIUS
By default, MariaDB is not secured. So you will need to secure it first. You can secure it with the following command:
mysql_secure_installation
Answer all the questions as shown below:
Enter current password for root (enter for none): Just press the Enter
Set root password? [Y/n]: Y
New password: Enter password
Re-enter new password: Repeat password
Remove anonymous users? [Y/n]: Y
Disallow root login remotely? [Y/n]: Y
Remove test database and access to it? [Y/n]:  Y
Reload privilege tables now? [Y/n]:  Y
Next, you will need to create a database and user for FreeRADIUS. To do so, log in to MariaDB shell with the following command:
mysql -u root -p
Enter your root password when prompt then create a database and user with the following command:
MariaDB [(none)]> CREATE DATABASE radiusdb;
 MariaDB [(none)]> GRANT ALL ON radiusdb.* TO radius@localhost IDENTIFIED BY "password";
Next, flush the privileges and exit from the MariaDB shell with the following command:
MariaDB [(none)]> FLUSH PRIVILEGES;
 MariaDB [(none)]> EXIT;
Once you have finished, you can proceed to the next step.
Install FreeRADIUS
By default, FreeRADIUS is available in the Ubuntu 18.04 default repository. You can install it with the following command:
apt-get install freeradius freeradius-mysql freeradius-utils
Once installed, import the freeradius MySQL database schema with the following command:
mysql -u root -p radiusdb < /etc/freeradius/3.0/mods-config/sql/main/mysql/schema.sql
Provide your radius database user password when prompt and hit Enter to import the database schema.
Next, you will need to create a symbolic link for sql module. You can do it with the following command:
ln -s /etc/freeradius/3.0/mods-available/sql /etc/freeradius/3.0/mods-enabled/
Next, log in to MariaDB shell and check the created tables with the following command:
mysql -u root -p
Enter your root password when prompt. Once login, change the database to radiusdb with the following command:
MariaDB [(none)]> use radiusdb;
Next, list the created tables using the following command:
MariaDB [radiusdb]> show tables;
You should see the following output:
+--------------------+
| Tables_in_radiusdb |
+--------------------+
| nas                |
| radacct            |
| radcheck           |
| radgroupcheck      |
| radgroupreply      |
| radpostauth        |
| radreply           |
| radusergroup       |
+--------------------+
Next, exit from the MariaDB shell with the following command:
MariaDB [radiusdb]> EXIT;
Next, you will need to define your database connection details in freeradius SQL module. You can do it by editing /etc/freeradius/3.0/mods-enabled/sql file:
nano /etc/freeradius/3.0/mods-enabled/sql
Make the following changes as per your database:
sql {
driver = "rlm_sql_mysql"
dialect = "mysql"

# Connection info:
server = "localhost"
port = 3306
login = "radius"
password = "password"

# Database table configuration for everything except Oracle
radius_db = "radiusdb"
}

read_clients = yes
client_table = "nas"
Save and close the file, when you are finished. Then, change the ownership of /etc/freeradius/3.0/mods-enabled/sql with the following command:
chgrp -h freerad /etc/freeradius/3.0/mods-available/sql
 chown -R freerad:freerad /etc/freeradius/3.0/mods-enabled/sql
Finally, restart freeradius service to apply all the configuration changes:
systemctl restart freeradius
You can also verify the freeradius status with the following command:
systemctl status freeradius
You should see the following output:
? freeradius.service - FreeRADIUS multi-protocol policy server
   Loaded: loaded (/lib/systemd/system/freeradius.service; disabled; vendor preset: enabled)
   Active: active (running) since Wed 2019-08-07 09:20:34 UTC; 14s ago
     Docs: man:radiusd(8)
           man:radiusd.conf(5)
           http://wiki.freeradius.org/
           http://networkradius.com/doc/
  Process: 45159 ExecStart=/usr/sbin/freeradius $FREERADIUS_OPTIONS (code=exited, status=0/SUCCESS)
  Process: 45143 ExecStartPre=/usr/sbin/freeradius $FREERADIUS_OPTIONS -Cxm -lstdout (code=exited, status=0/SUCCESS)
 Main PID: 45161 (freeradius)
    Tasks: 6 (limit: 4650)
   CGroup: /system.slice/freeradius.service
           ??45161 /usr/sbin/freeradius
Once you have finished, you can proceed to the next step.
Install daloRADIUS
Next, you will need to install daloRADIUS to manage FreeRADIUS from the web browser.
First, download the latest version of daloRADIUS from the Git repository with the following command:
wget https://github.com/lirantal/daloradius/archive/master.zip
Once downloaded, unzip the downloaded file with the following command:
unzip master.zip
Next, move the extracted directory to the Apache web root directory with the following command:
mv daloradius-master /var/www/html/daloradius
Next, import daloRADIUS mysql tables to radiusdb with the following command:
cd /var/www/html/daloradius
 mysql -u root -p radiusdb < contrib/db/fr2-mysql-daloradius-and-freeradius.sql
 mysql -u root -p radiusdb < contrib/db/mysql-daloradius.sql
Next, give proper permission to the daloradius directory with the following command:
chown -R www-data:www-data /var/www/html/daloradius/
 chmod 664 /var/www/html/daloradius/library/daloradius.conf.php
Next, open daloradius.conf.php file and define the database connection details:
nano /var/www/html/daloradius/library/daloradius.conf.php
Make the following changes that match your database:
$configValues['DALORADIUS_VERSION'] = '1.1-1';
$configValues['DALORADIUS_DATE'] = '28 Jul 2019';
$configValues['FREERADIUS_VERSION'] = '2';
$configValues['CONFIG_DB_ENGINE'] = 'mysqli';
$configValues['CONFIG_DB_HOST'] = 'localhost';
$configValues['CONFIG_DB_PORT'] = '3306';
$configValues['CONFIG_DB_USER'] = 'radius';
$configValues['CONFIG_DB_PASS'] = 'password';
$configValues['CONFIG_DB_NAME'] = 'radiusdb';
Save and close the file. Then, restart freeradius and apache service with the following command:
systemctl restart freeradius
 systemctl restart apache2
You can also check the status of Apache web service with the following command:
systemctl status apache2
You should see the following command:
? apache2.service - The Apache HTTP Server
   Loaded: loaded (/lib/systemd/system/apache2.service; enabled; vendor preset: enabled)
  Drop-In: /lib/systemd/system/apache2.service.d
           ??apache2-systemd.conf
   Active: active (running) since Wed 2019-08-07 09:25:56 UTC; 4min 25s ago
  Process: 45483 ExecStop=/usr/sbin/apachectl stop (code=exited, status=0/SUCCESS)
  Process: 45489 ExecStart=/usr/sbin/apachectl start (code=exited, status=0/SUCCESS)
 Main PID: 45505 (apache2)
    Tasks: 11 (limit: 4650)
   CGroup: /system.slice/apache2.service
           ??45505 /usr/sbin/apache2 -k start
           ??45510 /usr/sbin/apache2 -k start
           ??45511 /usr/sbin/apache2 -k start
           ??45512 /usr/sbin/apache2 -k start
           ??45513 /usr/sbin/apache2 -k start
           ??45517 /usr/sbin/apache2 -k start
           ??45519 /usr/sbin/apache2 -k start
           ??45520 /usr/sbin/apache2 -k start
           ??45521 /usr/sbin/apache2 -k start
           ??45527 /usr/sbin/apache2 -k start
           ??45528 /usr/sbin/apache2 -k start

Aug 07 09:25:55 openshift systemd[1]: Starting The Apache HTTP Server...
Aug 07 09:25:56 openshift systemd[1]: Started The Apache HTTP Server.
Once you have done, you can proceed to the next step.
Access daloRADIUS Web Interface
FreeRADIUS and daloRADIUS are now installed and configured. It's time to access daloRADIUS web interface. To access the web inetrface, open your web browser and type the URL http://your-server-ip/daloradius/login.php. You will be redirected to the daloRADIUS login page:
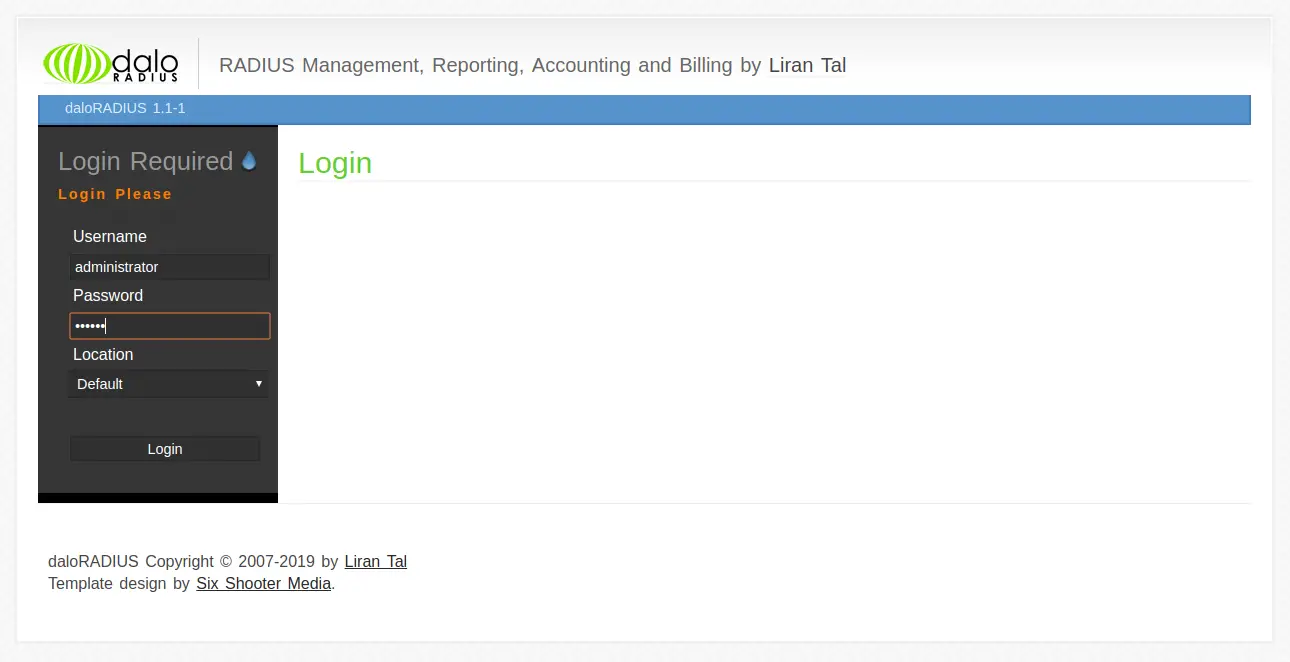
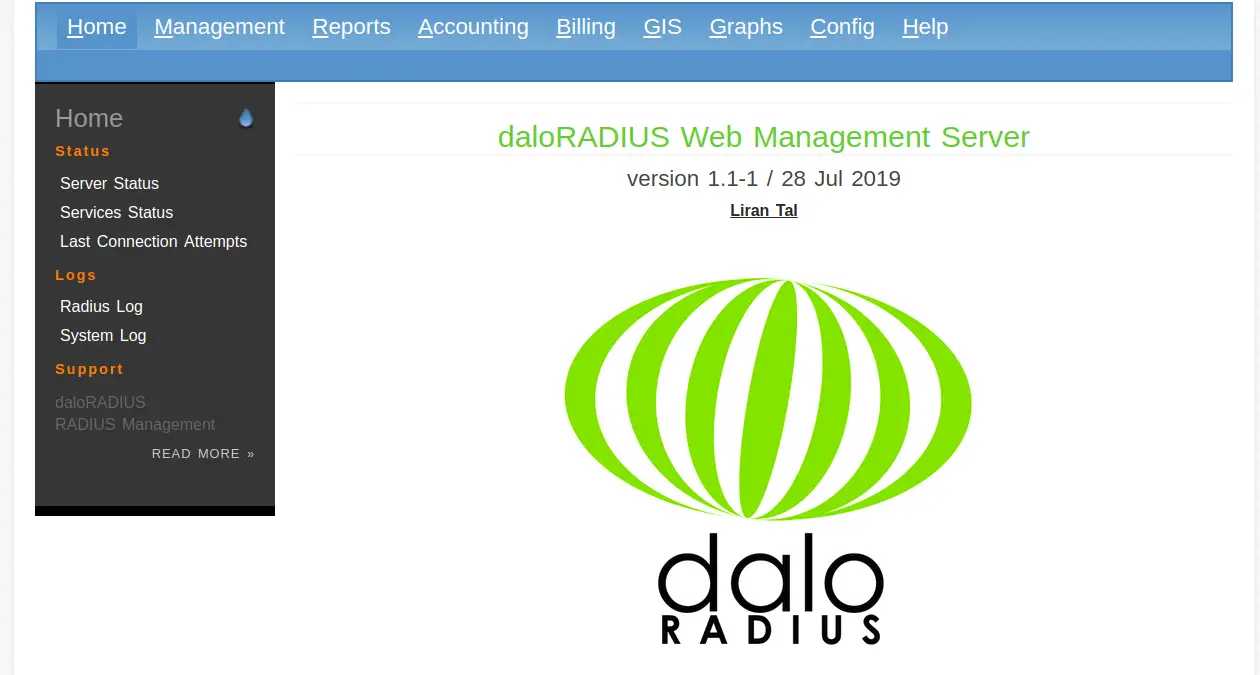
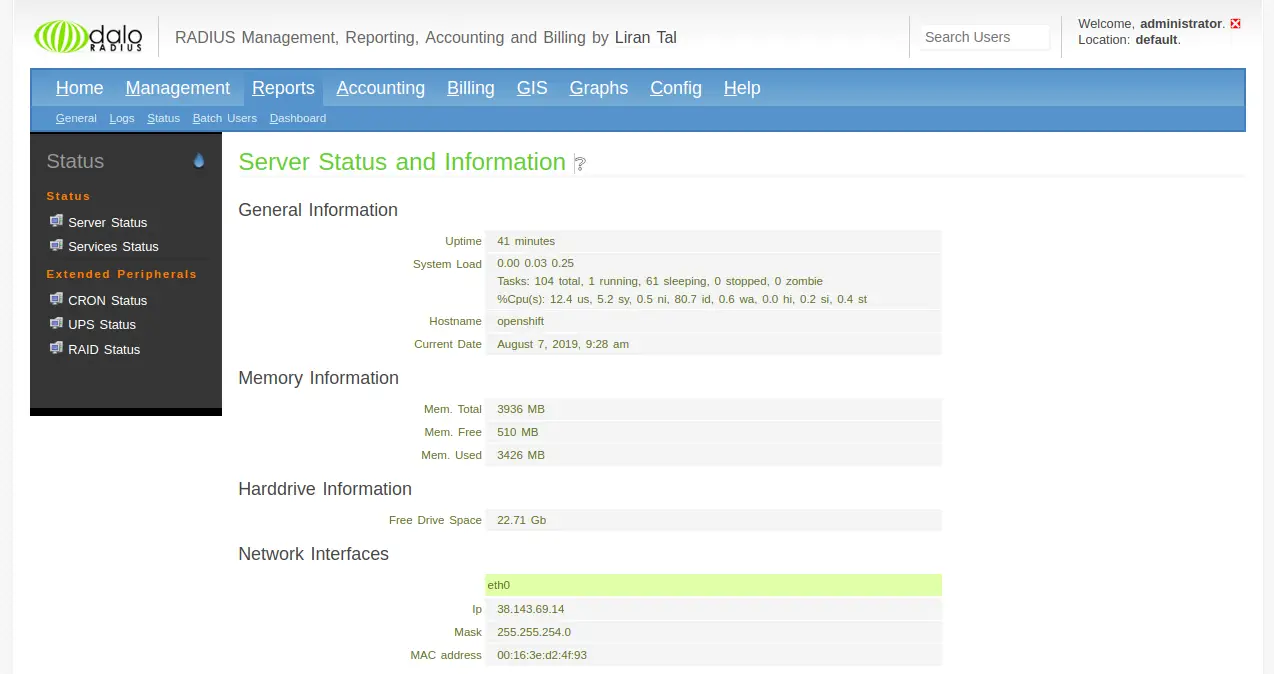
Now, provide default username and password as administrator / radius, and click on the Login button. You should see the daloRADIUS default dashboard in the following page:
Congratulations! you have successfully installed and configured FreeRADIUS and daloRADIUS on your Ubuntu 18.04 server. For more information, you can visit the official documentation at https://github.com/lirantal/daloradius. Feel free to ask me if you have any questions.

