How to Install GlassFish with Nginx as a Reverse Proxy on Debian 10
GlassFish is an open-source and world's first implementation of the Java Platform developed by Eclipse Foundation. It is a light-weight application server and supports different Java-based technologies like Enterprise JavaBeans, JPA, JavaServer Faces, JMS, and many more. GlassFish comes with a simple and easy to use administration console with an update tool for updates and add-on components.
In this tutorial, we will explain how to install GlassFish on Debian 10 with Nginx as a reverse proxy.
Requirements
- A server running Debian 10.
- A root password is setup to your server.
Getting Started
Before starting, you will need to update your system with the latest version. You can do this by running the following command:
apt-get update -y
 apt-get upgrade -y
Once your server is updated, restart your server to apply the changes.
Installing Java
GlassFish requires java version 8 to be installed on your server. So, you will need to remove the Java if you have any other Java version installed on your system.
You can remove the Java version 11 with the following command:
apt-get remove openjdk-11-jre-headless
Next, you will need to download the java version 8 from their official website. Once the download is completed, extract the downloaded file to the /usr/lib/jvm directory with the following command:
mkdir /usr/lib/jvm/
 tar -zxvf jdk-8u221-linux-x64.tar.gz -C /usr/lib/jvm/
Next, set the default Java version with the following command:
update-alternatives --install /usr/bin/java java /usr/lib/jvm/jdk1.8.0_221/bin/java 1
You should get the following output:
update-alternatives: using /usr/lib/jvm/jdk1.8.0_221/bin/java to provide /usr/bin/java (java) in auto mode
You can now check the java version with the following command:
java -version
You should see the following output:
java version "1.8.0_221"
Java(TM) SE Runtime Environment (build 1.8.0_221-b11)
Java HotSpot(TM) 64-Bit Server VM (build 25.221-b11, mixed mode)
Install GlassFish
First, install the required packages with the following command:
apt-get install wget unzip -y
Next, download the latest version of GlassFish with the following command:
wget http://download.oracle.com/glassfish/5.0.1/nightly/latest-glassfish.zip
Once the download has been completed, extract the downloaded file to the /opt directory using the following command:
unzip latest-glassfish.zip -d /opt/
Once you have done, you can proceed to the next step.
Create a GlassFish Service
Next, you can create a systemd service file to manage the GlassFish service. You can create it with the following command:
nano /etc/systemd/system/glassfish.service
Add the following content:
[Unit]
Description = GlassFish Server v5.0
After = syslog.target network.target

[Service]
ExecStart=/opt/glassfish5/bin/asadmin start-domain
ExecReload=/opt/glassfish5/bin/asadmin restart-domain
ExecStop=/opt/glassfish5/bin/asadmin stop-domain
Type = forking

[Install]
WantedBy = multi-user.target
Save and close the file. Then, reload the systemd daemon with the following command:
systemctl daemon-reload
Next, start the GlassFish service and enable it to start on boot with the following command:
systemctl start glassfish
 systemctl enable glassfish
You can now check the status of GlassFish service with the following command:
systemctl status glassfish
You should get the following output:
? glassfish.service - GlassFish Server v5.0
   Loaded: loaded (/etc/systemd/system/glassfish.service; disabled; vendor preset: enabled)
   Active: active (running) since Thu 2019-09-19 04:54:25 EDT; 42s ago
  Process: 15205 ExecStart=/opt/glassfish5/bin/asadmin start-domain (code=exited, status=0/SUCCESS)
 Main PID: 15217 (java)
    Tasks: 90 (limit: 1138)
   Memory: 271.7M
   CGroup: /system.slice/glassfish.service
           ??15217 /usr/lib/jvm/jdk1.8.0_221/bin/java -cp /opt/glassfish5/glassfish/modules/glassfish.jar -XX:+UnlockDiagnosticVMOptions -XX:Ne

Sep 19 04:53:42 debian systemd[1]: Starting GlassFish Server v5.0...
Sep 19 04:54:24 debian asadmin[15205]: Waiting for domain1 to start .................................
Sep 19 04:54:24 debian asadmin[15205]: Successfully started the domain : domain1
Sep 19 04:54:24 debian asadmin[15205]: domain  Location: /opt/glassfish5/glassfish/domains/domain1
Sep 19 04:54:24 debian asadmin[15205]: Log File: /opt/glassfish5/glassfish/domains/domain1/logs/server.log
Sep 19 04:54:24 debian asadmin[15205]: Admin Port: 4848
Sep 19 04:54:24 debian asadmin[15205]: Command start-domain executed successfully.
Sep 19 04:54:25 debian systemd[1]: Started GlassFish Server v5.0.
lines 1-18/18 (END)
Enable GlassFish Admin Console
By default, GlassFish admin console password is not set. So, you will need to update the admin password.
Run the following command to set the admin password:
/opt/glassfish5/bin/asadmin change-admin-password
Provide your desired password and press Enter. Once the password has been set, you should see the following output:
Enter admin user name [default: admin]>admin
Enter the admin password>
Enter the new admin password>
Enter the new admin password again>
Command change-admin-password executed successfully.
Next, you will need to enable the secure admin feature. You can do it with the following command:
/opt/glassfish5/bin/asadmin enable-secure-admin
Provide your admin username and password, and hit Enter to enable the secure admin as shown below:
Enter admin user name>  admin
Enter admin password for user "admin">
You must restart all running servers for the change in secure admin to take effect.
Command enable-secure-admin executed successfully.
Next, restart GlassFish service to apply the configurationchanges:
systemctl restart glassfish
Access GlassFish
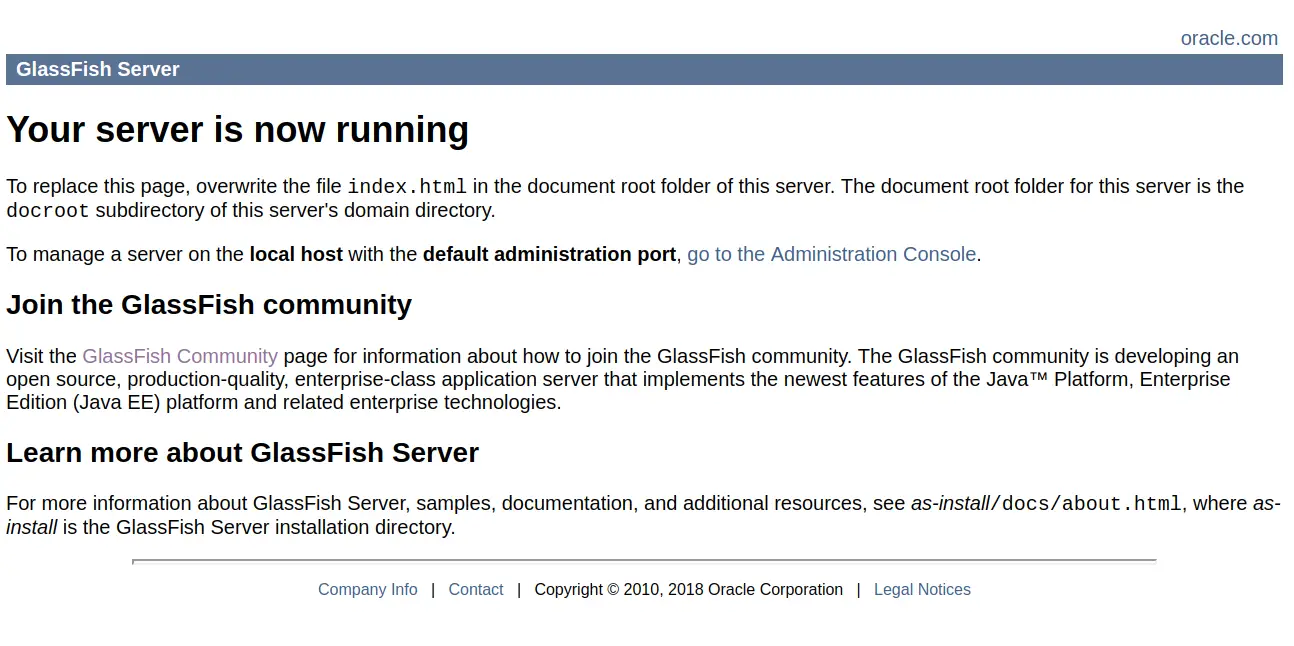
By default, GlassFish application runs on port 8080. You can access it by visiting the URL http://your-server-ip:8080. You should see the following page:
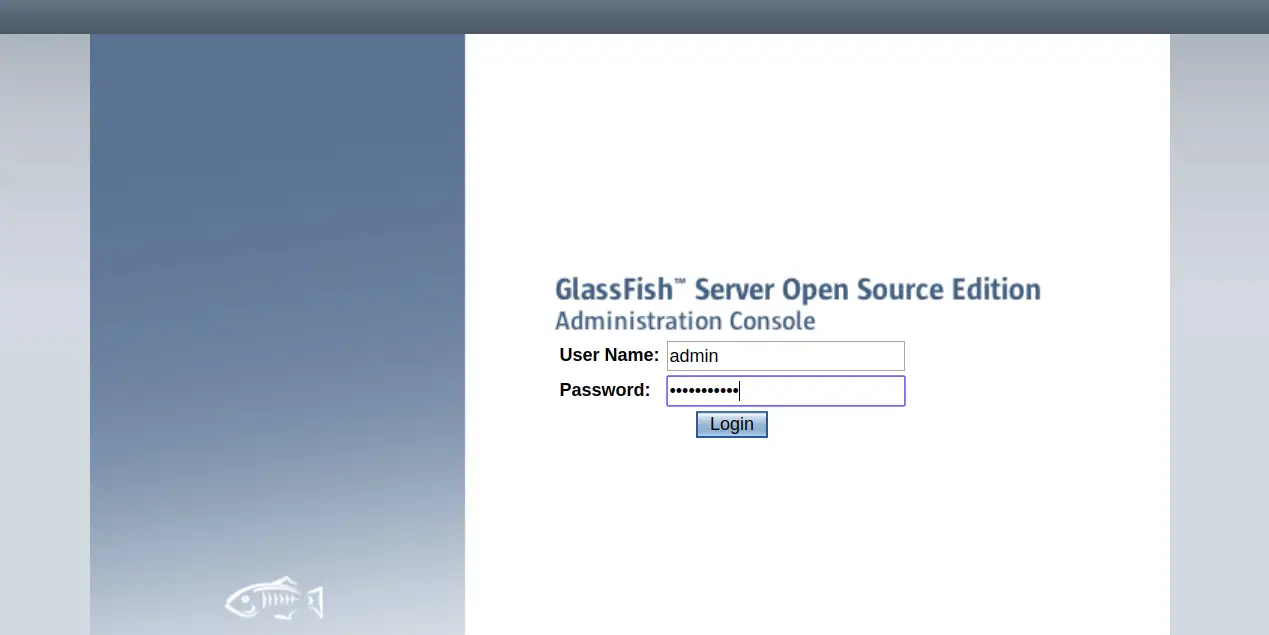
GlassFish admin console runs on port 4848. You can access it by visiting the URL http://your-server-ip:4848. You should see the GlassFish login page:
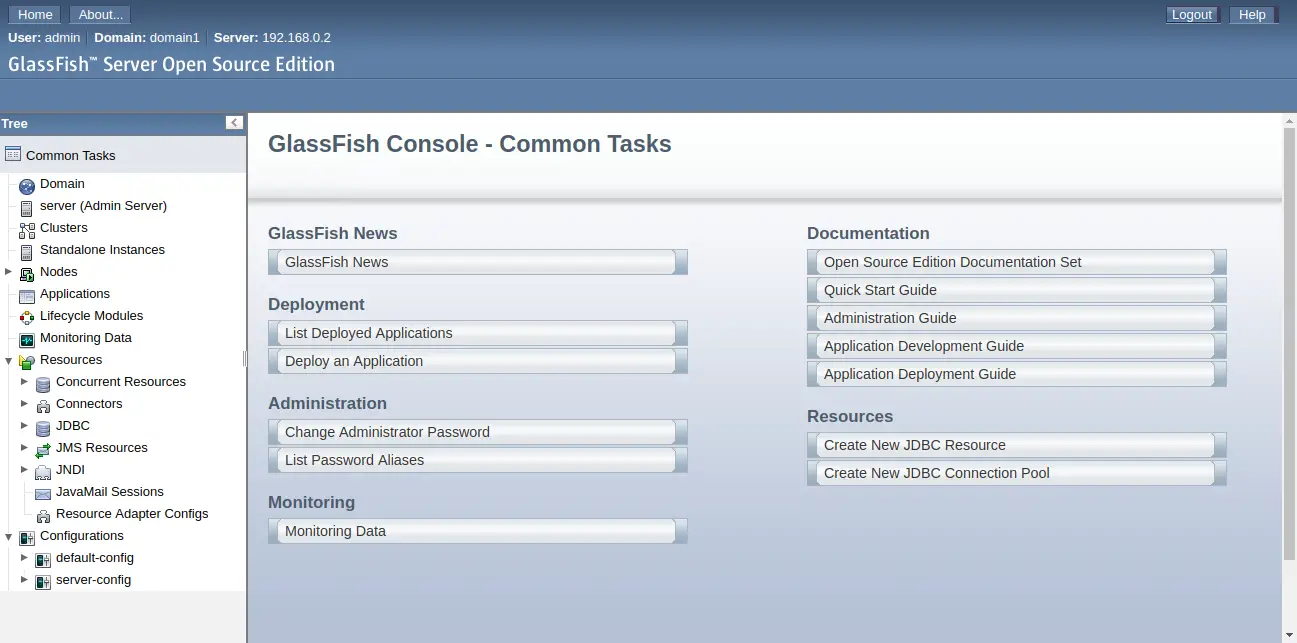
Provide your admin username and password, and click on the Login button. You should see the GlassFish admin console in the following screen:
Deploy Application on GlassFish
GlassFish is now installed and configured, it's time to deploy sample application on GlassFish.
First, download the hello.war application with the following command:
wget https://github.com/dmatej/Glassfish/raw/master/v2/www/downloads/quickstart/hello.war
Next, deploy the hello.war application with the following command:
/opt/glassfish5/bin/asadmin deploy hello.war
You should see the following output:
  Version: V3
  Subject: CN=localhost, OU=GlassFish, O=Oracle Corporation, L=Santa Clara, ST=California, C=US
  Signature Algorithm: SHA256withRSA, OID = 1.2.840.113549.1.1.11

  Key:  Sun RSA public key, 2048 bits
  modulus: 26796330640308027923768800042502020134808966576745098232029910481655545436468207928921434907495986430069072245547607053010428717755932187048623252153613041636091429700133899537566912806297788375081359516836091002133743138757261794690981737280330851500902934286405305506594303276580413684625941149729611614458782091187522283499926880436357851913036137048969953439207474630152049712806975982901461106170366207997764866053158318707816771263261147284707875045634066423002500565550480728681743613266266732299458152358213914375115269066441015633123820868476095174900081535873996509058837674720310526766610294764426209317187
  public exponent: 65537
  Validity: [From: Tue Jan 15 21:17:50 EST 2019,
               To: Fri Jan 12 21:17:50 EST 2029]
  Issuer: CN=localhost, OU=GlassFish, O=Oracle Corporation, L=Santa Clara, ST=California, C=US
  SerialNumber: [    3347569f]

Certificate Extensions: 1
[1]: ObjectId: 2.5.29.14 Criticality=false
SubjectKeyIdentifier [
KeyIdentifier [
0000: F2 F1 22 14 40 CA 9E 1D   92 3B B6 B9 09 D1 27 E7  ..".@....;....'.
0010: 50 1A 37 4D                                        P.7M
]
]

]
  Algorithm: [SHA256withRSA]
  Signature:
0000: C7 CB 91 D4 9B 39 21 13   B3 48 87 09 85 2E DF B7  .....9!..H......
0010: F9 E7 52 1B 39 D0 12 55   97 A8 02 8D B9 EC 26 F0  ..R.9..U......&.
0020: A6 8F 29 5B 96 80 71 AA   CB C8 EA 83 4F 18 E7 19  ..)[..q.....O...
0030: 26 CF BF 72 B1 E6 23 53   F2 14 CD BA 68 FE 4B 4C  &..r..#S....h.KL
0040: BB B1 3E DE D9 EB 6D 96   8C 8F 0D 33 B6 E7 28 F1  ..>...m....3..(.
0050: D5 40 6B BC 01 FF F9 5A   79 9A 96 DA D9 2A 84 99  [email protected]....*..
0060: FA 3A 7A 9D 52 6C C2 D5   E9 DC 98 8B 20 EF 69 99  .:z.Rl...... .i.
0070: E6 FC 1B 0F CA B2 0C 66   BE BB A7 EA 3D DB BB F5  .......f....=...
0080: 88 F1 B4 B1 15 74 FA 9F   E0 9A 98 C5 12 A0 60 B4  .....t........`.
0090: 9B 92 19 FD BA 81 20 7F   51 83 E9 22 56 96 9A 40  ...... .Q.."V..@
00A0: 2C 27 BB 86 57 7D 2E E9   C5 98 1A 04 A2 C5 FC 17  ,'..W...........
00B0: 6E 8B 31 79 29 A0 A1 22   1A 31 C0 A6 96 7A D4 80  n.1y)..".1...z..
00C0: 3F 05 26 BB DE D1 2D 74   01 1F 24 EC CE 3B 97 42  ?.&...-t..$..;.B
00D0: 16 E8 16 F1 A4 10 92 0B   8E A5 18 59 BF AA 69 B0  ...........Y..i.
00E0: DB C8 C2 66 5F 5D 2F 3D   4B C7 90 1D C2 24 B1 57  ...f_]/=K....$.W
00F0: 22 02 DA 76 FF 2E B7 C5   E4 E6 50 BD 73 36 AA 8A  "..v......P.s6..

]
Do you trust the above certificate [y|N] -->y
Enter admin user name>  admin
Enter admin password for user "admin">
Application deployed with name hello.
Command deploy executed successfully.
To access your application, open your web browser and type the URL http://your-server-ip:8080/hello. You will be redirected to the following page:

Configure Nginx as a Reverse Proxy
Now, you will need to configure Nginx as a reverse proxy to proxy request comming on port 80 to 8080.
First, install Nginx with the following command:
apt-get install nginx -y
Once the nginx has been installed, create an Nginx virtual host file for GlassFish with the following command:
nano /etc/nginx/sites-available/glassfish.conf
Add the following lines:
upstream glassfish {
  server 127.0.0.1:8080 weight=100 max_fails=5 fail_timeout=5;
}

server {
  listen          80;
  server_name     example.com;

  location / {
        proxy_set_header X-Forwarded-Host $host;
        proxy_set_header X-Forwarded-Server $host;
        proxy_set_header X-Forwarded-For $proxy_add_x_forwarded_for;
        proxy_pass http://glassfish/hello/;
  }
}
Save and close the file. Then, check Nginx for any syntax error with the following command:
nginx -t
You should get the following output:
nginx: the configuration file /etc/nginx/nginx.conf syntax is ok
nginx: configuration file /etc/nginx/nginx.conf test is successful
Next, enable the Nginx virtual host and restart Nginx service with the following command:
ln -s /etc/nginx/sites-available/glassfish.conf /etc/nginx/sites-enabled/
 systemctl restart nginx
Now, you can access your application by visiting the URL http://example.com.
Congratulations! you have successfully installed GlassFish with Nginx as a reverse proxy on Debian 10. You can now deploy any Java-based application on your server easily.

