How to Install Icinga 2 Monitoring Software on Debian 10
This tutorial exists for these OS versions
- Debian 12 (Bookworm)
- Debian 11 (Bullseye)
- Debian 10 (Buster)
- Debian 9 (Stretch)
On this page
Icinga 2 is a free, open-source and most widely used monitoring system that can be used to monitor the health of networked hosts and services. With Icinga 2 you can monitor CPU load, Memory usage, Disk usage, IMAP, POP3, SMTP, HTTP, Routers, Switches and many more. Icinga 2 can be installed on all major operating systems including, Debian, Ubuntu, CentOS, RHEL, FreeBSD, Fedora, ArchLinux and many more.
In this tutorial, we will learn how to install and configured Icinga 2 and Icinga Web 2 on Debian 10.
Requirements
- A server running Debian 10.
- A static IP address is configured on your server.
- A root password is configured on your server.
Getting Started
First, it is recommended to update your system with the latest version. You can do it by running the following command:
apt-get update -y
 apt-get upgrade -y
Once your system is updated, restart it to apply the changes.
Install Apache and PHP
Before starting, you will need to install Apache web server, PHP and other PHP modules to your system. You can install all of them with the following command:
apt-get install apache2 libapache2-mod-php php php-common php-curl php-gd php-curl php-dom php-mysql php-intl php-imagick -y
Once all the packages are installed, open php.ini file and tweak some settings with the following command:
nano /etc/php/7.3/apache2/php.ini
Change the following lines:
memory_limit = 256M
file_uploads = On
allow_url_fopen = On
allow_url_include = Off
post_max_size 64M
upload_max_filesize = 100M
max_execution_time = 300
default_charset = "UTF-8"
date.timezone = "Asia/Kolkata"
Save and close the file, when you are finished. Then, restart Apache service to apply the changes:
systemctl restart apache2
Once you have finished, you can proceed to the next step.
Install Icinga2
By default, Icinga2 is available in the Debian 10 default repository. You can install it with other required tools by running the following command:
apt-get install icinga2 vim-icinga2 monitoring-plugins-basic monitoring-plugins-common icingacli -y
Once all the packages are installed, start Icinga2 service and enable it to start after system reboot with the following command:
systemctl start icinga2
 systemctl enable icinga2
You can also check the status of Icinga2 with the following command:
systemctl status icinga2.service
You should get the following output:
? icinga2.service - Icinga host/service/network monitoring system
   Loaded: loaded (/lib/systemd/system/icinga2.service; enabled; vendor preset: enabled)
   Active: active (running) since Sat 2019-09-28 06:01:32 EDT; 28s ago
     Docs: https://icinga.com/docs/icinga2/latest/
 Main PID: 1619 (icinga2)
    Tasks: 15 (limit: 1138)
   Memory: 64.6M
   CGroup: /system.slice/icinga2.service
           ??1619 /usr/lib/x86_64-linux-gnu/icinga2/sbin/icinga2 --no-stack-rlimit daemon -e
           ??1651 /usr/lib/x86_64-linux-gnu/icinga2/sbin/icinga2 --no-stack-rlimit daemon -e
           ??3060 /usr/lib/nagios/plugins/check_apt
           ??3061 /usr/bin/apt-get -o Debug::NoLocking=true -s -qq upgrade

Sep 28 06:01:32 debian icinga2[1619]: [2019-09-28 06:01:32 -0400] information/ConfigItem: Instantiated 1 Endpoint.
Sep 28 06:01:32 debian icinga2[1619]: [2019-09-28 06:01:32 -0400] information/ConfigItem: Instantiated 1 FileLogger.
Sep 28 06:01:32 debian icinga2[1619]: [2019-09-28 06:01:32 -0400] information/ConfigItem: Instantiated 215 CheckCommands.
Sep 28 06:01:32 debian icinga2[1619]: [2019-09-28 06:01:32 -0400] information/ScriptGlobal: Dumping variables to file '/var/cache/icinga2/icing
Sep 28 06:01:32 debian icinga2[1619]: [2019-09-28 06:01:32 -0400] information/ConfigItem: Triggering Start signal for config items
Sep 28 06:01:32 debian icinga2[1619]: [2019-09-28 06:01:32 -0400] information/FileLogger: 'main-log' started.
Sep 28 06:01:32 debian icinga2[1619]: [2019-09-28 06:01:32 -0400] information/NotificationComponent: 'notification' started.
Sep 28 06:01:32 debian icinga2[1619]: [2019-09-28 06:01:32 -0400] information/CheckerComponent: 'checker' started.
Sep 28 06:01:32 debian icinga2[1619]: [2019-09-28 06:01:32 -0400] information/ConfigItem: Activated all objects.
Sep 28 06:01:32 debian systemd[1]: Started Icinga host/service/network monitoring system.
Once you have finished, you can proceed to the next step.
Install and Configure MariaDB and IDO Modules
Next, you will need to install MariaDB server and IDO modules on your system. You can install them by running the following command:
apt-get install mariadb-common mariadb-server icinga2-ido-mysql
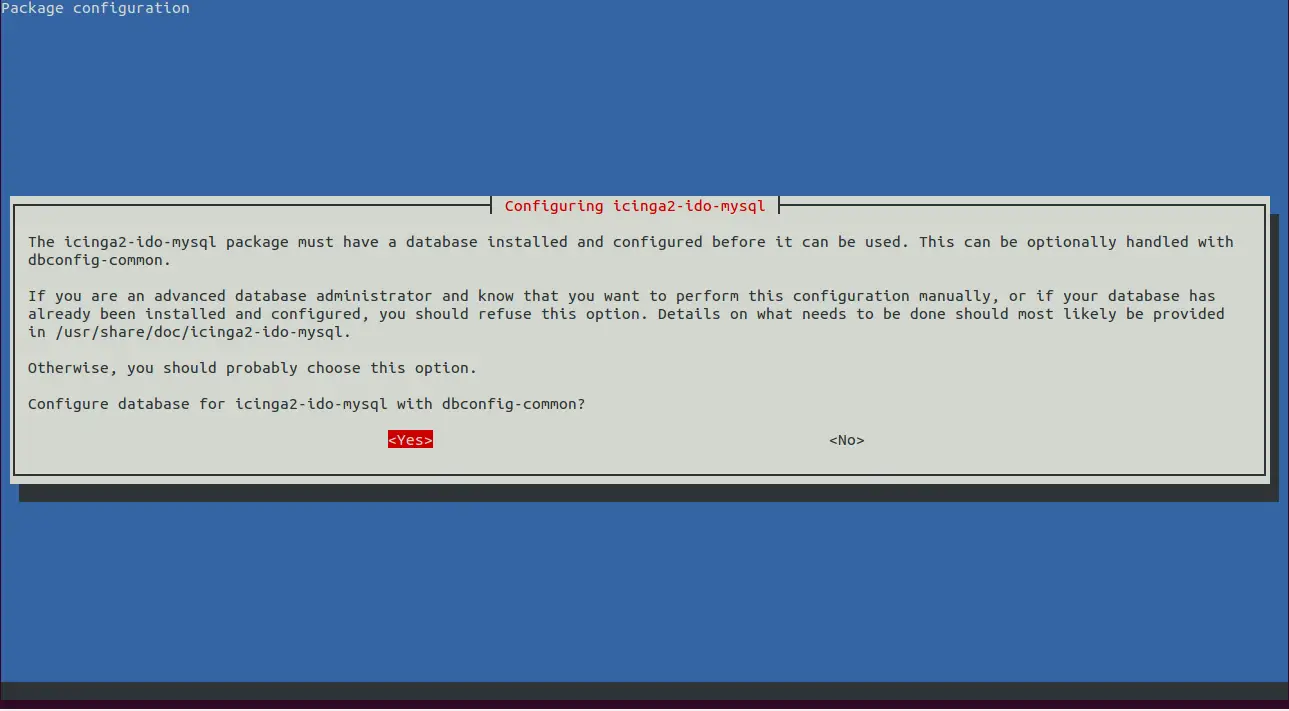
During the installation process, you will be prompt to enable Icinga2's ido-mysql feature as shown in the following screen.

Select yes and hit enter. You will be prompt to configure the database for icinga2-ido-mysql with dbconfig-common as shown in the following screen.
Select yes and hit enter. You will be prompt to provide MySQL application password for icinga2-ido-mysql
as shown in the following screen.
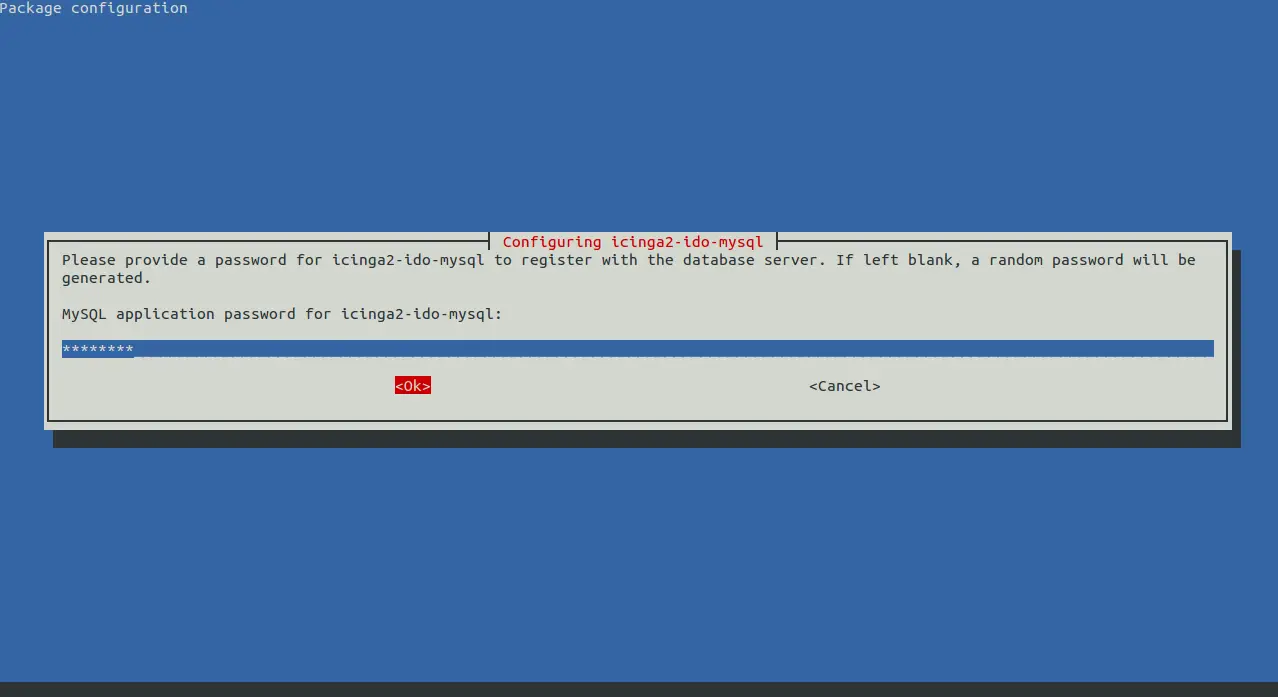
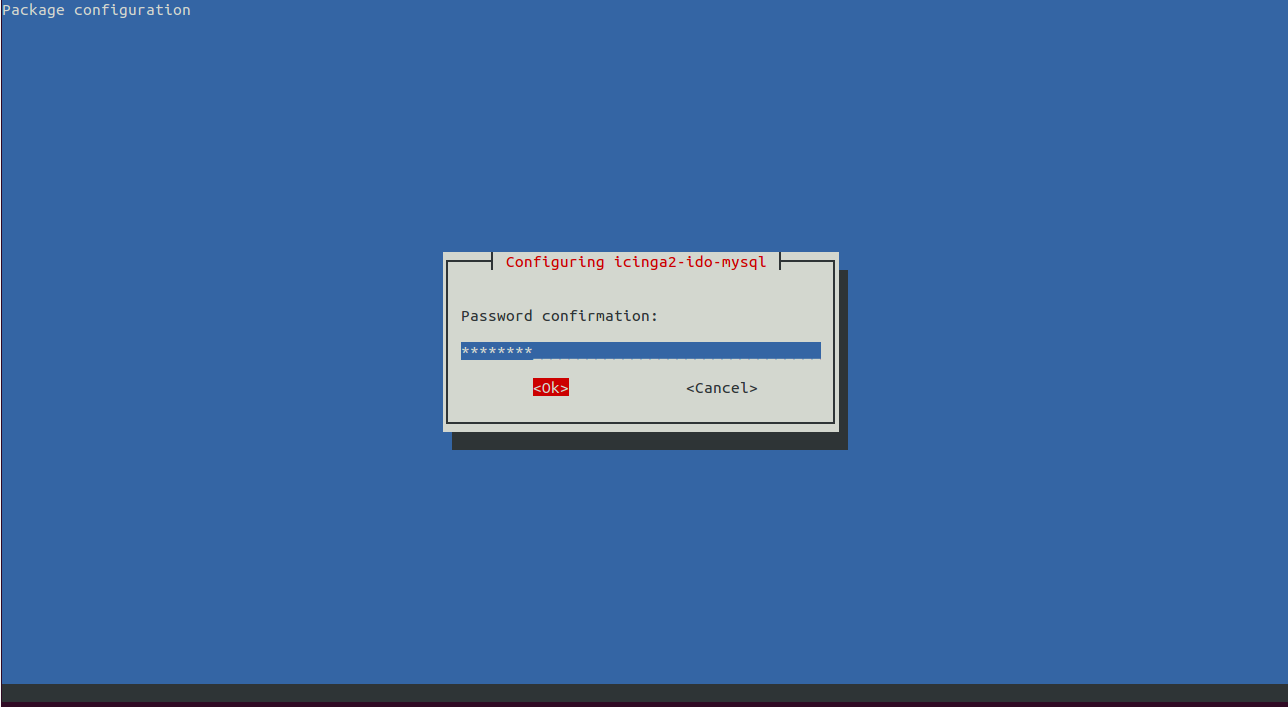
Provide your desired password and click Ok button to finish the installation.
Next, you will need to create a database and user for Icinga web 2. First, log in to MariaDB shell with the following command:
mysql -u root -p
Provide your root password and create a database and user for Icinga web 2 with the following command:
MariaDB [(none)]> CREATE DATABASE icingaweb2;
 MariaDB [(none)]> GRANT ALL PRIVILEGES ON icingaweb2.* TO 'icingaweb2'@'localhost' IDENTIFIED BY 'password';
Next, flush the privileges and exit from the MariaDB shell with the following command:
MariaDB [(none)]> FLUSH PRIVILEGES;
 MariaDB [(none)]> EXIT;
Once you have finished, you can proceed to the next step.
Install Icinga Web 2
Icinga Web 2 is a PHP-based application framework that can be used to manage Icinga2 through web browser. You can install it by just running the following command:
apt-get install icingaweb2 -y
Once installed, create a system group for Icinga web 2 and add www-data user to this group so that Apache can have access to the files:
addgroup --system icingaweb2
 usermod -a -G icingaweb2 www-data
Next, you will need to generate a new setup token for Icinga Web 2. You can set up it with the following command:
icingacli setup config directory --group icingaweb2
 icingacli setup token create
You should see the following output:
36ab602342cceb9c
Note: Please remember this token. You will need to require this token during the Icinga web 2 setups.
Finally, restart the Apache and Icinga2 service to apply all the configuration changes:
systemctl restart apache2
 systemctl restart icinga2
Access Icinga Web 2
Icinga2 and Icinga Web 2 is now installed and configured. It's time to setup Icinga web 2.
Open your web browser and type the URL http://your-ip-address/icingaweb2/setup. You will be redirected to the following page:
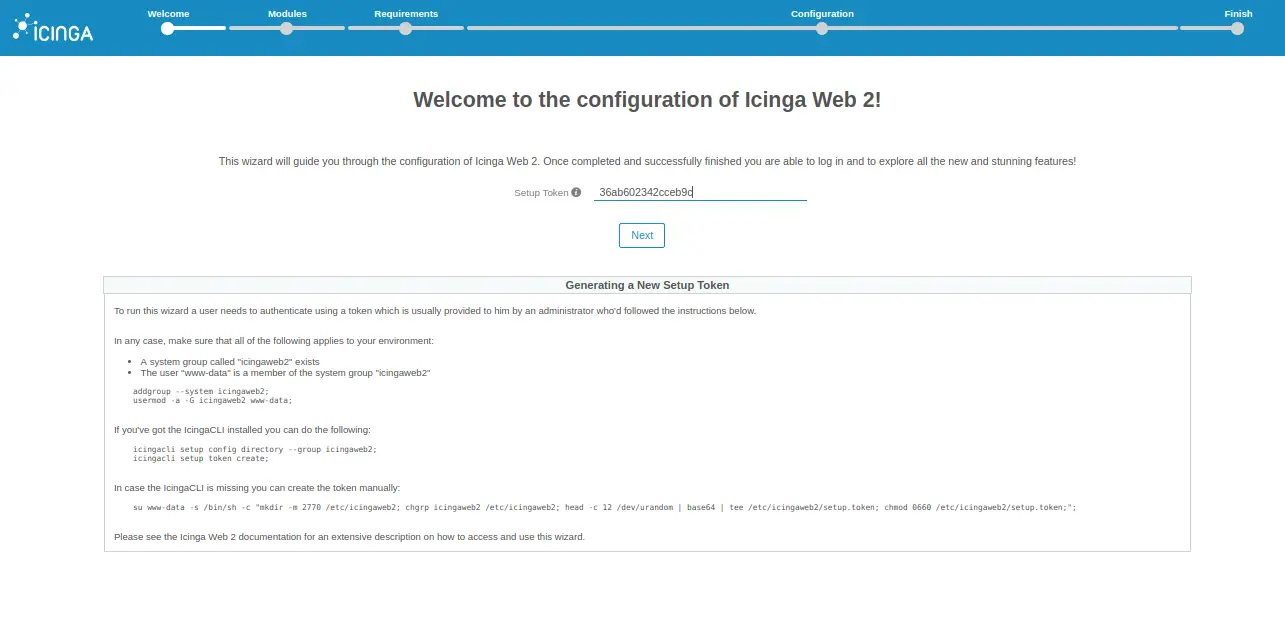
Provide Icinga web 2 setup token which you have generated earlier and click on the Next button. You should see the following page:
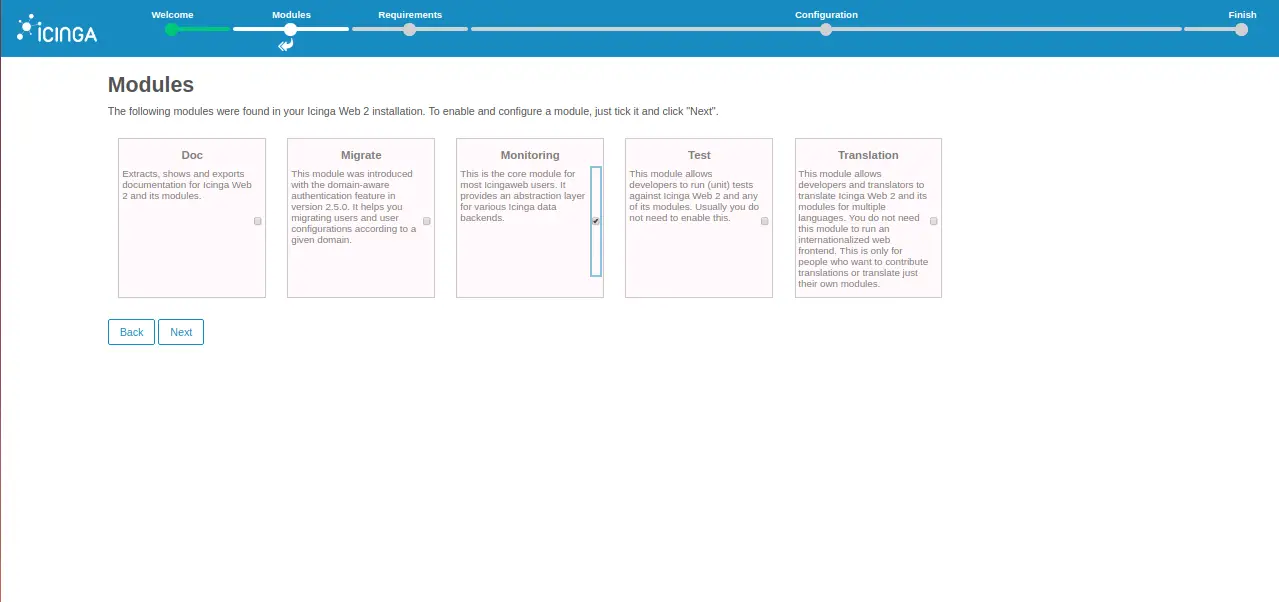
Now, select your desired module and click on the Next button. You should see the following page:
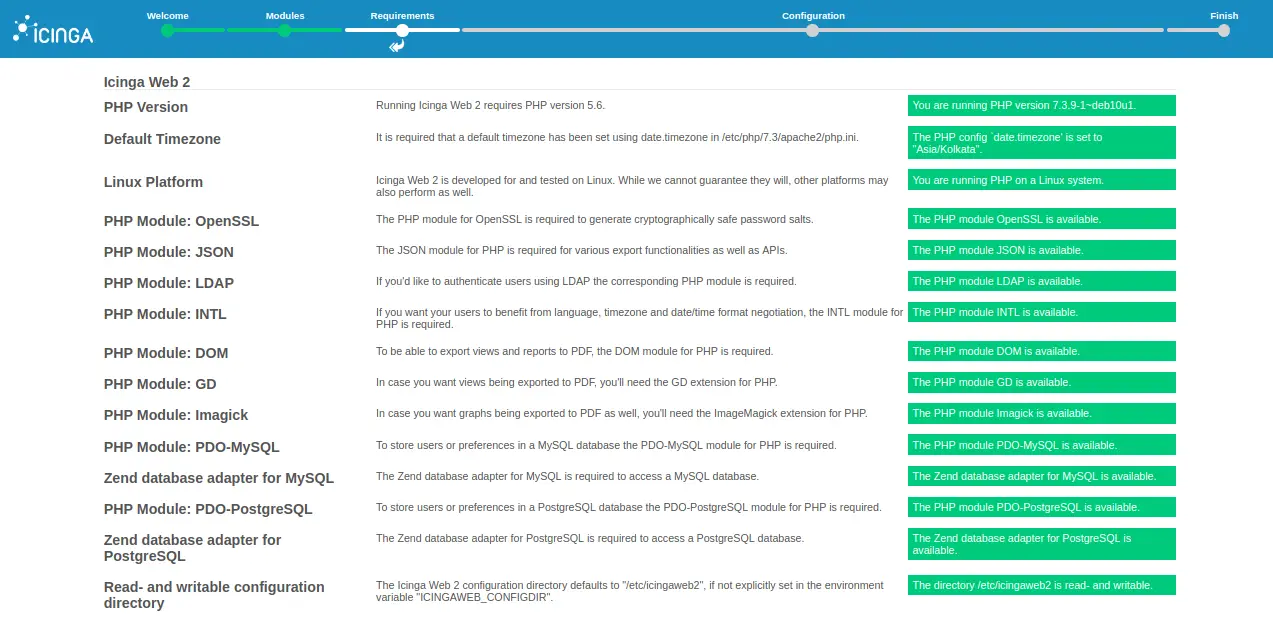
Make sure all the required PHP modules are installed. Then, click on the Next button. You should see the following page:

Select Authentication type as Database and click on the Next button. You should see the following page:
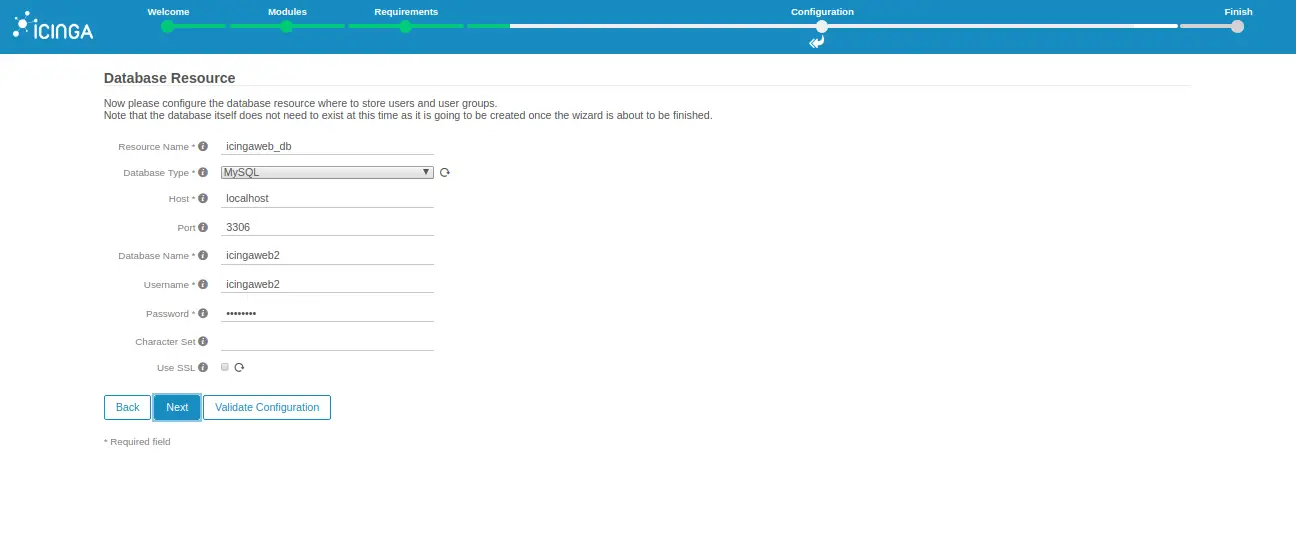
Provide your database details like, database name, database username, password and click on the Next button. You should see the following page:
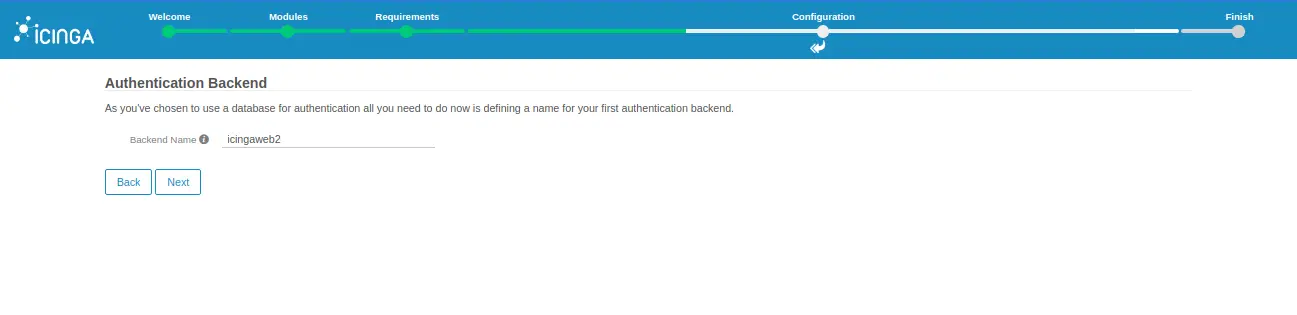
Provide your backend name and click on the Next button. You should see the following page:
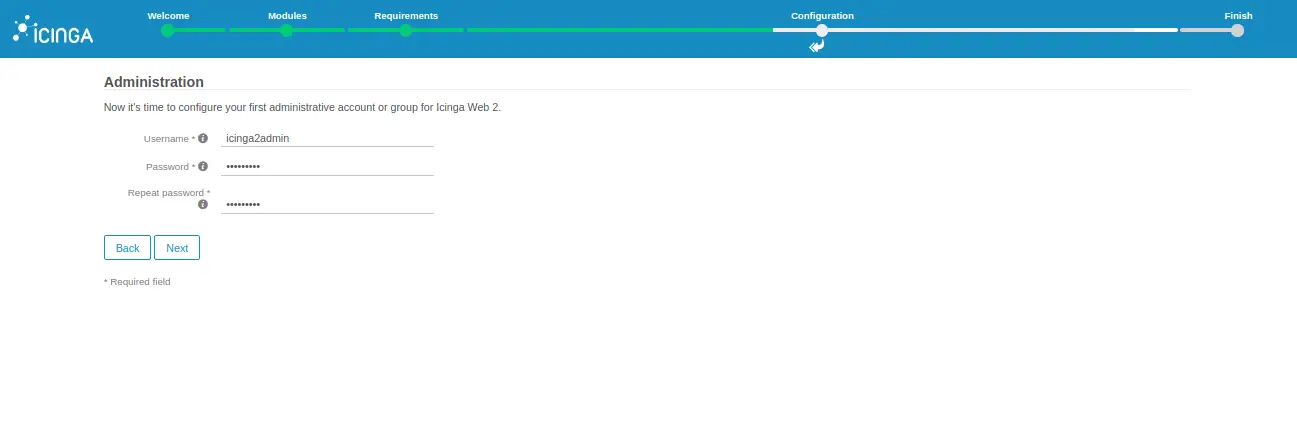
Create your Icingaweb2 admin user and click on the Next button. You should see the following page:
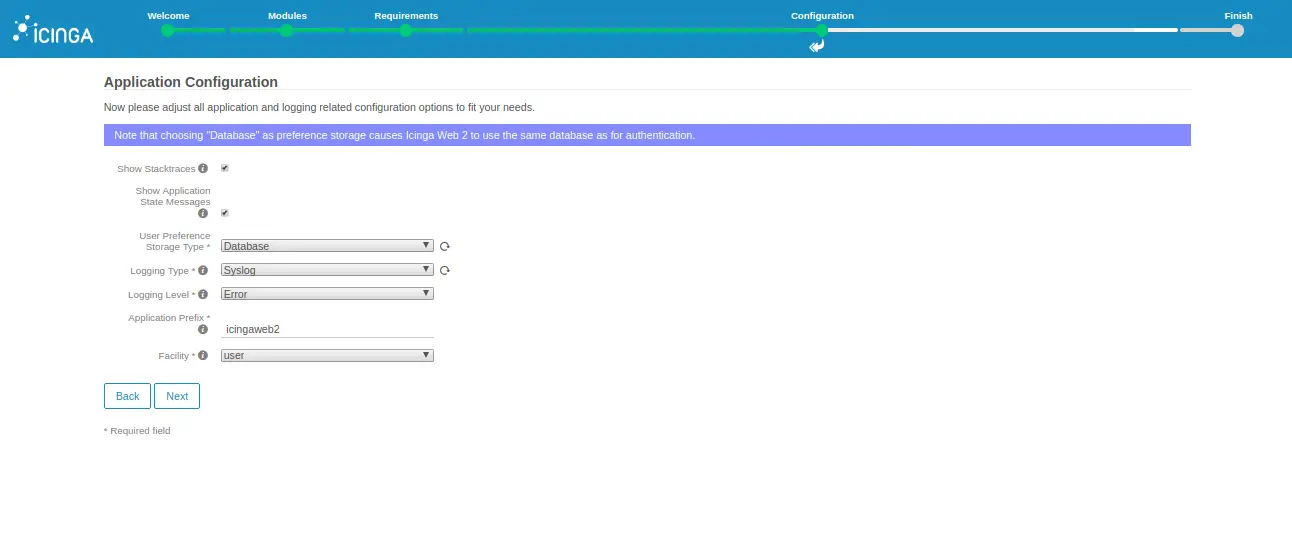
Click on the Next button. You should see the following page:
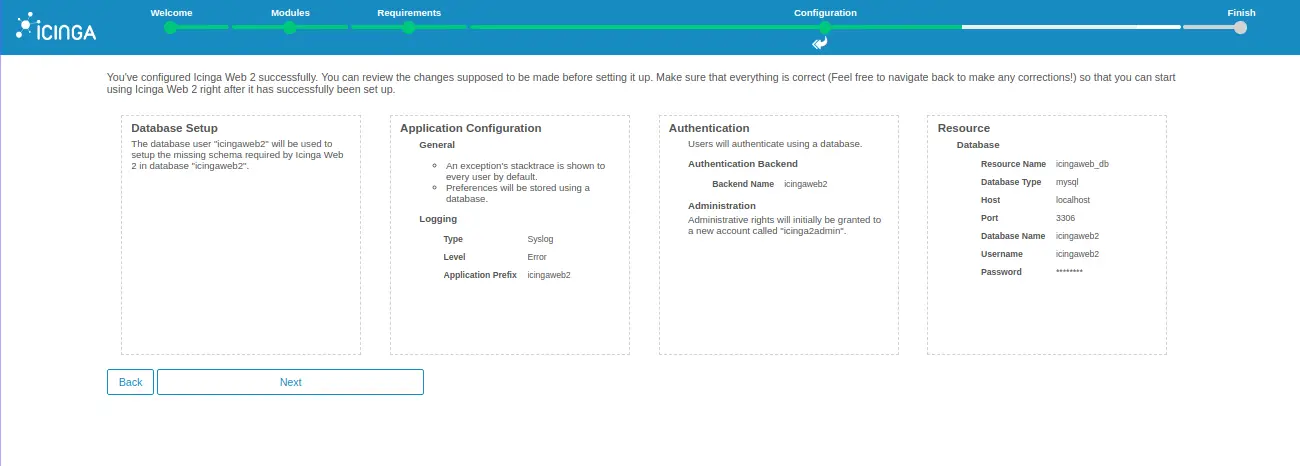
Review all the changes you have made and click on the Next button. You should see the following page:
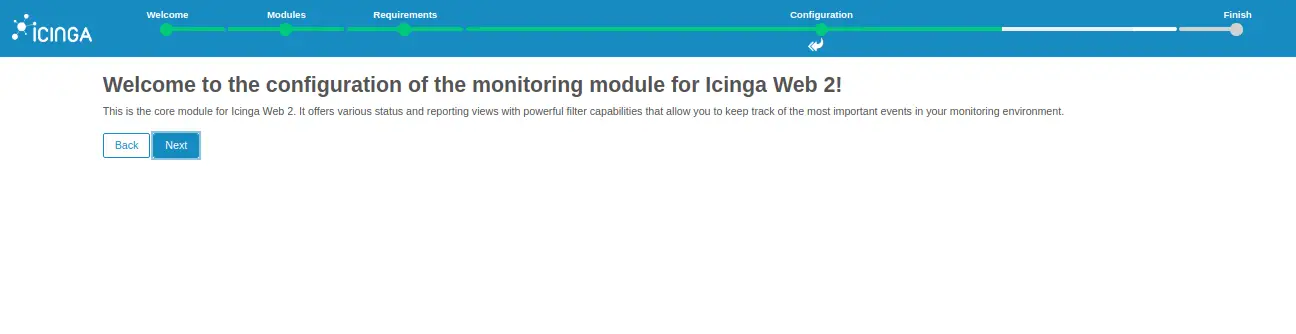
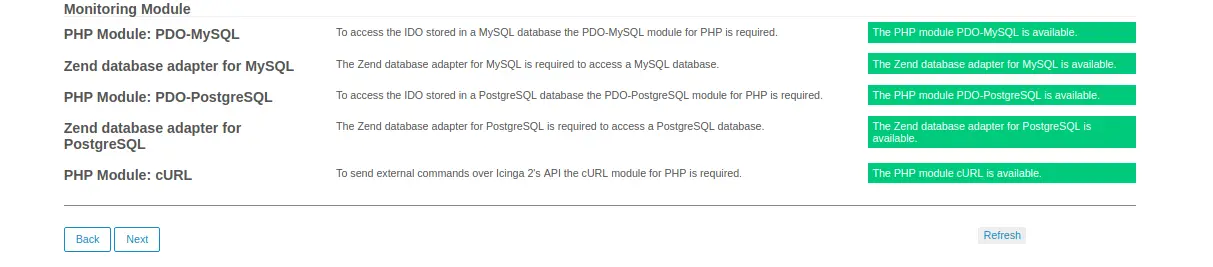
Click on the Next button to configure the monitoring module. You should see the following page:
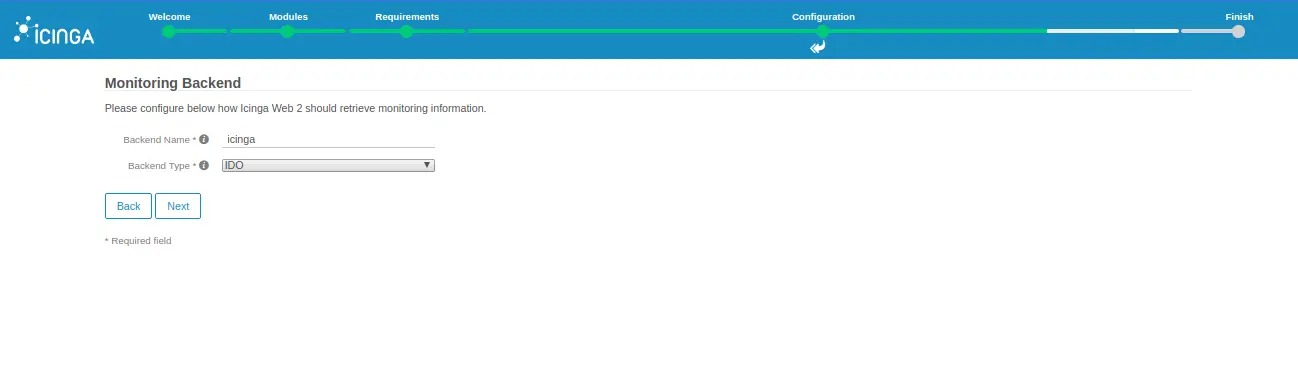
Provide your backend name and backend type, and click on the Next button. You should see the following page:
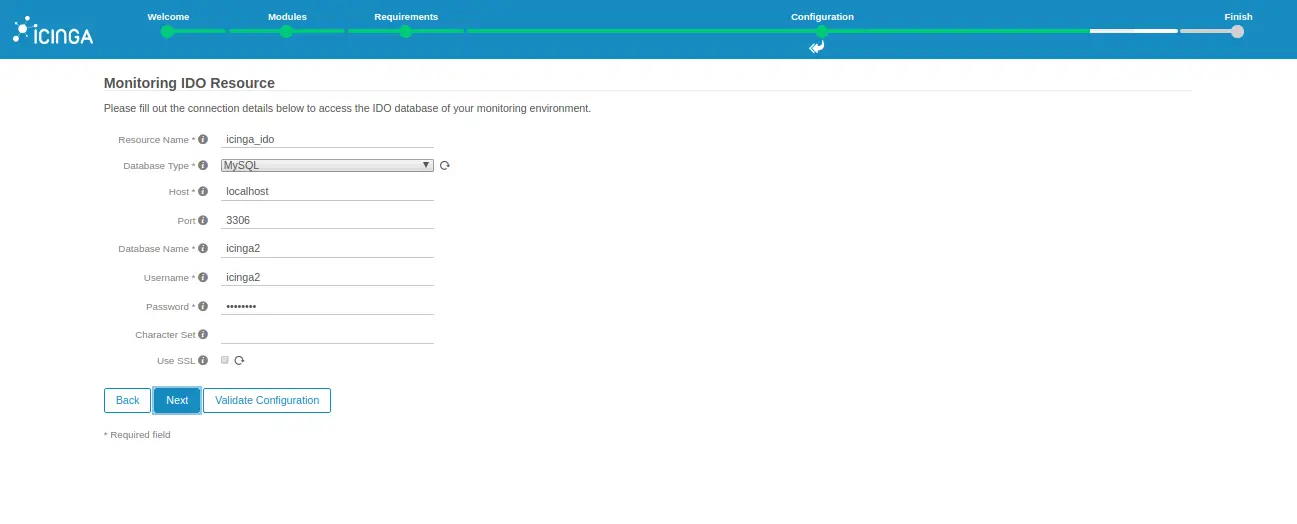
Provide your database details which you have created during the IDO installation and click on the Next button. You should see the following page:
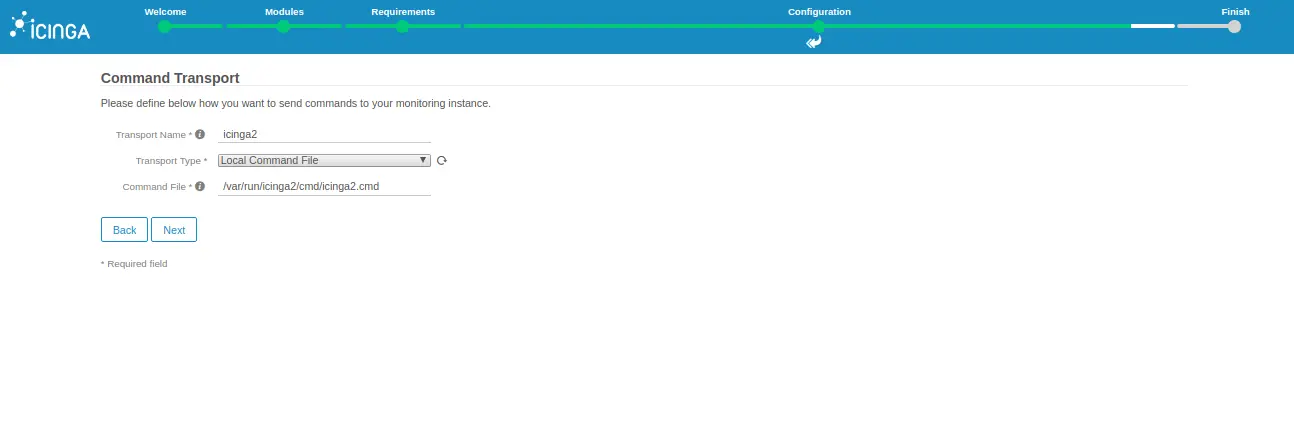
Provide your transport name, select a local command line and click on the Next button. You should see the following page:
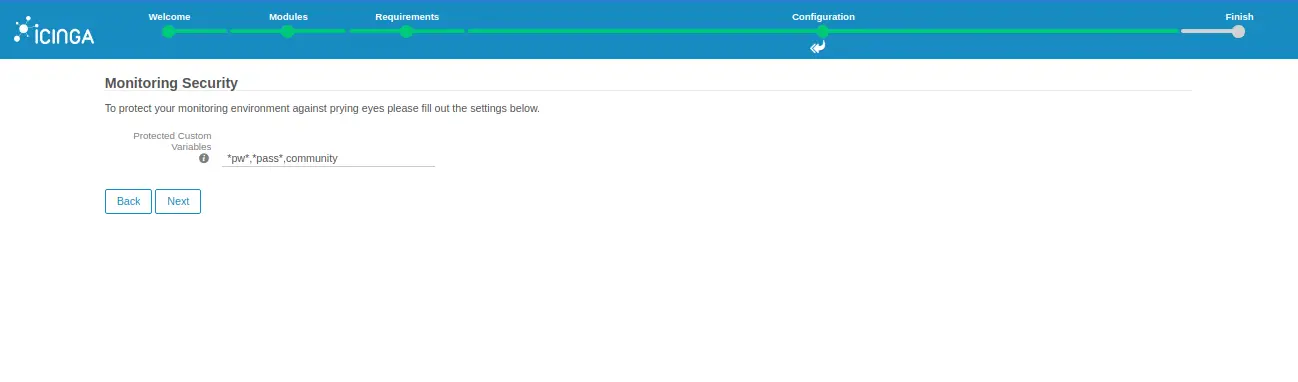
Click on the Next button. You should see the following page:
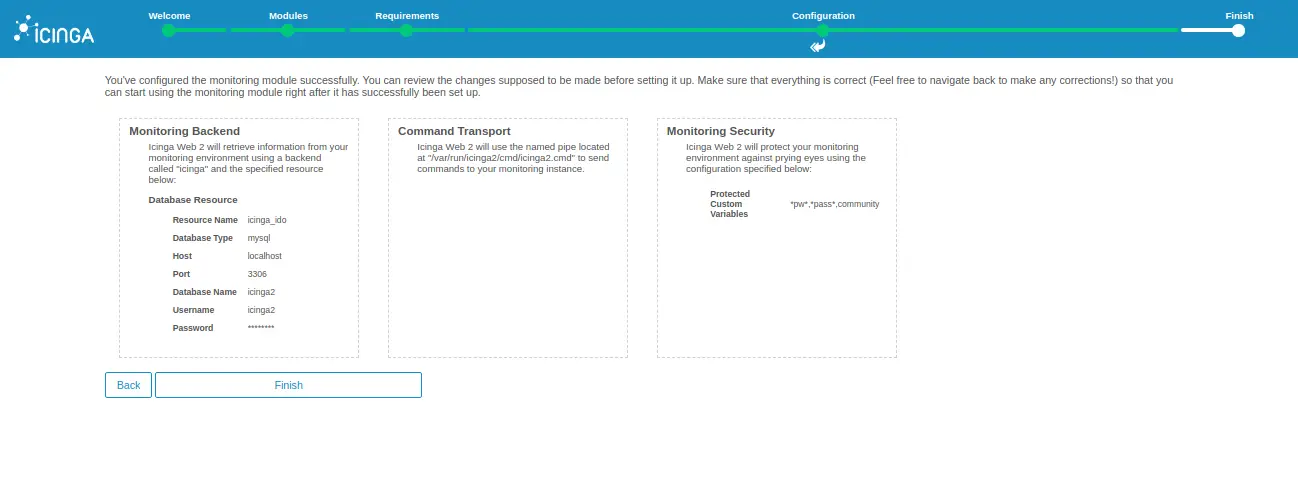
Now, review all the changes you have made and click on the Finish button. Once the installation has been completed successfully, you should see the following page:

Click on the Login to Icinga Web 2. You will be redirected to the following page:
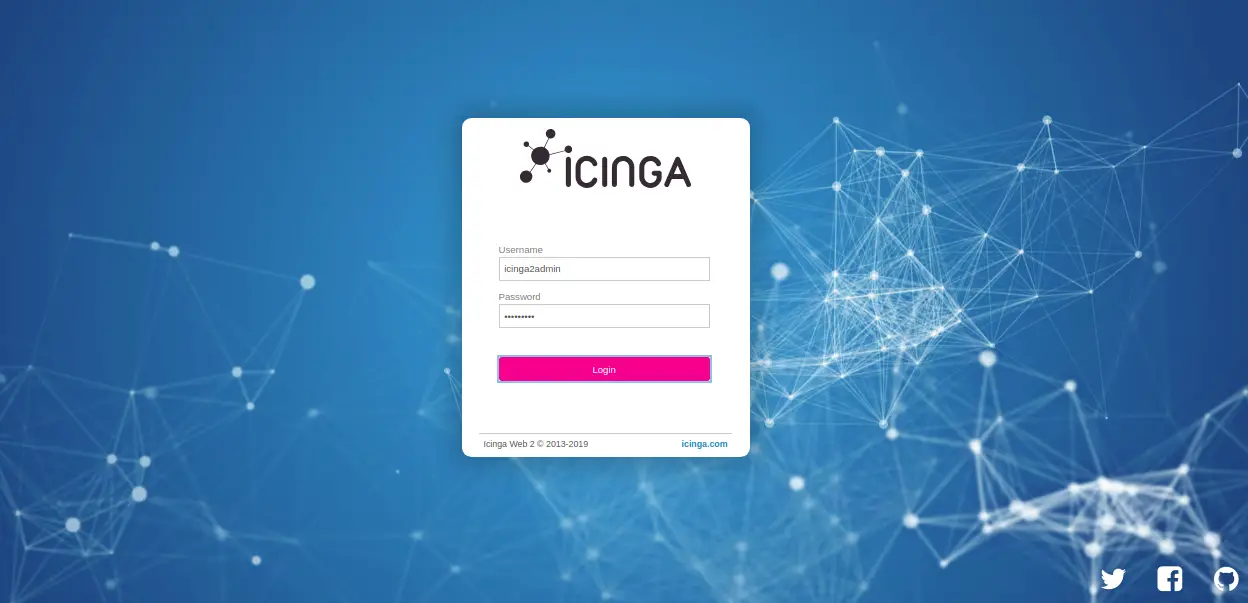
Provide your Icinga2 admin username, password and click on the Login button. You should see the Icinga2 dashboard in the following page:
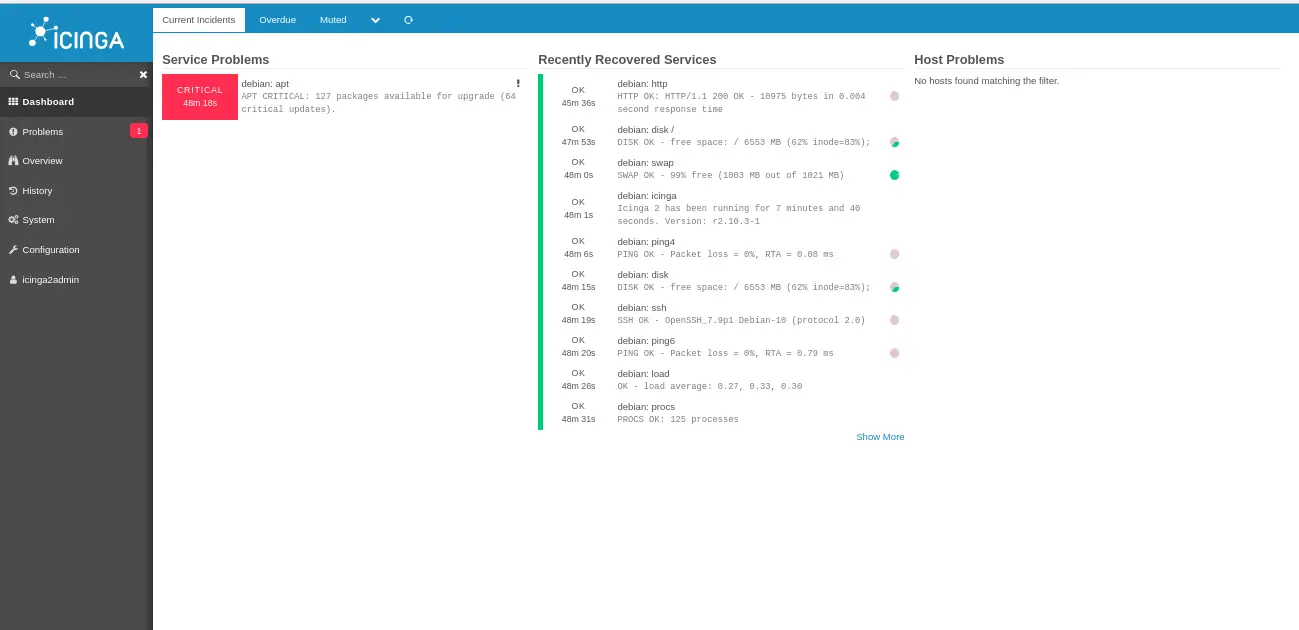
Congratulations! you have successfully installed and configured Icinga2 and Icinga web 2 on Debian 10 server. You can now easily add monitoring hosts to your server and start monitoring. Feel free to ask me if you have any questions.

