OpenSSH is a cryptographic freely available version of the Secure Shell (SSH) protocol set of tools used for secure remote network access or file transfer between computers. Traditional tools such as telnet or rcp that were used to perform these functions, are insecure. OpenSSH provides client tools and a server daemon that facilitate encrypted and secure file transfer as well as remote control operations
In this article, you will learn how to install OpenSSH in your Ubuntu & sld (similar linux distros).
Read: How to Install Plex on Ubuntu 22.04
OpenSSH installation steps
There are a few simple steps to install OpenSSH :
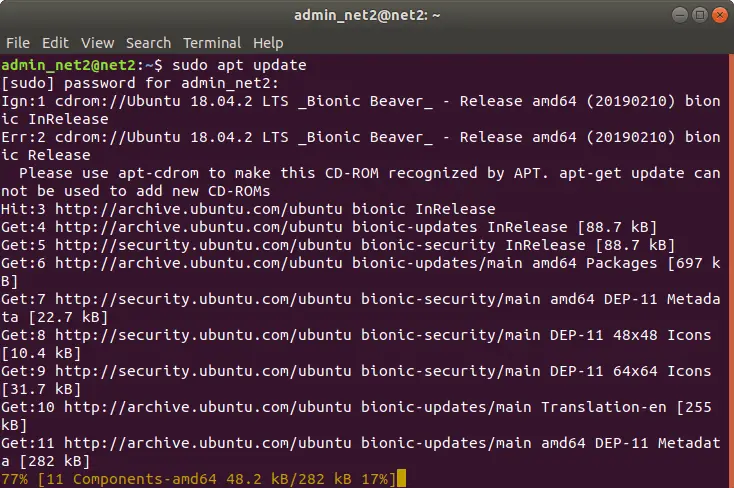
1 – First update your package list by running the command :
sudo apt update
2- Now can now install openssh-server package by issuing the command:
sudo apt-get install openssh-server
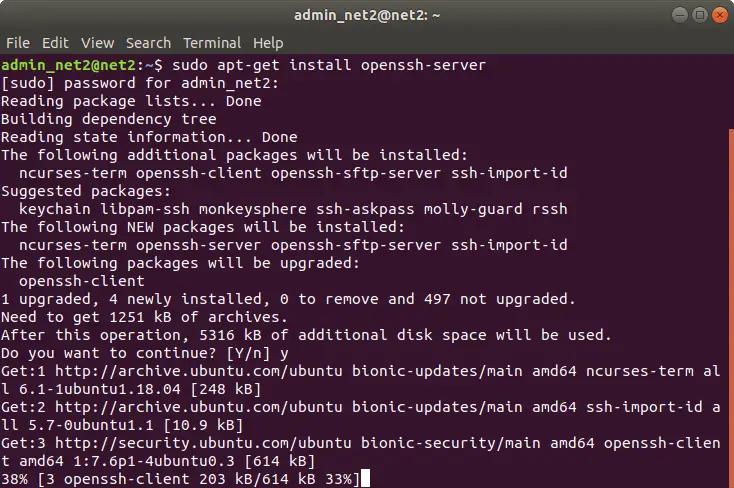
Install openssh Ubuntu
Read: How to set up a firewall on Ubuntu 22.04
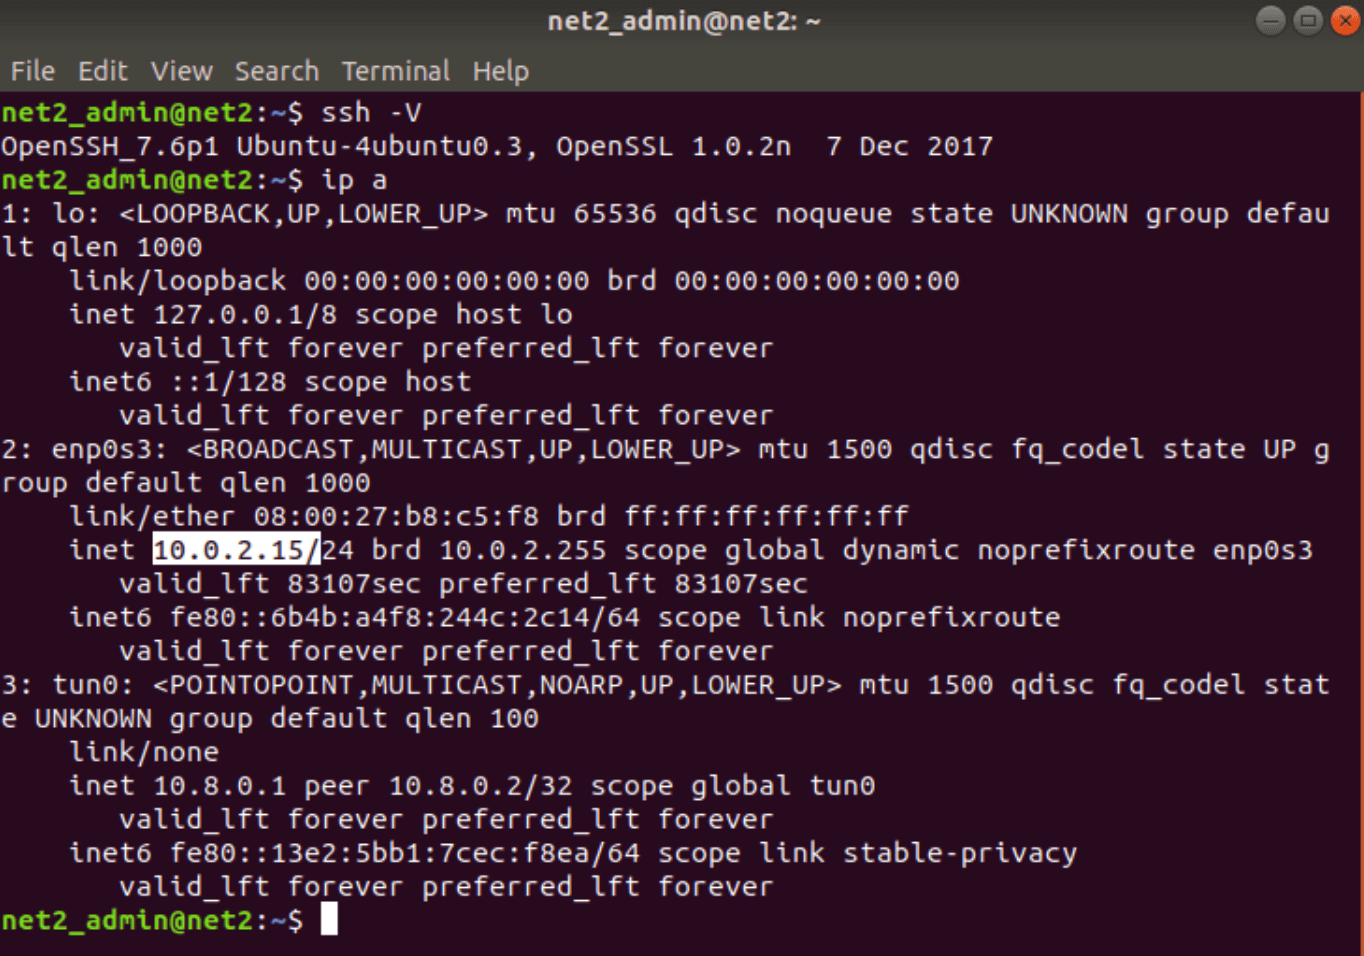
Once you have installed OpenSSH, the SSH service will restart automatically. You can check the version of OpenSSH that you have just installed on your system by executing :
ssh -V

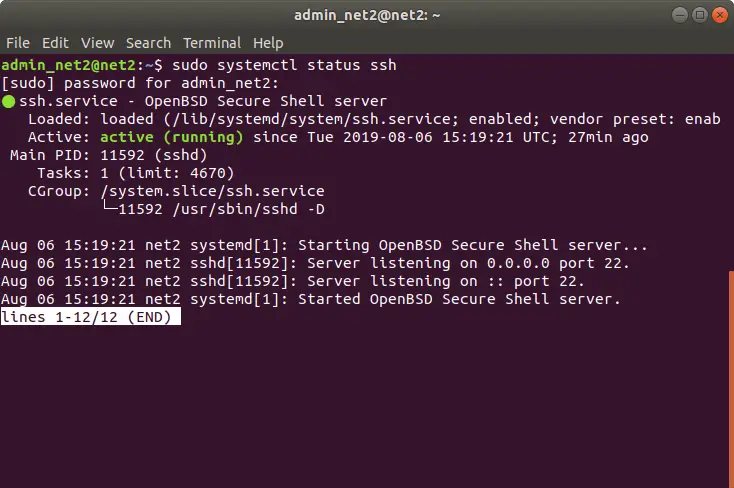
Now in order to check that the installation was carried out successfully and that the SSH service is up and running, type in the below command:
sudo systemctl status ssh
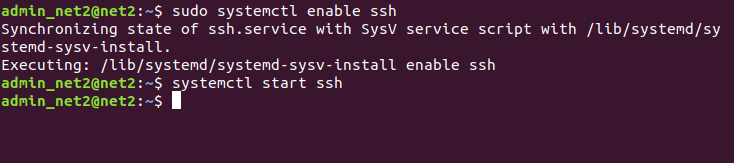
If the connection is not functional, run the command below in order to enable the ssh server and start it :
systemctl enable ssh
systemctl start ssh
openssh server ubuntu
You can now make a connection from any remote machine since your SSH is up and running. Linux systems in general, have built-in SSH clients by default.
Enabling network connection to SSH
In order to connect to your Ubuntu system over a LAN network, you would just need to run the following command:
ssh username@ip_address
Make sure to change the username above with your own user name and ip_address with that of the Ubuntu machine on which you installed SSH. To find out your IP address , just issue the ip command below:
ip a
Now that you have the IP address, go to the remote machine and run the following command:
ssh your_username@your_ip
You will notice that when you connect via SSH for the first time, you will receive a message which looks similar to:

Just type in yes to the prompt above. This will display the message below :
Warning: Permanently added ‘your ip address’ (ECDSA) to the list of known hosts.
your_username@your_ipaddress’s password:
As soon as you enter the password, you will be welcomed with a message that might look similar to the one below.
Welcome to Ubuntu 18.04.1 LTS (GNU/Linux 4.15.0-33-generic x86_64)
* Documentation: https://help.ubuntu.com
* Management: https://landscape.canonical.com
* Support: https://ubuntu.com/advantage
…
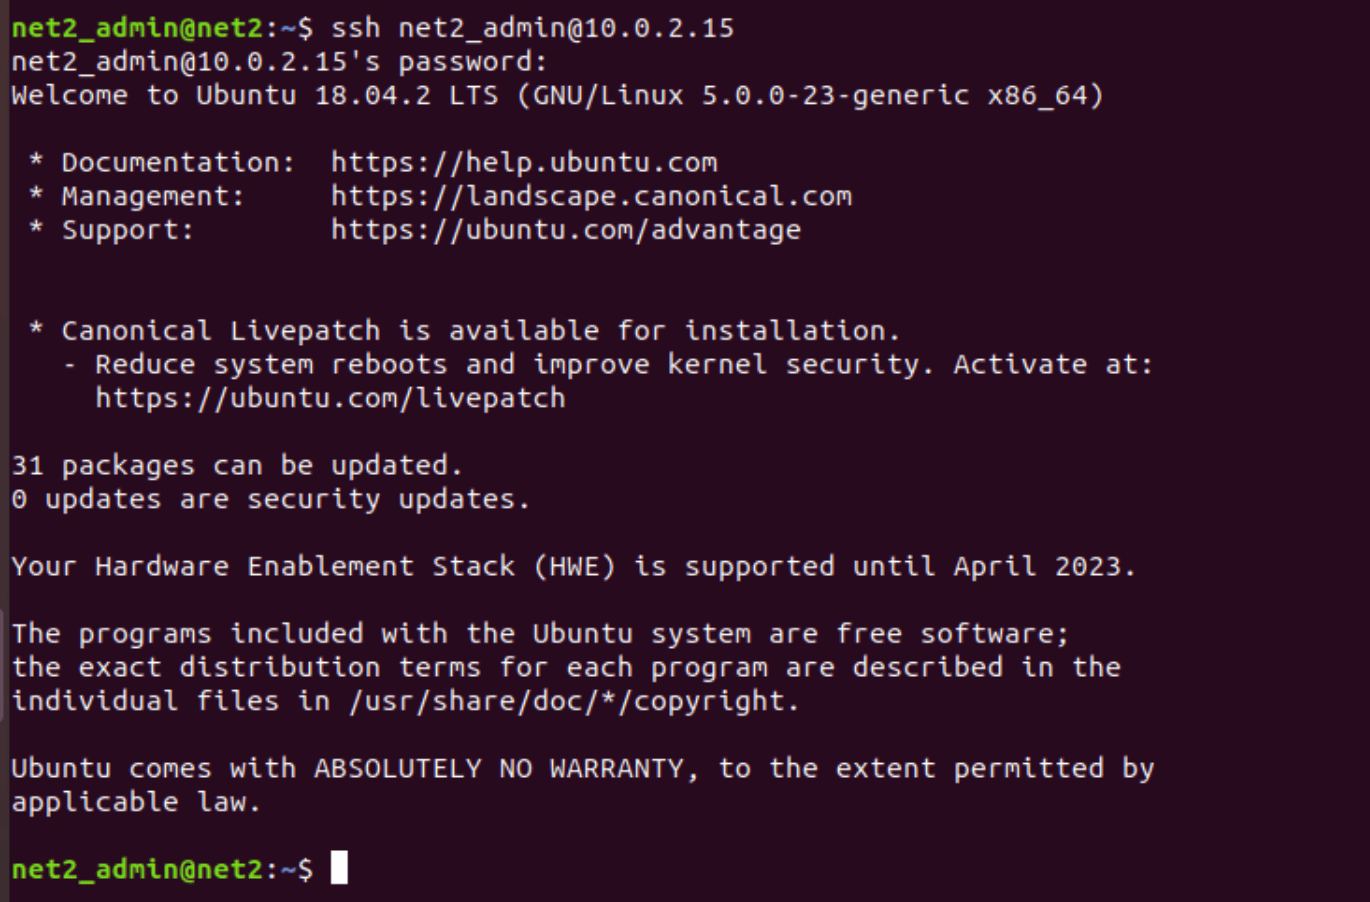
Congrats ! You are now officially logged in to your Ubuntu computer.
You be interested to read: Network configuration in Ubuntu
Internet based connection to SSH
In order to connect to your Ubuntu computer over the Internet, you will first need to find out your public IP Address and then you would have to configure your router to listen to port 22 and send it back to the Ubuntu computer on which the SSH is running.
To find out the public IP address of the machine you want to access via SSH, you can for example visit the address: https://whatismyipaddress.com
Since each router has a different way to configure port forwarding, you should check your router official documentation and find out how to set up port forwarding. You would need to fill in the port number where requests will be created (normally SSH port number is 22 by default if the configuration has not changed in the sshd_config file ) and use the private IP address you found above (via the ip a command) of the Ubuntu computer on which the SSH is running.
Once you configured your router, you can then log in by typing:
ssh your_username@your_public_ip_address
Virtual Network Computing (VNC) over SSH
For those who work with Virtual Network Computing (VNC), they have the option to encrypt connections completely using SSH tunneling. To tunnel SSH based VNC connections, issue the command below in your terminal:
ssh -L 5901:localhost:5901 -N -f -l username hostname_or_IP
Here is what it does :
ssh : will launch the program of the SSH client on your local computer and secures the connection to a remote computer’s SSH server.
-L 9401:localhost:9401 : local client port number 9401 is to be forwarded to the same port number of the provided remote server.
-N : used to only forward ports and not to run a remote command.
-f : after the password is provided, it sends SSH to the background before the execution of the command so that you can resume your work.
-l username : remote server log-in username.
hostname_or_IP : is the remote system which has a VNC server.
Security measures
In order to improve SSH security, it is highly recommended to follow the tips below so that you will not be prone to unwanted incoming connections since leaving your current setup as it is (.i.e default values ), your server can receive external unidentified scripted attacks.
Now that your connection to your server using SSH has been established, try to follow the suggestions below to maximize your connection security :
- Modify the TCP default port the SSH daemon is listening to. This can be changed from 22 to another value that cannot be guessed easily, for instance 21396.
- SSH key pairs should be used for authentication .
- Password-required logins should be disabled on your server since in case your password gets hacked. But before that, make sure that authentication using key pairs (suggestion 2) is fully functional.
- Make sure to disable root authentication to your server and use rather a standard user account with the command su to switch to the root user.
In order to restrict access to specific hostnames or IP addresses, you can use TCP wrappers. By editing the etc/hosts.deny and /etc/hosts.allow files, you will be able to configure which host can connect using TCP wrappers .
Remember that the configured allowed hosts supersede the configured denied hosts. For instance, to enable SSH access to a specific single host, you will first have to deny all hosts by inserting the following two lines in the file etc/hosts.deny:
sshd : ALL
ALL : ALL
Next, in the file etc/hosts.allow, add the allowed hosts for the SSH service. This can be be an IP range, single IP address or a hostname: sshd : 10.0.2.15, LOCAL
Remember to keep your credentials secure at all times and to deploy enhanced security measures. Try to limit SSH access to your machine, or you could as well use brutal-access blocking services (like Fail2ban) that will prevent anyone who tries to gain access to your servers using brute force.
If you like the content, we would appreciate your support by buying us a coffee. Thank you so much for your visit and support.

This worked for me ,thanks alot …..