How to install Ntopng Network Monitor on Debian 10
Ntopng is a free, open-source and very useful network monitoring tool that can be used to monitor network traffic in real-time. It is a high-performance, low-resource and next generation version of the original ntop based on libpcap. It is Cross-platform and runs on every Unix platform, MacOSX and Windows. ntopng monitors and reports various protocols including, TCP, UDP, ICMP, DLC, IPX, ARP, Netbios, Decnet and many more.
Features
- Geolocation of IP addresses
- Show the network traffic and IPv4/IPv6 hosts
- Analyze the traffic and sort it according to the source/destination
- Store traffic statistics in RRD format
- Report and sort IP protocol usage by protocol type
Requirements
- A server running Debian 10.
- A root password is setup to your server.
Getting Started
Before starting, you will need to update your system with the latest version. You can do this by running the following command:
apt-get update -y
 apt-get upgrade -y
Once your server is updated, restart your server to apply the changes.
Installing Ntopng
By default, Ntopng is not available in the Debian 10 repository. So you will need to add Ntopng repository to your system.
You can install Ntopng repository with the following command:
wget http://apt.ntop.org/buster/all/apt-ntop.deb
 dpkg -i apt-ntop.deb
Once the repository is added, update the repository and install Ntopng by running the following command:
apt-get update -y
 apt-get install pfring-dkms nprobe ntopng n2disk cento -y
Once the installation has been completed, start Ntopng service and enable it to start on system reboot with the following command:
systemctl start ntopng
 systemctl enable ntopng
You can now check the status of Ntopng with the following command:
systemctl status ntopng
You should see the following output:
? ntopng.service - ntopng high-speed web-based traffic monitoring and analysis tool
   Loaded: loaded (/etc/systemd/system/ntopng.service; enabled; vendor preset: enabled)
   Active: active (running) since Sat 2019-09-21 02:05:50 EDT; 7min ago
 Main PID: 3314 (ntopng)
    Tasks: 26 (limit: 1138)
   Memory: 209.2M
   CGroup: /system.slice/ntopng.service
           ??3314 /usr/local/bin/ntopng /run/ntopng.conf

Sep 21 02:05:53 debian ntopng[3314]: 21/Sep/2019 02:05:53 [Ntop.cpp:707] Adding 192.168.0.103/32 as IPv4 interface address for enp0s3
Sep 21 02:05:53 debian ntopng[3314]: 21/Sep/2019 02:05:53 [Ntop.cpp:715] Adding 192.168.0.0/24 as IPv4 local network for enp0s3
Sep 21 02:05:53 debian ntopng[3314]: 21/Sep/2019 02:05:53 [Ntop.cpp:735] Adding ::1/128 as IPv6 interface address for lo
Sep 21 02:05:53 debian ntopng[3314]: 21/Sep/2019 02:05:53 [Ntop.cpp:744] Adding ::1/128 as IPv6 local network for lo
Sep 21 02:05:53 debian ntopng[3314]: 21/Sep/2019 02:05:53 [Ntop.cpp:735] Adding fe80::a00:27ff:fe99:dc40/128 as IPv6 interface address for enp0
Sep 21 02:05:53 debian ntopng[3314]: 21/Sep/2019 02:05:53 [Ntop.cpp:744] Adding fe80::a00:27ff:fe99:dc40/64 as IPv6 local network for enp0s3
Sep 21 02:05:56 debian ntopng[3314]: 21/Sep/2019 02:05:56 [PeriodicActivities.cpp:72] Started periodic activities loop...
Sep 21 02:06:09 debian ntopng[3314]: 21/Sep/2019 02:06:09 [PeriodicActivities.cpp:114] Each periodic activity script will use 2 threads
Sep 21 02:06:09 debian ntopng[3314]: 21/Sep/2019 02:06:09 [NetworkInterface.cpp:2791] Started packet polling on interface enp0s3 [id: 1]...
Sep 21 02:06:09 debian ntopng[3314]: 21/Sep/2019 02:06:09 [NetworkInterface.cpp:2791] Started packet polling on interface lo [id: 2]...
Configuring Ntopng
The default Ntopng configuration file is located at /etc/ntopng/ntopng.conf. You will need to edit it make some changes:
nano /etc/ntopng/ntopng.conf
Change the following lines:
-G=/var/run/ntopng.pid
##Define the network interface for network monitoring.
-i=enp0s3
##Define the HTTP port for web server.
-w=3000
Save and close the file, when you are finished. Next, create a new ntopng.start file to define your network.
nano /etc/ntopng/ntopng.start
Add the following lines:
--local-networks "192.168.0.0/24"  ## give your local IP Ranges here.
--interface 1
Save and close the file, then restart Ntopng to apply the configuration changes:
systemctl restart ntopng
Access Ntopng
Ntopng is now running and listening on port 3000. Open your web browser and visit the URL http://your-server-ip:3000. You should see the following page:
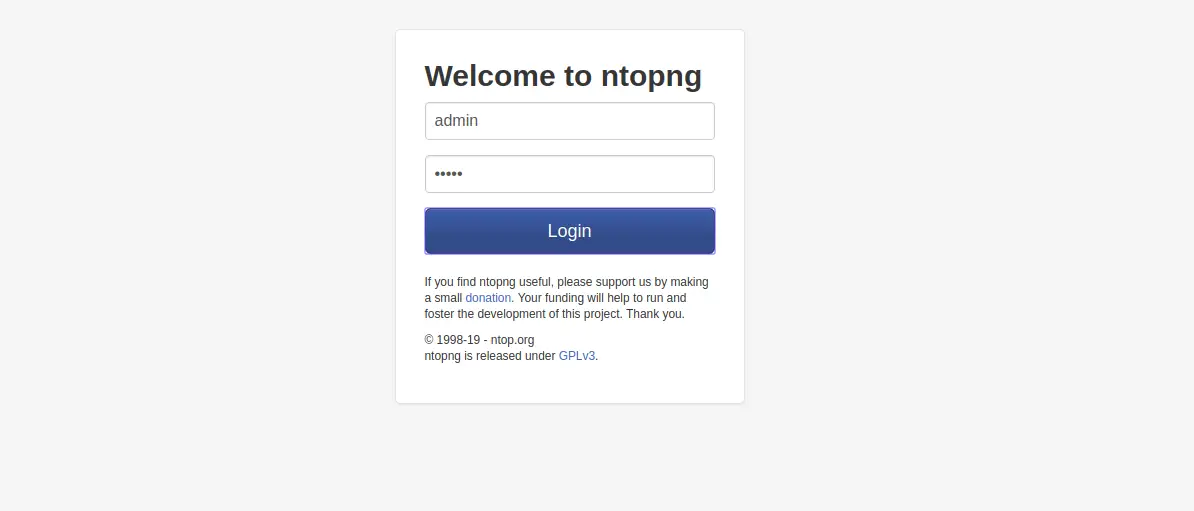
Provide Ntopng default username and password as admin/admin and click on the Login button. You should see the following screen:

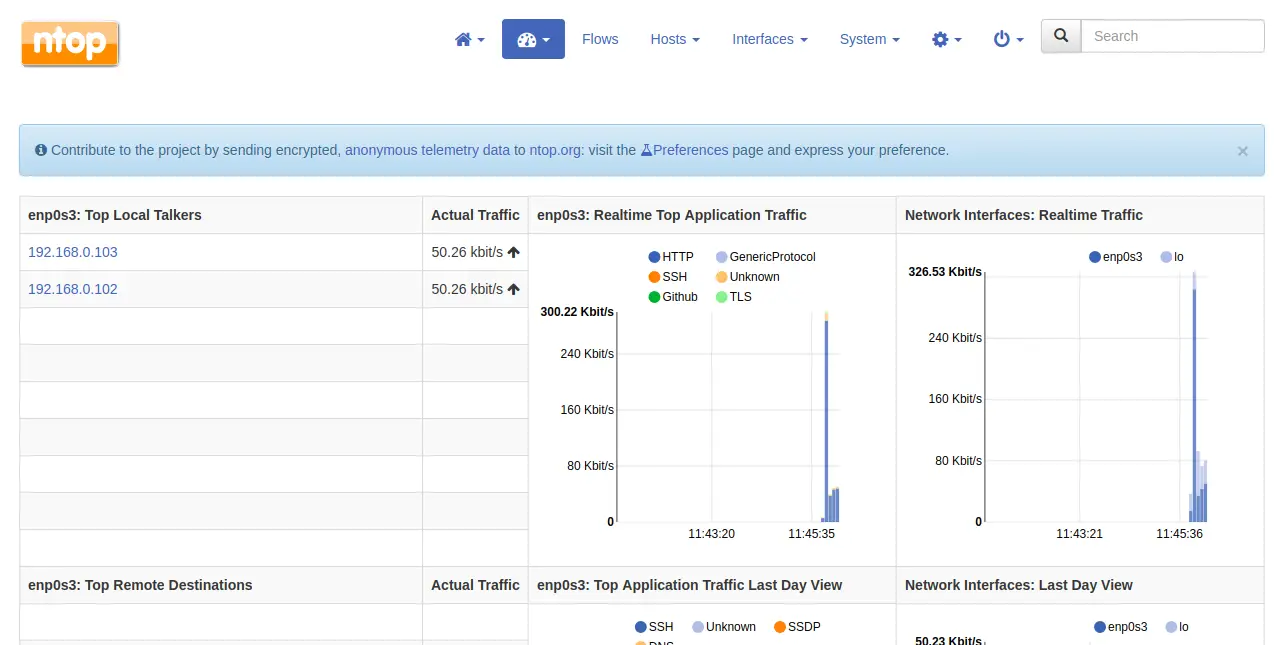
Now, provide your desired password and click on the Change Password button. You should see the Ntopng default dashboard in the following page:
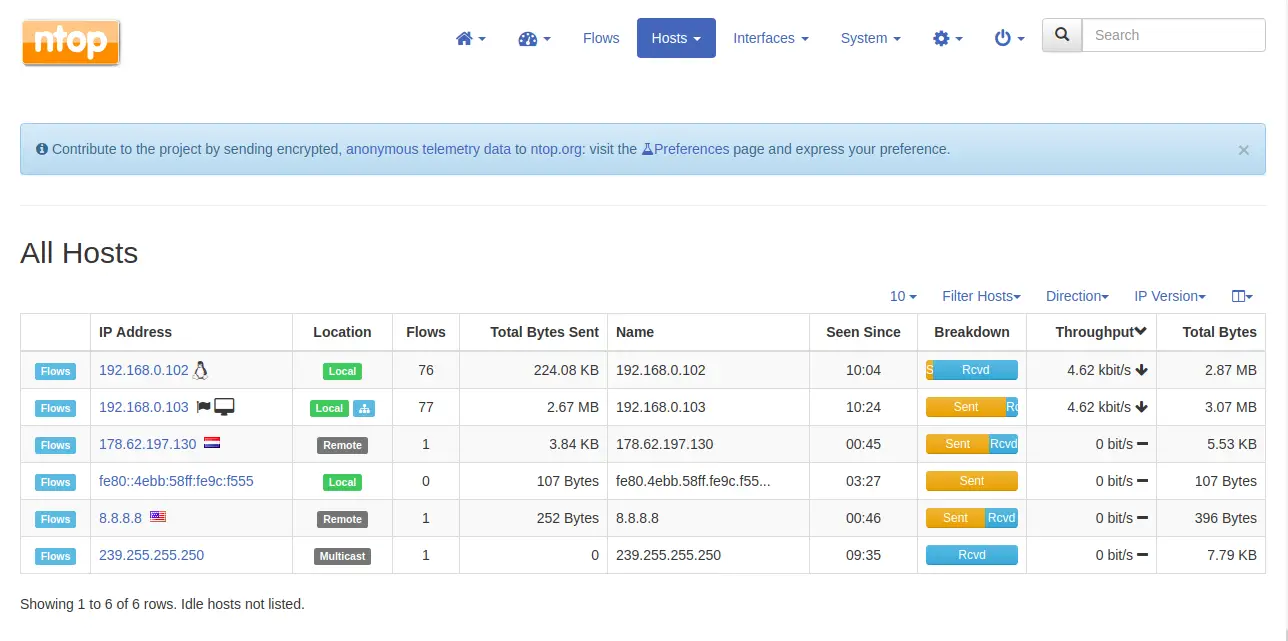
Now, click on the Hosts > All Hosts. You should see all the available hosts in your network in the following screen:
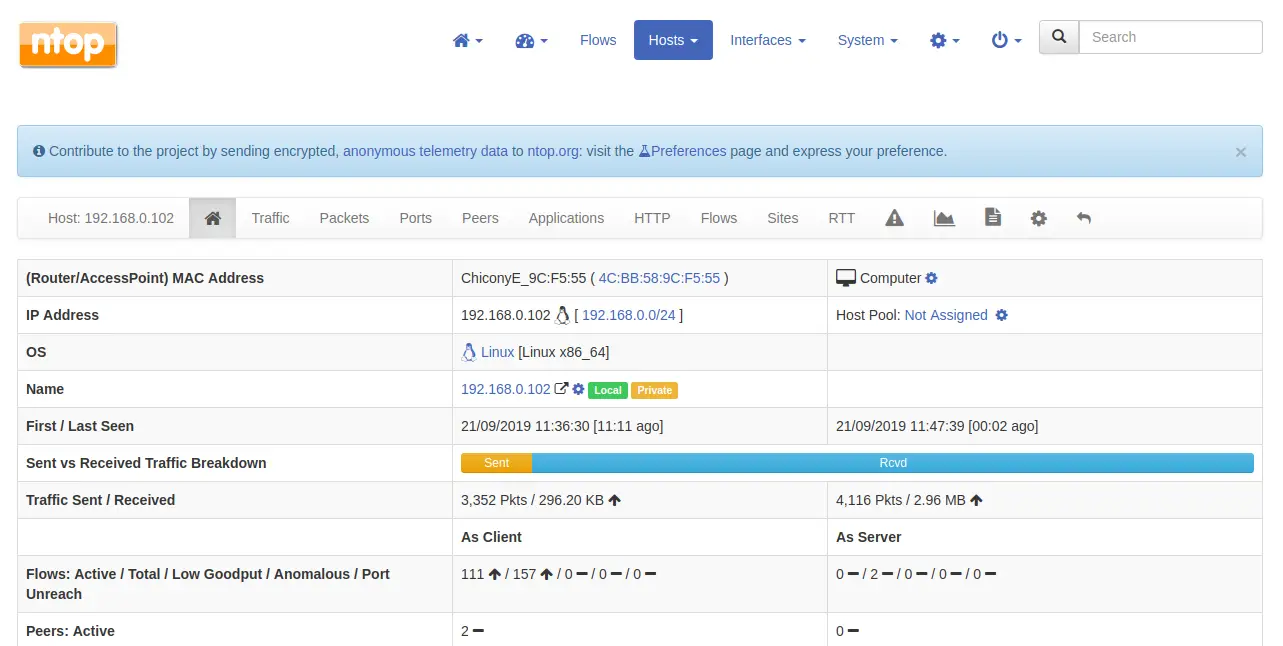
Now, click on one of the host, you should see all the information about this host in the following screen:
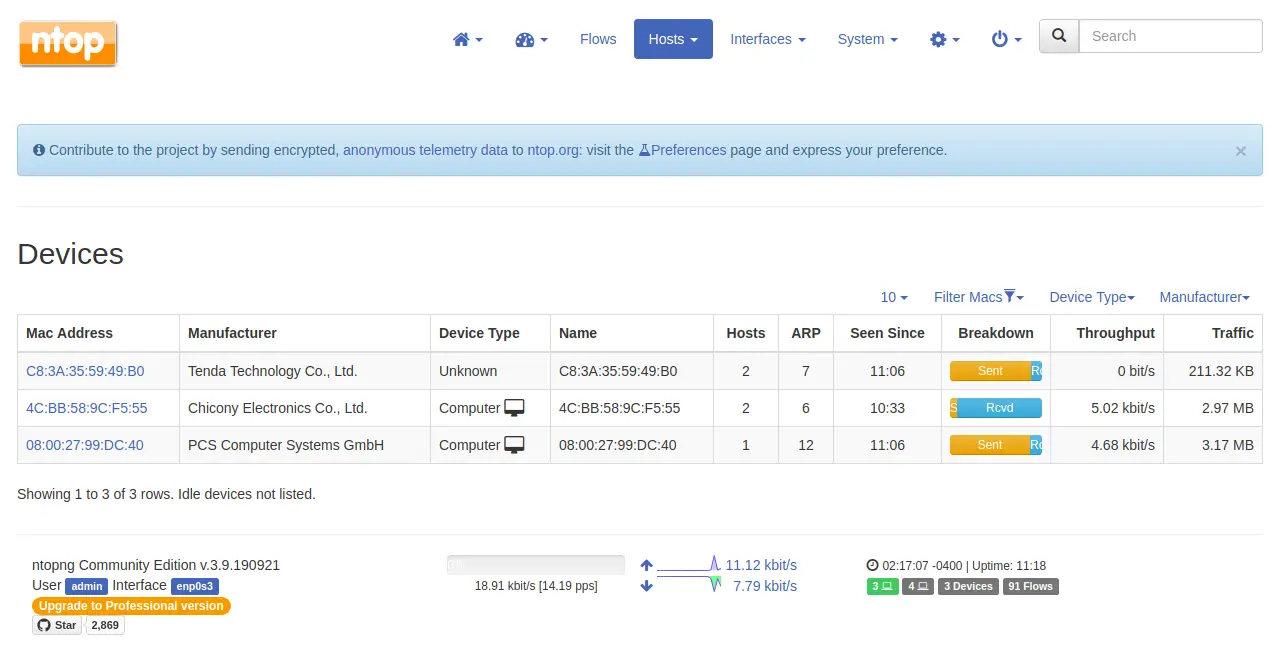
Now, click on the Hosts > Devices. You should see the Mac Address of all the hosts in your network in the following screen:
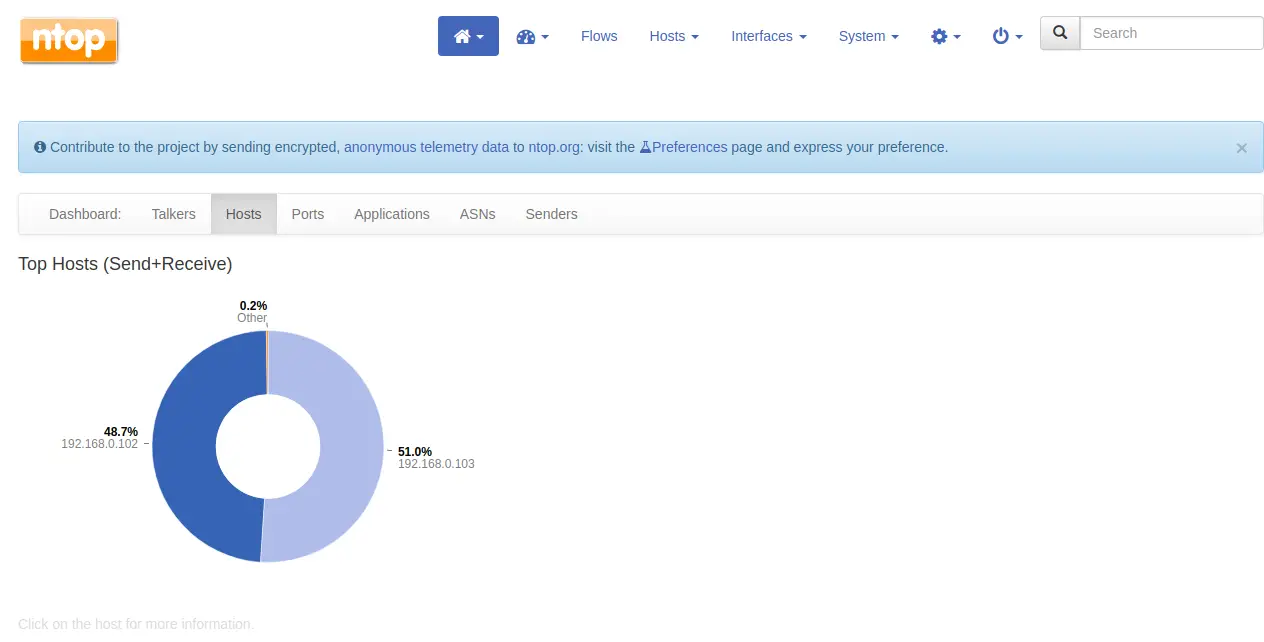
Now, click on the Home > Hosts to see the list of top hosts in the following screen:
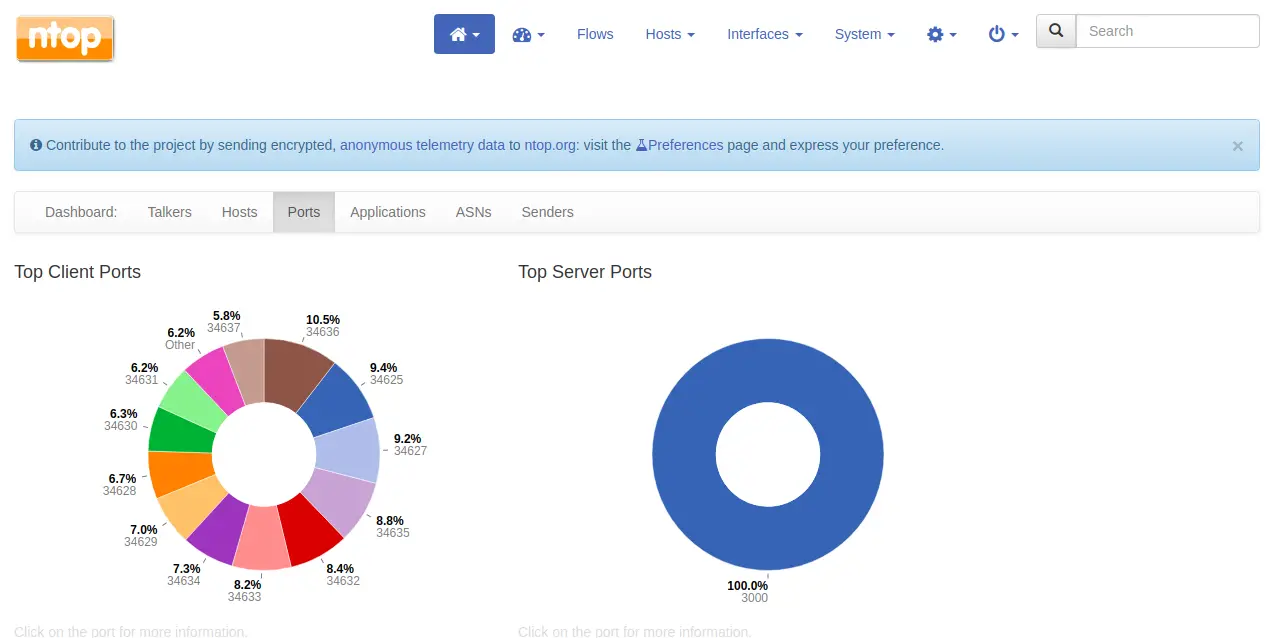
Now, click on the Ports button to see a list of top client and server ports in the following screen:
Congratulations! you have successfully installed and configured Ntopng on your Debian 10 server. You can now easily monitor any devices on your network.

