The microcontroller craze doesn't seem to be dying down—and that's a good thing because these products consistently succeed where the mobile market consistently fails: Users get open software and hardware, a portable form factor, and a wide choice of vendors and products that are built to last.
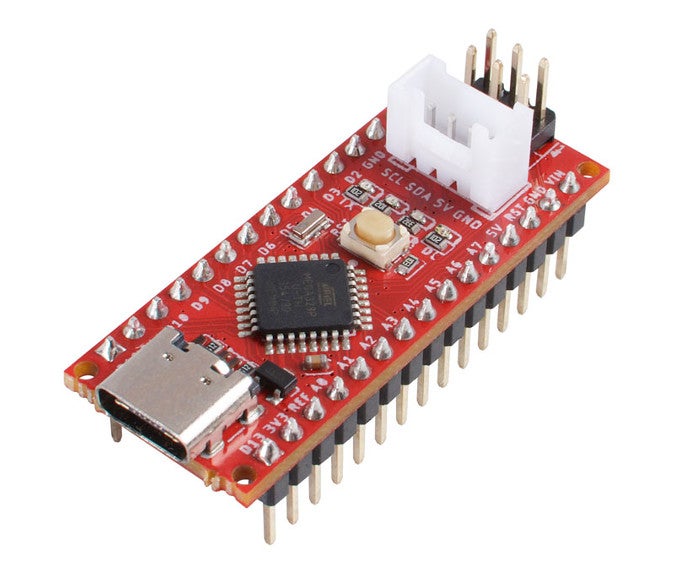
Among the best of the open hardware and software vendors is Seeed, the self-proclaimed "IoT Hardware Enabler." I recently started seeing the Seeed logo on projects, so I contacted the company to learn about the interesting things they're doing. In response, they generously sent me one of their latest products: the Seeeduino Nano, a compact board that the company says is fully compatible with the Arduino Nano but at half the price and a quarter the size, along with a sample sensor to get me started.
I spent a few days with it, and I'm already working on a project to improve my home garden and thinking of several others for home automation. Far from just another Arduino-like product, the Seeeduino Nano solves several problems new makers face when they get a microcontroller and want to use it.
What do I do with this?
The most common problem I hear from people underwhelmed by the Raspberry Pi, Arduino, or similar microcontroller is that they excitedly got a board, stepped through its tutorial, and then realized they didn't know what to do with it. As computer users, we're not used to purpose-driven devices. You get a computer-like device and use it for many purposes, so it feels strange to get a computing device and build it into a project.
It can also be a little overwhelming to get a microcontroller. It's full of potential, but it's also just a microcontroller. It can be intimidating to figure out what kind of project to start when you have a device that apparently is capable of anything.
Seeed has a line of input and output peripherals (they call it Grove) that are easy to connect and provide an easy way to modularly build projects based on what kind of information you want to process. There's nothing special about the Grove modules compared to sensors or servos you can get for any other device, but Seeed makes what can sometimes seem to be an overwhelming number of choices a lot more navigable. And better yet, Seeed provides libraries for each Grove module, so you'll never buy a part for your project then find that you don't know how to make your controller recognize it.
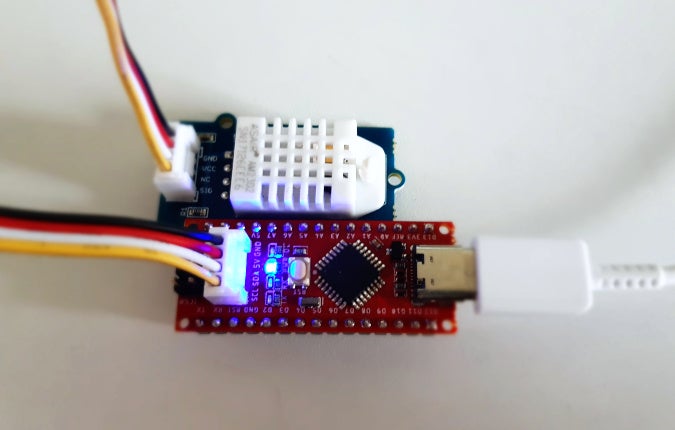
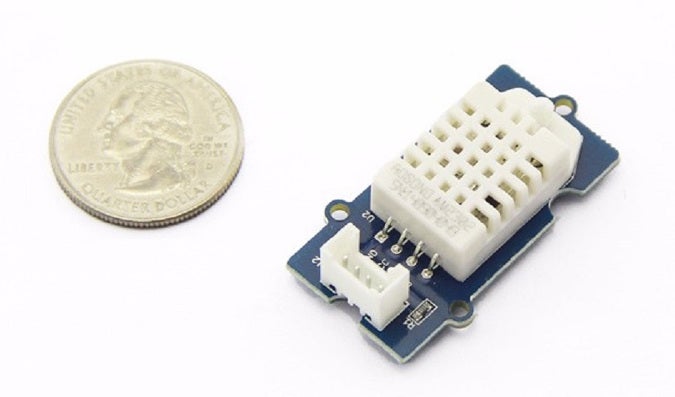
Because Seeed sent me a temperature and humidity sensor, my potential projects, at least in the short term, became highly focused. I knew I'd be designing either a thermometer and humidity detector for my home or a moisture monitor for some of my favorite plants. Based on the other Grove modules, I've come up with several more projects, too.
Clean connectors
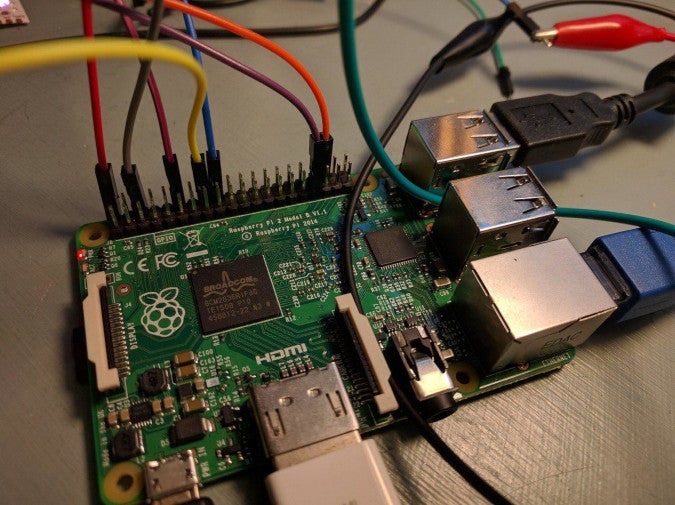
What makes the Grove modules especially nice is that they're based around I2C connectors. That means you can turn this:

into this:

Of course, you can also solve that problem with any number of attachments for a Pi or Arduino or whatever product you happen to own, but the Seeed and Grove are built for one another, so if you're embarking on a new project, this is an easy way to keep things under control from the start.
Small footprint
The Seeeduino Nano is small. It's just 18mm by 43mm (that's about 1.5" by 1"), yet it has eight analog pins, 14 digital pins, and features the ATmega328P 8-bit AVR microcontroller. If your project has space issues, this is a great option.

The sensors tend to be small, too. Size varies depending on what you purchase, but they're generally designed to save space.

Setup
Getting started with the Seeeduino Nano was as easy as getting started with an Arduino. That's not always the case with Arduino-like products, because some of them assume you know the components they're built from. You might get a microcontroller, download the Arduino IDE, and discover that the product you purchased isn't an option in the Board menu, leaving you to guess which Arduino board yours is equivalent to. Seeed leaves nothing to chance and provides board definitions for all of its products. You have to import them yourself since they don't ship with the Arduino IDE, but the Seeed wiki provides instructions on how to do that through the IDE's Board Manager interface.
After you've imported the board definition, you can either start with the ritual flashing of the Blink code onto your device or just code in the Arduino IDE as usual. There are instructions on the Seeed wiki for that, too.
Code
In addition to board definitions, Seeed provides sample code for each Grove module, so you know how to send data to the module or gather data from it. I was using the Temperature and Humidity Pro sensor, which requires the DHT library. Seeed provides the library along with a DHTtester project, and instructions on how to install it are on its wiki.
The only thing Seeed doesn't provide is the name of the correct input pin for the Grove module. The project's example code, written by LadyAda, uses the first analog pin (A0), but, on the Seeeduino Nano, the Grove attaches to what turns out to be A5. This is difficult to tell by looking at it, because the Grove physically attaches to the I2C plug, with no indication of what pin it's connected to. However, the Seeed is open source, so you can either look at the specs for the board, or you can just do what these kinds of gadgets beg you to do: experiment!
In the end, the basic code to get information from the Grove humidity and temperature sensor is about 20 lines of code (25 if you build in sanity checks, as LadyAda's code does):
// public domain code by ladyada
#include "DHT.h"
#define DHTPIN A5
#define DHTTYPE DHT22

DHT dht(DHTPIN, DHTTYPE);

void setup() {
  Serial.begin(9600);
  dht.begin(); }

void loop() {
  float h = dht.readHumidity();
  float t = dht.readTemperature();
  Serial.print("Humidity: ");
  Serial.print(h);
  Serial.print(" %\t");
  Serial.print("Temperature: ");
  Serial.print(t);
  Serial.println(" *C"); }
Open source everything
The Seeeduino is open source, from the downloadable Eagle file to the software that helps you drive it. It's a dream platform for new users who feel overwhelmed by confusing and disparate choices or for experienced makers who have moved on from a prototype and are ready to build a neatly organized and cleanly wired project. If you've got a budding inventor in your life, let Seeed help seed their projects.


Comments are closed.