Install and Secure phpMyAdmin on CentOS 8
phpMyAdmin is a free and open-source tool to manage MySQL and MariaDB servers over a web-based interface. With phpMyAdmin, you can create and manage databases and users, execute SQL-statements, import and export data, and performing database activities such as, creating, deleting, tables, columns, indexes, permissions and many more. phpMyAdmin is one of the most popular and most widely used administration tools, especially for web hosting services.
Features
- Provides simple and user-friendly web interface.
- Import data from CSV and SQL.
- Support most MySQL features including, create, copy, drop, rename, drop and alter databases, tables, fields and indexes.
- Allows you to export data to various formats such as, PDF, CSV, SQL, XML and many more.
- Managing multiple servers.
- Creating complex queries using Query-by-example (QBE).
In this tutorial, we will show you how to install and secure phpMyAdmin on a CentOS 8 server.
Requirements
- A server running CentOS 8.
- A root password is configured on the server.
Install LAMP Server
First, you will need to install Apache, MariaDB, PHP and other PHP libraries to your server. You can install all of them with the following command:
dnf install httpd mariadb-server php php-pdo php-pecl-zip php-json php-common php-fpm php-mbstring php-cli php-mysqlnd php-json php-mbstring wget unzip
Once all the packages are installed, start Apache and MariaDB service and enable them to start after system reboot with the following command:
systemctl start httpd
 systemctl start mariadb
 systemctl enable httpd
 systemctl enable mariadb
Once you are finished, you can proceed to the next step.
Configure MariaDB
By default, MariaDB is not secured. So you will need to secure it first. You can do it by running the mysql_secure_installation script:
mysql_secure_installation
Answer all the questions as shown below:
Set root password? [Y/n] Y
New password:
Remove anonymous users? [Y/n] Y
Disallow root login remotely? [Y/n] Y
Remove test database and access to it? [Y/n] Y
Reload privilege tables now? [Y/n] Y
Once you have finished, you should see the following output:
 ... Success!

Cleaning up...

All done!  If you've completed all of the above steps, your MariaDB
installation should now be secure.

Thanks for using MariaDB!
At this point, your MariaDB installation is secured.
Install phpMyAdmin
By default, phpMyAdmin is not available in the CentOS 8 default repository. So, you will need to download the latest version of the phpMyAdmin from their official website. You can download it with the following command:
wget https://files.phpmyadmin.net/phpMyAdmin/4.9.2/phpMyAdmin-4.9.2-all-languages.zip
Once downloaded, unzip the downloaded file with the following command:
unzip phpMyAdmin-4.9.2-all-languages.zip
Next, move the extracted content to the /usr/share directory as shown below:
mv phpMyAdmin-4.9.2-all-languages /usr/share/phpmyadmin
Next, change the directory to /usr/share/phpmyadmin and rename the file config.sample.inc.php:
cd /usr/share/phpmyadmin
 mv config.sample.inc.php config.inc.php
Next, open the file with your favorite text editor as shown below:
nano config.inc.php
Change the following line:
$cfg['blowfish_secret'] = 'your-secret-password';
Save and close the file when you are finished. Then, import the create_tables.sql with the following command:
mysql < /usr/share/phpmyadmin/sql/create_tables.sql -u root -p
Provide your root password when prompt to import the table.
Next, create a tmp directory for phpmyadmin and give proper permissions:
mkdir /usr/share/phpmyadmin/tmp
 chown -R apache:apache /usr/share/phpmyadmin
 chmod 777 /usr/share/phpmyadmin/tmp
Configure Apache for phpMyAdmin
Next, you will need to create an Apache virtual host configuration file for phpMyAdmin. You can create it with the following command:
nano /etc/httpd/conf.d/phpmyadmin.conf
Add the following lines:
Alias /phpmyadmin /usr/share/phpmyadmin

<Directory /usr/share/phpmyadmin/>
   AddDefaultCharset UTF-8

   <IfModule mod_authz_core.c>
     # Apache 2.4
     <RequireAny>
      Require all granted
     </RequireAny>
   </IfModule>
   <IfModule !mod_authz_core.c>
     # Apache 2.2
     Order Deny,Allow
     Deny from All
     Allow from 127.0.0.1
     Allow from ::1
   </IfModule>
</Directory>

<Directory /usr/share/phpmyadmin/setup/>
   <IfModule mod_authz_core.c>
     # Apache 2.4
     <RequireAny>
       Require all granted
     </RequireAny>
   </IfModule>
   <IfModule !mod_authz_core.c>
     # Apache 2.2
     Order Deny,Allow
     Deny from All
     Allow from 127.0.0.1
     Allow from ::1
   </IfModule>
</Directory>
Save and close the file when you are finished. Then, restart the Apache service with the following command:
systemctl restart httpd
You can check the status of the Apache with the following command:
systemctl status httpd
You should see the following output:
? httpd.service - The Apache HTTP Server
   Loaded: loaded (/usr/lib/systemd/system/httpd.service; enabled; vendor preset: disabled)
  Drop-In: /usr/lib/systemd/system/httpd.service.d
           ??php-fpm.conf
   Active: active (running) since Wed 2019-12-18 01:07:52 EST; 6s ago
     Docs: man:httpd.service(8)
 Main PID: 5636 (httpd)
   Status: "Started, listening on: port 80"
    Tasks: 213 (limit: 25044)
   Memory: 28.7M
   CGroup: /system.slice/httpd.service
           ??5636 /usr/sbin/httpd -DFOREGROUND
           ??5639 /usr/sbin/httpd -DFOREGROUND
           ??5640 /usr/sbin/httpd -DFOREGROUND
           ??5641 /usr/sbin/httpd -DFOREGROUND
           ??5642 /usr/sbin/httpd -DFOREGROUND

Dec 18 01:07:52 centos8 systemd[1]: Stopped The Apache HTTP Server.
Dec 18 01:07:52 centos8 systemd[1]: Starting The Apache HTTP Server...
Dec 18 01:07:52 centos8 httpd[5636]: AH00558: httpd: Could not reliably determine the server's fully qualified domain name, using fe80::200:d0>
Dec 18 01:07:52 centos8 httpd[5636]: Server configured, listening on: port 80
Dec 18 01:07:52 centos8 systemd[1]: Started The Apache HTTP Server.
Configure SELinux and Firewall
By default, SELinux is enabled in CentOS 8. So you will need to configure SELinux for phpMyAdmin to work correctly.
First, install the policycoreutils-python-utils package to manage an SELinux environment with the following command:
dnf install policycoreutils-python-utils
Next, enable access to /usr/share/phpmyadmin directory with the following command:
semanage fcontext -a -t httpd_sys_rw_content_t '/usr/share/phpmyadmin/'
 semanage fcontext -a -t httpd_sys_rw_content_t "/usr/share/phpmyadmin/tmp(/.*)?"
Now recurse through all the files in your phpmyadmin directory by running the following command:
restorecon -Rv '/usr/share/phpmyadmin/'
Next, you will need to create a firewall rule to allow HTTP service from external networks. You can allow it with the following command:
firewall-cmd --permanent --add-service=http
 firewall-cmd --reload
phpMyAdmin is now installed and configured. Now it's time to check whether it is working or not.
Open your web browser and type the URL http://your-server-ip/phpmyadmin. You will be redirected to the following page:

Secure phpMyAdmin
At this point, the phpMyAdmin instance is functioning properly. However, securing your phpMyAdmin instance from the outside world it an important task for you. In this section, we will show you how to secure your phpMyAdmin instance.
Allow phpMyAdmin from Specific IP
First, you will need to configure your phpMyAdmin to accessible only from your home connection's IP address.
You can configure it by editing /etc/httpd/conf.d/phpmyadmin.conf file:
nano /etc/httpd/conf.d/phpmyadmin.conf
Find the following lines:
     <RequireAny>
       Require all granted
     </RequireAny>
And, replace them with the following:
<RequireAny>
    Require ip your-home--connection-ip-address
    Require ip ::1
</RequireAny>
Save and close the file when you are finished.
Configure Extra Layer of Authentication
It is a good idea to password protect your phpmyadmin directory by setting up a basic authentication.
To do so, create a new authentication file using the htpasswd tool as shown below:
mkdir /etc/phpmyadmin
 htpasswd -c /etc/phpmyadmin/.htpasswd admin
You will be asked to provide your admin password as shown below:
New password:
Re-type new password:
Adding password for user admin
Next, you will need to configure Apache to use the .htpasswd file. You can do this by editing the file /etc/httpd/conf.d/phpmyadmin.conf.
nano /etc/httpd/conf.d/phpmyadmin.conf
Add the following lines below the line "AddDefaultCharset UTF-8":
    Options  +FollowSymLinks +Multiviews +Indexes
    AllowOverride None
    AuthType basic
    AuthName "Authentication Required"
    AuthUserFile /etc/phpmyadmin/.htpasswd
    Require valid-user
Save the file and restart the Apache service for changes to take effect:
systemctl restart httpd
Access phpMyAdmin
Now, your phpMyAdmin instance is secured with an extra layer of security. Open your web browser and type the URL http://your-server-ip/phpmyadmin. You will be asked to enter the login credentials of the user you previously created as shown below:
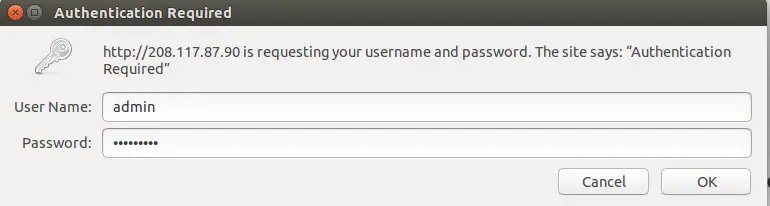
Provide your admin username and password, then click on the OK button. You will be redirected to the phpMyAdmin login page:
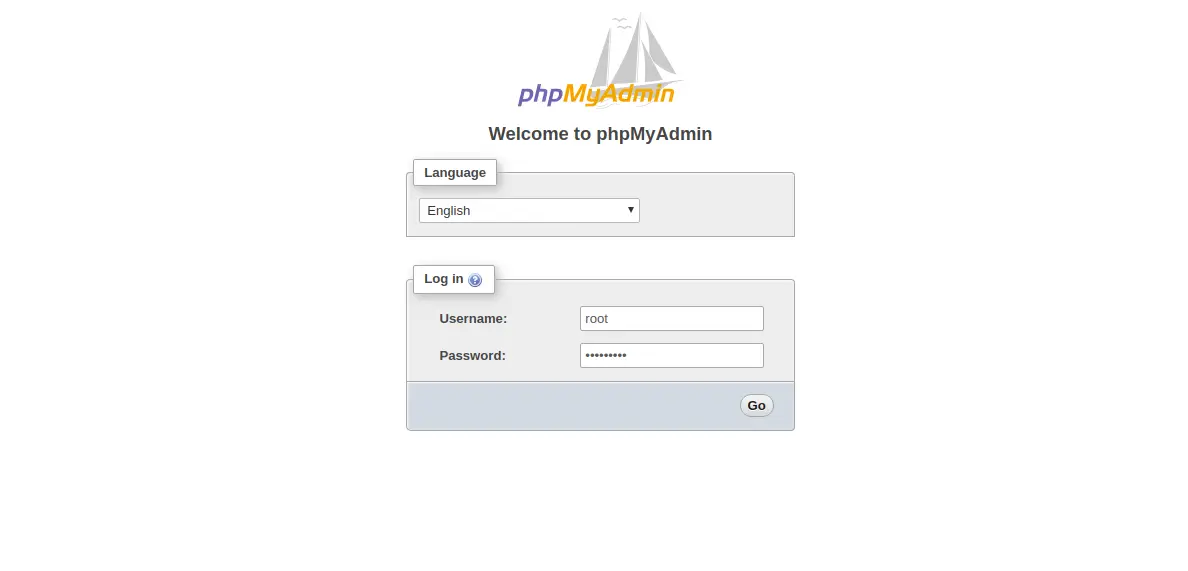
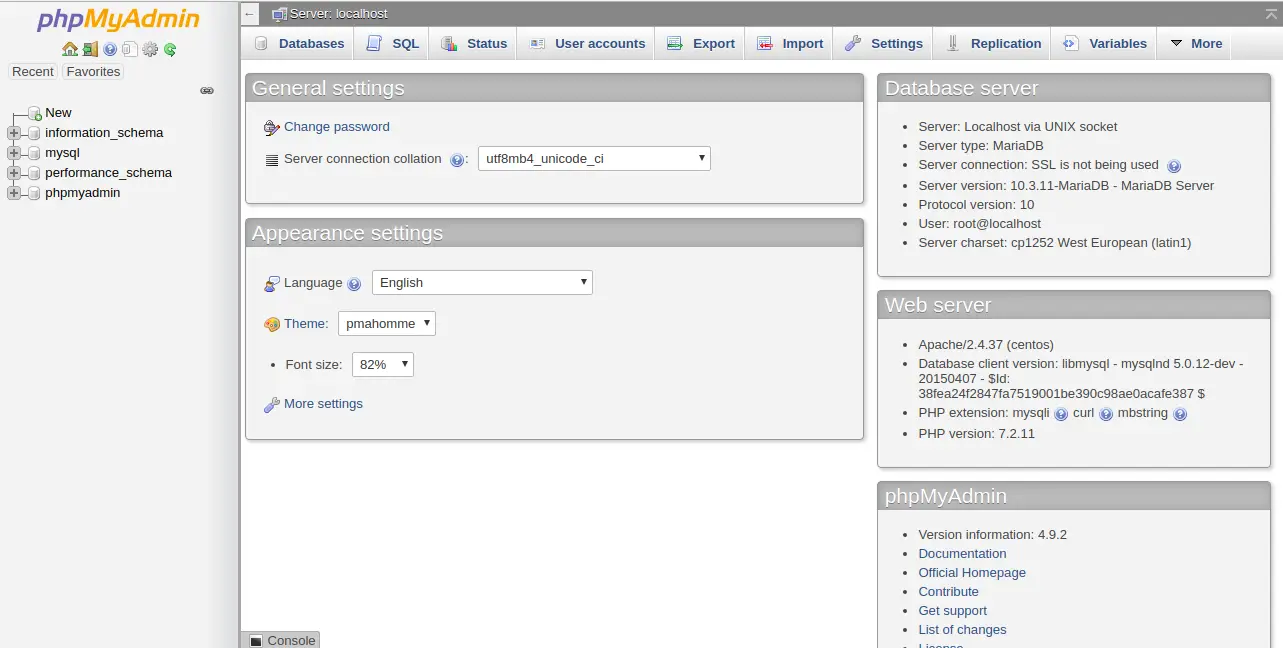
Now, provide your MySQL administrative user login credentials and click on the Go button. You should see the following page:
Conclusion
Congratulations! you have successfully installed and secured phpMyAdmin on CentOS 8 server. You can now create databases, users, tables and manage them from the web-based interface. Feel free to ask me if you have any questions.

