How to Install Django Web Application Framework on Debian 10
This tutorial exists for these OS versions
- Debian 12 (Bookworm)
- Debian 11 (Bullseye)
- Debian 10 (Buster)
On this page
Django is an open-source web application framework that helps you to develop dynamic websites and applications. It is secure, fast and stable which allows you to create a complex website with less coding. There are several ways to install Django on your system. You can install it using the Debian repository, Using PIP or from the Git repository. You can choose any method depending upon your needs. Django allows you to create a project in Python virtual environments. This way you can create multiple Django environments in a single system.
In this tutorial, we will learn how to install the Django web framework with PIP on Debian 10. We will also learn how to create a Django application and connect it with a database.
Prerequisites
- A server running Debian 10.
- A root password is configured on your server.
Getting Started
Before starting, update your system with the latest version. You can do it by running the following command:
apt-get update -y
 apt-get upgrade -y
Once your system is updated, restart it to apply the changes.
Install Django
Django is written in the Python language. So you will need to install Python dependencies on your system in order to install Django. You can install all of them with the following command:
apt-get install python3 python3-pip tree -y
After installing all the packages, you can verify the installed version of PIP with the following command:
pip3 -V
You should get the following output:
pip 18.1 from /usr/lib/python3/dist-packages/pip (python 3.7)
Now, you can proceed to install the Django using the PIP command as shown below:
pip3 install Django
Once the installation has been completed, check the Django version using the following command:
django-admin --version
You should see the following output:
3.0.2
At this point, Django has been installed on your server. You can now proceed to the next step.
Create a Django Project
Now let's start to create a sample Django project. First, change the directory to the /opt where you want to create a Django project:
cd /opt
Next, run the following command to create a new Django project called Dproject:
django-admin startproject Dproject
Once the project has been created, you can see the directory structure of this project with the following command:
tree
You should get the following output:
.
??? Dproject
    ??? Dproject
    ?   ??? asgi.py
    ?   ??? __init__.py
    ?   ??? settings.py
    ?   ??? urls.py
    ?   ??? wsgi.py
    ??? manage.py
Next, change the directory to the Dproject and migrate the pending changes with the following command:
cd Dproject
 python3 manage.py migrate
Once the migration has been completed successfully, you should see the following output:
Operations to perform:
  Apply all migrations: admin, auth, contenttypes, sessions
Running migrations:
  Applying contenttypes.0001_initial... OK
  Applying auth.0001_initial... OK
  Applying admin.0001_initial... OK
  Applying admin.0002_logentry_remove_auto_add... OK
  Applying admin.0003_logentry_add_action_flag_choices... OK
  Applying contenttypes.0002_remove_content_type_name... OK
  Applying auth.0002_alter_permission_name_max_length... OK
  Applying auth.0003_alter_user_email_max_length... OK
  Applying auth.0004_alter_user_username_opts... OK
  Applying auth.0005_alter_user_last_login_null... OK
  Applying auth.0006_require_contenttypes_0002... OK
  Applying auth.0007_alter_validators_add_error_messages... OK
  Applying auth.0008_alter_user_username_max_length... OK
  Applying auth.0009_alter_user_last_name_max_length... OK
  Applying auth.0010_alter_group_name_max_length... OK
  Applying auth.0011_update_proxy_permissions... OK
  Applying sessions.0001_initial... OK
At this point, a new Django project has been created inside /opt directory.
Create a Super User for Django
Next, you will need to create a superuser for Django to access the Django admin interface. You can create it with the following command:
python3 manage.py createsuperuser
Provide your desired username, email address and password as shown below:
Username (leave blank to use 'root'): admin
Email address: [email protected]
Password:
Password (again):
Superuser created successfully.
Start Django Server
By default, Django is not accessible from the remote system. So you will need to configure Django and define your server IP. You can do it by editing the file settings.py.
nano /opt/Dproject/Dproject/settings.py
Change the following line:
ALLOWED_HOSTS = ['your-server-ip']
Save and close the file when you are finished. Next, start the Django server with the following command:
cd /opt/Django
 python3 manage.py runserver 0.0.0.0:8000
Once the server is started successfully, you should get the following output:
Watching for file changes with StatReloader
Performing system checks...

System check identified no issues (0 silenced).
January 07, 2020 - 13:01:23
Django version 3.0.2, using settings 'Dproject.settings'
Starting development server at http://0.0.0.0:8000/
Quit the server with CONTROL-C.
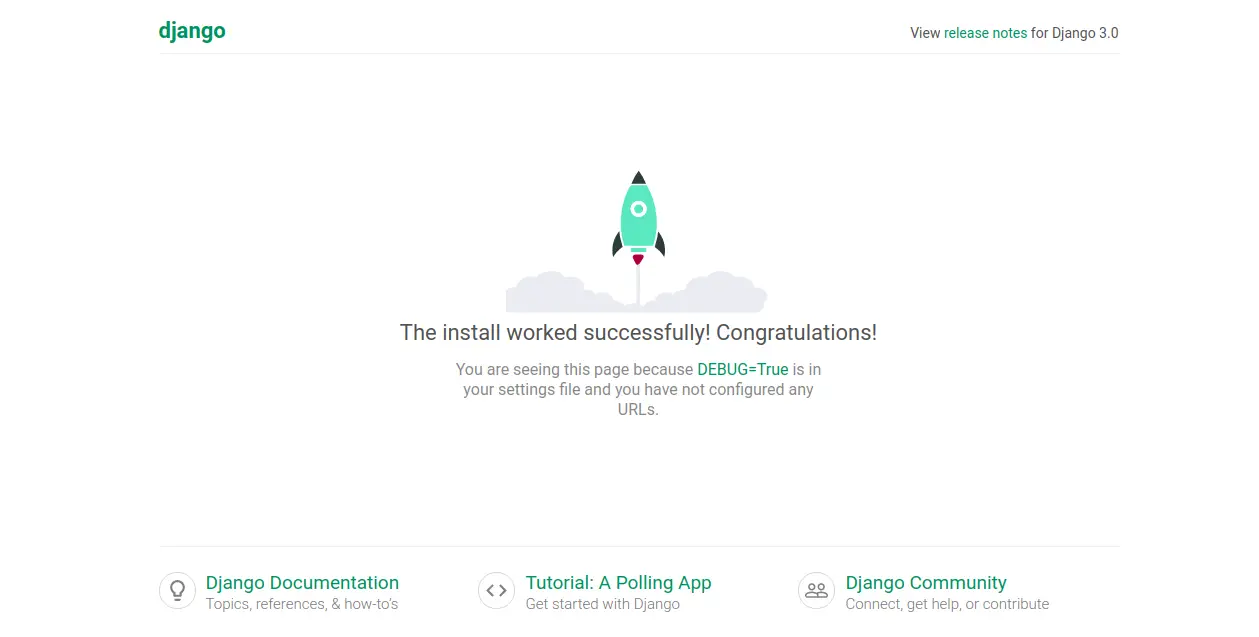
Access Django Application
At this point, Django application is started and listening on port 8000. To access it, open your web browser and type the URL http://your-server-ip:8000. You should see the Django application in the following screen:
To access the Django Admin interface, open your web browser and type the URL http://your-server-ip:8000/admin. You will be redirected to the Django login page:

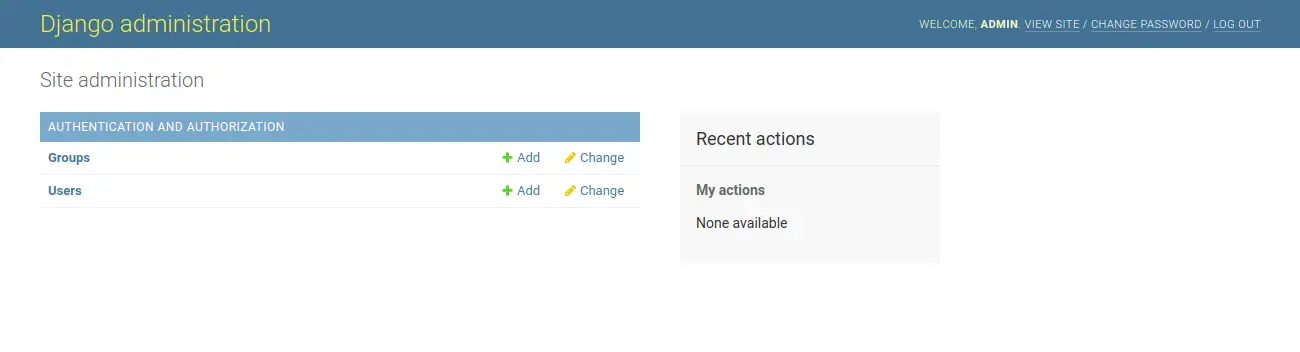
Provide your Django admin username, password and click on the Log in button. You should see the Django Admin interface in the following screen:
Install MariaDB Database Connector
Next, you will need to install the MariaDB database connector and other development packages in order to connect Django with the MariaDB database. You can install all of them using the following command:
apt-get install mariadb-server python3-dev libmariadb-dev libmariadbclient-dev -y
Once all the packages are installed, you can install the mysqlclient library using the PIP command as shown below:
pip3 install mysqlclient
Once installed, log in to the MariaDB shell with the following command:
mysql
Next, set the root password for MariaDB with the following command.
MariaDB [(none)]> SET PASSWORD FOR 'root'@'localhost' = PASSWORD("newpassword");
Next, create a database for Django with the following command:
MariaDB [(none)]> create database testdb;
You can see the database created above using the following command:
MariaDB [(none)]> show databases;
You should get the following output:
+--------------------+
| Database           |
+--------------------+
| information_schema |
| mysql              |
| performance_schema |
| testdb             |
+--------------------+
Next, flush the privileges and exit from the MariaDB shell with the following command:
MariaDB [(none)]> flush privileges;
 MariaDB [(none)]> exit;
Configure Django for MariaDB Connection
Next, you will need to define MariaDB database credentials in Django. You can define it by editing the file settings.py:
nano /opt/Dproject/Dproject/settings.py
Find the following lines:
DATABASES = {
    'default': {
        'ENGINE': 'django.db.backends.sqlite3',
        'NAME': os.path.join(BASE_DIR, 'db.sqlite3'),
    }
}
And replace them with the following lines:
DATABASES = {
    'default': {
        'ENGINE': 'django.db.backends.mysql',
        'OPTIONS': {
        'read_default_file': '/etc/mysql/mariadb.conf.d/50-client.cnf',
        },
    }
}
Save and close the file when you are finished. Then, edit the MariaDB client credential file as shown below:
nano /etc/mysql/mariadb.conf.d/50-client.cnf
Define your MariaDB database credentials as shown below:
[client]
database = testdb
user = root
password = newpassword
default-character-set = utf8
Save and close the file then restart the MariaDB service to implement the changes:
systemctl restart mariadb
Next, change the directory to the Django project and migrate the new changes with the following command:
cd /opt/Dproject
 python3 manage.py migrate
Once the migration has been completed successfully, you can proceed to the next step.
Test MariaDB Connection
At this point, Django is configured to connect the MariaDB database. It's time to test it.
To do so, start the Django server with the following command:
cd /opt/Django
 python3 manage.py runserver 0.0.0.0:8000
Once the Django server has been started successfully, you should get the following output:
Watching for file changes with StatReloader
Performing system checks...

System check identified no issues (0 silenced).
January 07, 2020 - 13:30:49
Django version 3.0.2, using settings 'Dproject.settings'
Starting development server at http://0.0.0.0:8000/
Quit the server with CONTROL-C.
You can now access your Django application using the URL http://your-server-ip:8000. You should see your Django application in the following screen:

After testing, you can stop the Django server any type by pressing CTRL + C in your terminal.
Conclusion
Congratulations! you have successfully installed Django and connect it with the MariaDB database on Debian 10 server. You can now start developing your web application and apply migrations in your Django application. Feel free to ask me if you have any questions.

