How to Install Apache ActiveMQ and Hawt.io on CentOS 8
On this page
- Prerequisites
- Install Java
- Install and Configure Apache ActiveMQ
- Create Systemd Service File for ActiveMQ
- Set Apache ActiveMQ Admin Password
- Configure Nginx as a Reverse Proxy for Apache ActiveMQ
- Configure SELinux and Firewall
- Access Apache ActiveMQ
- Monitor ActiveMQ With Hawt.io
- Access Hawt.io Web Interface
- Conclusion
Apache ActiveMQ is a free, open-source and Java-based message broker that can be used to send messages between two applications. It offers many features including, high-availability and message load-balancing for your data. It also supports several languages client and protocols including, Java, C, C++, Python, PHP, Perl, Ruby and C#. It translates messages from sender to receiver and allows messages to be held in queue.
In this tutorial, we will learn how to install Apache ActiveMQ on CentOS 8.
Prerequisites
- A server running CentOS 8.
- A root password is configured on your server.
Install Java
Apache ActiveMQ is a Java-based application so Java must be installed in your system. If not installed, you can install it with the following command:
dnf install java-11-openjdk-devel -y
After installing Java, verify the installed version of Java with the following command:
java --version
You should get the following output:
openjdk 11.0.6 2020-01-14 LTS
OpenJDK Runtime Environment 18.9 (build 11.0.6+10-LTS)
OpenJDK 64-Bit Server VM 18.9 (build 11.0.6+10-LTS, mixed mode, sharing)
Install and Configure Apache ActiveMQ
First, you will need to download the latest version of ActiveMQ from their official website. You can download it with the following command:
cd /opt
 wget https://www.apache.org/dist/activemq/5.15.12/apache-activemq-5.15.12-bin.tar.gz
Once downloaded, extract the downloaded file with the following command:
tar -xvzf apache-activemq-5.15.12-bin.tar.gz
Next, rename the extracted directory apache-activemq with the following command:
mv apache-activemq-5.15.12 apache-activemq
Next, it is a good idea to create a separate user for Apache ActiveMQ. You can create a new user named activemq with the following command:
useradd activemq
Next, change the ownership of the apache-activemq directory to activemq:
chown -R activemq:activemq /opt/apache-activemq/
Once you are finished, you can proceed to the next step.
Create Systemd Service File for ActiveMQ
Next, you will need to create a systemd service file to manage the Apache ActiveMQ service. You can create it with the following command:
nano /etc/systemd/system/apache-activemq.service
Add the following lines:
[Unit]
Description=Apache ActiveMQ Messaging Server
After=network.target

[Service]
Type=forking
User=activemq
Group=activemq

ExecStart=/opt/apache-activemq/bin/activemq start
ExecStop=/opt/apache-activemq/bin/activemq stop

[Install]
WantedBy=multi-user.target
Save and close the file when you are finished. Then, reload the systemd daemon with the following command:
systemctl daemon-reload
Next, start the ActiveMQ service and enable it to start after system reboot with the following command:
systemctl start apache-activemq
 systemctl enable apache-activemq
You can verify the status of ActiveMQ service with the following command:
systemctl status apache-activemq
You should see the following output:
? apache-activemq.service - Apache ActiveMQ Messaging Server
   Loaded: loaded (/etc/systemd/system/apache-activemq.service; disabled; vendor preset: disabled)
   Active: active (running) since Thu 2020-03-26 10:15:32 EDT; 12s ago
  Process: 9005 ExecStart=/opt/apache-activemq/bin/activemq start (code=exited, status=0/SUCCESS)
 Main PID: 9057 (java)
    Tasks: 49 (limit: 25028)
   Memory: 197.5M
   CGroup: /system.slice/apache-activemq.service
           ??9057 /usr/bin/java -Xms64M -Xmx1G -Djava.util.logging.config.file=logging.properties -Djava.security.auth.login.config=/opt/apach>

Mar 26 10:15:32 centos8 systemd[1]: Starting Apache ActiveMQ Messaging Server...
Mar 26 10:15:32 centos8 activemq[9005]: INFO: Loading '/opt/apache-activemq//bin/env'
Mar 26 10:15:32 centos8 activemq[9005]: INFO: Using java '/usr/bin/java'
Mar 26 10:15:32 centos8 activemq[9005]: INFO: Starting - inspect logfiles specified in logging.properties and log4j.properties to get details
Mar 26 10:15:32 centos8 activemq[9005]: INFO: pidfile created : '/opt/apache-activemq//data/activemq.pid' (pid '9057')
Mar 26 10:15:32 centos8 systemd[1]: Started Apache ActiveMQ Messaging Server.
By default, Apache ActiveMQ listen on port 8161. You can check it with the following command:
netstat -antup | grep 8161
You should get the following output:
tcp6 0 0 :::8161 :::* LISTEN 9289/java
Set Apache ActiveMQ Admin Password
By default, Apache ActiveMQ admin username and password are set to admin/admin. It is very dangerous for security reasons. So it is recommended to change it with secure password.
You can change it by editing the following file:
nano /opt/apache-activemq/conf/jetty-realm.properties
Change the following lines with your desire password:
# username: password [,rolename ...]
admin: activemqpassword, admin
user: userpassword, user
Save and close the file when you are finished. Then, restart the ActiveMQ service to apply the changes:
systemctl restart apache-activemq
Once you are finished, you can proceed to the next step.
Configure Nginx as a Reverse Proxy for Apache ActiveMQ
Next, it is recommended to configure Nginx as a reverse proxy for ActiveMQ.
First, install the Nginx web server with the following command:
dnf install nginx -y
Once the Nginx is installed, create a new Nginx virtual host configuration file with the following command:
nano /etc/nginx/conf.d/activemq.conf
Add the following lines:
server {
    listen 80;
    server_name your-server-ip;
    location / {
        proxy_pass http://127.0.0.1:8161;
        proxy_http_version 1.1;
        proxy_set_header Upgrade $http_upgrade;
        proxy_set_header Connection 'upgrade';
        proxy_set_header Host $host;
        proxy_cache_bypass $http_upgrade;
     }
}
Save and close the file when you are finished. Then, check Nginx for any syntax error with the following command:
nginx -t
You should see the following output:
nginx: the configuration file /etc/nginx/nginx.conf syntax is ok
nginx: configuration file /etc/nginx/nginx.conf test is successful
Finally, start the Nginx service and enable it to start after system reboot with the following command:
systemctl start nginx
 systemctl enable nginx
You can also verify the Nginx status using the following command:
systemctl status nginx
You should see the following output:
? nginx.service - The nginx HTTP and reverse proxy server
   Loaded: loaded (/usr/lib/systemd/system/nginx.service; disabled; vendor preset: disabled)
   Active: active (running) since Thu 2020-03-26 10:27:45 EDT; 1min 9s ago
  Process: 9984 ExecStart=/usr/sbin/nginx (code=exited, status=0/SUCCESS)
  Process: 9982 ExecStartPre=/usr/sbin/nginx -t (code=exited, status=0/SUCCESS)
  Process: 9980 ExecStartPre=/usr/bin/rm -f /run/nginx.pid (code=exited, status=0/SUCCESS)
 Main PID: 9985 (nginx)
    Tasks: 3 (limit: 25028)
   Memory: 5.5M
   CGroup: /system.slice/nginx.service
           ??9985 nginx: master process /usr/sbin/nginx
           ??9986 nginx: worker process
           ??9987 nginx: worker process

Mar 26 10:27:44 centos8 systemd[1]: Starting The nginx HTTP and reverse proxy server...
Configure SELinux and Firewall
By default, SELinux is enabled in CentOS 8. It is recommended to disable SELinux to work Apache ActiveMQ properly.
You can disable the SELinux by editing /etc/selinux/config file:
nano /etc/selinux/config
Find the following line:
SELINUX=enforcing
And, replace it with the following line:
SELINUX=permissive
Save and close the file. Then, restart your system to apply the changes:
Next, you will need to allow port 80 and 8161 through firewalld. You can allow them with the following command:
firewall-cmd --zone=public --permanent --add-port=8161/tcp
 firewall-cmd --zone=public --permanent --add-port=80/tcp
Next, reload the firewalld to apply the changes:
firewall-cmd --reload
Once you are finished, you can proceed to the next step.
Access Apache ActiveMQ
At this point, Apache ActiveMQ is installed and configured.
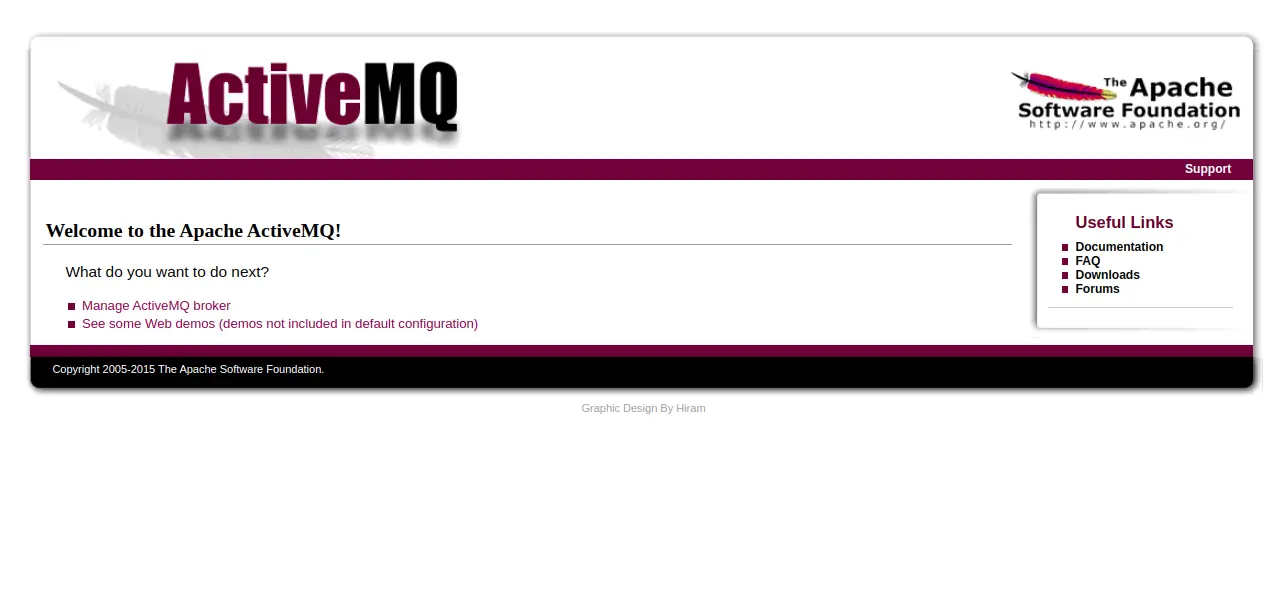
Now, open your web browser and type the URL http://your-server-ip. You should see the following page:
You can also access the Apache ActiveMQ admin interface by visiting the URL http://your-server-ip/admin. You will be redirected to the following page:
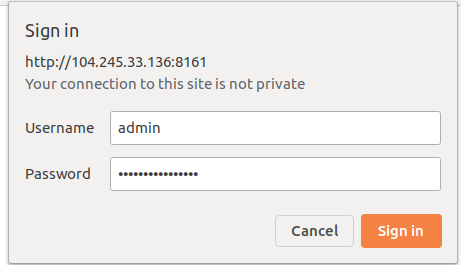
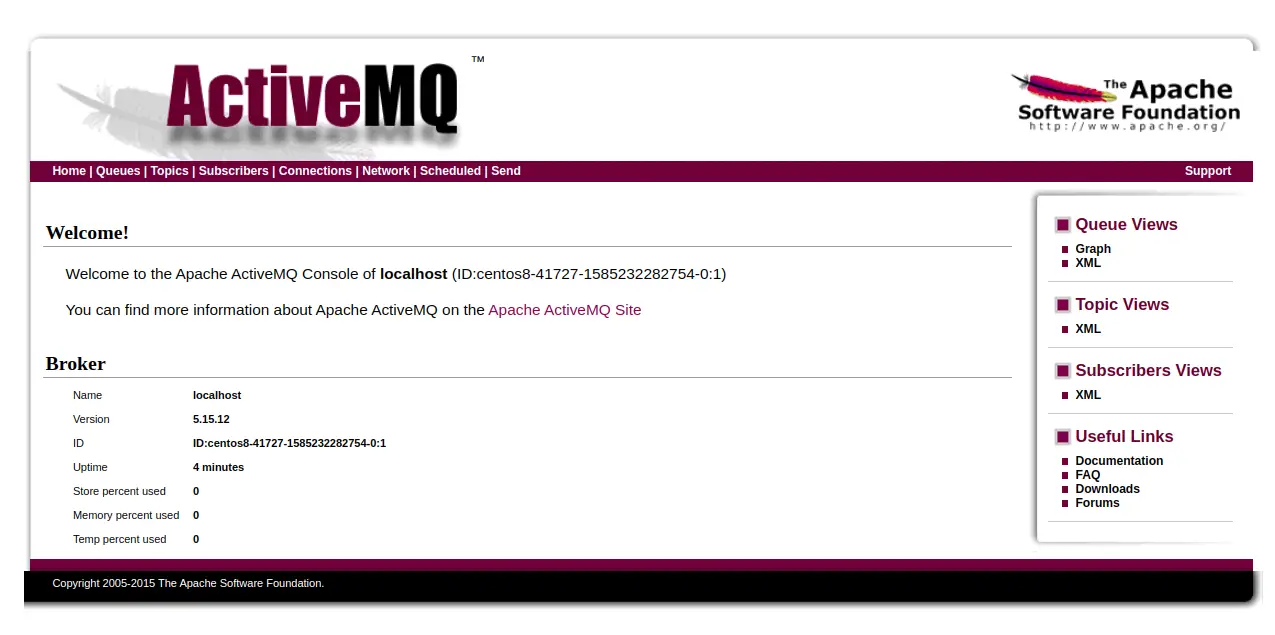
Provide your admin username, password and click on the Sign in button. You should see the Apache ActiveMQ admin interface in the following page:
Monitor ActiveMQ With Hawt.io
You can also monitor your Apache ActiveMQ with Hawt.io. Hawt.io is a modular web console for managing your Java-based application. It is a pluggable management console that supports any kind of JVM, any kind of container including, Tomcat, Jetty, Karaf, JBoss and many more.
First, download the latest version of Hawt.io war file with the following command:
wget https://repo1.maven.org/maven2/io/hawt/hawtio-default/2.9.1/hawtio-default-2.9.1.war
Next, extract the downloaded file with the following command:
unzip hawtio-default-2.9.1.war -d hawtio
Next, move the extracted directory to the webapps directory with the following command:
mv hawtio /opt/apache-activemq/webapps/
Next, change the ownership of the webapps directory to activemq with the following command:
chown -R activemq:activemq /opt/apache-activemq/webapps/
Next, edit the Apache ActiveMQ environment file and make some changes:
nano /opt/apache-activemq/bin/env
Find the following line:
ACTIVEMQ_OPTS="$ACTIVEMQ_OPTS_MEMORY -Djava.util.logging.config.file=logging.properties -Djava.security.auth.login.config=$ACTIVEMQ_CONF/login.config"
Replace it with the following line:
ACTIVEMQ_OPTS="$ACTIVEMQ_OPTS_MEMORY -Djava.util.logging.config.file=logging.properties -Djava.security.auth.login.config=$ACTIVEMQ_CONF/login.config -Dhawtio.realm=activemq -Dhawtio.role=admins -Dhawtio.rolePrincipalClasses=org.apache.activemq.jaas.GroupPrincipal"
Save and close the file when you are finished. Next, open jetty.xml file:
nano /opt/apache-activemq/conf/jetty.xml
Add the following line below the line <ref bean="rewriteHandler">:
<bean class="org.eclipse.jetty.webapp.WebAppContext">
<property name="contextPath" value="/hawtio" />
<property name="resourceBase" value="${activemq.home}/webapps/hawtio" />
<property name="logUrlOnStart" value="true" />
</bean>
Save and close the file when you are finished then restart the Apache ActiveMQ service to apply the changes:
systemctl restart apache-activemq
Once you are finished, you can proceed to the next step.
Access Hawt.io Web Interface
Hawt.io is now installed and configured. It's time to access its web interface.
Open your web browser and type the URL http://your-server-ip/hawtio. You will be redirected to the Hawt.io login page:
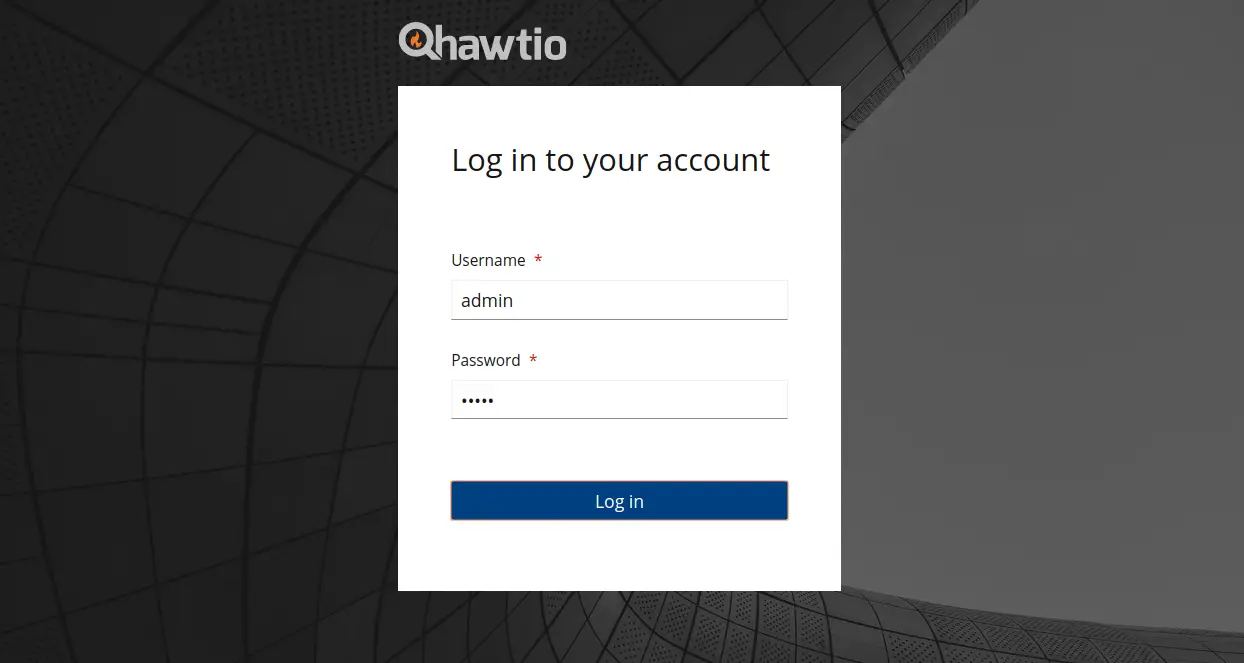
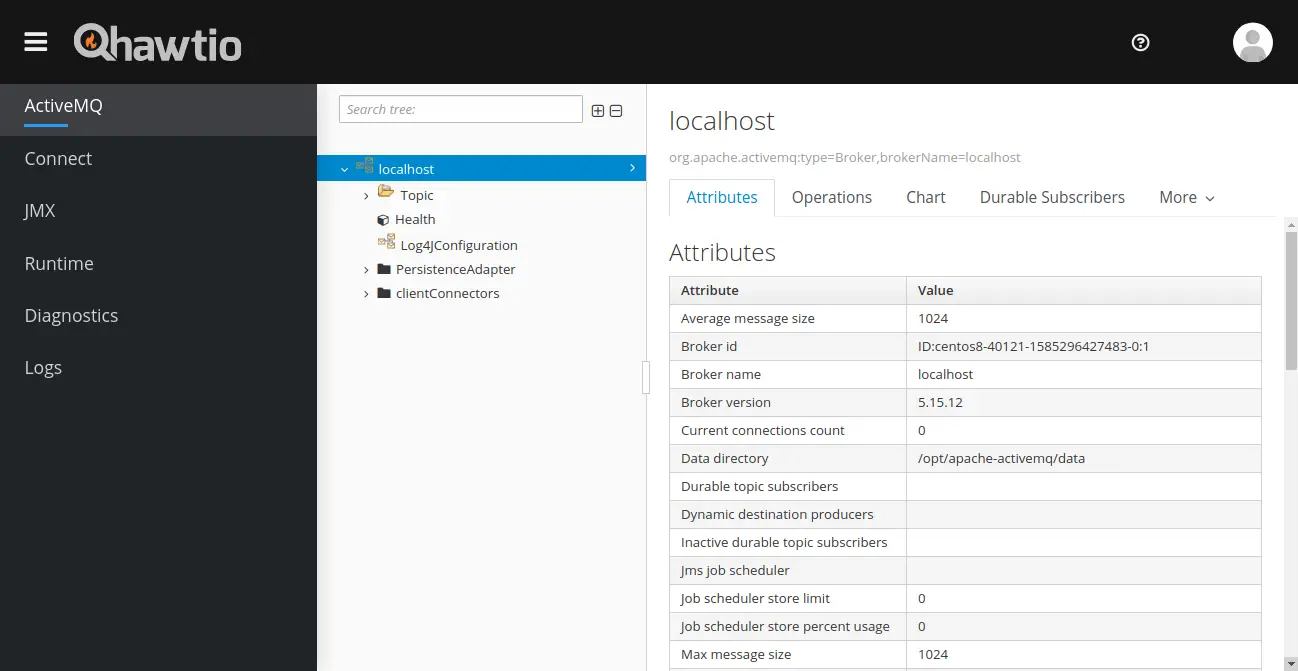
Provide default username and password as admin/admin and click on the Log in button. You should see the Hawt.io dashboard in the following page:
Conclusion
Congratulations! you have successfully installed Apache ActiveMQ on CentOS 8. For more information, visit the Apache ActiveMQ documentation at ActiveMQ.

