How to Install Nginx with PHP and MariaDB (LEMP Stack) with Opcache, Redis and Let's Encrypt on Fedora 32
This tutorial exists for these OS versions
On this page
A LEMP software stack is a group of open-source software that is installed together to enable a server to host websites and apps. It is an acronym for Linux, ENginx server, MySQL (using MariaDB), and PHP.
In this guide, you will install a LEMP stack on a Fedora 32 based server. We will also install phpMyAdmin, Redis, Opcache, and Let's Encrypt SSL.
Prerequisites
A server running Fedora 32.
A non-root sudo user.
Make sure everything is updated.
$ sudo dnf upgrade
Few packages that your system needs.
$ sudo dnf install wget curl nano -y
Some of these packages may already be installed on your system.
Disable SELinux.
$ sudo setenforce 0
Configure Firewall
The first step is to configure the firewall. Fedora server comes with Firewalld firewall preinstalled.
Check if the firewall is running.
$ sudo firewall-cmd --state
You should get the following output.
running
Set the default zone of the firewall to public.
$ sudo firewall-cmd --set-default-zone=public
Check the current allowed services/ports.
$ sudo firewall-cmd --zone=public --permanent --list-services
It should show the following output.
dhcpv6-client mdns ssh
Allow HTTP and HTTPS ports.
$ sudo firewall-cmd --zone=public --permanent --add-service=http
$ sudo firewall-cmd --zone=public --permanent --add-service=https
Check the status of the firewall again.
$ sudo firewall-cmd --zone=public --permanent --list-services
You should see a similar output.
dhcpv6-client http https mdns ssh
Reload the Firewall.
$ sudo systemctl reload firewalld
Install PHP
Fedora 32 by default ships with PHP 7.4 but to have an updated PHP repository, we will add the REMI repository.
Install the REMI repository which is the official Fedora repository for installing PHP packages.
$ sudo dnf -y install https://rpms.remirepo.net/fedora/remi-release-32.rpm
Enable the remi repository and disable the remi-modular repository. This enables the repository required to install PHP 7.4 packages.
$ sudo dnf config-manager --set-enabled remi
$ sudo dnf config-manager --set-disabled remi-modular
Install PHP 7.4 along with some additional packages.
$ sudo dnf install -y php-cli php-fpm php-mysqlnd
Check if PHP is working correctly.
$ php --version
You should see a similar output.
PHP 7.4.6 (cli) (built: May 12 2020 08:09:15) ( NTS )
Copyright (c) The PHP Group
Zend Engine v3.4.0, Copyright (c) Zend Technologies
Install MariaDB
MariaDB is a drop-in replacement for MySQL which means commands to run and operate MariaDB are the same as those for MySQL.
Fedora 32 by default ships with MariaDB 10.4 which is the latest stable version available as of now so we will be using that.
To install MariaDB issue the following command.
$ sudo dnf install mariadb-server -y
Check if MariaDB installed correctly.
$ mysql --version
You should see the following output.
mysql Ver 15.1 Distrib 10.4.12-MariaDB, for Linux (x86_64) using EditLine wrapper
Enable and start the MariaDB service.
$ sudo systemctl enable mariadb
$ sudo systemctl start mariadb
Run the following command to perform default configuration such as giving a root password, removing anonymous users, disallowing root login remotely and dropping test tables.
$ sudo mysql_secure_installation
With MariaDB 10.4, you will now be asked between using the root password or unix_socket plugin. The unix_socket plugin allows you to log in to MariaDB with your Linux user credentials. It is considered more secure though you will need a traditional username/password to use 3rd party apps like phpMyAdmin. We will stick to using unix_socket plugin for this tutorial. You can still use phpMyAdmin via any user you specific user you create for your databases.
Pressing Enter chooses the default option (the one that is capitalised, Y in this case).
NOTE: RUNNING ALL PARTS OF THIS SCRIPT IS RECOMMENDED FOR ALL MariaDB
      SERVERS IN PRODUCTION USE!  PLEASE READ EACH STEP CAREFULLY!

In order to log into MariaDB to secure it, we'll need the current
password for the root user. If you've just installed MariaDB, and
haven't set the root password yet, you should just press enter here.

Enter current password for root (enter for none): [PRESS ENTER]
OK, successfully used password, moving on...

Setting the root password or using the unix_socket ensures that nobody
can log into the MariaDB root user without the proper authorisation.

You already have your root account protected, so you can safely answer 'n'.

Switch to unix_socket authentication [Y/n] [PRESS ENTER]
Enabled successfully!
Reloading privilege tables..
 ... Success!

You already have your root account protected, so you can safely answer 'n'.

Change the root password? [Y/n] [ANSWER n]
... skipping.

By default, a MariaDB installation has an anonymous user, allowing anyone
to log into MariaDB without having to have a user account created for
them.  This is intended only for testing, and to make the installation
go a bit smoother.  You should remove them before moving into a
production environment.

Remove anonymous users? [Y/n] [PRESS ENTER]
 ... Success!

Normally, root should only be allowed to connect from 'localhost'.  This
ensures that someone cannot guess at the root password from the network.

Disallow root login remotely? [Y/n] [PRESS ENTER]
 ... Success!

By default, MariaDB comes with a database named 'test' that anyone can
access.  This is also intended only for testing, and should be removed
before moving into a production environment.

Remove test database and access to it? [Y/n] [PRESS ENTER]
 \- Dropping test database...
 ... Success!
 \- Removing privileges on test database...
 ... Success!

Reloading the privilege tables will ensure that all changes made so far
will take effect immediately.

Reload privilege tables now? [Y/n] [PRESS ENTER]
 ... Success!

Cleaning up...

All done!  If you've completed all of the above steps, your MariaDB
installation should now be secure.

Thanks for using MariaDB!
That's it. Next time you want to login to MySQL, use the following command
$ sudo mysql
Enter your root password when prompted.
Install Redis
Fedora 32 contains v5.0.8 of Redis package but the Remi repository we installed earlier for PHP carries with it the latest version of Redis (v6.0.1) at the time of writing this tutorial.
Use the following command to install Redis and the corresponding PHP Redis extension.
$ sudo dnf install redis php-redis
Enable the Redis service.
$ sudo systemctl enable --now redis
Configure Redis Server
Let us perform some basic configurations on the Redis server.
Open the file /etc/redis.conf with Nano editor.
$ sudo nano /etc/redis.conf
If you want remote clients to connect to your Redis instance then find the line bind 127.0.0.1 and change it to the following.
bind 0.0.0.0
You can also change the default port on which Redis listens to from 6379 to a value of your choice.
port 3458
To configure Redis as a cache server, set the following values as given.
maxmemory 256mb
maxmemory-policy allkeys-lru
This tells Redis to remove any key using the LRU algorithm when the maximum memory of 256MB is reached. You can set the memory value as per your requirement and the server you are using.
You can set a password so that any client which needs Redis will be required to authenticate first. To do that set a password using the following directive.
requirepass <AuthPassword>
You can find more directives to change in the configuration file. Once you are finished, press Ctrl + X and enter Y when prompted to save the file.
Restart the Redis server to apply the changes.
$ sudo systemctl restart redis
We will also need to add the rule in our Firewall to allow Redis to work.
$ sudo firewall-cmd --zone=public --permanent --add-port=6379/tcp
$ sudo firewall-cmd --reload
You will need to change the value in the above command to match whatever port you chose in the configuration file above.
Install Nginx
Fedora 32 by default ships with Nginx's latest Stable version. (1.18.0).
Install Nginx.
$ sudo dnf install nginx -y
Check if it is working correctly.
$ nginx -v
You should see the following output depending upon the version of Nginx you chose to install.
nginx version: nginx/1.18.0
Start and enable Nginx.
$ sudo systemctl start nginx
$ sudo systemctl enable nginx
Open your server's IP address in a browser to see the following page. It means Nginx is working properly.
Configure Nginx
Set up directories where the server blocks will live.
$ sudo mkdir /etc/nginx/sites-available
$ sudo mkdir /etc/nginx/sites-enabled
Create the directory where your site will live.
$ sudo mkdir /var/www/example.com/html -p
Using the -p directive creates parent directories which didn't exist before.
Run the following command to add a configuration file for your site.
$ sudo nano /etc/nginx/sites-available/example.com.conf
Paste the following code in the editor.
server {
  listen          *:80;
  server_name     example.com;
  root            /var/www/example.com/html;
  index           index.php index.html;

  location / {
    try_files   $uri $uri/ =404;
  }

  access_log /var/log/nginx/example.com.access.log;
  error_log /var/log/nginx/example.com.error.log;

  location ~ \.php$ {
    try_files $uri =404;
    fastcgi_pass  unix:/run/php-fpm/www.sock;
    fastcgi_param SCRIPT_FILENAME $document_root$fastcgi_script_name;
    fastcgi_index index.php;
    include  fastcgi_params;
  }
}
Press Ctrl + X to close the editor and press Y when prompted to save the file.
This file assumes that we will be hosting example.com in the directory /var/www/html. If you are not going to use any domain and configuring your server to be accessible just via the IP address/localhost, you will need to remove corresponding server block settings from the nginx.conf file otherwise it will mess with the server block you will create.
Activate this configuration file by linking it to the sites-enabled directory.
$ sudo ln -s /etc/nginx/sites-available/example.com.conf /etc/nginx/sites-enabled/
Open the /etc/nginx/nginx.conf file for editing.
$ sudo nano /etc/nginx/nginx.conf
Paste the following lines after the line include /etc/nginx/conf.d/*.conf
include /etc/nginx/sites-enabled/*.conf;
server_names_hash_bucket_size 64;
Change the value of types_hash_max_size from 2048 to 4096.
types_hash_max_size 4096;
Press Ctrl + X to close the editor and press Y when prompted to save the file. Test the Nginx configuration.
$ sudo nginx -t
You should see the following output indicating your configuration is correct.
nginx: the configuration file /etc/nginx/nginx.conf syntax is ok
nginx: configuration file /etc/nginx/nginx.conf test is successful
Reload the Nginx service.
$ sudo systemctl reload nginx
Configure PHP-FPM
Open the file /etc/php-fpm.d/www.conf.
$ sudo nano /etc/php-fpm.d/www.conf
We need to set the Unix user/group of PHP processes to nginx. Find the user=apache and group=apache lines in the file and change them to nginx.
...
; Unix user/group of processes
; Note: The user is mandatory. If the group is not set, the default user's group
;       will be used.
; RPM: apache user chosen to provide access to the same directories as httpd
user = nginx
; RPM: Keep a group allowed to write in log dir.
group = nginx
...
Save the file by pressing Ctrl + X and entering Y when prompted.
Restart the PHP-fpm process.
$ sudo systemctl restart php-fpm
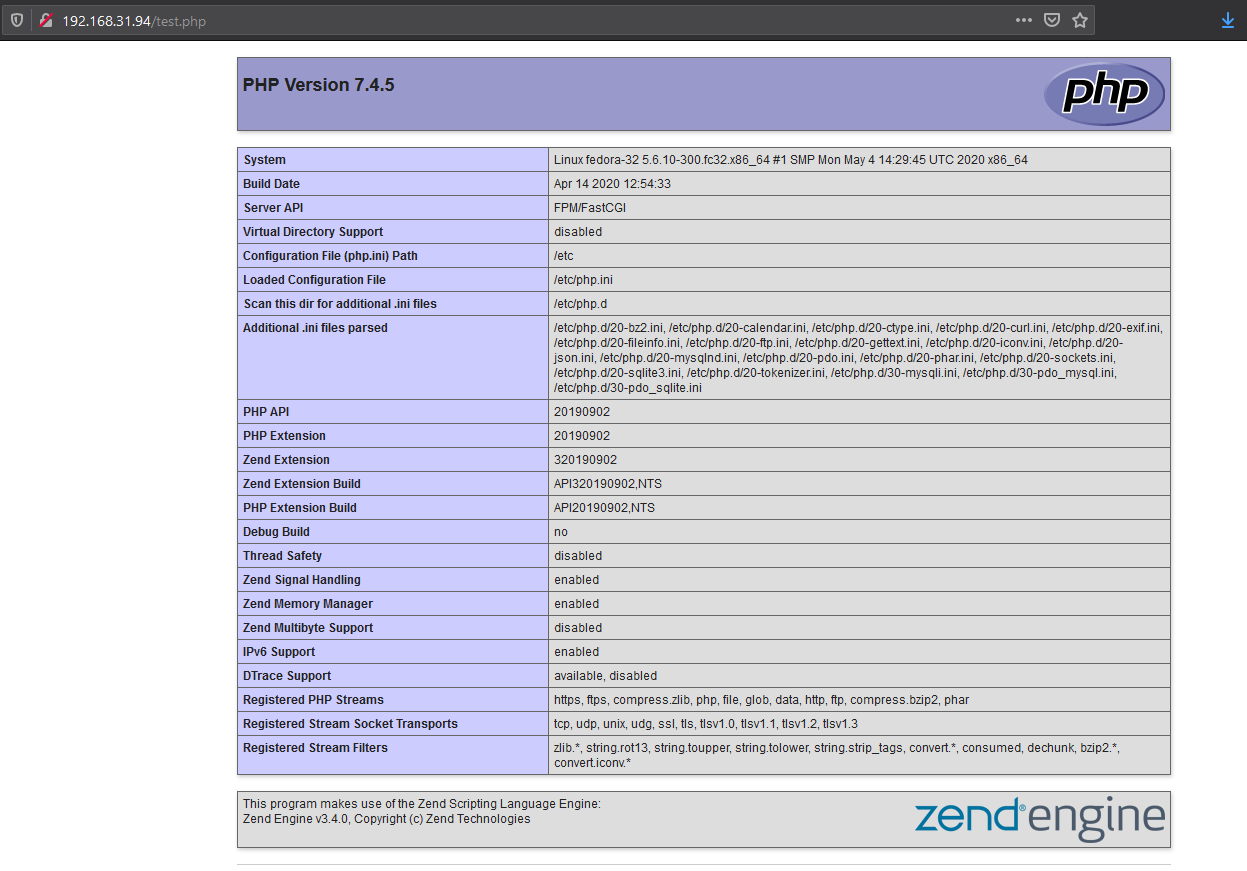
To test your PHP setup, create a file test.php in the html folder.
$ sudo nano /var/www/example.com/html/test.php
Add the following content to it and save the file by pressing Ctrl + X and entering Y when prompted.
<?php phpinfo();
Launch http://<yourserverip>/test.php in your web browser and you should see the following.
Install phpMyAdmin
Remi Repository carries the latest phpMyAdmin so we can simply install it by using the following command.
$ sudo dnf install phpmyadmin
It installs itself into the /usr/share/phpMyAdmin directory.
Configure phpMyAdmin
For Nginx webserver to find and serve phpMyAdmin files correctly, we will need to create a symbolic link from its actual location to Nginx's root document directory.
To do this, run the following command.
$ sudo ln -s /usr/share/phpmyadmin /var/www/example.com/html/phpmyadmin
Your phpMyAdmin installation is operational. To access it, just open http://example.com/phpmyadmin.
If you get php session errors, run the following command to give proper permissions to the PHP Session directory. Check your session path from the test.php file we created earlier. For us it is at /var/lib/php/session.
$ sudo chown -R nginx:nginx /var/lib/php/session
By default, this default location should be changed as it is the most common location any hacker can locate your phpMyAdmin install. To do this, run the following command.
$ sudo mv phpmyadmin sm123
Basically, we moved our phpMyAdmin location to sm123 folder. To access it, you will now need to open http://example.com/sm123 in your browser.
Since we are using unix_authentication with MySQL here, there is no root user to log into via phpMyAdmin. You will have to create a MySQL user first and give it privileges to databases to be able to use phpMyAdmin.
Configure Opcache
Installing phpMyAdmin from Remi's repository installs Opcache as well. In case, you haven't installed phpMyAdmin and don't want to, you can simply install Opcache using the following command.
$ sudo dnf install php-opcache
Verify that it has been installed.
$ php -v
PHP 7.4.5 (cli) (built: Apr 14 2020 12:54:33) ( NTS )
Copyright (c) The PHP Group
Zend Engine v3.4.0, Copyright (c) Zend Technologies
    with Zend OPcache v7.4.5, Copyright (c), by Zend Technologies
To change Opcache settings, open the file /etc/php.d/10-opcache.ini.
$ sudo nano /etc/php.d/10-opcache.ini
The following settings should get you started with using Opcache and are generally recommended as good performance. You can enable a configuration by uncommenting it by removing ; in front of it.
opcache.enable_cli=1
opcache.memory_consumption=128
opcache.interned_strings_buffer=8
opcache.max_accelerated_files=4000
opcache.revalidate_freq=60
Save the file by pressing Ctrl + X and entering Y when prompted.
Restart your server to apply the settings.
$ sudo systemctl reload nginx
Install SSL via Let's Encrypt
SSL has become an essential part of any website. Here we will be installing SSL using Let's Encrypt service.
For that, first, install Certbot tool.
$ sudo dnf install certbot-nginx
Generate the certificates.
$ sudo certbot --nginx -d example.com -d www.example.com -d phpmyadmin.example.com
We are creating certificates for both - our main site and phpMyAdmin domain.
If this is your first time running certbot on your system, you will be asked for an email address and to agree to the terms of service. You will also be asked whether you agree to share data with EFF foundation which you can say no to. After doing so, certbot will communicate with Let's Encrypt servers and run a challenge to verify your domains.
If that is successful, you will be asked how to handle HTTPS redirects.
Please choose whether HTTPS access is required or optional.
-------------------------------------------------------------------------------
1: Easy - Allow both HTTP and HTTPS access to these sites
2: Secure - Make all requests redirect to secure HTTPS access
-------------------------------------------------------------------------------
Select the appropriate number [1-2] then [enter] (press 'c' to cancel):
Select your choice and press enter. Your certificates will be created and your Nginx configuration will be updated with SSL settings.
Your certificates are ready and you can open your site now by going to https://example.com
Configuring SSL Auto-Renewal
This is the last step before we end this tutorial. To renew the SSL, we will use cron.
We need to add an entry to Cron by using Crontab editor. To open the crontab editor, run the following command.
$ EDITOR=nano sudo crontab -e
EDITOR=nano in front of the command ensures crontab opens Nano editor for us because Fedora by default prefers VIM editor.
Paste the following line at the bottom.
. . .
25 2 * * * /usr/bin/certbot renew --quiet
The 25 2 * * * part of this line means “run the following command at 2:25 am, every day”. You may choose any time.
Save the file by pressing Ctrl + X and entering Y when prompted.
The renew command for Certbot will check all certificates installed on the system and update any that are set to expire in less than thirty days. --quiet tells Certbot not to output information or wait for user input.
This command will be run daily.
Conclusion
That's all to this tutorial. Your LEMP Setup is complete and you can start making and hosting your websites and applications.

