Create Taints and Tolerations in Kubernetes
On this page
Taints and tolerations work together to make sure that pods are not scheduled onto inappropriate nodes. One or more taints can be applied to a node, this means that the node should not accept any pods that do not tolerate the taints. The pods that have toleration can only be deployed on those nodes with the taints.
For example, if you want to dedicate some nodes for exclusive use by a particular set of pods, you can add a taint to those nodes and then add respective toleration to the pods. The pods with the tolerations will then be allowed to use the tainted nodes as well as any other nodes in the cluster. This makes sure that the pods that do not have toleration can never be deployed on the nodes with taints.
Node taints are key-value pairs associated with an effect. Here are the available effects:
- NoSchedule: Pods that do not tolerate this taint are not scheduled on the node but the existing Pods are not removed from the node.
- PreferNoSchedule: Kubernetes avoids scheduling Pods that do not tolerate this taint onto the node.
- NoExecute: Pod is removed from the node if it is already running on the node, and is not scheduled onto the node if it is not yet running on the node.
In this article, we will create a taint on a worker node and add toleration to pods. This will help us understand the pod that does not have toleration will not get deployed on the worked node with the taint on it.
Pre-requisites
- Kubernetes Cluster with at least 1 worker node.
If you want to learn to create a Kubernetes Cluster, click here. This guide will help you create a Kubernetes cluster with 1 Master and 2 Nodes on AWS Ubuntu 18.04 EC2 Instances.
What we will do
- Create Taints and Tolerations
Create Taints and Tolerations
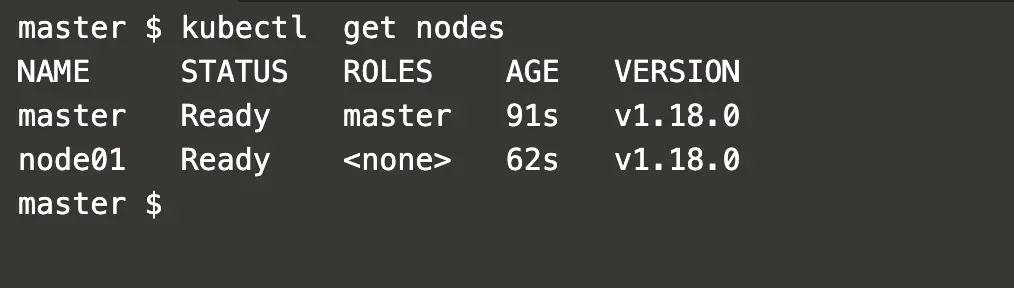
First, let's check nodes available in the cluster.
kubectl get nodes #Get current pods in the cluster.
Use "describe" command to check Taints to the node01
kubectl describe node node01 #Describe node01 node to extract more details.

In the above screenshot, it can be seen that the node does not have any Taint.
Let's add "app=fronend:NoSchedule" Taint to the Node01
kubectl taint nodes node01 app=fronend:NoSchedule #Add taint to the node01 node.
kubectl describe node node01 #Extract details of the node01 node.

In the above screenshot, it can be seen that the Node01 has a Taint now.
Create a file and add the following pod definition to it.
vim my-pod.yml #Create a pod definition.
apiVersion: v1
kind: Pod
metadata:
  name: frontend
spec:
  containers:
  - image: nginx
    name: frontend-nginx
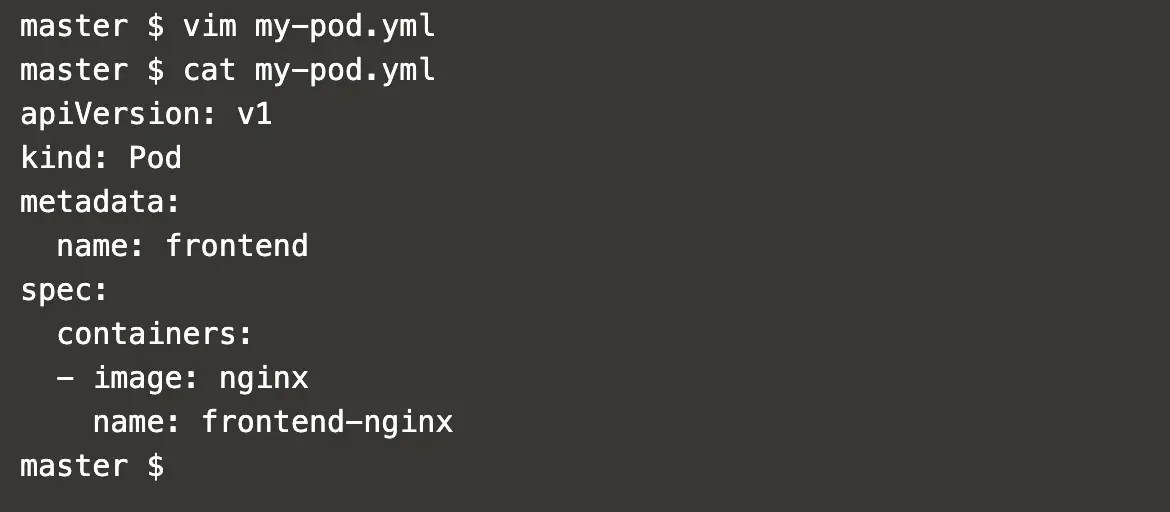
This pod definition does not have any Toleration in it.
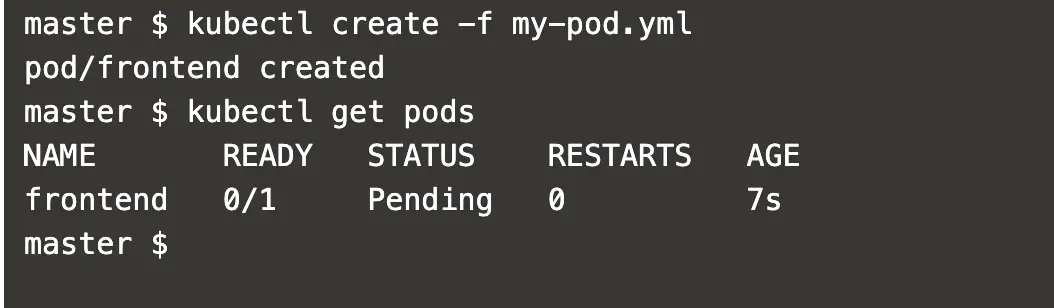
To create a pod which does not have any Toleration, execute the following command.
kubectl create -f my-pod.yml #Create a pod.
kubectl get pods #Get details of the pod.
Use the "describe" command to get more details of the pod.
kubectl get pods #Get details of the pod.
kubectl describe pod frontend #Extract more details of the Pod.
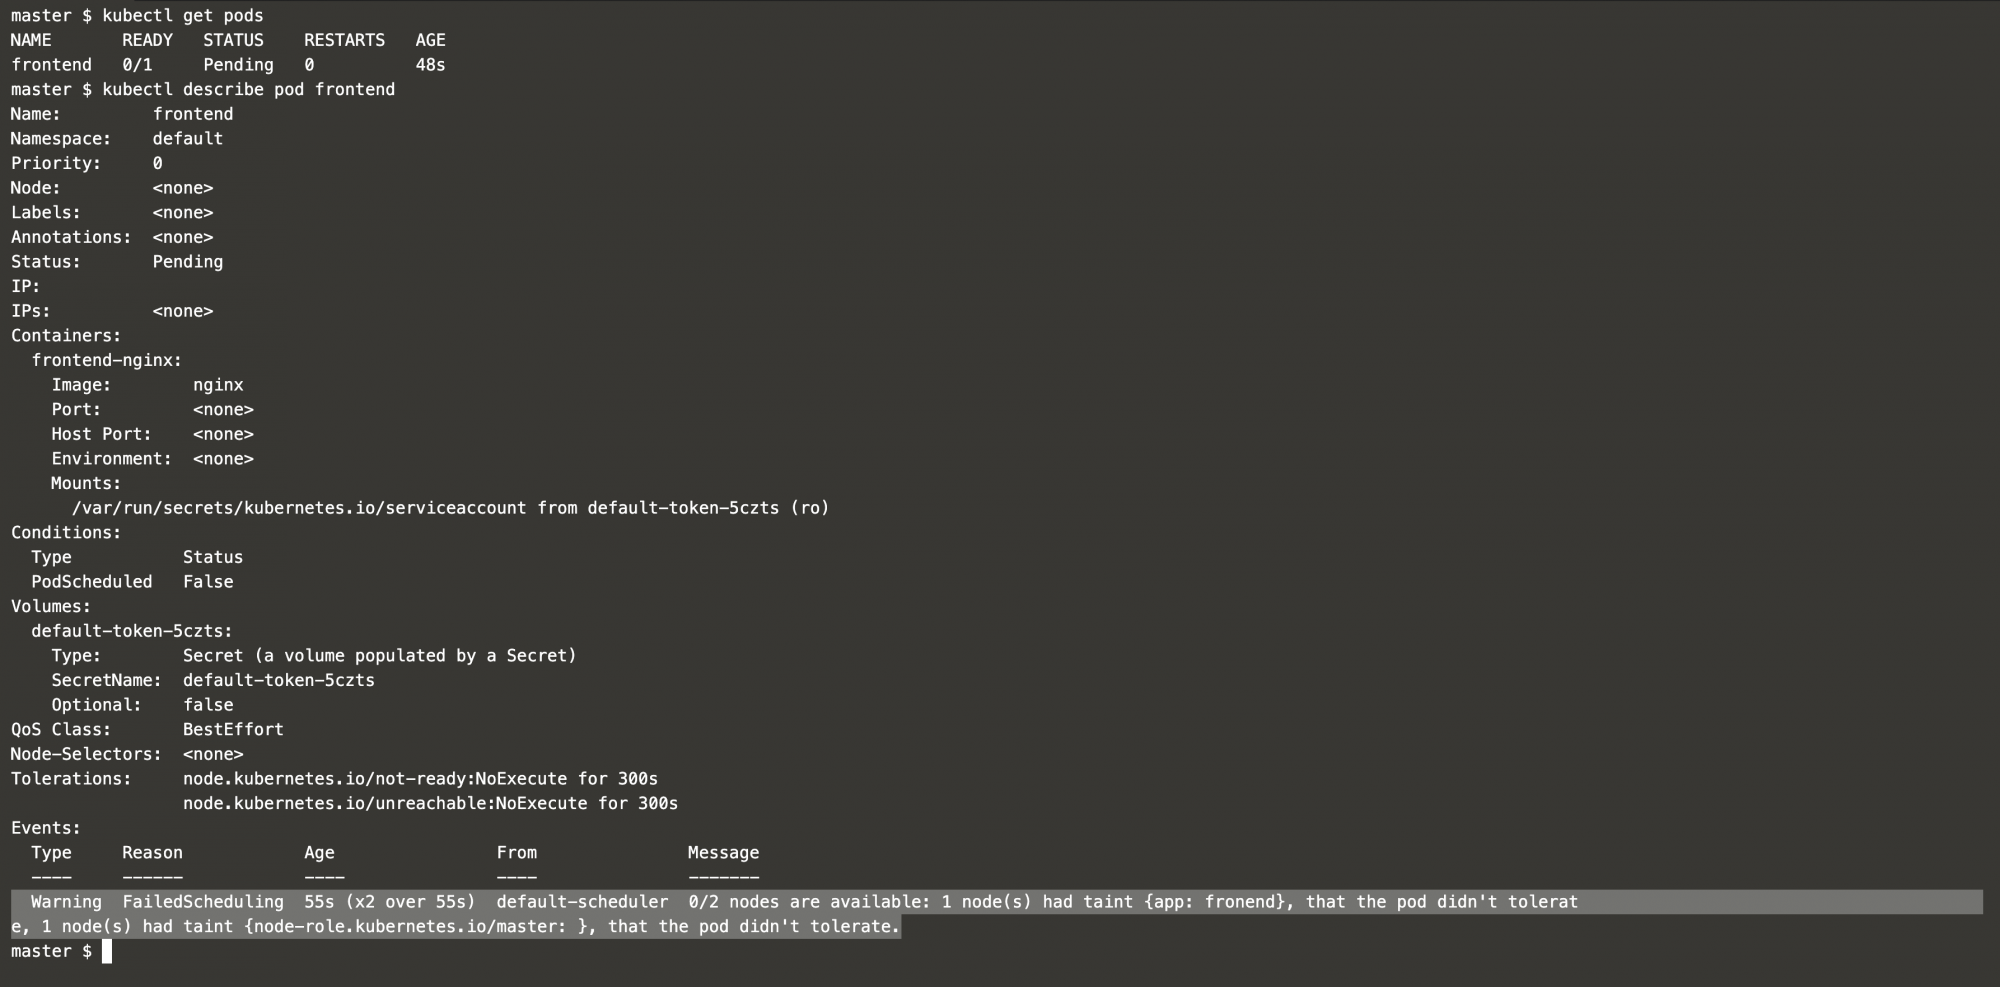
In the above screenshot, it can be seen that the Pod did not get scheduled. The reason for this is the Node01 has a Taint but there is no Toleration in the Pod. \
To create another file with the following pod definition. This Pod has a Toleration in it.
vim my-mysql-pod.yml #Create a pod definition.
apiVersion: v1
kind: Pod
metadata:
  name: backend
spec:
  containers:
    - name: mysql
      image: mysql:latest
      env:
        - name: "MYSQL_USER"
          value: "mysql"
        - name: "MYSQL_PASSWORD"
          value: "mysql"
        - name: "MYSQL_DATABASE"
          value: "sample"
        - name: "MYSQL_ROOT_PASSWORD"
          value: "supersecret"
      ports:
        - containerPort: 3306
  tolerations:
  - key: app
    value: fronend
    effect: NoSchedule
    operator: Equal

Now, create a Pod using "my-mysql-pod.yml".
kubectl get pods #Get current pods in the cluster.
kubectl create -f my-mysql-pod.yml #Create a pod.
kubectl get pods #Get current pods in the cluster.

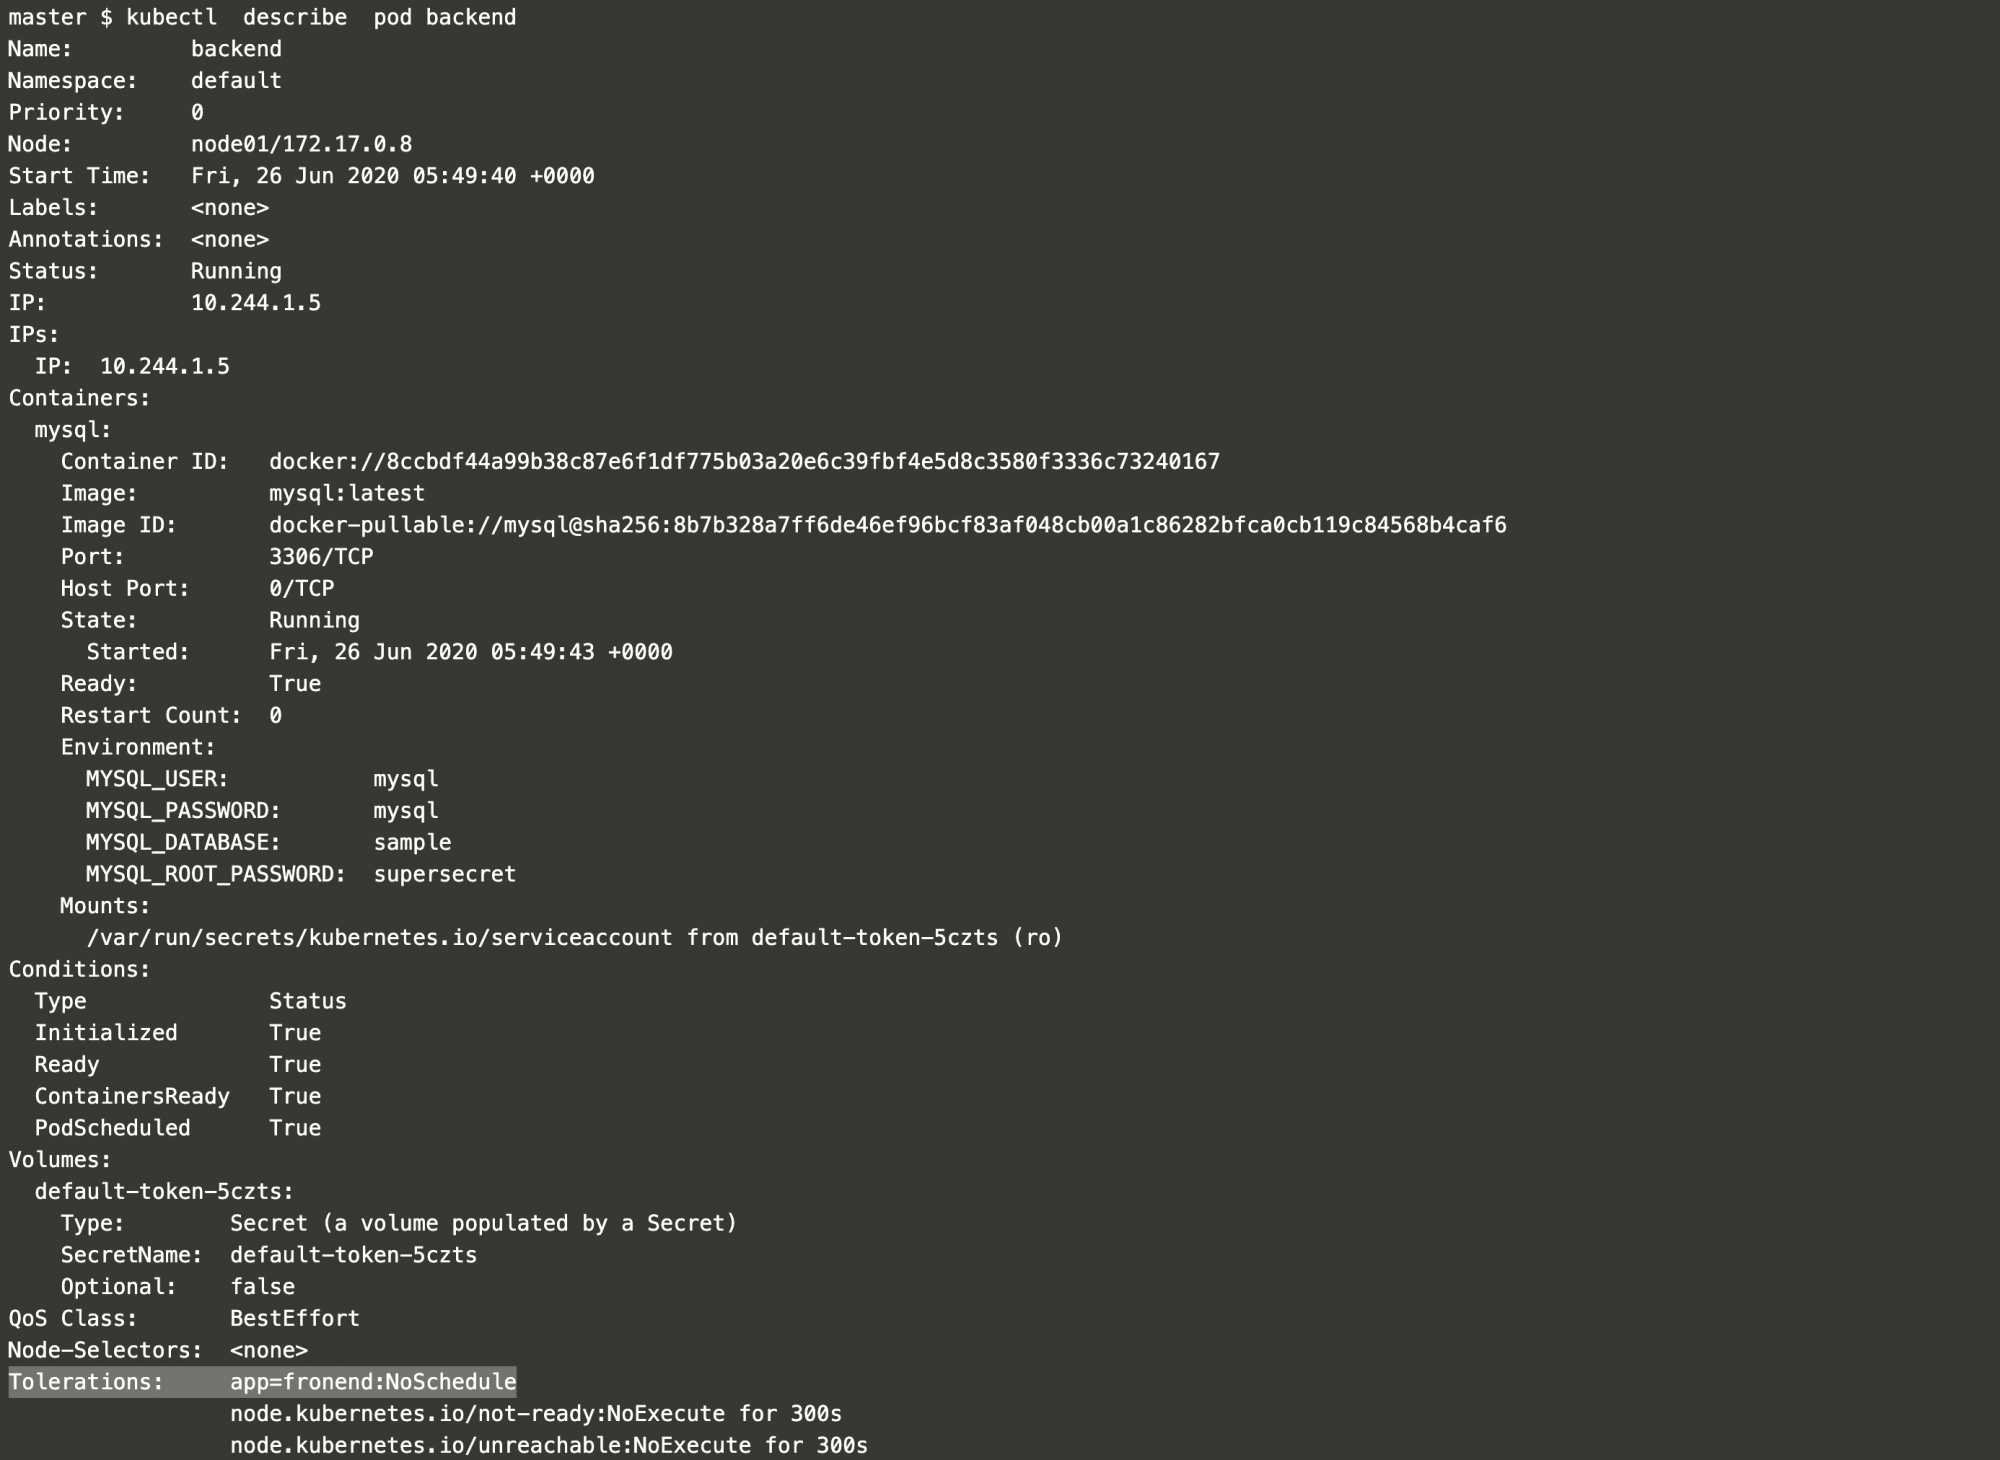
In the above screenshot, it can be seen that a new Pod "backend" got created and is in running state.
The reason for this is, the Pod has Toleration in it which lets it get deployed on the Node with a Taint.
Use the "describe" command to see more details of the Pod.
kubectl describe pod backend #Describe the pod to get more details of it.
Conclusion
In this article, we first created a Taint on the node and then tried to deploy a Pod which does not have Toleration. We saw the pod does not get deployed. We later created a Pod added which has a Toleration in it. This Toleration lets the Pod get deployed on the Node node01 with Taint on it.

