How to Install GitScrum Agile Project Management Tool on Ubuntu 20.04 LTS
GitScrum is an open-source project management tool based on the Laravel framework and designed to help development teams to use Git and Scrum for task management for them to be more agile. It can be integrated with Github or Gitlab or Bitbucket. It is designed for startups, sales, marketing agencies, developers and freelancers to manage their project easily. It offers very useful features including, Product Backlog, user Story, Sprint Backlog, Issues and more.
In this tutorial, we will explain how to install GitScrum on Ubuntu 20.04 server.
Prerequisites
- A server running Ubuntu 20.04.
- A valid domain name pointed with your VPS.
- A root password is setup on your server.
Getting Started
First, you will need to update your system packages to the latest version. You can update them with the following command:
apt-get update -y
apt-get upgrade -y
Once your system is updated, restart it to apply the changes.
Install Apache, MariaDB and PHP
GitScrum runs on the web server, uses MariaDB/MySQL for database backend and based on the Laravel framework. So you will need to install the Apache web server, MariaDB, PHP and required PHP extensions in your system. You can install all of them by running the following command:
apt-get install apache2 mariadb-server libapache2-mod-php7.4 php7.4 php7.4-cli php7.4-mysql php7.4-zip php7.4-json php7.4-gd php7.4-mbstring php7.4-curl php7.4-xml php-pear php7.4-bcmath php7.4-common git openssl unzip -y
Once all the packages are installed, edit the php.ini file and change it with some desired values:
nano /etc/php/7.4/apache2/php.ini
Change the following lines:
memory_limit = 256M
upload_max_filesize = 100M
max_execution_time = 360
date.timezone = America/Chicago
Save and close the file when you are finished. Then, start the Apache and MariaDB service, and enable them to start at system reboot with the following command:
systemctl start apache2
systemctl start mariadb
systemctl enable apache2
systemctl enable mariadb
Once you are finished, you can proceed to the next step.
Configure Database for GitScrum
First, you will need to secure the MariaDB installation and set a MariaDB root password. You can do it by running the following script:
mysql_secure_installation
This script will set the MariaDB root password, remove anonymous users, disallow root login remotely and remove test database as shown below:
Enter current password for root (enter for none):
OK, successfully used password, moving on...
Set root password? [Y/n] Y
Remove anonymous users? [Y/n] Y
Disallow root login remotely? [Y/n] Y
Remove test database and access to it? [Y/n] Y
Reload privilege tables now? [Y/n] Y
Once the MariaDB is secured, log in to the MariaDB shell with the following command:
mysql -u root -p
Provide your MariaDB root password when prompt then create a database and user for GitScrum with the following command:
MariaDB [(none)]> CREATE DATABASE gitscrum;
MariaDB [(none)]> CREATE USER 'gitscrum'@'localhost' IDENTIFIED BY 'password';
Next, grant all the privileges to the gitscrum with the following command:
MariaDB [(none)]> GRANT ALL ON gitscrum.* TO 'gitscrum'@'localhost' WITH GRANT OPTION;
Next, flush the privileges and exit from the MariaDB shell with the following command:
MariaDB [(none)]> FLUSH PRIVILEGES;
MariaDB [(none)]> EXIT;
Once your database is configured, you can proceed to the next step.
Install Composer
Next, you will need to install Composer in your system. Composer is a dependency manager for PHP and used to install PHP dependencies required for your project.
You can install the Composer with the following command:
apt-get install composer -y
Once installed, you can verify the installed version of Composer with the following command:
composer --version
You should see the following output:
Composer 1.10.1 2020-03-13 20:34:27
Once you are finished, you can proceed to the next step.
Download GitScrum
First, change the directory to the Apache web root directory and download the latest version of GitScrum from the Git repository with the following command:
cd /var/www/html
git clone https://github.com/GitScrum-Community/laravel-gitscrum.git
Once the download is completed, change the directory to laravel-gitscrum and update the GitScrum packages with the following command:
cd laravel-gitscrum
composer update
composer run-script post-root-package-install
You should see the following output:
> @php -r "file_exists('.env') || copy('.env.example', '.env');"
Once you are finished, you can proceed to the next step.
Configure GitScrum
In order to integrate GitScrum with GitLab, you will need to sign in to GitLab and create an app.
You can create it by visiting the URL https://gitlab.com/profile/applications. You should see the GitLab login screen:
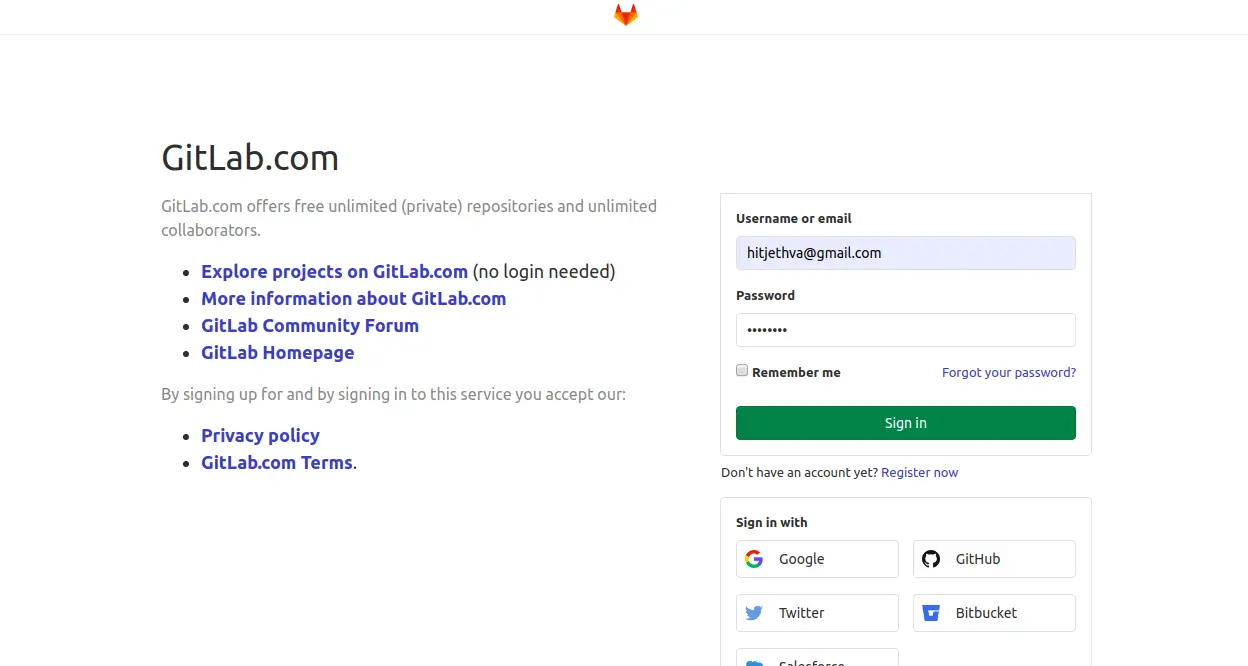
Provide your GitLab username and password, and click on the Sign in button. You should see the following screen:
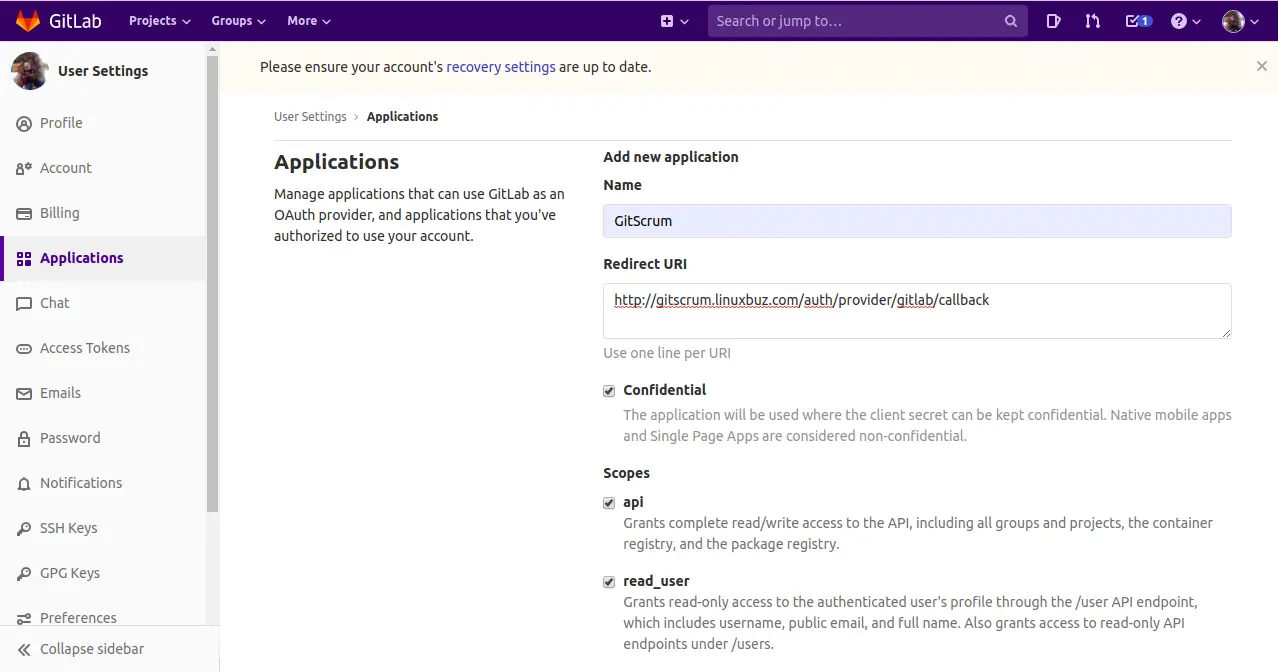
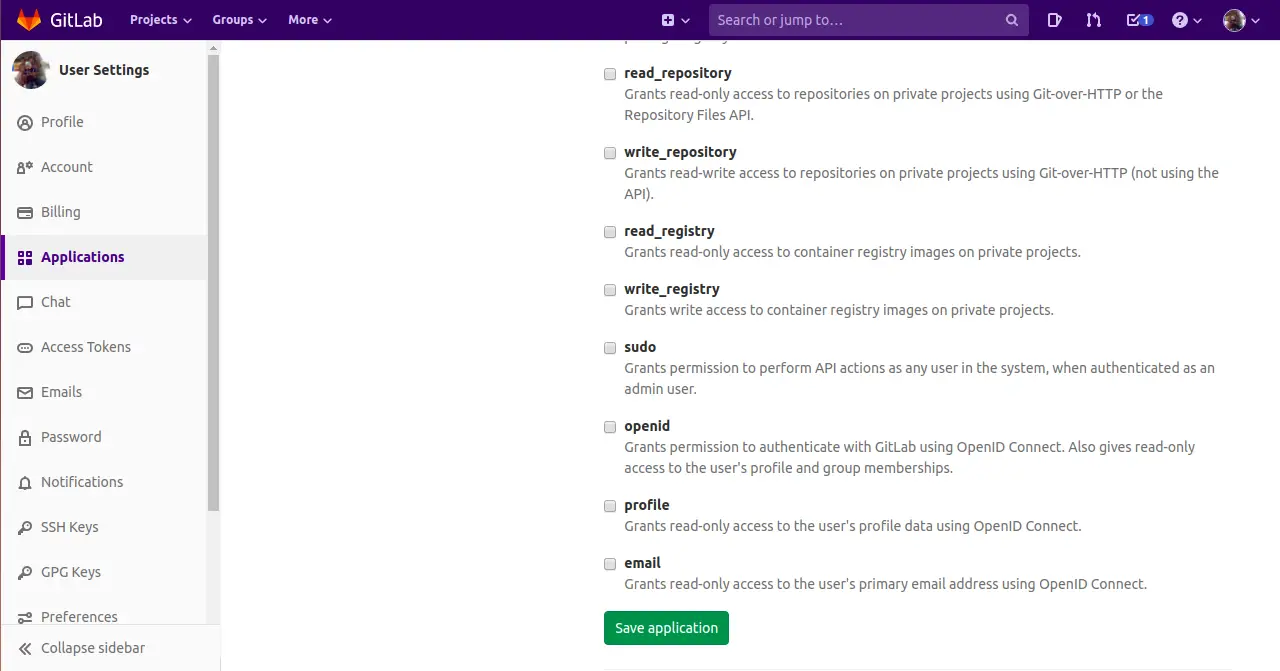
Provide your application name, redirect URL, select scopes and click on the Save application button. You should see your application ID and Secret in the following screen.
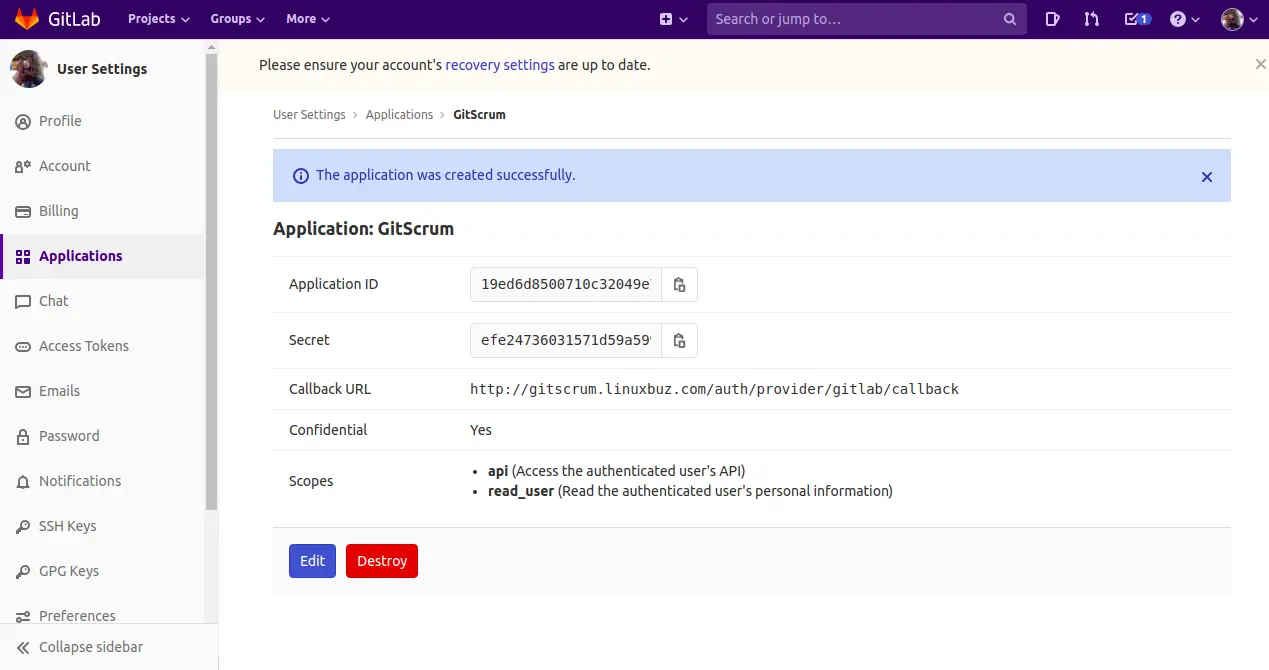
Next, you will need to define your application ID and Secret in .env file.
nano /var/www/html/laravel-gitscrum/.env
Define your database details, app URL, GitLab ID and Secret as shown below:
DB_CONNECTION=mysql
DB_HOST=localhost
DB_PORT=3306
DB_DATABASE=gitscrum
DB_USERNAME=gitscrum
DB_PASSWORD=password
APP_URL=http://gitscrum.linuxbuz.com
GITLAB_KEY=19ed6d8500710c32049e703c537e0c2251f41bdaedb6ca3f9d3276a0ea2fe484
GITLAB_SECRET=efe24736031571d59a5994d860f561c69d7c3bb46ab4a4fdae6406972df21565
GITLAB_INSTANCE_URI=https://gitlab.com/
Save and close the file when you are finished. Then, migrate the database with the following command:
php artisan migrate
php artisan db:seed
You should see the following output:
Seeding: ConfigIssueEffortsTableSeeder
Seeding: ConfigPrioritiesTableSeeder
Seeding: IssueTypesTableSeeder
Seeding: ConfigStatusesTableSeeder
Next, change the ownership and permission of the laravel-gitscrum with the following command:
chown -R www-data:www-data /var/www/html/laravel-gitscrum
chmod -R 775 /var/www/html/laravel-gitscrum
Once you are finished, you can proceed to the next step.
Configure Apache for GitScrum
Next, you will need to create an Apache virtual host configuration file for GitScrum. You can create it with the following command:
nano /etc/apache2/sites-available/gitscrum.conf
Add the following lines:
<VirtualHost *:80>
     ServerAdmin [email protected]
     DocumentRoot /var/www/html/laravel-gitscrum/public/
     ServerName gitscrum.linuxbuz.com
     ErrorLog /var/log/apache2/gitscrum-error.log
     CustomLog /var/log/apache2/gitscrum-access.log combined

     <Directory /var/www/html/laravel-gitscrum/public/>
        Options +FollowSymlinks
        AllowOverride All
        Require all granted
     </Directory>

</VirtualHost>
Save and close the file when you are finished. Then, verify Apache for any configuration error with the following command:
apachectl configtest
If everything is fine, you should see the following output:
Syntax OK
Next, enable the GitScrum virtual host with the following comamnd:
a2ensite gitscrum.conf
Next, enable the Apache rewrite module and restart the Apache service to apply the changes:
a2enmod rewrite
systemctl restart apache2
You can also verify the Apache service status using the following command:
systemctl status apache2
You should get the following output:
? apache2.service - The Apache HTTP Server
     Loaded: loaded (/lib/systemd/system/apache2.service; enabled; vendor preset: enabled)
     Active: active (running) since Thu 2020-07-03 07:42:29 UTC; 4min 35s ago
       Docs: https://httpd.apache.org/docs/2.4/
    Process: 16070 ExecReload=/usr/sbin/apachectl graceful (code=exited, status=0/SUCCESS)
   Main PID: 13697 (apache2)
      Tasks: 6 (limit: 2353)
     Memory: 23.5M
     CGroup: /system.slice/apache2.service
             ??13697 /usr/sbin/apache2 -k start
             ??16074 /usr/sbin/apache2 -k start
             ??16075 /usr/sbin/apache2 -k start
             ??16076 /usr/sbin/apache2 -k start
             ??16077 /usr/sbin/apache2 -k start
             ??16078 /usr/sbin/apache2 -k start

July 03 07:42:29 ubuntu20 systemd[1]: Starting The Apache HTTP Server...
At this point, Apache web server is configured to serve GitScrum. You can now proceed to the next step.
Access the GitScrum Web Interface
Now, open your web browser and type the URL http://gitscrum.linuxbuz.com. You will be redirected to the following page:
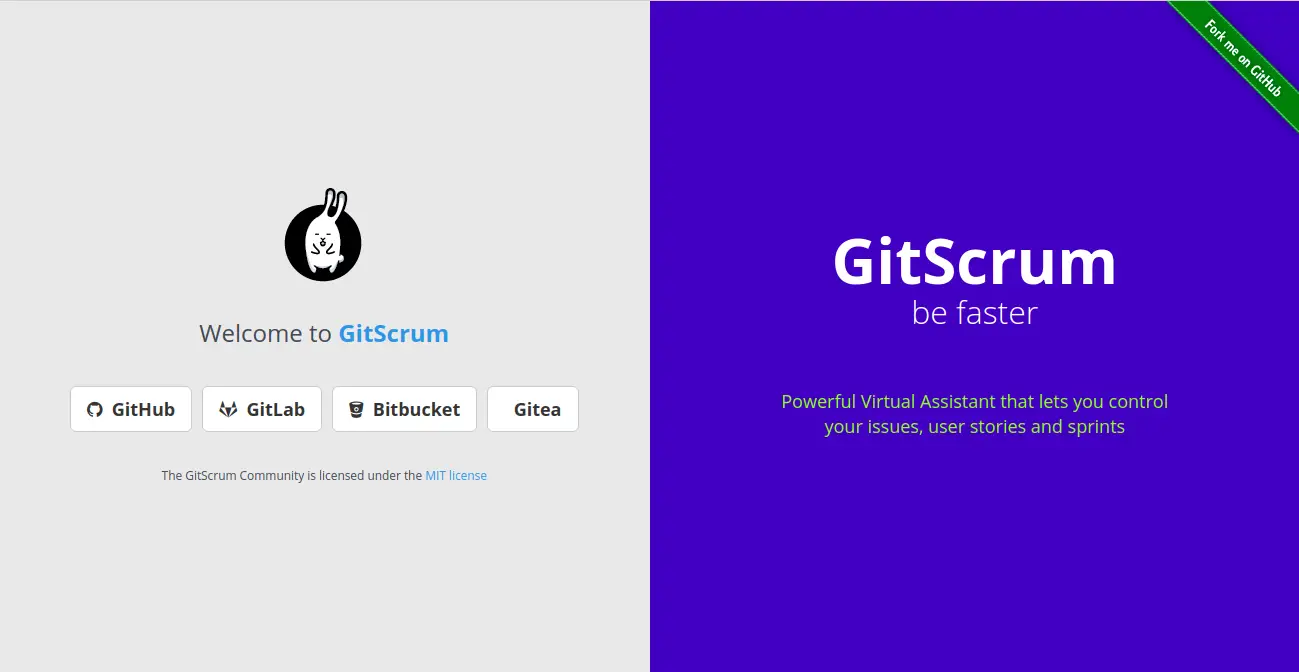
Click on the GitLab button to login with GitLab. You should see the following screen:
Provide your GitLab username, password and click on the Sign in button. You should see the following screen:
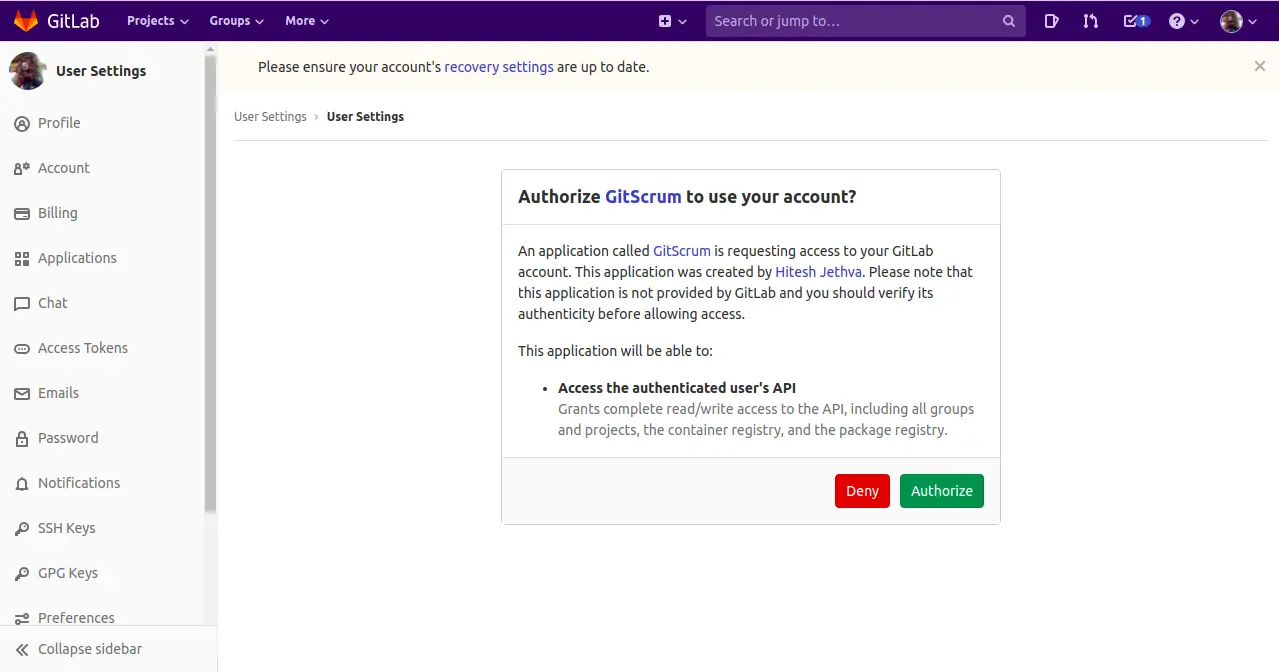
Now, click on the Authorize button to Authorize GitScrum to use your account. You should see the following screen:
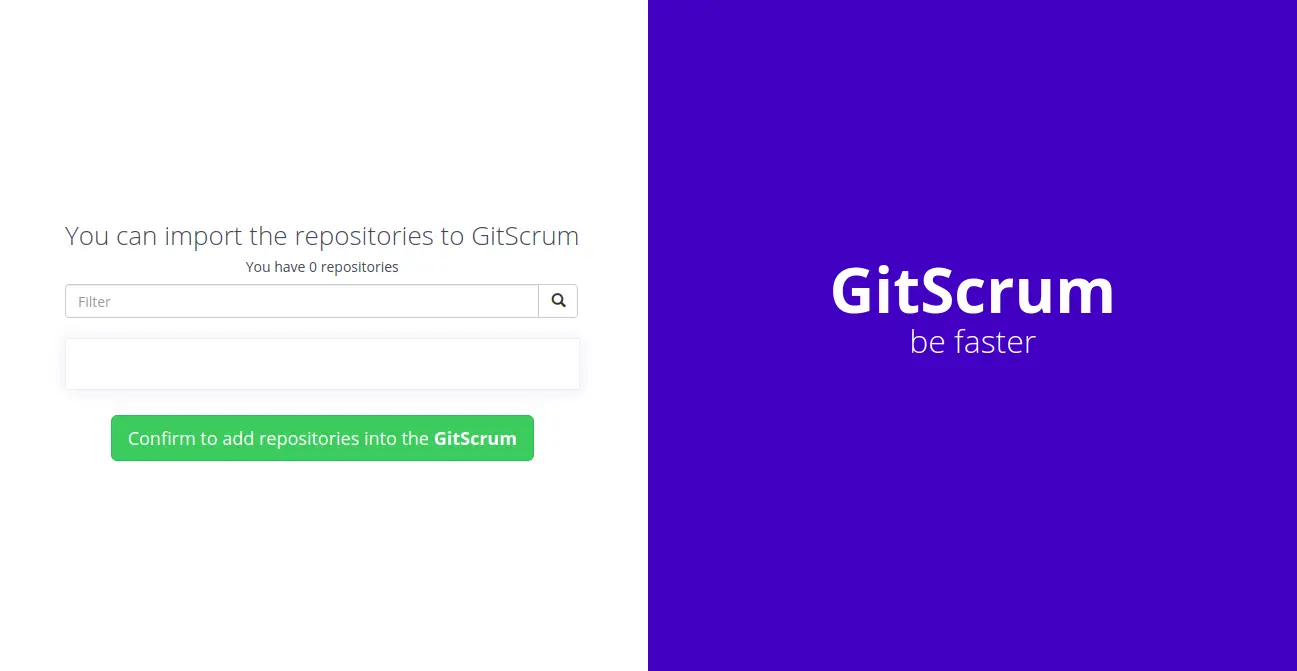
Now, you can import your repository to GitScrum and start working.
Conclusion
Congratulations! you have successfully installed GitScrum and integrate it with GitLab on Ubuntu 20.04 server. You can now deploy GitScrum in the development environment and start using Git with Scrum for task management. For more information visit the GitScrum official documentation. Feel free to ask me if you have any questions.

