How to Install Apache Solr on Ubuntu 20.04
This tutorial exists for these OS versions
- Ubuntu 22.04 (Jammy Jellyfish)
- Ubuntu 20.04 (Focal Fossa)
- Ubuntu 16.04 (Xenial Xerus)
- Ubuntu 14.04 LTS (Trusty Tahr)
On this page
Apache Solr is a scalable, reliable, and fault-tolerant NoSQL search tool written in Java and released under an OpenSource license. It is used to store data and query it in near real-time. It is most popular search engine that provides distributed indexing, replication, load balancing with automated failover and recovery. It supports database queries through REST APIs like Elasticsearch.
In this tutorial, we will show you how to install Apache Solr 8.6 on Ubuntu 20.04.
Prerequisites
- A server running Ubuntu 20.04.
- A root password is configured on the server.
Getting Started
Before starting, it is a good idea to update your system with the latest version. You can update your system with the following command:
apt-get update -y
apt-get upgrade -y
After updating the system, restart it to implement the changes.
Install Java
Apache Solr is written in Java language. So Java must be installed in your system. If not installed you can install it by running the following command:
apt-get install default-jdk -y
After installing Java, you can verify the Java installation using the following command:
java -version
You should see the installed version of Java in the following output:
openjdk version "11.0.7" 2020-04-14
OpenJDK Runtime Environment (build 11.0.7+10-post-Ubuntu-3ubuntu1)
OpenJDK 64-Bit Server VM (build 11.0.7+10-post-Ubuntu-3ubuntu1, mixed mode, sharing)
Install Apache Solr
First, you will need to download the latest version of Apache Solr from the Apache website. At the time of writing this article, the latest version of Apache Solr is 8.6.0. You can download it with the following command:
wget https://archive.apache.org/dist/lucene/solr/8.6.0/solr-8.6.0.tgz
Once downloaded, extract the downloaded file with the following command:
tar xzf solr-8.6.0.tgz
Next, install the Apache Solr by executing the Solr installation script:
bash solr-8.6.0/bin/install_solr_service.sh solr-8.6.0.tgz
Once the installation has been completed, you should get the following output:
Service solr installed.
Customize Solr startup configuration in /etc/default/solr.in.sh
? solr.service - LSB: Controls Apache Solr as a Service
     Loaded: loaded (/etc/init.d/solr; generated)
     Active: active (exited) since Sat 2020-07-25 03:00:19 UTC; 5s ago
       Docs: man:systemd-sysv-generator(8)
    Process: 4692 ExecStart=/etc/init.d/solr start (code=exited, status=0/SUCCESS)

Jul 25 03:00:09 ubuntu2004 systemd[1]: Starting LSB: Controls Apache Solr as a Service...
Jul 25 03:00:09 ubuntu2004 su[4694]: (to solr) root on none
Jul 25 03:00:09 ubuntu2004 su[4694]: pam_unix(su-l:session): session opened for user solr by (uid=0)
Jul 25 03:00:19 ubuntu2004 systemd[1]: Started LSB: Controls Apache Solr as a Service.
At this point, Apache Solr is installed and listening on port 8983. You can verify it with the following command:
netstat -tunelp | grep 8983
You should get the following output:
tcp6 0 0 :::8983 :::* LISTEN 108 24019 4756/java
Manage Solr Service
Apache Solr is run as a Systemd service. So you can manage it easily with systemd.
To start and stop the Apache Solr service, run the following command:
systemctl stop solr
systemctl start solr
To check the status of the Apache Solr service, run the following command:
systemctl status solr
To enable the Apache Solr service at a system startup, run the following command:
systemctl enable solr
Create Solr Collection
Collection is a logical index spread across multiple servers. Core is that part of the server which runs one collection.
To create a new collection in Apache Solr, run the following command:
su - solr -c "/opt/solr/bin/solr create -c mytestcollection -n data_driven_schema_configs"
You should get the following output:
Created new core 'mytestcollection'
Access Apache Solr
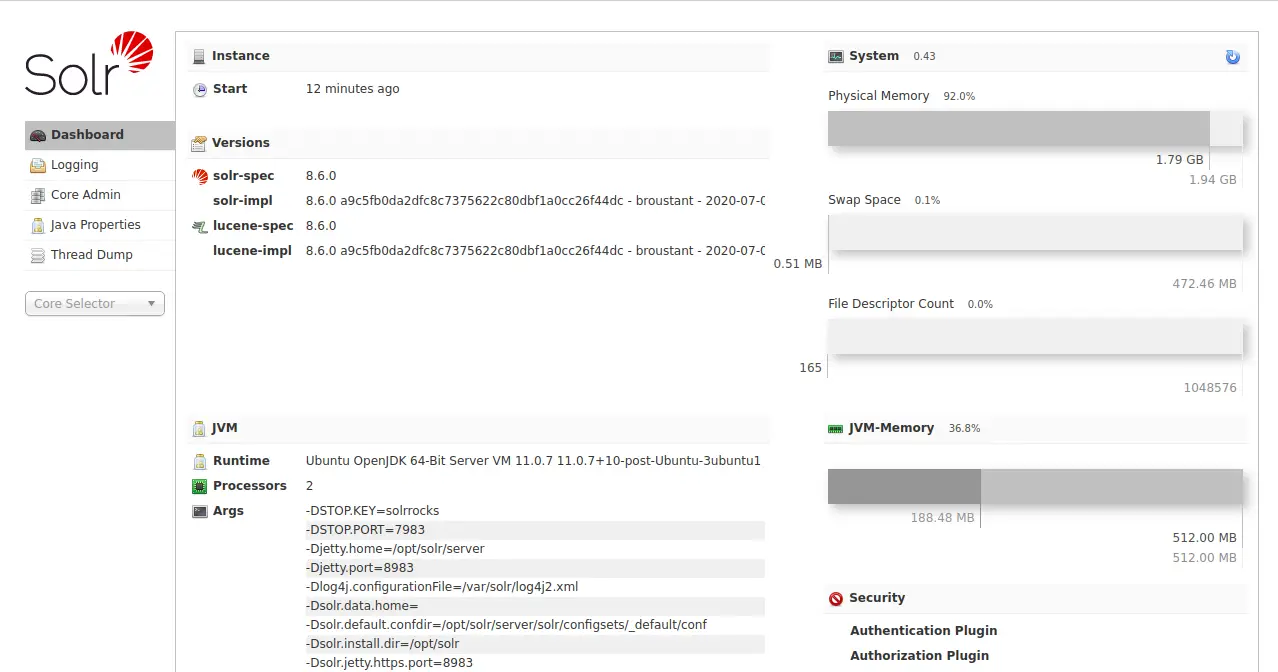
You can access the Apache Solr web interface using the URL http://your-server-ip:8983/solr. You should see the Apache Solr web interface in the following screen:
In the left sidebar, select mytestcollection, you should see the status of your collection in the following screen:

Conclusion
In this guide, we learned how to install Apache Solr in Ubuntu 20.04 server. You can use this tool to use the full potential of a vertical search. For more information, visit the Apache Solr official documentation.

