How to Install and Use Traefik as a Reverse Proxy with Docker on CentOS 8
Traefik is an open-source HTTP reverse proxy and load balancer that helps you to deploy microservices easily. You can easily integrate it with your infrastructure components including, Docker, Kubernetes, Docker Swarm, Rancher, AWS, and many more. If you want to run multiple applications on the same Docker host then you can use Traefik as a reverse proxy to expose ports 80 and 443 to the rest of the world.
In this tutorial, we will show you how to install and configure Traefik as a reverse proxy on CentOS 8.
Prerequisites
- A server running CentOS 8.
- A valid domain name pointed with your server IP.
- A root password is configured the server.
Install Docker and Docker Compose
First, you will need to install the latest version of Docker and Docker Compose in your system. By default, Docker is not available in the CentOS 8 default repo. So you will need to add the Docker CE repo in your system. You can add it with the following command:
dnf config-manager --add-repo=https://download.docker.com/linux/centos/docker-ce.repo
Once the repo is created, install the Docker CE with the following command:
dnf install docker-ce --nobest -y
Once the Docker is installed, start the Docker service and enable it to start at system reboot with the following command:
systemctl start docker
systemctl enable docker
In order to install Docker Compose, you will need to install Curl and download the Docker Compose binary in your system. You can do it with the following command:
dnf install curl
curl -L "https://github.com/docker/compose/releases/download/1.25.0/docker-compose-$(uname -s)-$(uname -m)" -o /usr/local/bin/docker-compose
chmod +x /usr/local/bin/docker-compose
Create Docker Network
Next, you will need to create a new Docker network to run traefik container. You can create it with name "web" by running the following command:
docker network create web
Next, verify your network with the following command:
docker network ls
You should get the following output:
NETWORK ID          NAME                DRIVER              SCOPE
76a9475e5ab0        bridge              bridge              local
2a3d79f64747        host                host                local
4c9123229eaa        none                null                local
0b6e010b43d0        web                 bridge              local
Install and Configure Traefik Proxy
Before starting, you will need to install httpd-tools to generate the encrypted password. You can install this tool with the following command:
dnf install httpd-tools -y
Once installed, generate the encrypted password with the following command:
htpasswd -nb admin my_password
You should get the following output:
admin:$apr1$wpdR.4yZ$UpbjGS7ZFq4pZHalhH1Tl0
Next, create a new Traefik configuration file with the following command:
nano traefik.toml
Add the following lines including, your valid domain name, your secured password and port:
defaultEntryPoints = ["http", "https"]

[entryPoints]
  [entryPoints.dashboard]
    address = ":8080"
    [entryPoints.dashboard.auth]
      [entryPoints.dashboard.auth.basic]
        users = ["admin:$apr1$wpdR.4yZ$UpbjGS7ZFq4pZHalhH1Tl0"]
  [entryPoints.http]
    address = ":80"
      [entryPoints.http.redirect]
        entryPoint = "https"
  [entryPoints.https]
    address = ":443"
      [entryPoints.https.tls]

[api]
entrypoint="dashboard"

[acme]
email = "[email protected]"
storage = "acme.json"
entryPoint = "https"
onHostRule = true
  [acme.httpChallenge]
  entryPoint = "http"

[docker]
domain = "traefik.linuxbuz.com"
watch = true
network = "web"
Save and close the file when you are finished. Then, create an empty file to store your Let’s Encrypt information.
touch acme.json
Next, give proper permission to this file with the following command:
chmod 600 acme.json
Create a Docker Compose File
Next, you will need to create a new docker-compose.yml file and define your domain, port, network and volume.
You can create it with the following command:
nano docker-compose.yml
Add the following lines:
version: '3'

services:

  traefik:
    image: traefik:1.7.21-alpine
    command: --docker --docker.domain=linuxbuz.com
    ports:
      - 80:80
      - 443:443
    networks:
      - web
    volumes:
      - /var/run/docker.sock:/var/run/docker.sock
      - ./traefik.toml:/traefik.toml
      - ./acme.json:/acme.json
    labels:
      - "traefik.frontend.rule=Host:traefik.linuxbuz.com"
      - "traefik.port=8080"
    container_name: traefik
    restart: always

networks:
   web:
    external: true
Save and close the file when you are finished.
Build Traefik Docker Container
At this point, Traefik and Docker Compose configuration file is ready. Now, build the Traefik container with the following command:
docker-compose up -d
You should get the following output:
Unable to find image 'traefik:1.7.21-alpine' locally
1.7.21-alpine: Pulling from library/traefik
c9b1b535fdd9: Pull complete
c141e361698e: Pull complete
2573c02b6f16: Pull complete
1619fb3841d1: Pull complete
Digest: sha256:0e4ac8ae724603898620dbd5eb9cda7ec05f405d25476eb0d32b716b490ba079
Status: Downloaded newer image for traefik:1.7.21-alpine
27e735357bb3b7d2d253ff78ddf6e78896851420eff399e8ade23affc7ff0bf7
Next, verify the running container with the following command:
docker ps
You should get the following output:
CONTAINER ID        IMAGE                   COMMAND                  CREATED             STATUS              PORTS                                      NAMES
7604696507a5        traefik:1.7.21-alpine   "/entrypoint.sh --do…"   6 seconds ago       Up 4 seconds        0.0.0.0:80->80/tcp, 0.0.0.0:443->443/tcp   traefik
Access Traefik Web Interface
Now, open your web browser and access the Traefik web interface using the URL https://traefik.linuxbuz.com. You will be asked to provide username and password:
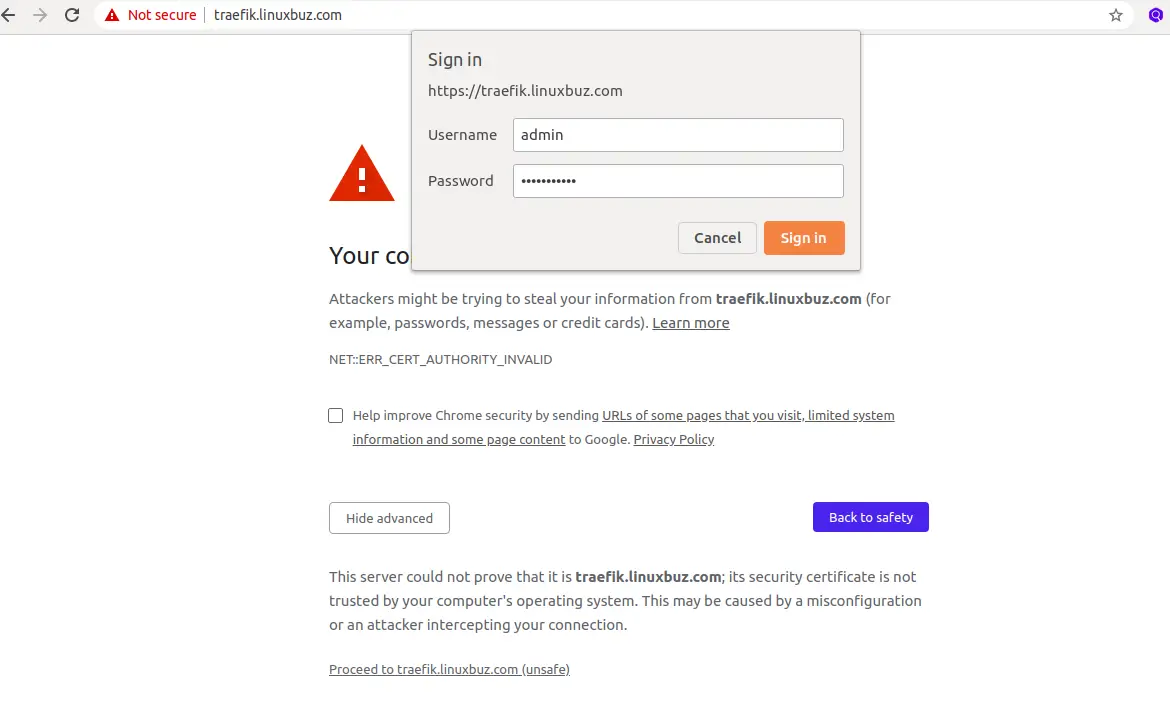
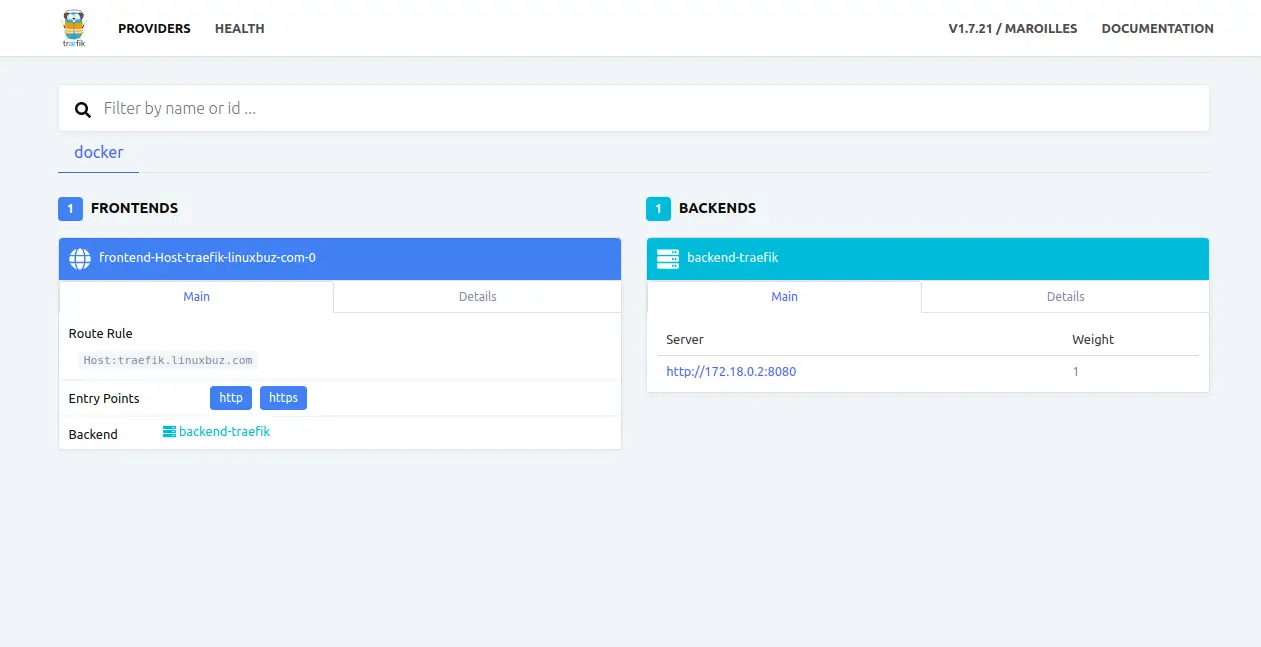
Provide the username as admin and password which you have generated earlier and click on the Sign in button. You should see the Traefik dashboard in the following screen:
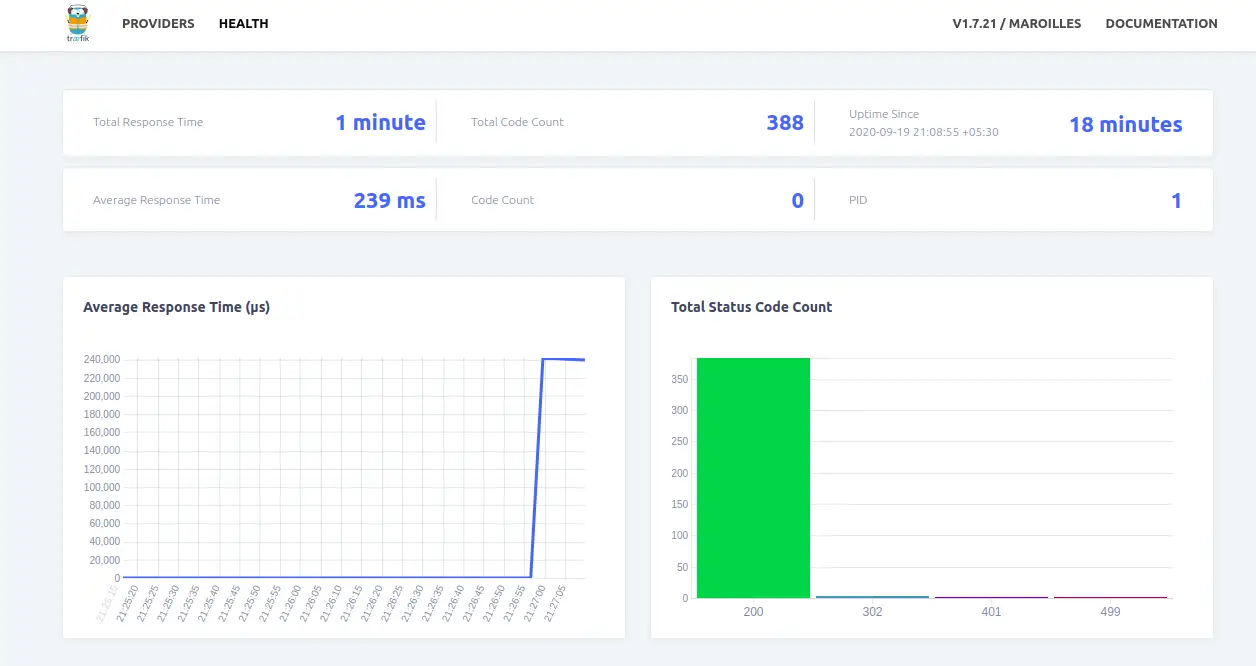
Click on the HEALTH tab. You should see the health status of Traefik container in the following screen:
Conclusion
Congratulations! you have successfully installed Traefik proxy on CentOS 8. For more information, visit the Traefik documentation.

