How to install ONLYOFFICE Docs 6.1 on Ubuntu
ONLYOFFICE Docs is an open-source office suite distributed under GNU AGPL v3.0. It comprises web-based viewers and collaborative editors for text documents, spreadsheets, and presentations highly compatible with OOXML formats.
ONLYOFFICE Docs can be integrated with various cloud storage platforms and services such as Nextcloud, ownCloud, Seafile, Alfresco, HumHub, Plone, etc., as well as it can be integrated into the solution you're building yourself. ONLYOFFICE Docs can also be used together with ONLYOFFICE Groups, a free open-source collaboration platform distributed under Apache 2.0 (the complete solution is available under the name of ONLYOFFICE Workspace).
In this tutorial, we’ll learn how to install ONLYOFFICE Docs (Docker version) to your machine.
What's new in ONLYOFFICE Docs 6.1
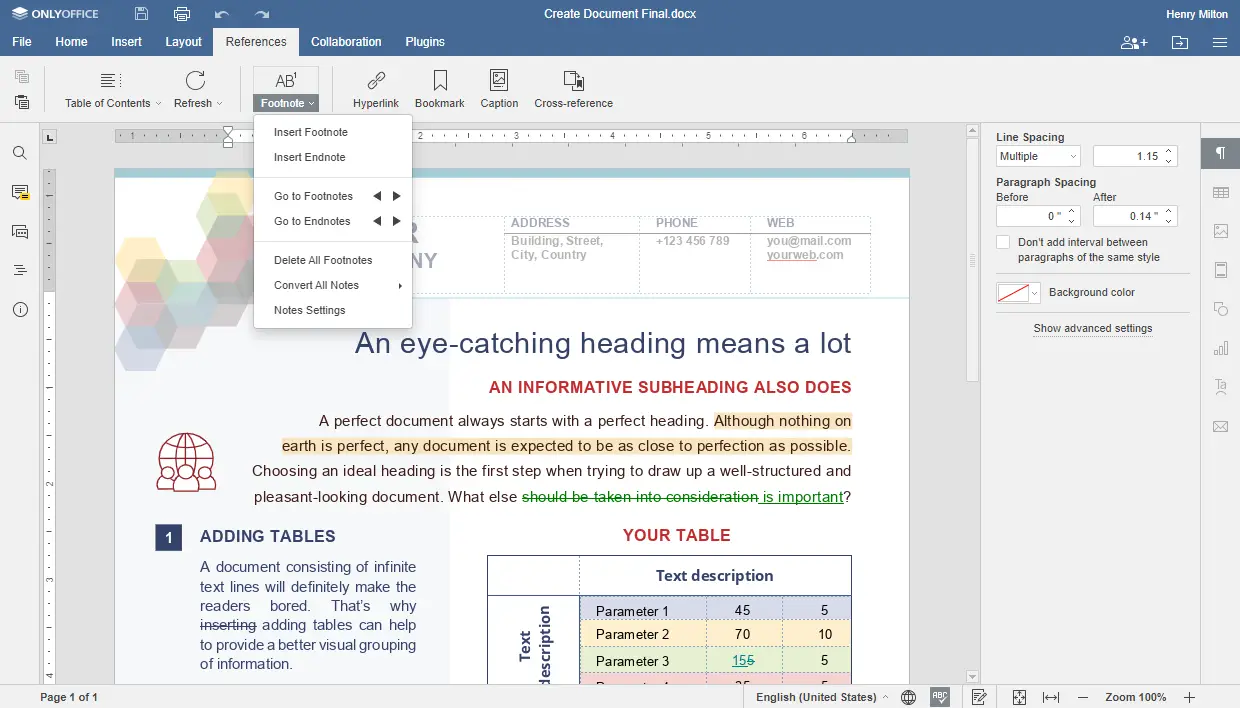
- Endnotes for inserting references at the end of a section/document.
- Cross-references for creating links to other parts of the document you are working on such as charts, tables, bookmarks, etc.
- Line counting for referring to specific lines.
- Easier work with chart data by editing and rearranging data series and categories, swapping rows and columns.
- New proofing options for editing math autocorrect for equations.
System requirements
- CPU: dual core 2 GHz or better
- RAM: 4 GB or more
- HDD: at least 2 GB of free space
- At least 2 GB of swap
- 64-bit Ubuntu with kernel version 3.8 or later
- Docker: version 1.10 or later
Install ONLYOFFICE Docs
You need the latest Docker version installed. If it’s not the case, refer to this documentation.
Run Docker and execute the following command to install ONLYOFFICE Docs and all the dependencies:
sudo docker run -i -t -d -p 80:80 --restart=always onlyoffice/documentserver
Change the port
By default, ONLYOFFICE Docs listens to the port 80. You can change the port for ONLYOFFICE Docs if you’re planning to use it instead of the default one:
sudo docker run -i -t -d -p <PORT_NUMBER>:80 --restart=always onlyoffice/documentserver
Store data outside containers
It’s strongly recommended to store logs, certificates, cache, and databases outside the Docker containers on the host machine as it allows easily updating ONLYOFFICE Docs once the new version is released without losing the data.
To get access to your data located outside the container, you need to mount the volumes. It can be done by specifying the -v option in the docker run command:
sudo docker run -i -t -d -p 80:80 --restart=always \
    -v /app/onlyoffice/DocumentServer/logs:/var/log/onlyoffice  \
    -v /app/onlyoffice/DocumentServer/data:/var/www/onlyoffice/Data  \
    -v /app/onlyoffice/DocumentServer/lib:/var/lib/onlyoffice \
    -v /app/onlyoffice/DocumentServer/db:/var/lib/postgresql  onlyoffice/documentserver
Run ONLYOFFICE Docs using HTTPS
sudo docker run -i -t -d -p 443:443 --restart=always \ -v /app/onlyoffice/DocumentServer/data:/var/www/onlyoffice/Data onlyoffice/documentserver
To secure the application via SSL, you need to create and install the following files:
/app/onlyoffice/DocumentServer/data/certs/onlyoffice.key
/app/onlyoffice/DocumentServer/data/certs/onlyoffice.crt
When using CA certified certificates, these files are provided by the CA. When using self-signed certificates, you need to generate these files yourself.
To generate a self-signed SSL certificate valid for 365 days, run the commands:
openssl genrsa -out onlyoffice.key 2048
openssl req -new -key onlyoffice.key -out onlyoffice.csr
openssl x509 -req -days 365 -in onlyoffice.csr -signkey onlyoffice.key -out onlyoffice.crt
The next step is to generate stronger DHE parameters to strengthen the server security:
openssl dhparam -out dhparam.pem 2048
Then, install the onlyoffice.key, onlyoffice.crt and dhparam.pem files to the ONLYOFFICE server.
mkdir -p /app/onlyoffice/DocumentServer/data/certs
cp onlyoffice.key /app/onlyoffice/DocumentServer/data/certs/
cp onlyoffice.crt /app/onlyoffice/DocumentServer/data/certs/
cp dhparam.pem /app/onlyoffice/DocumentServer/data/certs/
chmod 400 /app/onlyoffice/DocumentServer/data/certs/onlyoffice.key
Restart Docker container:
sudo docker restart {{DOCUMENT_SERVER_ID}}
You can also refer to the docker run command options for the --env-file flag where you can specify all required environment variables in a single file.
That’s all! Now you can integrate ONLYOFFICE Docs with the platform you already use and start editing and co-authoring documents.

