PHP stands for Hypertext Preprocessor. It is one of the oldest server-side programming languages used to create Dynamic and Responsive Web-App.
The most popular CMS and frameworks like WordPress, Magento, Joomla, Drupal, and Laravel are written in PHP Language.
We can install PHP 7.4 on Ubuntu from the official repository, but for 8.0, we need to add PPA to the repository
This guide will cover how to Install PHP on Ubuntu 20.04 or 18.04 8.0 with the Apache and Nginx web-server.
Table of Contents
What we will cover
- Add Ondřej Surý PPA repositories
- Install PHP 8.0 with Apache on Ubuntu.
- Install PHP 8.0 with Nginx on Ubuntu.
- Install PHP extension or modules.
- Run PHP File.
If you want to install PHP using the XAMPP server on Your Ubuntu Machine, Click on Learn more.
Add the Ondřej Surý PPA Repository
In the recent article, we have Install PHP 7.4 Directly from the Ubuntu repositories, but 8.0 is not available to Official repositories.
To install the latest version of PHP, we are going to use the Ondrej PPA repositories.
Before that, we will update Ubuntu repositories and Install the latest libraries to update and Install pass the following command on your Ubuntu Terminal.
$ sudo apt update
$ sudo apt upgrade
$ sudo apt install  ca-certificates apt-transport-https software-properties-common

After completing the above step now, we will add Ondřej Surý PPA using the following command.
$ sudo add-apt-repository ppa:ondrej/php
Press the Enter button to add Ondřej Surý PPA to your Ubuntu machine.
We are able to add Ondřej Surý PPA to our Machine. Now we see how to Install PHP 8.0 with Apache.
Install PHP 8.0 with Apache on Ubuntu
In this step, we will install PHP 8.0 with Apache server on Ubuntu as you already Apache is pre-install with most of the Ubuntu Distribution.
So, we don’t need to install the Apache web-server separately, but we require to install the Apache module.
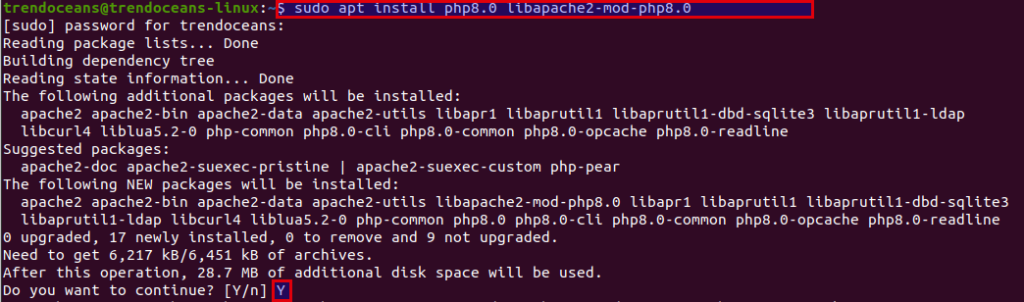
To Install PHP 8.0 and Apache module type the following code
$ sudo apt install php8.0 libapache2-mod-php8.0
To verify whether PHP is installed in your system, with the PHP version check command:
$ php -v
$ sudo systemctl restart apache2Install PHP 8.0 with Nginx on Ubuntu
To Install Nginx over the Apache server, you can follow the simple steps.
Before Installing Nginx, make sure to remove Apache2 from your Ubuntu System to avoid any clashes:
Remove Apache 2 from Ubuntu
To remove Apache from Ubuntu pass the set of command in your Terminal
Step 1. First step is to stop Apache service:
$ sudo systemctl stop apache2.serviceStep 2. In this step we will purge and autoremove to apache2:
$ sudo apt purge apache2
$ sudo apt autoremove
After completing the above step, we can install Nginx on Ubuntu follow the steps.
Install PHP and FPM module
We will Install PHP 8.0 along with the FPM module before that, and we need to install Nginx on Ubuntu Machine.
We can install Nginx from the Ubuntu repository as well as from the Official source file. For the sake of ease process, we will install Nginx from Ubuntu repositories.
To Install nginx type the following command
$ sudo apt update
$ sudo apt install nginx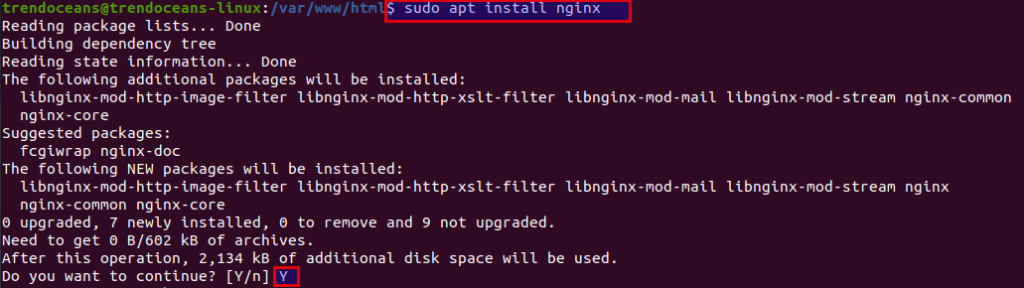
We have installed Nginx on the Ubuntu machine; after that, we will start the Nginx service.
To start and check status of nginx service pass the following command
$ sudo systemctl start nginx.service
$ sudo systemctl status nginx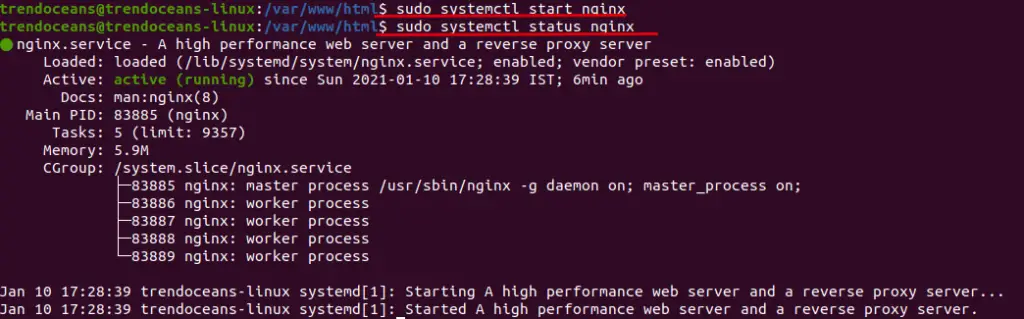
After completing the above step, we will install PHP 8.0 with FPM(Fast CGI process manager).
$ sudo apt install php8.0-fpm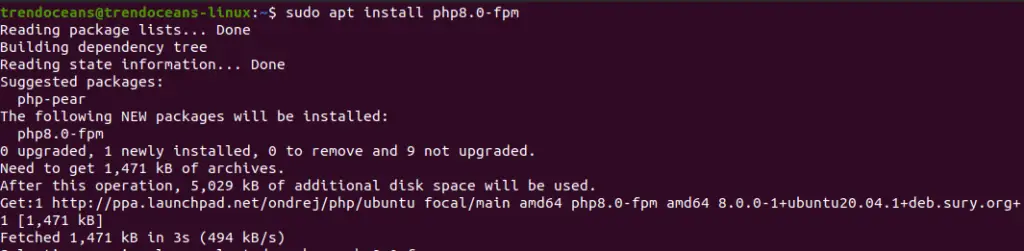
FPM or Fast CGI process manager is used to process PHP files. By default, Nginx does not process PHP files.
Installation of PHP 8.0 with the FPM module is completed. Now we will check whether the service is started automatically.
To check PHP-FPM service status pass the following command:
$ systemctl status php8.0-fpm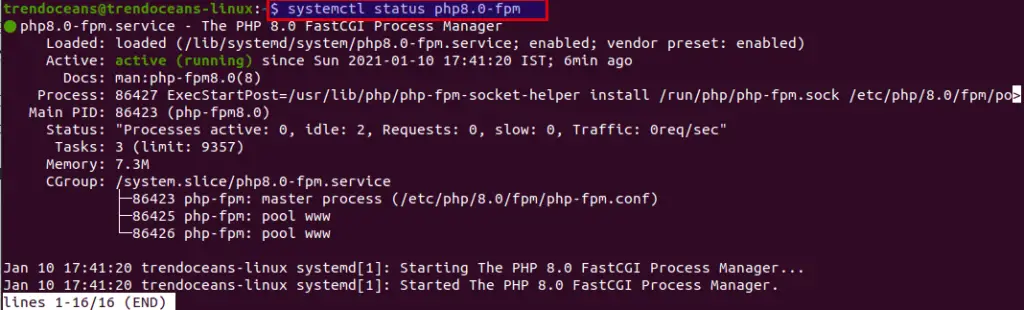
Installation of PHP-FPM is completed with Nginx web-server
Configure Nginx Default
We need to configure the Nginx server block to process PHP files. To configure the Nginx server block open the default file located at “/etc/nginx/sites-available”.
To make changes open your terminal and type or do-copy paste the following command:
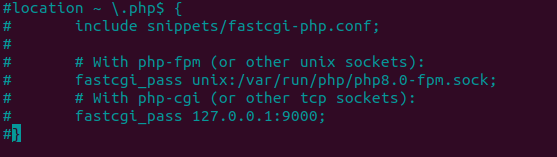
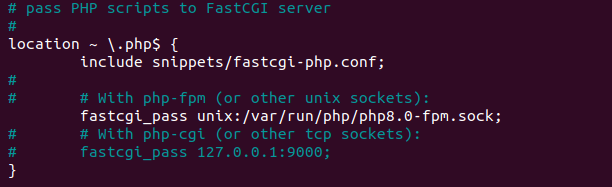
$ sudo nano /etc/nginx/sites-available/defaultIn this file, you need to uncomment a few lines as per the below screenshot and save the file.
With Comment
After Uncomment
Now save the file and restart the following service to reload the configuration file.
$ sudo systemctl restart php8.0-fpm
$ sudo systemctl restart nginx
Install PHP extension or modules
PHP extension or module required for more functionality of PHP programs. To install the PHP module, pass the following syntax with the extension name
$ sudo apt install php8.0-[extension-name]
In this case I need to Install mysql module for that I’ll type in terminal
$ sudo apt install php8.0-mysql
For the any-other module, you can refer to the documentation and make sure to restart Apache or Ngnix FPM server to reload extensions.
Run PHP file on Ubuntu
After completing the Installation step, we will run the PHP file to check whether the server is able to process the request.
To check open terminal and type the following code
$ sudo nano /var/www/html/filename.php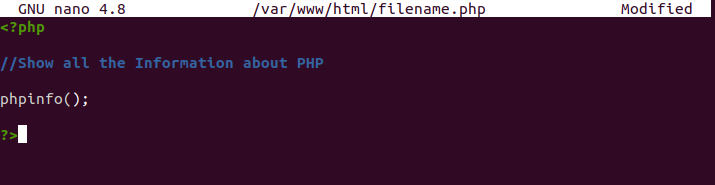
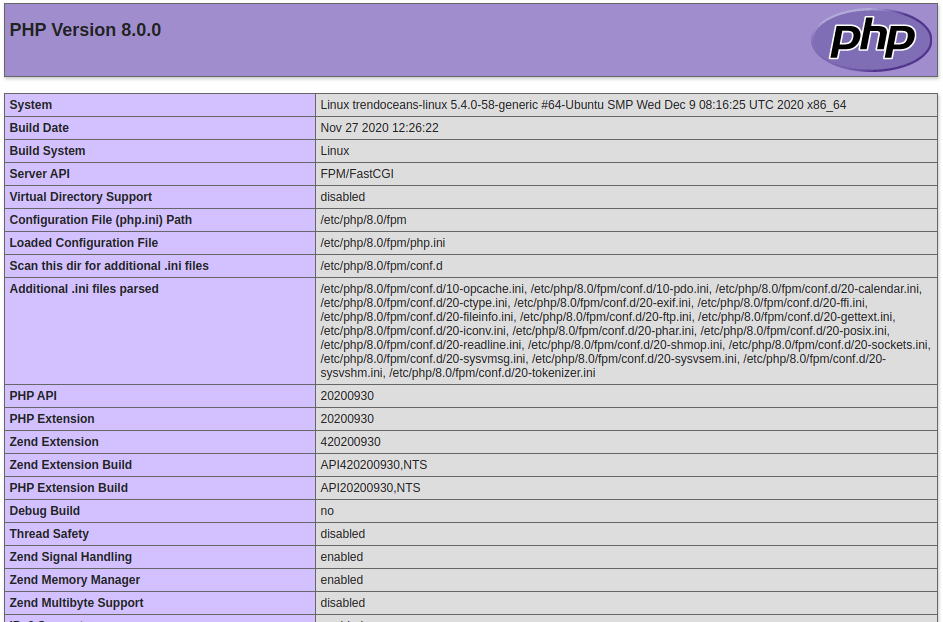
We have to use the function phpinfo() to get the PHP configuration of my web-sever.
After adding the following command, save the filename.php and go to the web browser and search for http://localhost or your IP address with a filename using forward slash.
http://localhost/filename.phpIn my case, I have run a PHP file on my local computer So, I have typed the localhost address with the PHP filename.
Wrap Up
That’s it to Install PHP on Ubuntu with Apache or Nginx server. If you are stuck somewhere or need any assistance or any feedback, please comment down.

A man with a tech effusive who has explored some of the amazing technology stuff and is exploring more. While moving towards, I had a chance to work on Android development, Linux, AWS, and DevOps with several open-source tools.