Samba is a way to share files across the different operating systems over a network. It let you access all your files from one PC to another without any 3rd party application.
Today, we will install and set up Samba in our Linux system and share files over the network.
Table of Contents
Installation
To install Samba in Linux, make sure to have an account with SUDO privileges and your system is connected to the working internet.
Type or Copy-Paste the below command in the Linux terminal respective to your Linux distribution.
Debian/Ubuntu
$ sudo apt update
$ sudo apt install samba
Always update your repository before any packages installation to full fill any missing dependencies.
We can check if Samba is installed successfully in our system using the below command.
$ samba -V
Version 4.13.3
Above command output, you the version of Samba is installed in your system. In my case, right now, version 4.13.3 is the latest.
Setting up Samba
Now that Samba is successfully installed in our system. Time to create a directory where we place all files and folders we want to share.
$ mkdir /home/[username]/trendoceansHere I am creating a directory with the name trendoceans, which I will share over the network later.
Before that, we have first to add this directory to a Samba configuration file. The default location for the Samba configuration file is /etc/samba/smb.conf.
Copy-Paste the below code to the Samba configuration file to share our directory over the network.
[sambashare]
    comment = Samba on Linux
    path = /home/[username]/trendoceans
    read only = no
    browsable = yes
Now we’ve just added
- comment: You can write anything; it is just for you. You can even skip this if you do not require it.
- path: This is the path which we want to share over the network.
- readonly: We can only modify files and folders if the value of readonly is set to no.
- browsable: Set value to yes to list it in the file manager network tab and make it appear as a shared directory.
Now we have a new shared folder in our configuration file, make sure to restart the Samba daemon.
$ service smbd startSetting up User Accounts and Connecting to Share
Since Samba doesn’t use a user account for login, we need to set up samba’s password using the below command.
$ sudo smbpasswd -a [username]The username must belong to your system account; otherwise, it won’t log in.
Connecting to share
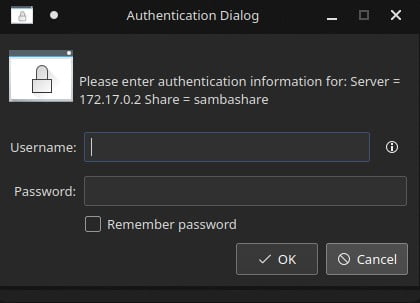
Open file manager and go to the Network tab and connect to the server using remote IP.

Now log in using your system username and password, which you have set using smbpasswd.

Innovative tech mind with 12 years of experience working as a computer programmer, web developer, and security researcher. Capable of working with a variety of technology and software solutions, and managing databases.