Install and Use Guacamole Remote Desktop on CentOS 8
Apache Guacamole is a free, open-source, web-based, and clientless remote desktop application that supports standard protocols like VNC, RDP, and SSH. It allows you to access Linux and Windows PC from a web browser via RDP, SSH, or VNC. It is clientless so you don't need to install any plugins or client software. It is made from two components Guacamole Server and Guacamole Client. Guacamole server provides server-side and native components required to connect to remote PC while Guacamole client is an HTML 5 web application used to connect to the remote PC.
In this tutorial, we will show you how to install the Guacamole server on CentOS 8.
Prerequisites
- A server running CentOS 8.
- A root password is configured the server.
Getting Started
First, you will need to install some required packages in your server. You can install all of them with the following command:
dnf install -y unzip curl make cmake wget gcc zlib-devel compat-openssl10
After installing all required packages, you will need to enable the EPEL, PowerTools and Devel repo in your system. You can enable them with the following command:
dnf install epel-release -y
dnf config-manager --set-enabled PowerTools
dnf config-manager --enable Devel
Next, install other required tools with the following command:
dnf install cairo-devel libuv-devel libjpeg-turbo-devel libjpeg-devel libpng-devel libtool uuid-devel freerdp-devel pango-devel libvncserver-devel pulseaudio-libs-devel openssl-devel libvorbis-devel libwebp-devel libssh2-devel libtheora opus lame-libs
Next, disable the Devel repo with the following command:
dnf config-manager --disable Devel
Next, you will need to compile telnet library in your system.
First, download it with the following command:
curl -s https://api.github.com/repos/seanmiddleditch/libtelnet/releases/latest | grep browser_download_url | cut -d '"' -f 4 | wget -qi -
Once downloaded, extract the downloaded file with the following command:
tar -xf libtelnet-*.tar.gz
Next, change the directory to extracted directory and configure it with the following command:
cd libtelnet-*/
./configure
Next, install it to your system with the following command:
make
make install
Once installed, you can proceed to the next step.
Install Java
Guacamole is a Java-based software so Java must be installed in your server. If not installed you can install it with the following command:
dnf install java-11-openjdk-devel
Once installed, verify the Java version using the following command:
java -version
You should get the following output:
openjdk version "11.0.9.1" 2020-11-04
OpenJDK Runtime Environment (build 11.0.9.1+1-Ubuntu-0ubuntu1.20.04)
OpenJDK 64-Bit Server VM (build 11.0.9.1+1-Ubuntu-0ubuntu1.20.04, mixed mode, sharing)
Install Tomcat
Apache Tomcat is used to serve guacamole client content. So you will need to install Tomcat in your server.
First, create a separate user and group for Tomcat with the following command:
groupadd --system tomcat
useradd -d /usr/share/tomcat -r -s /bin/false -g tomcat tomcat
Next, download the latest version of Tomcat with the following command:
wget https://archive.apache.org/dist/tomcat/tomcat-9/v9.0.43/bin/apache-tomcat-9.0.43.tar.gz
Once the download is completed, extract the downloaded file with the following command:
tar -xvf apache-tomcat-9.0.43.tar.gz
Next, move the Tomcat to the /usr/share directory
mv apache-tomcat-9.0.43 /usr/share/tomcat
Next, set proper ownership to the Tomcat directory:
chown -R tomcat:tomcat /usr/share/tomcat/
Once you are finished, you can proceed to the next step.
Create a Systemd Service File for Tomcat
Next, you will need to create a systemd service file for Tomcat. You can create it with the following command:
nano /etc/systemd/system/tomcat.service
Add the following lines:
[Unit]
Description=Tomcat Server
After=syslog.target network.target

[Service]
Type=forking
User=tomcat
Group=tomcat

Environment=JAVA_HOME=/usr/lib/jvm/jre
Environment='JAVA_OPTS=-Djava.awt.headless=true'
Environment=CATALINA_HOME=/usr/share/tomcat
Environment=CATALINA_BASE=/usr/share/tomcat
Environment=CATALINA_PID=/usr/share/tomcat/temp/tomcat.pid
Environment='CATALINA_OPTS=-Xms512M -Xmx1024M'
ExecStart=/usr/share/tomcat/bin/catalina.sh start
ExecStop=/usr/share/tomcat/bin/catalina.sh stop

[Install]
WantedBy=multi-user.target
Save and close the file then reload the systemd daemon with the following command:
systemctl daemon-reload
Next, start the Tomcat service and enable it to start at system reboot:
systemctl start tomcat
systemctl enable tomcat
You can also check the Tomcat status with the following command:
systemctl status tomcat
You should get the following output:
? tomcat.service - Tomcat Server
   Loaded: loaded (/etc/systemd/system/tomcat.service; disabled; vendor preset: disabled)
   Active: active (running) since Tue 2021-02-16 09:34:45 EST; 6s ago
  Process: 26546 ExecStart=/usr/share/tomcat/bin/catalina.sh start (code=exited, status=0/SUCCESS)
 Main PID: 26551 (java)
    Tasks: 35 (limit: 12523)
   Memory: 89.7M
   CGroup: /system.slice/tomcat.service
           ??26551 /usr/lib/jvm/jre/bin/java -Djava.util.logging.config.file=/usr/share/tomcat/conf/logging.properties -Djava.util.logging.man>

Feb 16 09:34:45 centos8 systemd[1]: Starting Tomcat Server...
Feb 16 09:34:45 centos8 systemd[1]: Started Tomcat Server.
Install Apache Guacamole
First, download the latest version of Guacamole with the following command:
wget https://downloads.apache.org/guacamole/1.3.0/source/guacamole-server-1.3.0.tar.gz
Once the download is completed, extract the downloaded file with the following command:
tar -xvzf guacamole-server-1.3.0.tar.gz
Next, change the directory to the extracted directory and configure it with the following command:
cd guacamole-server-1.3.0
./configure --with-init-dir=/etc/init.d
Next, install it to your system with the following command:
make
make install
ldconfig
Next, reload the systemd daemon with the following command:
systemctl daemon-reload
Next, start the Guacamole service and enable it to start at system reboot:
systemctl start guacd
systemctl enable guacd
You can check the status of the Guacamole with the following command:
systemctl status guacd
You should get the following output:
? guacd.service - LSB: Guacamole proxy daemon
   Loaded: loaded (/etc/rc.d/init.d/guacd; generated)
   Active: active (running) since Tue 2021-02-16 09:37:15 EST; 4s ago
     Docs: man:systemd-sysv-generator(8)
  Process: 35723 ExecStart=/etc/rc.d/init.d/guacd start (code=exited, status=0/SUCCESS)
    Tasks: 1 (limit: 12523)
   Memory: 12.1M
   CGroup: /system.slice/guacd.service
           ??35726 /usr/local/sbin/guacd -p /var/run/guacd.pid

Feb 16 09:37:15 centos8 systemd[1]: Starting LSB: Guacamole proxy daemon...
Feb 16 09:37:15 centos8 guacd[35723]: Starting guacd: guacd[35724]: INFO:        Guacamole proxy daemon (guacd) version 1.3.0 started
Feb 16 09:37:15 centos8 guacd[35723]: SUCCESS
Feb 16 09:37:15 centos8 guacd[35726]: Listening on host 127.0.0.1, port 4822
Feb 16 09:37:15 centos8 systemd[1]: Started LSB: Guacamole proxy daemon.
Install Guacamole Client
Next, create a directory for Guacamole and download the Guacamole client file with the following command:
mkdir /etc/guacamole
wget https://downloads.apache.org/guacamole/1.3.0/binary/guacamole-1.3.0.war
Once downloaded, move the downloaded file to the /etc/guacamole directory:
mv guacamole-1.3.0.war /etc/guacamole/guacamole.war
Next, create a symbolic link of guacamole.war file to the /usr/share/tomcat directory:
ln -s /etc/guacamole/guacamole.war /usr/share/tomcat/webapps/
Next, set the Guacamole home directory with the following command:
echo "GUACAMOLE_HOME=/etc/guacamole" | tee -a /etc/default/tomcat
Next, create a Guacamole configuration file with the following command:
nano /etc/guacamole/guacamole.properties
Add the following lines:
guacd-hostname: localhost
guacd-port:    4822
user-mapping:    /etc/guacamole/user-mapping.xml
auth-provider:    net.sourceforge.guacamole.net.basic.BasicFileAuthenticationProvider
Save and close the file then create symbolic link of /etc/guacamole directory:
ln -s /etc/guacamole /usr/share/tomcat/.guacamole
Configure Guacamole
Next, you will need to create a Guacamole user mapping file to define the remote server that you want to connect from Guacamole.
First, generate a secrete password with the following command:
echo -n your-password | openssl md5
You should see the following output:
(stdin)= 0f6e4a1df0cf5ee97c2066953bed21b2
Next, create a user-mapping.xml file with the following command:
nano /etc/guacamole/user-mapping.xml
Add your remote windows and Linux server details as shown below:
<user-mapping>
<authorize
            username="admin"
            password="0f6e4a1df0cf5ee97c2066953bed21b2"
            encoding="md5">

        <!-- First authorized Remote connection -->
        <connection name="CentOS 8">
            <protocol>ssh</protocol>
            <param name="hostname">69.87.218.51</param>
            <param name="port">22</param>

        </connection>

        <connection name="Windows Server">
            <protocol>rdp</protocol>
            <param name="hostname">15.185.162.149</param>
            <param name="port">3389</param>
            <param name="username">administrator</param>

        </connection>

    </authorize>

</user-mapping>
Save and close the file then restart both Guacamole and Tomcat service to apply the changes:
systemctl restart tomcat guacd
Once you are finished, you can proceed to the next step.
Configure Firewall
Next, you will need to allow port 4822 and 8080 through a firewall. You can allow them with the following command:
firewall-cmd --permanent --add-port=4822/tcp
firewall-cmd --permanent --add-port=8080/tcp
Next, reload the firewalld to apply the changes:
firewall-cmd --reload
Access Guacamole Web UI
Now, open your web browser and access the Guacamole Web interface using the URL http://your-server-ip:8080/guacamole. You should see the following screen:
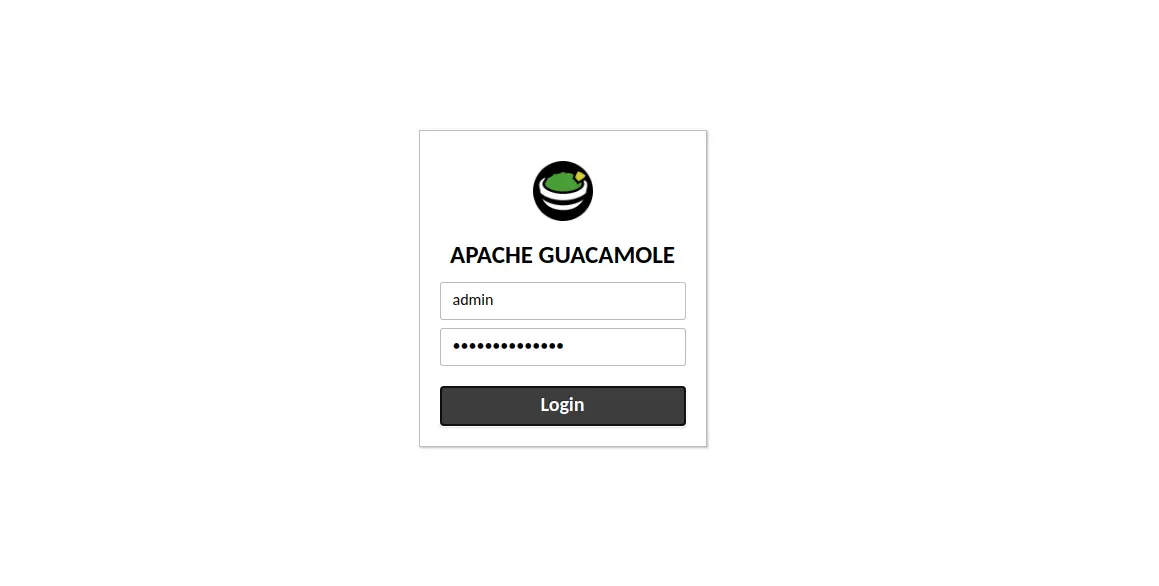
Provide your admin username, password and click on the Login button. You should see the Guacamole dashboard in the following screen:
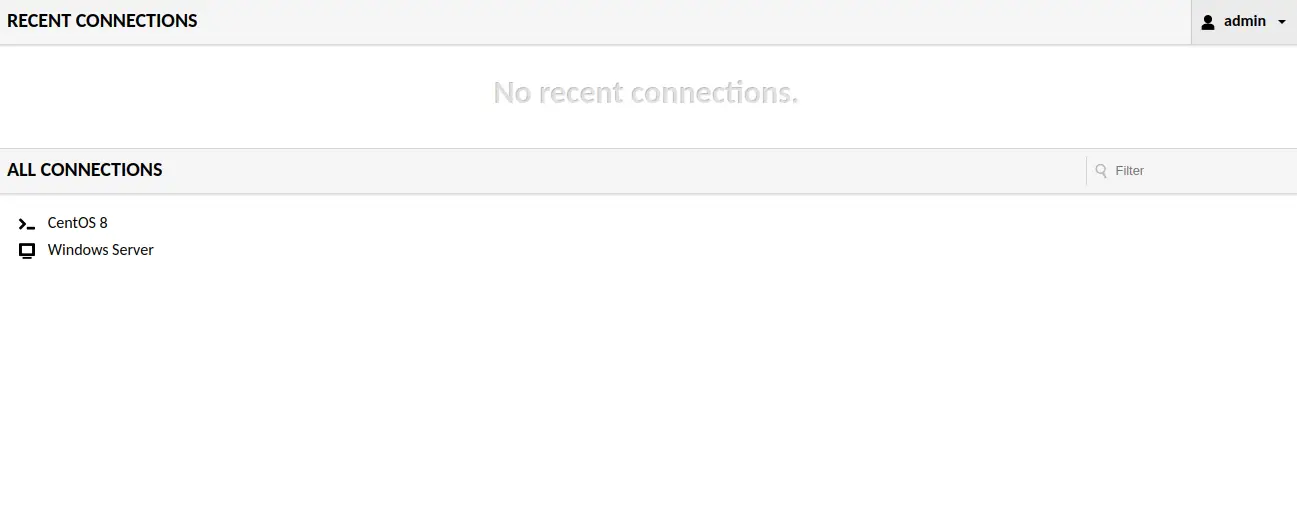
On the above screen, you can see both Windows and Linux servers. You can click on to connect and manage the remote servers.
Conclusion
Congratulations! you have successfully installed and configured the Guacamole server on CentOS 8. You can now add more remote server to your Guacamole server and manage them through a web browser.

