How to Install and Use GVM Vulnerability Scanner on Ubuntu 20.04
On this page
- Prerequisites
- Getting Started
- Install Required Dependencies
- Install and Configure PostgreSQL
- Download GVM
- Install gvm-libs
- Install openvas-smb
- Install OpenVAS Scanner
- Create Systemd Service File
- Update NVTs
- Install Greenbone Vulnerability Manager
- Configure and Update Feeds (GVM)
- Install gsa
- Configure OSPD-OpenVAS
- Create a Systemd Service File for GVM, GSAD and OpenVAS
- Modify Default Scanner
- Access GVM Web Interface
- Conclusion
GVM also called "Greenbone Vulnerability Management" is an open-source vulnerability scanning and management software that provides a set of network vulnerability tests to find security loopholes in systems and applications. This is an all-in-one suite of tools used by many security experts and normal users around the world.
In this tutorial, we will show you how to install and configure GVM on Ubuntu 20.04 server.
Prerequisites
- A server running Ubuntu 20.04.
- A root password is configured the server.
Getting Started
Before starting, you will need to update your system packages to the latest version. You can update them using the following command:
apt-get update -y
Once your server is updated, you can proceed to the next step.
Install Required Dependencies
Before starting, you will need to install all required dependencies in your system. You can install them by running the following command:
apt-get install software-properties-common build-essential cmake pkg-config libglib2.0-dev libgpgme-dev libgnutls28-dev uuid-dev libssh-gcrypt-dev libldap2-dev doxygen graphviz libradcli-dev libhiredis-dev libpcap-dev bison libksba-dev libsnmp-dev gcc-mingw-w64 heimdal-dev libpopt-dev xmltoman redis-server xsltproc libical-dev gnutls-bin nmap rpm nsis curl wget fakeroot gnupg sshpass socat snmp smbclient libmicrohttpd-dev libxml2-dev python3-polib gettext rsync xml-twig-tools python3-paramiko python3-lxml python3-defusedxml python3-pip python3-psutil python3-impacket virtualenv vim git texlive-latex-extra texlive-fonts-recommended -y
Once all the dependencies are installed, add the Yarn repository to your system:
curl -sS https://dl.yarnpkg.com/debian/pubkey.gpg | apt-key add - echo "deb https://dl.yarnpkg.com/debian/ stable main" | tee /etc/apt/sources.list.d/yarn.list
Next, update the repository and install the Yarn package with the following command:
apt-get update -y
apt-get install yarn -y
Next, upgrade Yarn to the latest version using the following command:
yarn install
yarn upgrade
Once you are finished, you can proceed to the next step.
Install and Configure PostgreSQL
GVM uses the PostgreSQL as a database backend so you will need to install the PostgreSQL server to your system. You can install it with the following command:
apt-get install postgresql postgresql-contrib postgresql-server-dev-all -y
Once the installation has been finished, log in to PostgreSQL and create a user and database for GVM:
sudo -u postgres bash
export LC_ALL="C"
createuser -DRS gvm
createdb -O gvm gvmd
Next, connect to database then create a role and extensions with the following command:
psql gvmd
create role dba with superuser noinherit;
grant dba to gvm;
create extension "uuid-ossp";
create extension "pgcrypto";
Next, exit from the PostgreSQL with the following command:
exit
exit
Download GVM
First, create a separate directory and user for GVM with the following command:
mkdir /opt/gvm
adduser gvm --disabled-password --home /opt/gvm/ --no-create-home --gecos ''
Next, add a redis user to GVM and set proper permission with the following command:
usermod -aG redis gvm
chown gvm:gvm /opt/gvm/
Next, create a path variable for GVM with the following command:
echo 'export PATH="$PATH:/opt/gvm/bin:/opt/gvm/sbin:/opt/gvm/.local/bin"' | tee -a /etc/profile.d/gvm.sh
chmod 0755 /etc/profile.d/gvm.sh
source /etc/profile.d/gvm.sh
Next, define the GVM library path using the following command:
nano /etc/ld.so.conf.d/gvm.conf
Add the following line:
/opt/gvm/lib
Next, log in to GVM user and create a directory for all components:
su - gvm
mkdir src
Next, download all the required components inside src directory with the following command:
cd src
export PKG_CONFIG_PATH=/opt/gvm/lib/pkgconfig:$PKG_CONFIG_PATH
git clone -b gvm-libs-20.08 --single-branch https://github.com/greenbone/gvm-libs.git
git clone -b openvas-20.08 --single-branch https://github.com/greenbone/openvas.git
git clone -b gvmd-20.08 --single-branch https://github.com/greenbone/gvmd.git
git clone -b master --single-branch https://github.com/greenbone/openvas-smb.git
git clone -b gsa-20.08 --single-branch https://github.com/greenbone/gsa.git
git clone -b ospd-openvas-20.08 --single-branch https://github.com/greenbone/ospd-openvas.git
git clone -b ospd-20.08 --single-branch https://github.com/greenbone/ospd.git
Install gvm-libs
Next, change the directory to gvm-libs, export the config path and create a build directory with the following command:
cd gvm-libs
export PKG_CONFIG_PATH=/opt/gvm/lib/pkgconfig:$PKG_CONFIG_PATH
mkdir build
Next, change the directory to build and compile the gvm-libs using the following command:
cd build
cmake -DCMAKE_INSTALL_PREFIX=/opt/gvm ..
make
make doc
make install
Install openvas-smb
Next, change the directory to openvas-smb, export the config path and create a build directory with the following command:
cd /opt/gvm/src
cd openvas-smb
export PKG_CONFIG_PATH=/opt/gvm/lib/pkgconfig:$PKG_CONFIG_PATH
mkdir build
Next, change the directory to build and compile the openvas-smb with the following command:
cd build
cmake -DCMAKE_INSTALL_PREFIX=/opt/gvm ..
make
make install
Install OpenVAS Scanner
Next, change the directory to openvas, export the config path and create a build directory with the following command:
cd /opt/gvm/src
cd openvas
export PKG_CONFIG_PATH=/opt/gvm/lib/pkgconfig:$PKG_CONFIG_PATH
mkdir build
Next, change the directory to build and install the OpenVAS scanner with the following command:
cd build
cmake -DCMAKE_INSTALL_PREFIX=/opt/gvm ..
make
make doc
make install
Next, exit from the gvm user with the following command:
exit
Next, create the cache to the installed shared libraries with the following command:
export LC_ALL="C"
ldconfig
Next, copy OpenVAS scanner Redis configuration file with the following command:
cp /etc/redis/redis.conf /etc/redis/redis.orig
cp /opt/gvm/src/openvas/config/redis-openvas.conf /etc/redis/
Next, set proper ownership with the following command:
chown redis:redis /etc/redis/redis-openvas.conf
Next, update the path to Redis unix socket with the following command:
echo "db_address = /run/redis-openvas/redis.sock" > /opt/gvm/etc/openvas/openvas.conf
Next, enable and start the Redis service with the following command:
systemctl enable [email protected]
systemctl start [email protected]
Next, you will need to tweak the sysctl.conf file. You can do it with the following command:
sysctl -w net.core.somaxconn=1024
sysctl vm.overcommit_memory=1
echo "net.core.somaxconn=1024" >> /etc/sysctl.conf
echo "vm.overcommit_memory=1" >> /etc/sysctl.conf
Next, reload the sysctl with the following command:
sysctl -p
Create Systemd Service File
First, create a systemd service file for Transparent Huge Pages (THP) with the following command:
nano /etc/systemd/system/disable-thp.service
Add the following lines:
Description=Disable Transparent Huge Pages (THP)

[Service]
Type=simple
ExecStart=/bin/sh -c "echo 'never' > /sys/kernel/mm/transparent_hugepage/enabled && echo 'never' > /sys/kernel/mm/transparent_hugepage/defrag"

[Install]
WantedBy=multi-user.target
Save and close the file then reload the systemd service with the following command:
systemctl daemon-reload
Next, start the disable-thp service and enable it to start at system reboot:
systemctl start disable-thp
systemctl enable disable-thp
Next, restart the Redis service to apply the changes:
systemctl restart redis-server
Next, you will need to grant the gvm user to run all system command using sudo without providing a password. You can do it with the following command:
sed 's/Defaults\s.*secure_path=\"\/usr\/local\/sbin:\/usr\/local\/bin:\/usr\/sbin:\/usr\/bin:\/sbin:\/bin:\/snap\/bin\"/Defaults secure_path=\"\/usr\/local\/sbin:\/usr\/local\/bin:\/usr\/sbin:\/usr\/bin:\/sbin:\/bin:\/snap\/bin:\/opt\/gvm\/sbin\"/g' /etc/sudoers | EDITOR='tee' visudo
echo "gvm ALL = NOPASSWD: /opt/gvm/sbin/openvas" > /etc/sudoers.d/gvm
echo "gvm ALL = NOPASSWD: /opt/gvm/sbin/gsad" >> /etc/sudoers.d/gvm
Update NVTs
Next, you will need to update Network Vulnerability Tests feed from Greenbone Security Feed/Community Feed.
First, log in to gvm user with the following command:
su - gvm
Next, update the feed with the following command:
greenbone-nvt-sync
Once the update is completed, update Redis server with the same VT info from VT files:
sudo openvas --update-vt-info
Install Greenbone Vulnerability Manager
First, change the directory to gvmd, export the config path and create a build directory with the following command:
cd /opt/gvm/src/gvmd
export PKG_CONFIG_PATH=/opt/gvm/lib/pkgconfig:$PKG_CONFIG_PATH
mkdir build
Next, change the directory to build and install the gvmd with the following command:
cd build/
cmake -DCMAKE_INSTALL_PREFIX=/opt/gvm ..
make
make doc
make install
Next, fix certificate with the following command:
gvm-manage-certs -a
You should get the following output:
Generated private key in /tmp/tmp.gW57p1UV0s/cakey.pem.
Generated self signed certificate in /tmp/tmp.gW57p1UV0s/cacert.pem.
Installed private key to /opt/gvm/var/lib/gvm/private/CA/cakey.pem.
Installed certificate to /opt/gvm/var/lib/gvm/CA/cacert.pem.
Generated private key in /tmp/tmp.gW57p1UV0s/serverkey.pem.
Generated certificate request in /tmp/tmp.gW57p1UV0s/serverrequest.pem.
Signed certificate request in /tmp/tmp.gW57p1UV0s/serverrequest.pem with CA certificate in /opt/gvm/var/lib/gvm/CA/cacert.pem to generate certificate in /tmp/tmp.gW57p1UV0s/servercert.pem
Installed private key to /opt/gvm/var/lib/gvm/private/CA/serverkey.pem.
Installed certificate to /opt/gvm/var/lib/gvm/CA/servercert.pem.
Generated private key in /tmp/tmp.gW57p1UV0s/clientkey.pem.
Generated certificate request in /tmp/tmp.gW57p1UV0s/clientrequest.pem.
Signed certificate request in /tmp/tmp.gW57p1UV0s/clientrequest.pem with CA certificate in /opt/gvm/var/lib/gvm/CA/cacert.pem to generate certificate in /tmp/tmp.gW57p1UV0s/clientcert.pem
Installed private key to /opt/gvm/var/lib/gvm/private/CA/clientkey.pem.
Installed certificate to /opt/gvm/var/lib/gvm/CA/clientcert.pem.
Removing temporary directory /tmp/tmp.gW57p1UV0s.
Configure and Update Feeds (GVM)
First, create an admin user to access the GVM web interface:
gvmd --create-user=admin --password=admin
Next, find the UUID of an admin user with the following command:
gvmd --get-users --verbose
You should get the following output:
admin 1288cbcf-23a0-407f-8013-b7a57acc5795
Next, modify the gvmd settings with the user UUID:
gvmd --modify-setting 78eceaec-3385-11ea-b237-28d24461215b --value 1288cbcf-23a0-407f-8013-b7a57acc5795
Next, sync all greenbone feeds with the following command:
greenbone-feed-sync --type GVMD_DATA
greenbone-feed-sync --type SCAP
greenbone-feed-sync --type CERT
Install gsa
First, change the directory to gsa, export the config path and create a build directory with the following command:
cd /opt/gvm/src/gsa
export PKG_CONFIG_PATH=/opt/gvm/lib/pkgconfig:$PKG_CONFIG_PATH
mkdir build
Next, change the directory to build and install the gsa with the following command:
cd build/
cmake -DCMAKE_INSTALL_PREFIX=/opt/gvm ..
make
make doc
make install
Next, create a log file for gsa with the following command:
touch /opt/gvm/var/log/gvm/gsad.log
Configure OSPD-OpenVAS
First, change the directory to src and export the config path with the following command:
cd /opt/gvm/src
export PKG_CONFIG_PATH=/opt/gvm/lib/pkgconfig:$PKG_CONFIG_PATH
Next, create the Python virtual environment with the following command:
virtualenv --python python3.8 /opt/gvm/bin/ospd-scanner/
Next, activate the virtual environment with the following command:
source /opt/gvm/bin/ospd-scanner/bin/activate
Next, create a directory for ospd with the following command:
mkdir /opt/gvm/var/run/ospd/
Next, change the directory to ospd and install ospd with pip:
cd ospd
pip3 install .
Next, change the directory to ospd-openvas and install the ospd-openvas using the pip command:
cd /opt/gvm/src/ospd-openvas
pip3 install .
Next, exit from the gvm user with the following command:
exit
Create a Systemd Service File for GVM, GSAD and OpenVAS
First, create a systemd service file for gvmd with the following command:
nano /etc/systemd/system/gvmd.service
Add the following lines:
[Unit]
Description=Open Vulnerability Assessment System Manager Daemon
Documentation=man:gvmd(8) https://www.greenbone.net
Wants=postgresql.service ospd-openvas.service
After=postgresql.service ospd-openvas.service

[Service]
Type=forking
User=gvm
Group=gvm
PIDFile=/opt/gvm/var/run/gvmd.pid
WorkingDirectory=/opt/gvm
ExecStart=/opt/gvm/sbin/gvmd --osp-vt-update=/opt/gvm/var/run/ospd.sock
ExecReload=/bin/kill -HUP $MAINPID
KillMode=mixed
Restart=on-failure
RestartSec=2min
KillMode=process
KillSignal=SIGINT
GuessMainPID=no
PrivateTmp=true

[Install]
WantedBy=multi-user.target
Save and close the file then create a systemd service file for gsad with the following command:
nano /etc/systemd/system/gsad.service
Add the following lines:
[Unit]
Description=Greenbone Security Assistant (gsad)
Documentation=man:gsad(8) https://www.greenbone.net
After=network.target
Wants=gvmd.service


[Service]
Type=forking
PIDFile=/opt/gvm/var/run/gsad.pid
WorkingDirectory=/opt/gvm
ExecStart=/opt/gvm/sbin/gsad --drop-privileges=gvm
Restart=on-failure
RestartSec=2min
KillMode=process
KillSignal=SIGINT
GuessMainPID=no
PrivateTmp=true

[Install]
WantedBy=multi-user.target
Save and close the file then create a systemd service file for openvas with the following command:
nano /etc/systemd/system/ospd-openvas.service
Add the following lines:
[Unit]
Description=Job that runs the ospd-openvas daemon
Documentation=man:gvm
After=network.target [email protected]
[email protected]

[Service]
Environment=PATH=/opt/gvm/bin/ospd-scanner/bin:/opt/gvm/bin:/opt/gvm/sbin:/opt/gvm/.local/bin:/usr/local/sbin:/usr/local/bin:/usr/sbin:/usr/bin:/sbin:/bin
Type=forking
User=gvm
Group=gvm
WorkingDirectory=/opt/gvm
PIDFile=/opt/gvm/var/run/ospd-openvas.pid
ExecStart=/opt/gvm/bin/ospd-scanner/bin/python /opt/gvm/bin/ospd-scanner/bin/ospd-openvas --pid-file /opt/gvm/var/run/ospd-openvas.pid --unix-socket=/opt/gvm/var/run/ospd.sock --log-file /opt/gvm/var/log/gvm/ospd-scanner.log --lock-file-dir /opt/gvm/var/run/ospd/
Restart=on-failure
RestartSec=2min
KillMode=process
KillSignal=SIGINT
GuessMainPID=no
PrivateTmp=true

[Install]
WantedBy=multi-user.target
Save and close the file then reload the systemd daemon with the following command:
systemctl daemon-reload
Next, start all the services and enable them to start at system reboot with the following command:
systemctl enable gvmd
systemctl enable gsad
systemctl enable ospd-openvas
systemctl start gvmd
systemctl start gsad
systemctl start ospd-openvas
You can also verify the status of all services with the following command:
systemctl status gvmd
systemctl status gsad
systemctl status ospd-openvas
Modify Default Scanner
First, log in to gvm user with the following command:
sudo su - gvm
Next, get the UUID of the scanner with the following command:
gvmd --get-scanners
You should get the following command:
08b69003-5fc2-4037-a479-93b440211c73  OpenVAS  /var/run/ospd/ospd.sock  0  OpenVAS Default
6acd0832-df90-11e4-b9d5-28d24461215b  CVE    0  CVE
Now, modify the default scanner using the above UUID:
gvmd --modify-scanner=08b69003-5fc2-4037-a479-93b440211c73 --scanner-host=/var/run/ospd/ospd.sock
Access GVM Web Interface
At this point, GVM is installed and listening on ports 80 and 443. You can access it using the URL https://your-server-ip. You will be redirected to the GVM login page as shown below:
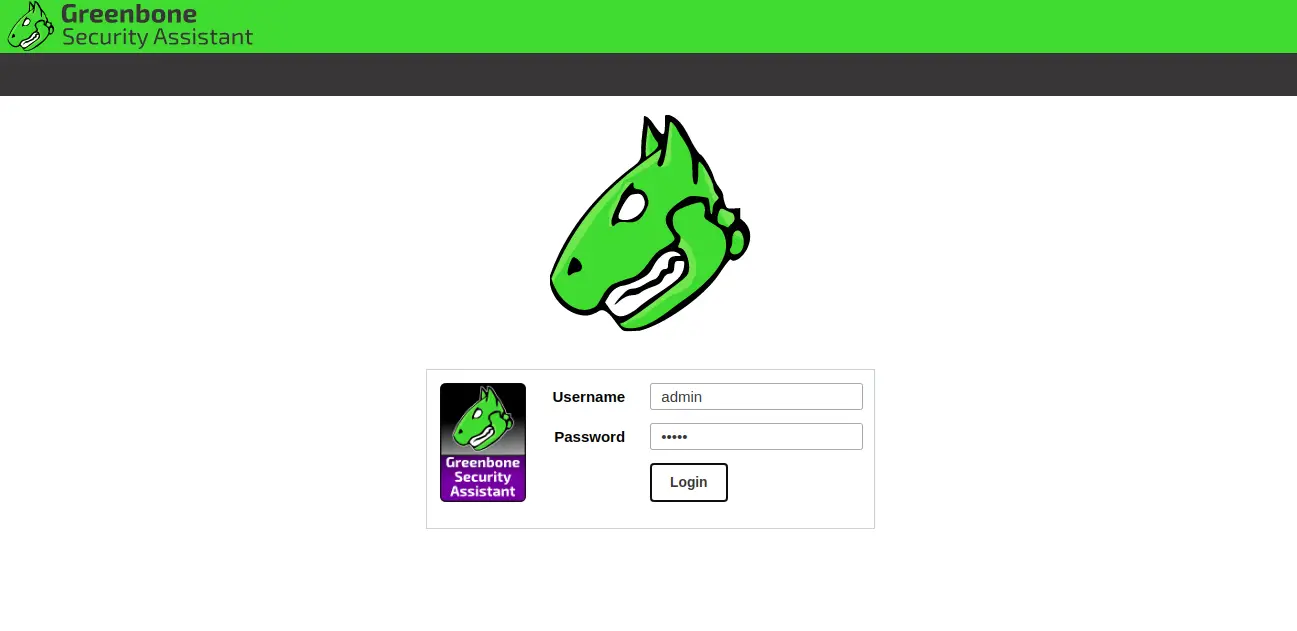
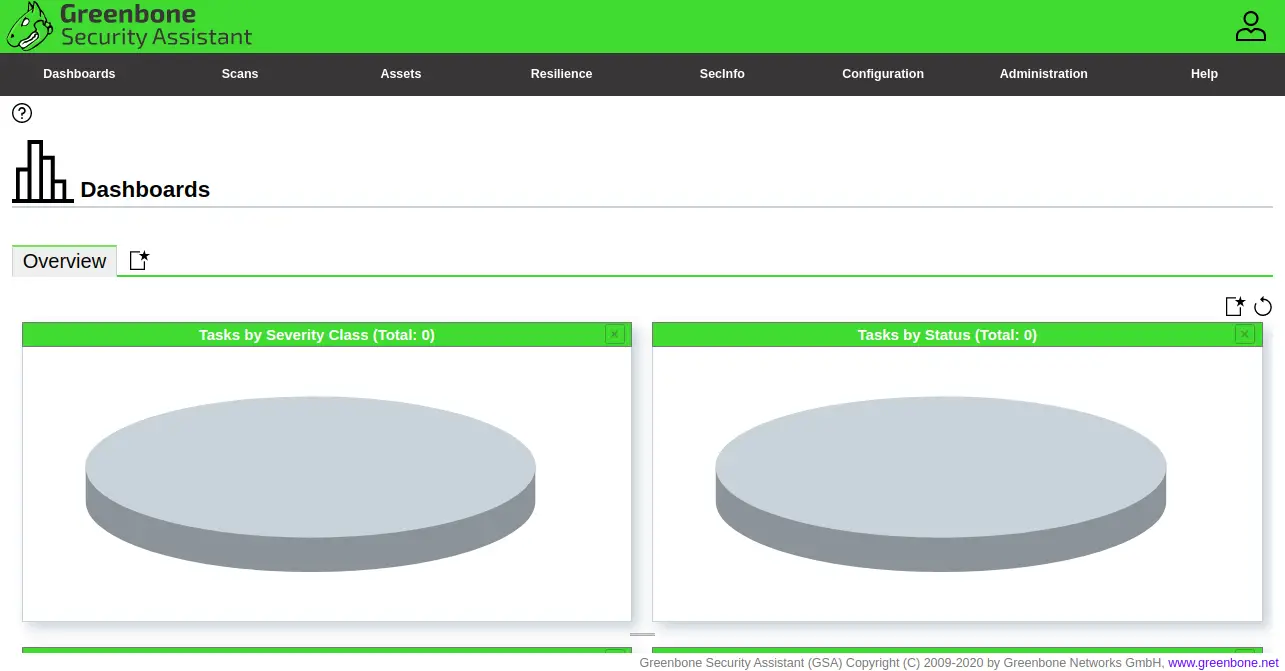
Provide your admin username, password and click on the Login button. You should see the GVM dashboard in the following page:
Conclusion
Congratulations! you have successfully installed and setup GVM on Ubuntu 20.04 server. You can now explore the GVM start scanning your system for vulnerability. Feel free to ask me if you have any questions.

