In this tutorial, we’re going to show you how to install and configure DokuWiki on CentOS Stream 8 with the Apache webserver and the (currently) latest PHP 8.0.
DokuWiki is a popular open-source wiki software that you can extend and customize with lots of plugins and themes. It doesn’t use a database, it’s lightweight, and DokuWiki has great syntax.
Prerequisites
This is what you’ll need to set up DokuWiki:
- A server. The $2.50 per month VPS from Vultr is enough to run DokuWiki. Use the CentOS Stream 8 image. You can use other CentOS versions too, the instructions will be somewhat similar.
- An experience in managing and using a server. All the commands below are going to be run via SSH (the terminal), so if you’re a beginner, this tutorial may not be a good fit for you. All commands below are executed by the root user, so running ‘sudo’ is not necessary. If you’re using a non-root user, you’ll have to update the command accordingly.
- It’s assumed that your server is already updated and secured. This tutorial is only on how to set up and configure DokuWiki itself.
Step 1: Update your server
The first thing you always need to do before installing or configuring new software on your server is to update it:
yum -y update
Step 2: Install Apache
The next step is to install the webserver, in this case, we’ll be using Apache.
yum -y install httpd
Step 3: Configure your firewall
In most cases, CentOS has a firewall pre-configured and enabled. You need to update your firewall to allow HTTP and/or HTTPS traffic. In this tutorial, we’ll be using firewalld. So, run the following commands:
firewall-cmd --permanent --zone=public --add-service={http,https}
firewall-cmd --reload
This will add the rules and restart the firewall service.
Step 4: Install PHP 8
PHP 8 is not included by default in CentOS 8’s repositories. The first thing you’ll need to do is enable the EPEL and Remi repositories by running these commands:
yum install -y https://dl.fedoraproject.org/pub/epel/epel-release-latest-8.noarch.rpm
yum install -y https://rpms.remirepo.net/enterprise/remi-release-8.rpm
Then, enable the PHP 8 module:
yum module enable php:remi-8.0 -y
And now you can finally install PHP 8 and a few PHP extensions:
yum install -y php php-cli php-common php-gd php-mbstring php-mysqlnd php-xml
Step 5: Dowload DokuWiki
Next, you need to download DokuWiki. For this tutorial, we’ll be using the latest stable release.
Run the following command to download the latest stable release of DokuWiki:
wget https://download.dokuwiki.org/src/dokuwiki/dokuwiki-stable.tgz
And extract the archive to the folder in which you’re planning to run DokuWiki. For this tutorial, we’ll be using the default Apache webroot folder:
tar zxvf dokuwiki-stable.tgz -C /var/www/html/ --strip-components=1
Step 6: Set up .htaccess, Apache, and SELinux
The next step is to set up a .htaccess file and set up Apache.
You can use the pre-configured .htaccess file:
cp /var/www/html/.htaccess.dist /var/www/html/.htaccess
The next step is to update the permissions:
chown -R apache:apache /var/www/html
For DokuWiki to run properly, you need to configure SELinux. Run the following commands:
semanage fcontext -a -t httpd_sys_rw_content_t "/var/www/html/conf(/.*)?"

semanage fcontext -a -t httpd_sys_rw_content_t "/var/www/html/data(/.*)?"

semanage permissive -a httpd_t

restorecon -Rv /var/www/html/conf

restorecon -Rv /var/www/html/data
The next step is to star, enable, and restart the httpd daemon:
systemctl start httpd
systemctl enable httpd
systemctl restart httpd
Step 7: Install DokuWiki
And finally, you can install DokuWiki by visiting the install.php page which is located in your root folder. It should be something like
http://your-domain.name/install.php
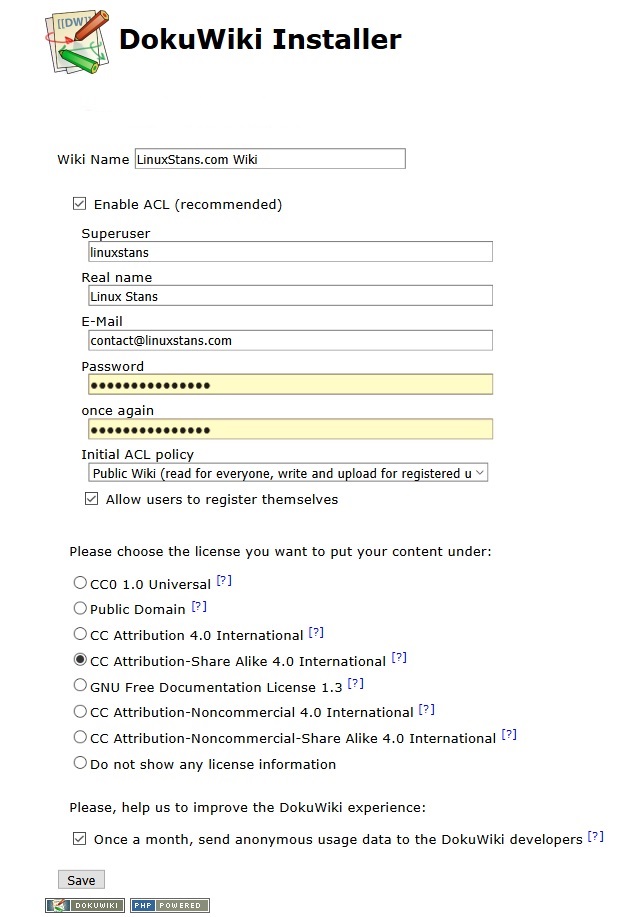
That page is pretty self-explanatory.
Next steps
DokuWiki’s documentation is pretty easy to follow for whatever you’re trying to do or solve. Two pages we’d recommend are the security page and the user manual. Make sure you properly secure your server as well as DokuWiki.
The next step is to (maybe) customize the design of DokuWiki with templates or extend its functionality with plugins. You can even set up Let’s Encrypt to get a free SSL certificate.