In this tutorial, we’re going to show you how to install XWiki with Tomcat 9, MariaDB, Nginx as a reverse proxy, and Let’s Encrypt.
XWiki is a powerful and robust wiki open-source software. You can learn more about XWiki on their website.
XWiki server requirements
As per their recommendations, you need a server with at least 1GB of RAM for small and medium-sized installations. You can get one from Vultr. For this tutorial, we’ll be using Ubuntu 20.04, but the instructions will work on pretty much any other Debian-based distro, although they were only tested on Ubuntu 20.04.
Login to your server as root and follow the steps below.
Step 1: Update your system
The first step is to always update your system. To do so, run the following commands:
apt-get update
apt-get upgrade
Step 2: Use the .deb XWiki package
Run the following commands to add the XWiki package to your repository:
wget -q "https://maven.xwiki.org/public.gpg" -O- | apt-key add -
wget "https://maven.xwiki.org/stable/xwiki-stable.list" -P /etc/apt/sources.list.d/
Then, update the packages list:
apt-get update
The next step is to install XWiki. There are several options on how you can install it. You can use MariaDB, PostgreSQL, or other databases. In this tutorial, we’ll use Tomcat 9 and MariaDB. So, run the following command:
apt-get install xwiki-tomcat9-mariadb
And follow the prompts. In most cases, if you don’t know what to choose, stick with the default option. The password you’ll be prompted for is a new XWiki database password, not the root MariaDB password.
Step 3: Configure Tomcat for XWiki
By default, Tomcat uses a lot less memory than what XWiki needs. To configure the memory settings, edit the following file:
nano /etc/default/tomcat9
And update the first uncommented JAVA_OPTS line.
In this case, we’ll modify it so Tomcat uses 1GB of RAM:
JAVA_OPTS="-Djava.awt.headless=true -Xmx1024m"
You can change it to -Xmx2048m for 2GB of RAM etc.
Next, add this line to the same file:
JAVA_OPTS="${JAVA_OPTS} -Djava.security.egd=file:/dev/./urandom"
Which will make XWiki use dev/urandom instead of /dev/random, which is much faster and enough for XWiki’s needs.
And finally, restart Tomcat:
systemctl restart tomcat9
Step 4: Other configurations
Open the following file and go to Lines 308 and 309:
nano -l /etc/xwiki/xwiki.cfg
Replace the strings/keys with something random, it can be anything as long as both strings are the same length.
xwiki.authentication.validationKey=oJhYeZUg8z
xwiki.authentication.encryptionKey=ocmGNNj1BU
The next step is to configure XWiki so it uses HTTPS. Open the following file:
nano -l /etc/tomcat9/server.xml
And find the following line:
<Engine name="Catalina" defaultHost="localhost">
It should be line 132. Add the block below that line:
<Engine name="Catalina" defaultHost="localhost">
<Valve className="org.apache.catalina.valves.RemoteIpValve"
internalProxies="127\.0\.[0-1]\.1"
remoteIpHeader="x-forwarded-for"
requestAttributesEnabled="true"
protocolHeader="x-forwarded-proto"
protocolHeaderHttpsValue="https"></Valve>
And save the file.
Step 5: Install Nginx and Certbot
The next step is to install Nginx and Certbot to configure your XWiki so it uses HTTPS.
First, install Nginx and Certbot with the following command:
apt-get install nginx certbot python3-certbot-nginx
Next, create a server block for your domain (you don’t have to set up 443 yet):
Create a conf file:
nano /etc/nginx/conf.d/tomcat.conf
and add the following:
server {
    listen       80;
    server_name  wiki.linuxstans.com;

   # Normally root should not be accessed, however, root should not serve files that might compromise the security of your server.
    root /var/www/html;

    location / {
        # All "root" requests will have /xwiki appended AND redirected to wiki.linuxstans.com
        rewrite ^ $scheme://$server_name/xwiki$request_uri? permanent;
    }

    location ^~ /xwiki {
       # If path starts with /xwiki - then redirect to backend: XWiki application in Tomcat
       # Read more about proxy_pass: http://nginx.org/en/docs/http/ngx_http_proxy_module.html#proxy_pass
       proxy_pass http://localhost:8080;
       proxy_set_header        X-Real-IP $remote_addr;
       proxy_set_header        X-Forwarded-For $proxy_add_x_forwarded_for;
       proxy_set_header        Host $http_host;
       proxy_set_header        X-Forwarded-Proto $scheme;
    }
}
Make sure to change wiki.linuxstans.com with your own domain. Save and close the file. Check if the configuration is ok with:
nginx -t
And restart nginx:
systemctl restart nginx
Next, run Certbot for a Let’s Encrypt certificate for your own domain:
certbot --nginx -d wiki.linuxstans.com
And follow the self-explanatory prompts. It’s recommended to let Certbot take care of redirection so you get all your HTTP traffic redirected to HTTPS. That’s option 2 when the prompt comes up.
The bot will auto-renew the certificate.
Once you’re done, if you’re using a firewall, make sure to modify it with the new ports. You can use:
ufw allow 'Nginx Full'
ufw reload
And that’s pretty much it! The installation is now complete.
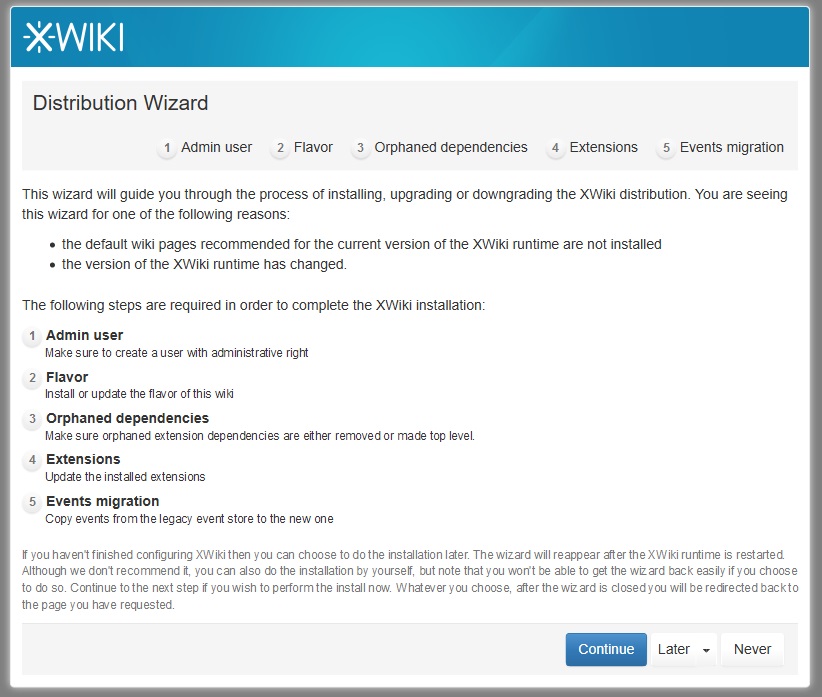
You can navigate to https://wiki.linuxstans.com (or whatever your domain is) to complete your installation with the setup wizard.
Now make sure to secure your server, keep backups, secure XWiki itself, and configure everything else that’s needed. You can read their detailed documentation for more information and help.