If you have multiple standalone WordPress websites, then it’s a good idea to go with WordPress multisite network.
Multisite WordPress installation allows you to create and manage multiple WordPress websites from a single dashboard. This way, you can edit and update all of your websites from a single place. You can also install and activate plugins and themes for multiple sites at once.
RoseHosting Cloud platform provides an easier way to deploy an auto-scalable WordPress Multisite cluster in a single click.
Table of Contents
Install WordPress Cluster
First, log in to RoseHosting cloud platform at https://app.rosehosting.cloud as shown below:
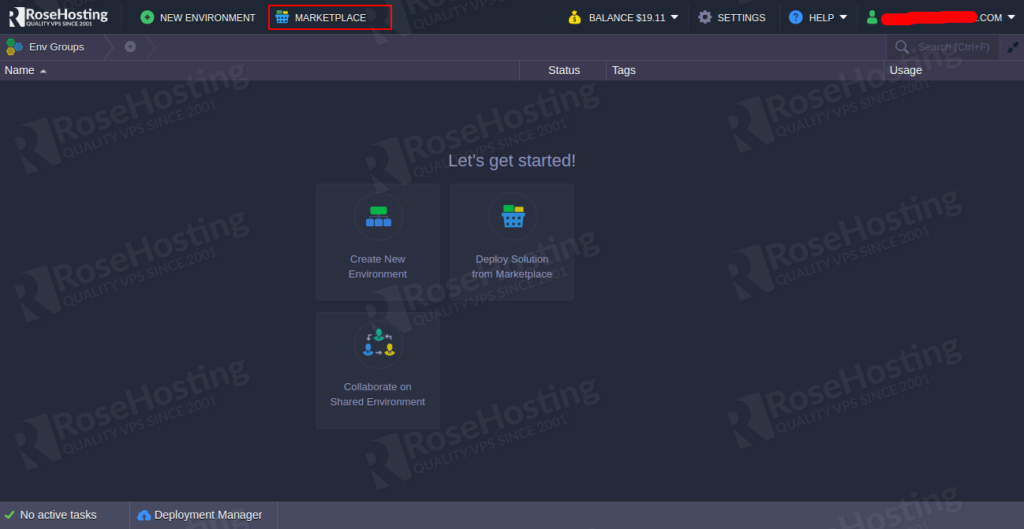
Click on the MARKETPLACE button. You should see the following page:
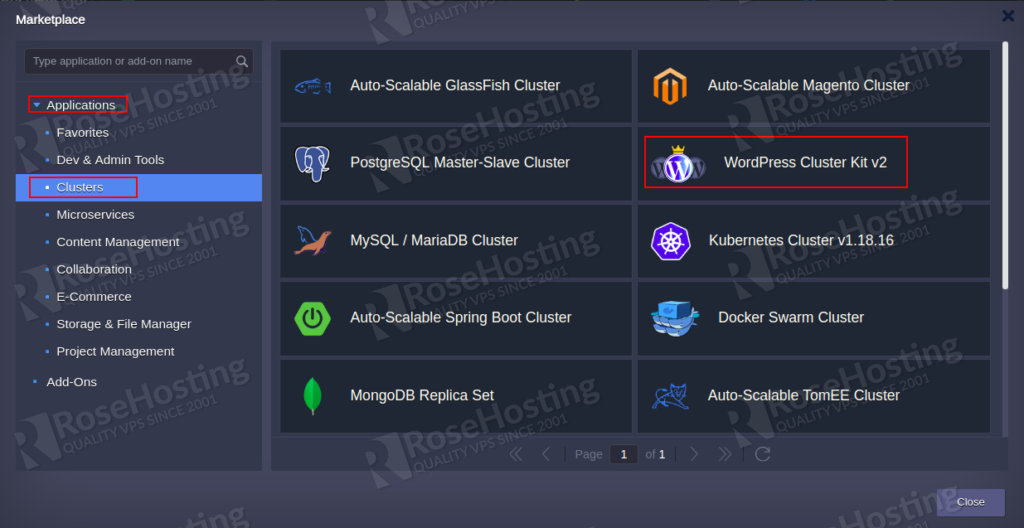
Click on the Applications => Clusters => WordPress Cluster Kit v2 to install the WordPress cluster. You should see the following page:
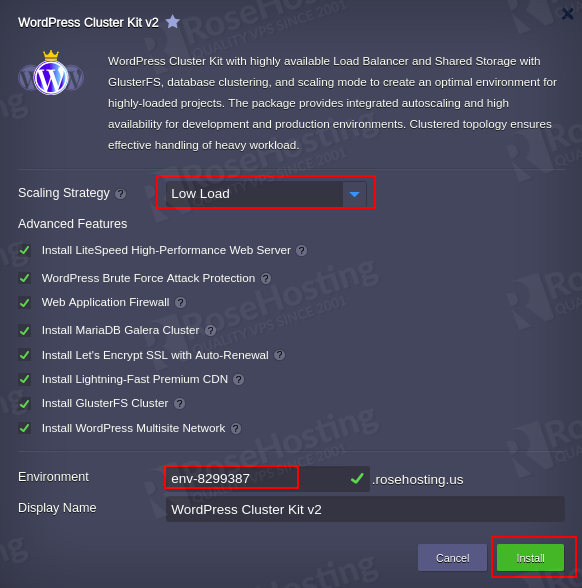
Select the Scaling Strategy, Features, Define your environment name and click on the Install button. Once the installation has been finished, you should get the following page:

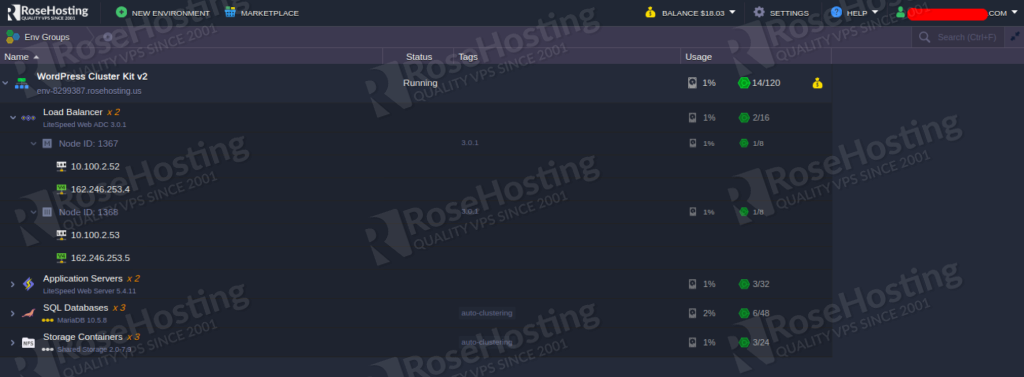
Click on the Close button to close the installation wizard. You should see your WordPress cluster environment on the following page:
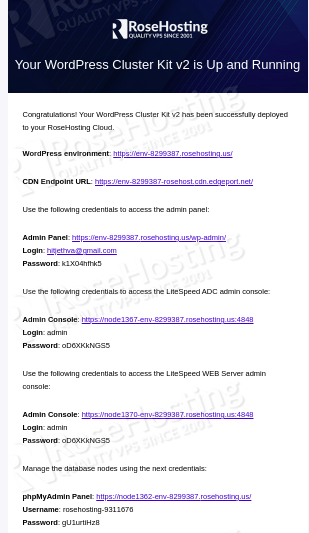
You should also receive a confirmation email with the link and credentials to manage your WordPress application.
Configure Domain and SSL Certificate
In order to run your WordPress multisite in production, you should have a valid FQDN domain name and public IP address.
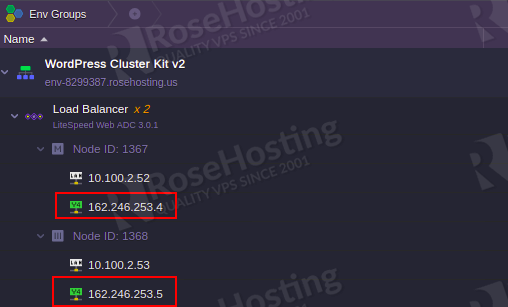
If you select the Let’s Encrypt SSL features during the installation, the public IP address will be added to the Load Balancer node automatically as shown below:
Now, you will need to bind your domain name to the Public IP address of the load balancer.
To do so, you will need to create an A record for your domain that will point to your Load balancer public IP address as shown below:
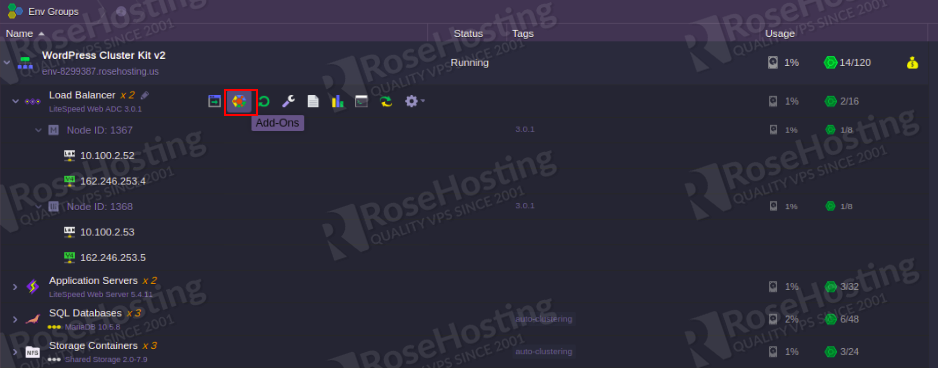
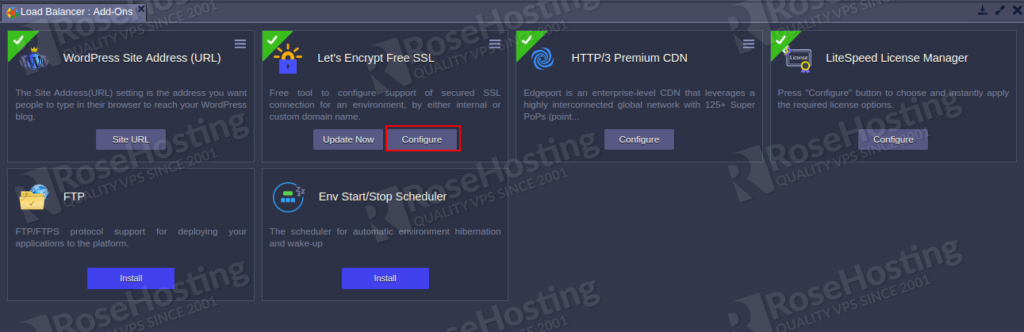
Next, click on the Add-Ons button in the Load Balancer.
Then, click on the Configure button on “Let’s Encrypt Free SSL”.
Now, provide your custom domain name as shown below:
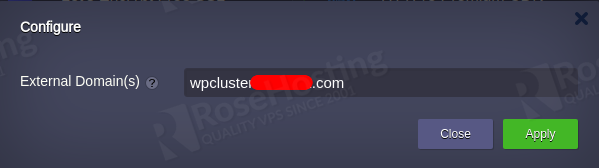
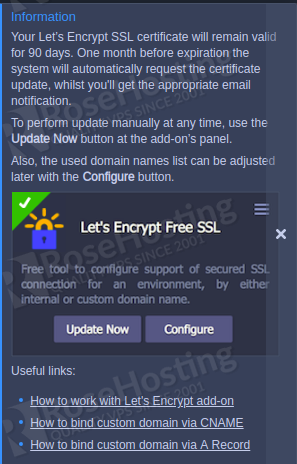
Next, click on the Apply button to save the changes. After some time, your SSL certificate will be issued and you will be notified via email as shown below:
Configure Multisite Network and Create a Website
Now, Log in to your WordPress Admin Panel using the credentials which you have received via email.
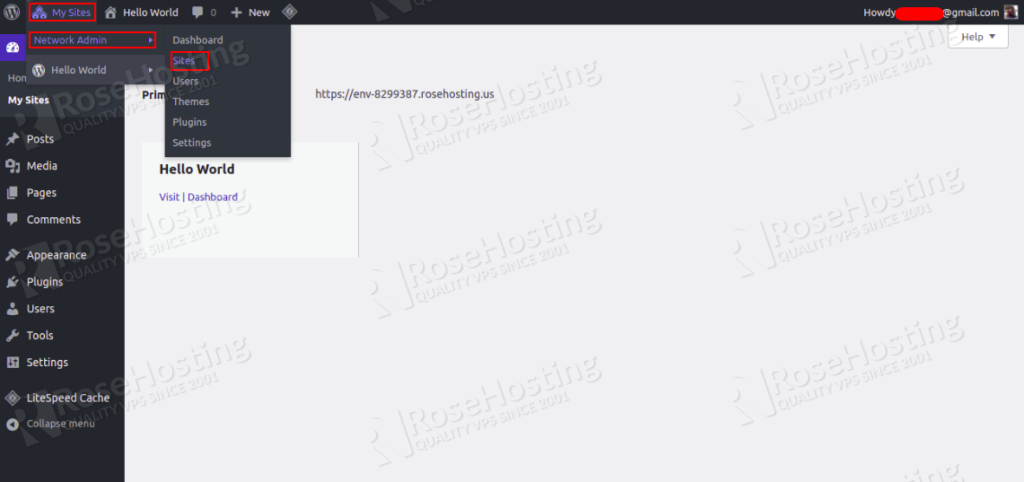
Now, click on the My Sites > Network Admin > Sites page. You should see the main site in the following page:
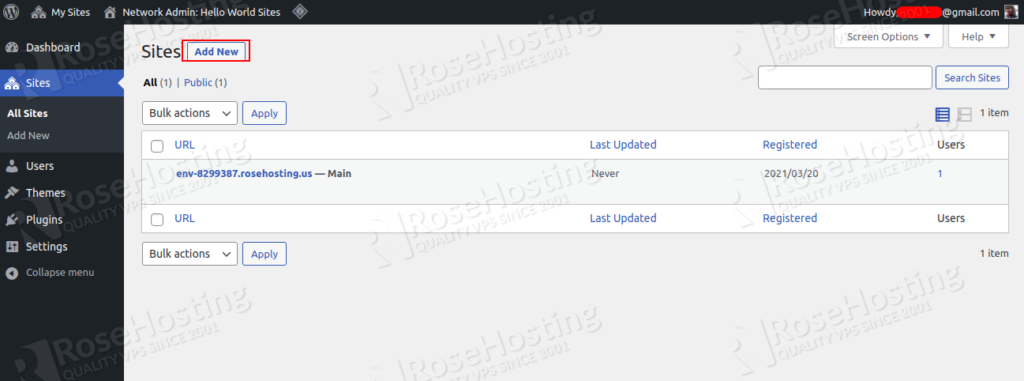
Now, click on the Add New button to add a new site as shown below:

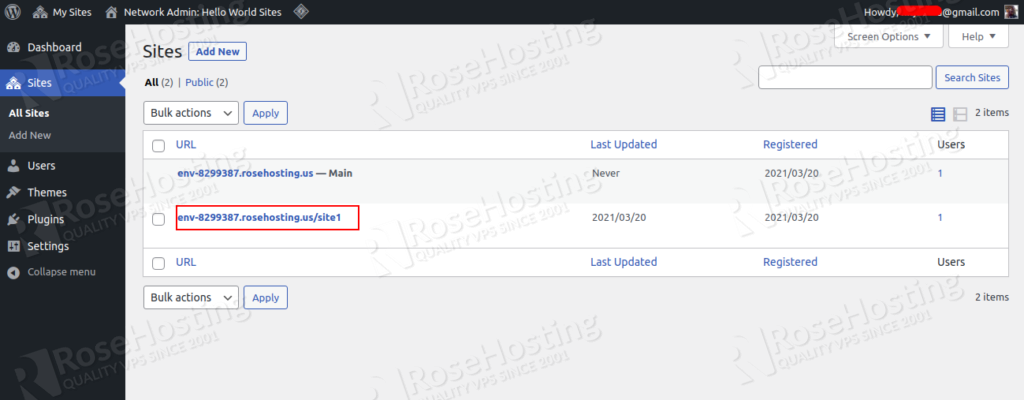
Provide all required information and click on the Add Site button. You should see your newly added site on the following page:
Bind Custom Domains to Websites
Next, you will need to edit your newly created site and change the site URL with your custom domain name.
Click on the edit button next to env-8299387.rosehosting.us/site1. You should see the following page:
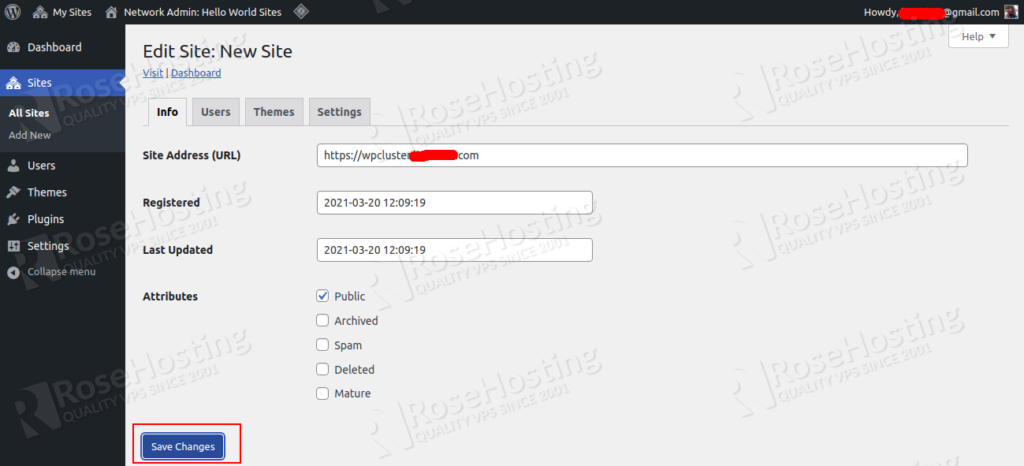
Now, replace the URL env-8299387.rosehosting.us/site1 with your domain name and click on the Save Changes button.
Enable CDN for Websites in the Network
Next, you will need to bind a CDN endpoint to your newly created site.
First, click on the Dashboard menu item. You should see the following page:
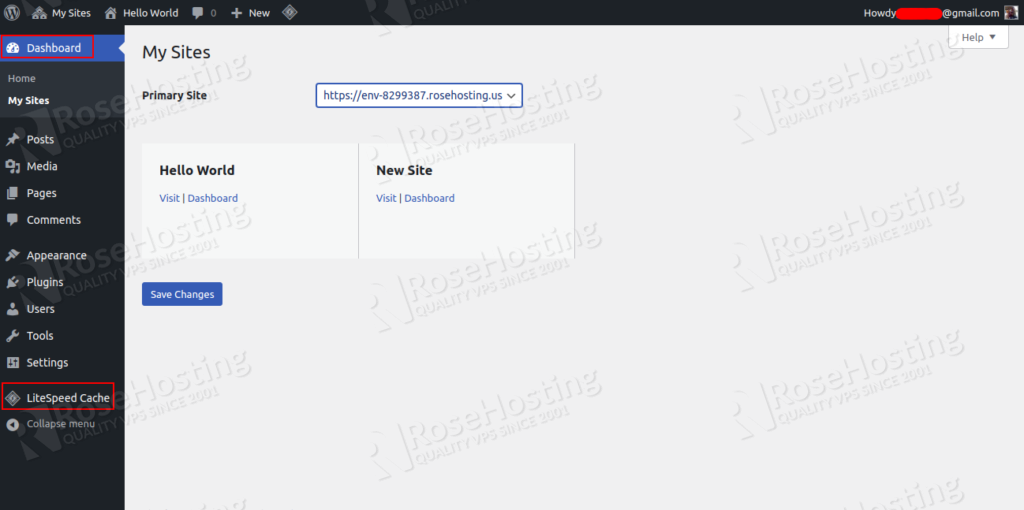
Click on the LiteSpeed Cache => CDN. You should see the following page:
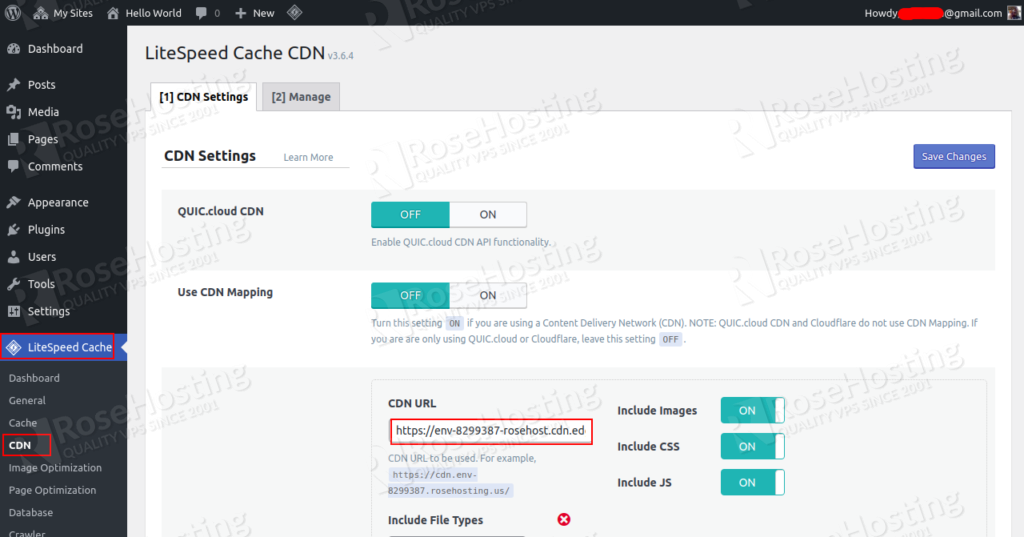
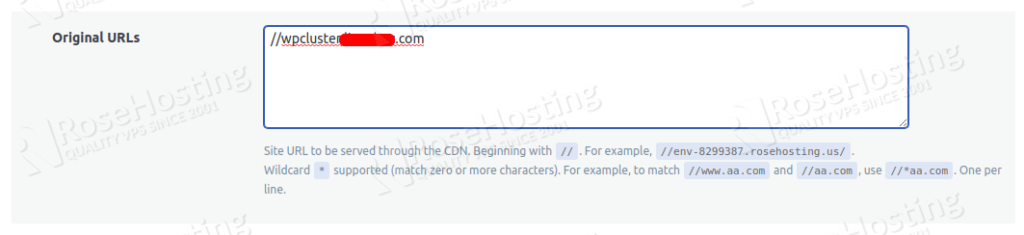
Now, paste the CDN URL from the installation email in the CDN URL field, your custom domain name in the Original URL field and click on the Save Changes button.
You will need to repeat the same steps for each website to bind the CDN.
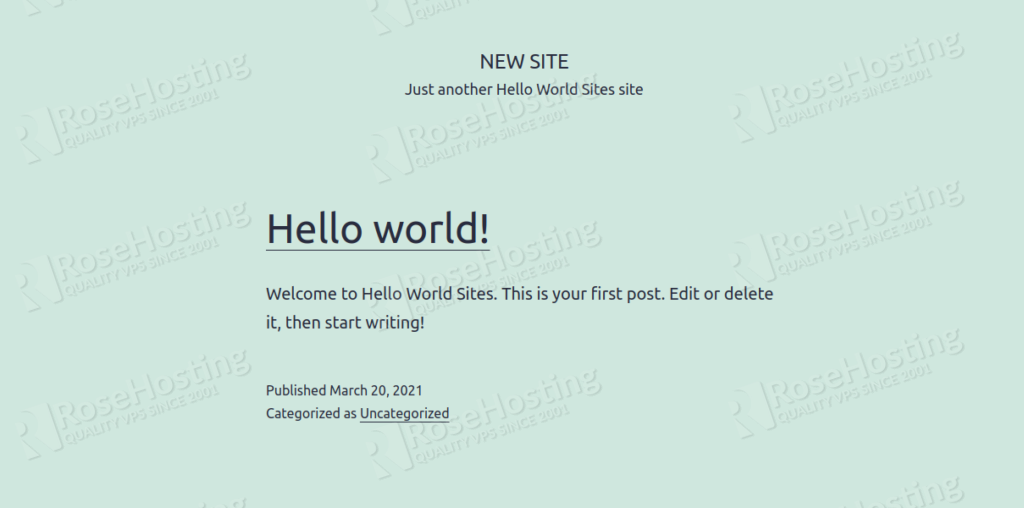
You can now open your newly created WordPress site using your custom domain name:
You now know how the multisite WordPress cluster auto installation works. Remember, RoseHosting has the best offers when it comes to hassle-free managed WordPress Cloud PaaS hosting solutions. Got any questions? Our award-winning 24/7 support team is here to assist with anything.
If you liked this tutorial above, please share it with your friends on social media.