
The mod_rewrite is an Apache module that uses a rule-based rewriting engine. It is used for translating and redirecting the requested URL to a new URL. It allows a URL to be changed dynamically. So the visitor never sees the URL change in the address bar. With mod_rewrite, you can rewrite an unlimited number of rules. This will allow you to rewrite the URL based on environment variables, HTTP headers, and server variables.
In this post, we will show how to use mod_rewrite to rewrite the URL for Apache on Ubuntu VPS.
Table of Contents
Prerequisites
- Ubuntu 20.04 VPS (we’ll be using our NVMe 2 VPS plan)
- Access to the root user account (or access to an admin account with root privileges)
Step 1: Log in to the Server & Update the Server OS Packages
First, log in to your Ubuntu 20.04 server via SSH as the root user:
ssh root@IP_Address -p Port_number
You must replace ‘IP_Address’ and ‘Port_number’ with your server’s respective IP address and SSH port number. Also, you should replace ‘root’ with the username of the admin account if needed.
Before we begin the installation, we should make sure that all the Ubuntu OS packages installed on the server are updated. You can do this by running the following commands:
apt-get update -y
apt-get upgrade -y
Step 2: Install Apache Web Server
Before you start, make sure that Apache webserver package is installed in your system. If not installed, you can install it with the following command:
apt-get install apache2 -y
Once the package is installed, start the Apache service with the following command:
systemctl start apache2
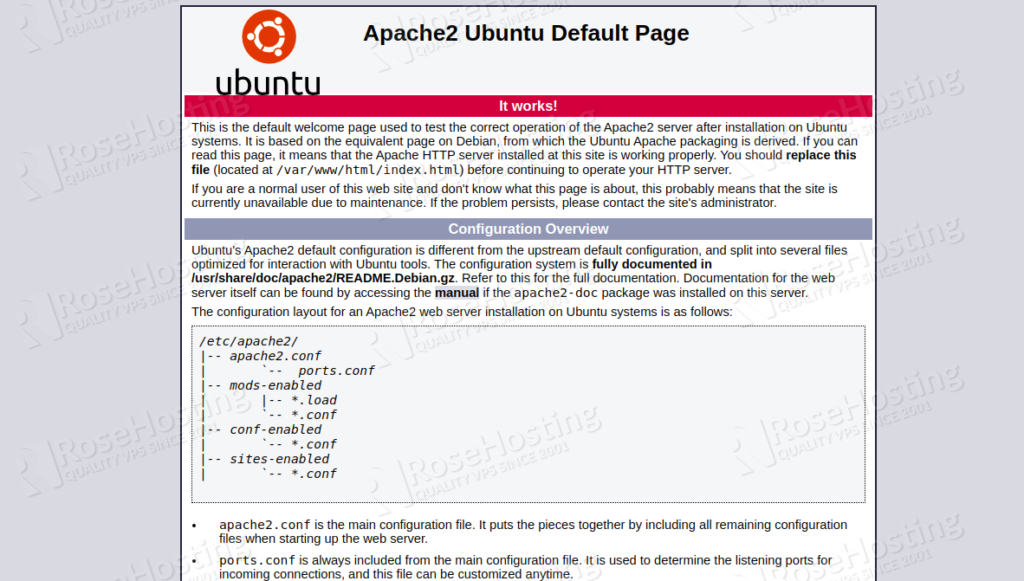
Next, open your web browser and type the URL http://your-server-ip to verify the Apache webserver. If everything is fine, you should see the Apache test page:

Step 3: Enable mod_rewrite
By default, the mod_rewrite module is installed with the Apache package but it is disabled. So you will need to enable it first.
You can enable it with the following command:
a2enmod rewrite
Next, restart the Apache service to apply the changes.
Next, verify the Apache mod_rewrite module with the following command:
apache2ctl -M | grep rewrite_module
You should get the following output:
rewrite_module (shared)
Step 4: Enable .htaccess Files
You can set up rewrite rules directly in the Apache main configuration file. However, it is recommended to write rules in the .htaccess file inside each website.
By default, Apache does not allow to use .htaccess file. So you will need to enable the .htaccess file in your default virtual host configuration file.
To do so, edit the Apache default virtual host configuration file:
nano /etc/apache2/sites-available/000-default.conf
Add the following lines before the line :
<Directory /var/www/html>
        Options Indexes FollowSymLinks MultiViews
        AllowOverride All
        Require all granted
</Directory>
Make sure to Save and close the file then restart the Apache service to apply the changes:
systemctl restart apache2
Step 5: Configure URL Rewrites
To understand how URL rewrites work, we will create a home.html page in the Apache document root directory. We will then setup a basic URL rewrite that will allows to access the page http://your-server-ip/home and convert it to the actual page path http://your-server-ip/home.html.
First, let’s create a home.html page:
nano /var/www/html/home.html
Add the following contents:
<html>
    <head>
        <title>Home</title>
    </head>
    <body>
        <h1>Home Page</h1>

<h2>This is my home page</h2>
    </body>
</html>
Save and close the file when you are finished.
Next, create a .htaccess file inside the default document root directory of the website to test mod_rewrite.
nano /var/www/html/.htaccess
First, add the following line to enable the rewrite engine:
RewriteEngine on
Next, add the following rewrite rule that redirects visitors to home.html if they request the page http://your-server-ip/home.
RewriteRule ^home$ home.html [NC]
Save and close the file when you are finished.
A brief explanation of rewrite rule syntax is shown below:
- ^ This will match any text after the server IP address.
- $ This will indicates the end of the URL.
- home This will match the actual string home
- home.html This will define the actual file that the visitor accesses.
- [NC] This will makes the rule case insensitive.
You can now visit the home page at http://your-server-ip/home on your web browser. Apache will redirect to the page home.html as shown below:

Of course, you don’t have to do any of this if you use one of our Linux VPS Hosting services, in which case you can simply ask our expert Linux admins to set up this for you. They are available 24×7 and will take care of your request immediately.
PS. If you liked this post please share it with your friends on the social networks using the buttons on the left or simply leave a reply below. Thanks.
Hello,
I want to know something,
I migrated 3 websites from shared hosting to a VPS. My first website was giving me 404 error on all urls except home page, i executed a2enmode rewrite and my permalinks started to work, i did not change Allowoverride to All, its working perfectly.
But for other 2 websites, I have to change Allowoverride to All.
why is that so ?
The Allowoverride all is to allow the .htaccess to override the Apache configuration.