In the previous article, we have seen how to spin up a virtual machine using vagrant. In this article, we will focus on customizing the vagrant file according to our requirements and see important commands to work with the vagrant.
Create a New Vagrant Project Directory
Let me create a new project folder “vagrant_testing” and under this run, the vagrant init command to set up a new project.
$ mkdir ~/vagrant_testing
$ vagrant init -m "ubuntu/focal64"
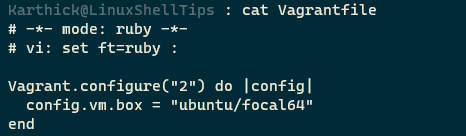
From the below image you can see I have created a minimal configuration file using the -m flag with vagrant init command.
$ cat Vagrantfile
Now let’s modify and add the following parameters to our vagrant file.
# -*- mode: ruby -*-
# vi: set ft=ruby :

Vagrant.configure("2") do |config|
  config.vm.box_check_update = false
  config.vm.allow_hosts_modification = true
  config.vm.define "ubuntu" do |vmbox|
		vmbox.vm.box = "ubuntu/focal64"
		vmbox.vm.define "Ubuntu"
		vmbox.vm.hostname = "shelltips-vagrant"
		vmbox.vm.network "public_network", bridge: "Intel(R) Dual Band Wireless-AC 7265", ip: "192.168.1.100"
		vmbox.vm.synced_folder ".", "/vagrant/", disabled: true
		vmbox.vm.synced_folder "/home/karthick/shelltips", "/vagrant/shelltips", disabled: false
		vmbox.vm.provider "virtualbox" do |vmvbox|
			vmvbox.memory = "2048"
			vmvbox.cpus = 2
		end
	end
end
Let me explain all these parameter’s usage.
|
config.vm.box_check_update = false |
Turn off update checking during bootup |
|
config.vm.allow_hosts_modification = true |
Allow vagrant to update /etc/hosts file |
|
vmbox.vm.box = “ubuntu/focal64” |
Box you need to download and use |
|
vmbox.vm.define “Ubuntu” |
Name for the VM. “Default” will be assigned if you are not defining the name. |
|
vmbox.vm.hostname = “shelltips-vagrant” |
Setting up hostname for your VM |
|
vmbox.vm.synced_folder ., “/vagrant”, disabled: true vmbox.vm.synced_folder “/home/karthick/shelltips”, “/vagrant/shelltips”, disabled: false |
Setting up the synced folder. Turning off the default synced folder and adding my customized folder. You have to set “disabled: true/false” to turn on or off the shared folders. |
|
vmbox.vm.network “public_network”, bridge: “Intel(R) Dual Band Wireless-AC 7265”, ip: “192.168.1.100” |
Setting up my virtual network to bridged adapter mode and assigning an IP address. Virtualbox has five different networking modes and you can choose whichever suits your use case. |
|
vmbox.vm.provider “virtualbox” do |vmvbox| |
Defining memory and CPU cores for my VM |
Now if I run the vagrant up command it will configure my virtual machine according to the custom parameter I declared in the vagrant file.
SSH to Vagrant Virtual Machine
Now to connect with the virtual machine simply run the “vagrant ssh” command. If you have multiple machines then you can connect to the specific machine using their ID or Name. You can get this information from the global-status command.
$ vagrant ssh
$ vagrant ssh [id|name]
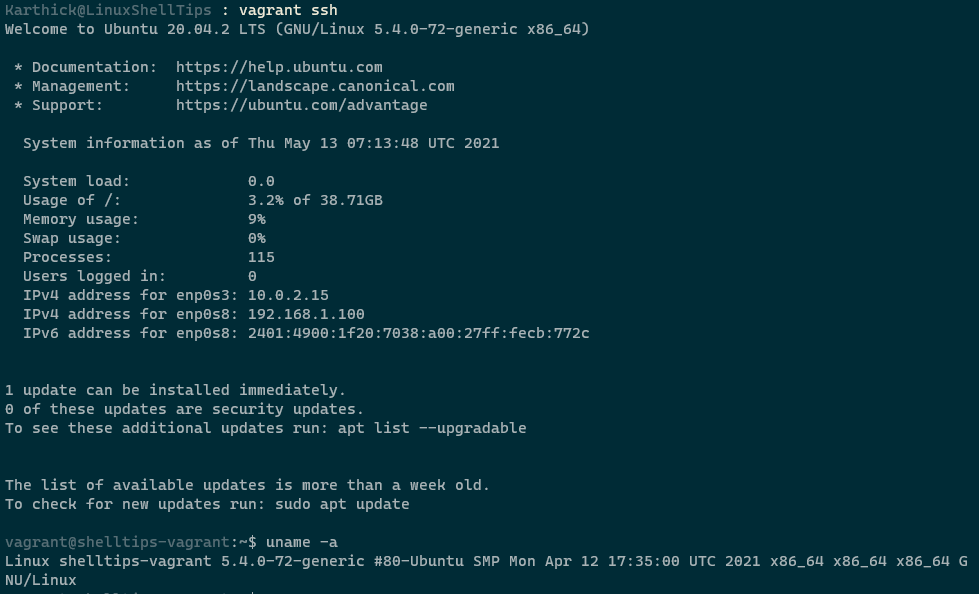
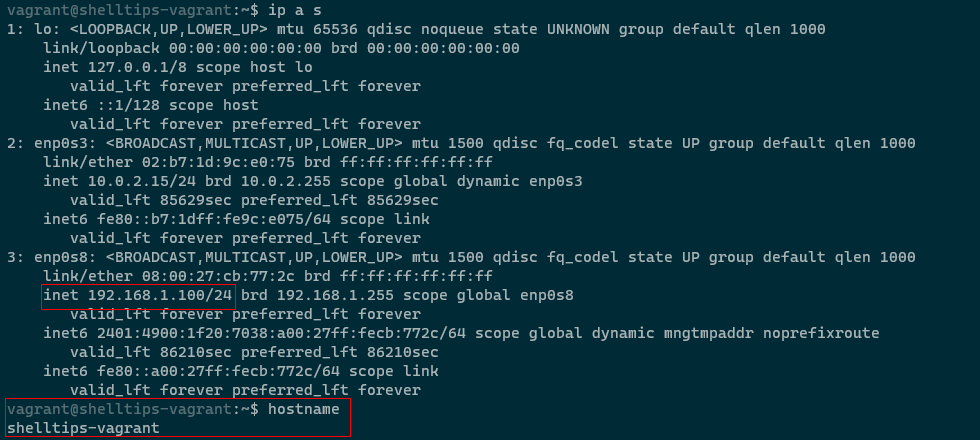
The hostname is also updated and the IP address specified in the vagrant file is also created.
$ ip a s
$ hostname
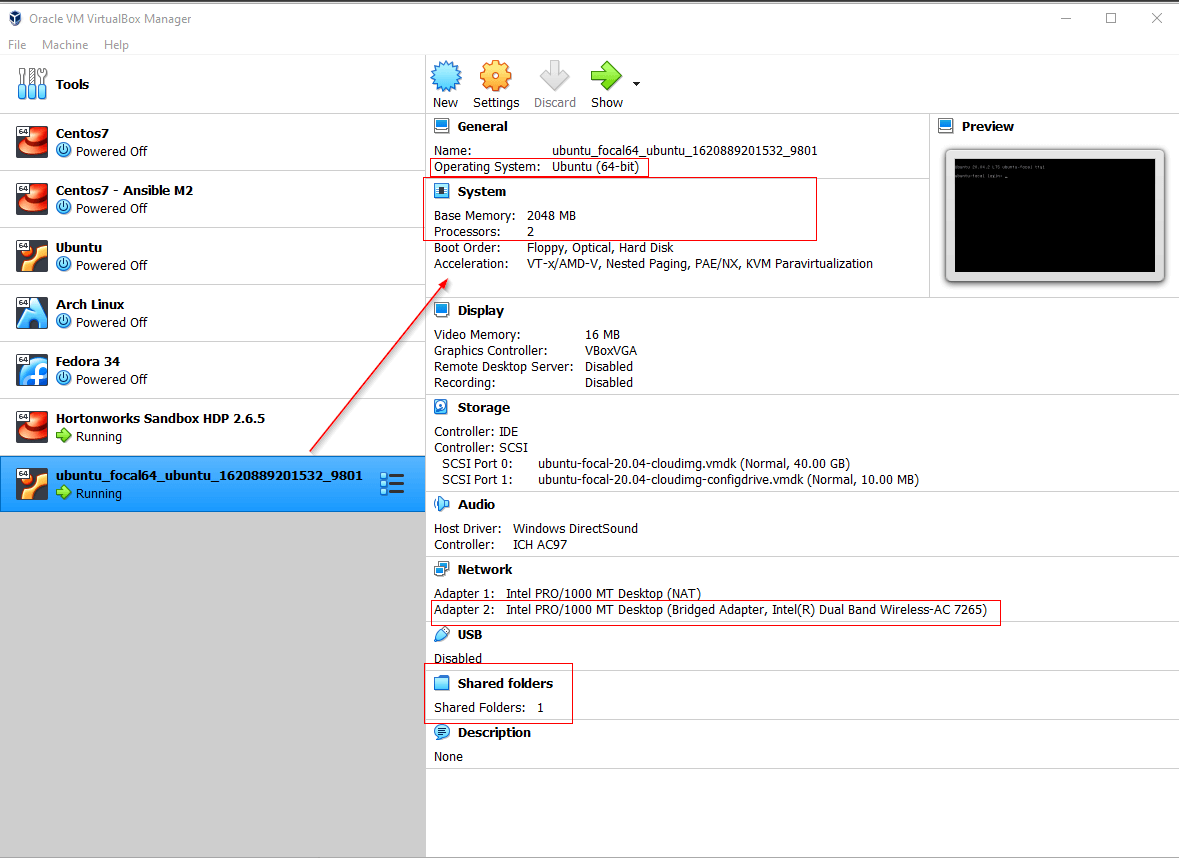
Once your vagrant virtual machine is up you can go to your virtualbox GUI manager and verify if all the configurations are as per the defined value.
Now if you wish to enable password-based authentication for your virtual machine, then run the following command in your VM. This will set password authentication to true.
$ sudo sed -i "/^[^#]*PasswordAuthentication[[:space:]]no/c\PasswordAuthentication yes" /etc/ssh/sshd_config
$ sudo service sshd restart
Now instead of running vagrant ssh, you can run the traditional ssh connection command.
$ ssh [email protected]       ⇒ Bridged Network
$ ssh vagrant@localhost -p 2222   ⇒ Nat Network

To stop a running VM run the following command.
$ vagrant halt  ⇒ Gracefully shutdown the VM
$ vagrant suspend [name|id] ⇒ Put the Machine into a suspended state
$ vagrant resume [name|id] ⇒ Resume the suspended VM
Now you have a running machine. If you suddenly decide to change any parameter in your vagrant configuration file then you have to reload the machine.
$ vagrant reload
The vagrant reloads command brings down the VM gracefully and brings up the VM with new configurations if any.
Updating Vagrant Box
You can check if your box is up to date by running the following command.
$ vagrant box outdated --global ==> check for an outdated version of all boxes in your machine

To download the updates, run the following command. An important point to note here is updates will not be applied to the current box you are running. You have to destroy your current box and spin up the new downloaded updated box.
$ vagrant box update --box ubuntu/focal64 --provider Virtualbox
Destroy Vagrant Box
To destroy a vagrant box run the vagrant destroy command, which will delete all the files including disk images but will not delete the downloaded box from the vagrant site.
$ vagrant destroy [name|id]

Remove Vagrant Box
To remove the vagrant box run:
$ vagrant box remove ubuntu/focal64

In the next article, we will take a look at how to use shell provisioners and automate your vagrant boxes deployment.