Manage AWS SQS Queues using aws-cli
You can perform operations on SQS like list, create, delete Queues and send messages, receive messages from your terminal using aws-cli. In this article, we will see the commands to perform these kinds of operations. Before we proceed, it is assumed that you are familiar with AWS SQS Queue.
To know in detail about options available for aws-cli, visit the official documentation here.
Pre-requisites
- AWS Account (Create if you don’t have one).
- Basic understanding of SQS Queues (Click here to learn to create an SQS Queue using Terraform).
- AWS IAM user with AmazonSQSFullAccess policy attached to it and its access and secret keys (Click here to learn to create an IAM User).
- AWS CLI installed on your local machine.
What will we do?
- Check aws cli and export the AWS access & secret key on your local machine.
- Manage SNS Topics using aws cli.
Check aws cli and export aws access & secret key on your local machine.
If you don't have the aws-cli then refer to the official documentation here to install it on your local machine and then check the version of it using the following command.
aws --version
If you execute the following command, you will get an error as you have not configured access to your AWS account in the terminal.
aws sts get-caller-identity
Export AWS IAM user access and secret keys on your terminal using the following commands.
export AWS_ACCESS_KEY_ID=<aws-user-access-key>
export AWS_SECRET_ACCESS_KEY=<aws-user-secret-key>
This time, you can check your identity by executing the following command
aws sts get-caller-identity
Manage SQS Queues using aws-cli
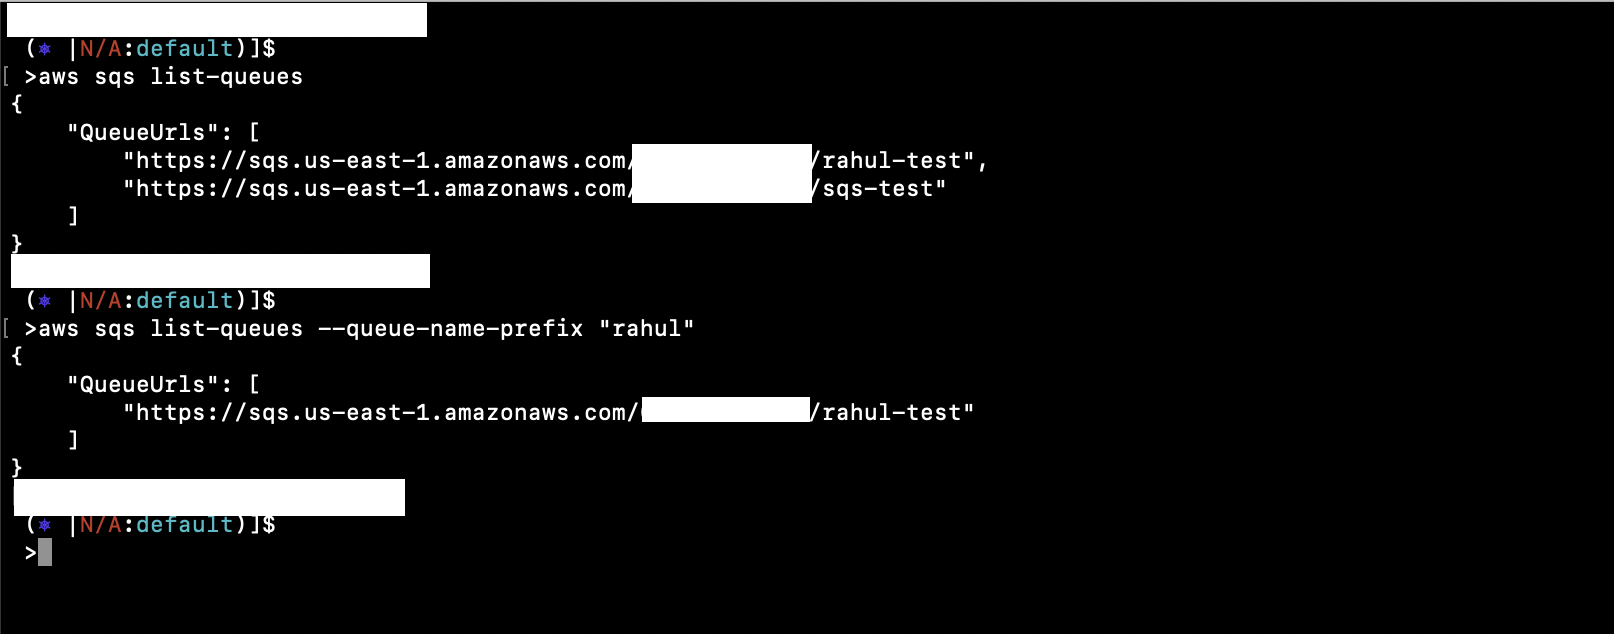
List all Queues available in your current region
aws sqs list-queues
You can also list Queues with matching prefix
aws sqs list-queues --queue-name-prefix "rahul"
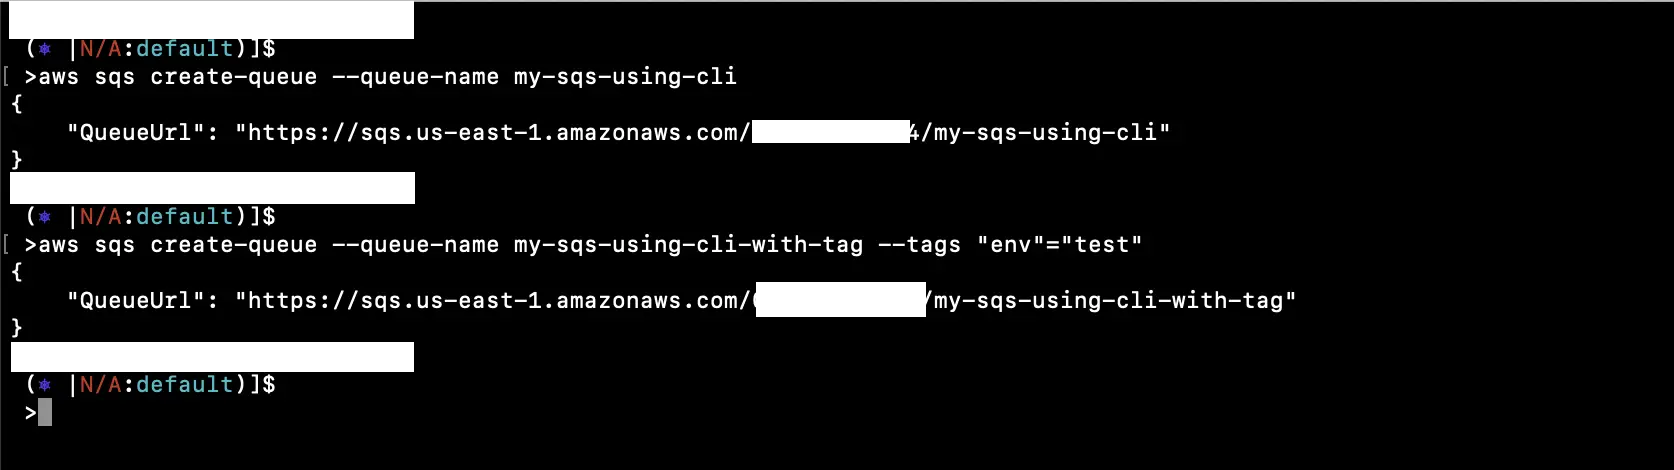
To create an SQS Queue, execute the following command.
aws sqs create-queue --queue-name my-sqs-using-cli
You can also attach tags while creating a Queue.
aws sqs create-queue --queue-name my-sqs-using-cli-with-tag --tags "env"="test"
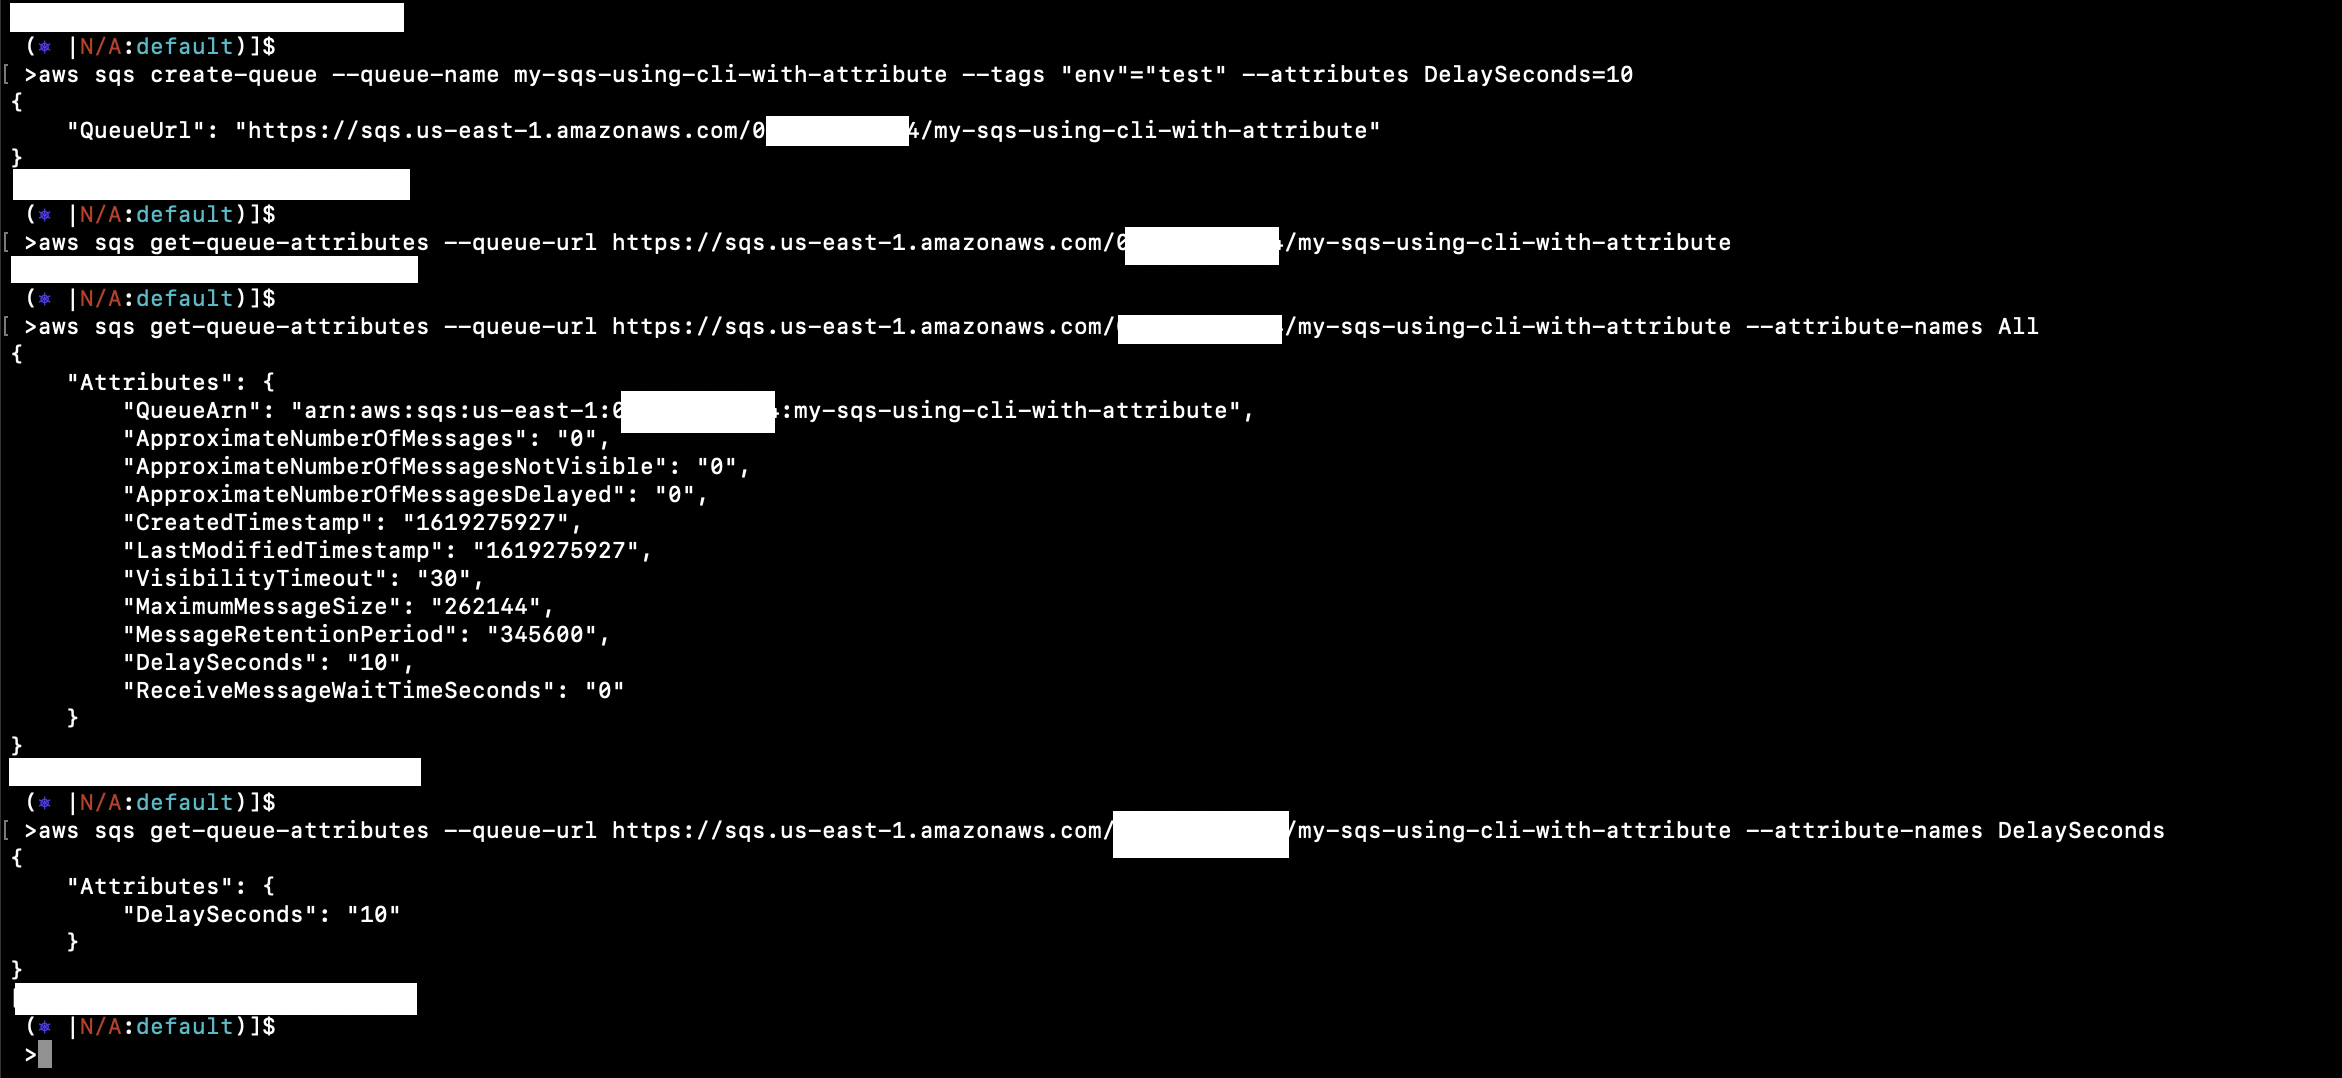
One can also specify attributes while creating a Queue, to create a Queue with an attribute DelaySeconds execute the following command.
aws sqs create-queue --queue-name my-sqs-using-cli-with-attribute --tags "env"="test" --attributes DelaySeconds=10
Check all the attributes a Queue has.
aws sqs get-queue-attributes --queue-url https://sqs.us-east-1.amazonaws.com/<aws-account-number>/my-sqs-using-cli-with-attribute --attribute-names All
Check a specific attribute a Queue has, in this case, the value of the DelaySeconds will be returned by the command.
aws sqs get-queue-attributes --queue-url https://sqs.us-east-1.amazonaws.com/<aws-account-number>/my-sqs-using-cli-with-attribute --attribute-names DelaySeconds
Let' send and receive a message to/from the Queue.
aws sqs send-message --queue-url https://sqs.us-east-1.amazonaws.com/<aws-account-number>/my-sqs-using-cli --message-body "Test message to my-sqs-using-cli sqs"
aws sqs receive-message --queue-url https://sqs.us-east-1.amazonaws.com/<aws-account-number>/my-sqs-using-cli

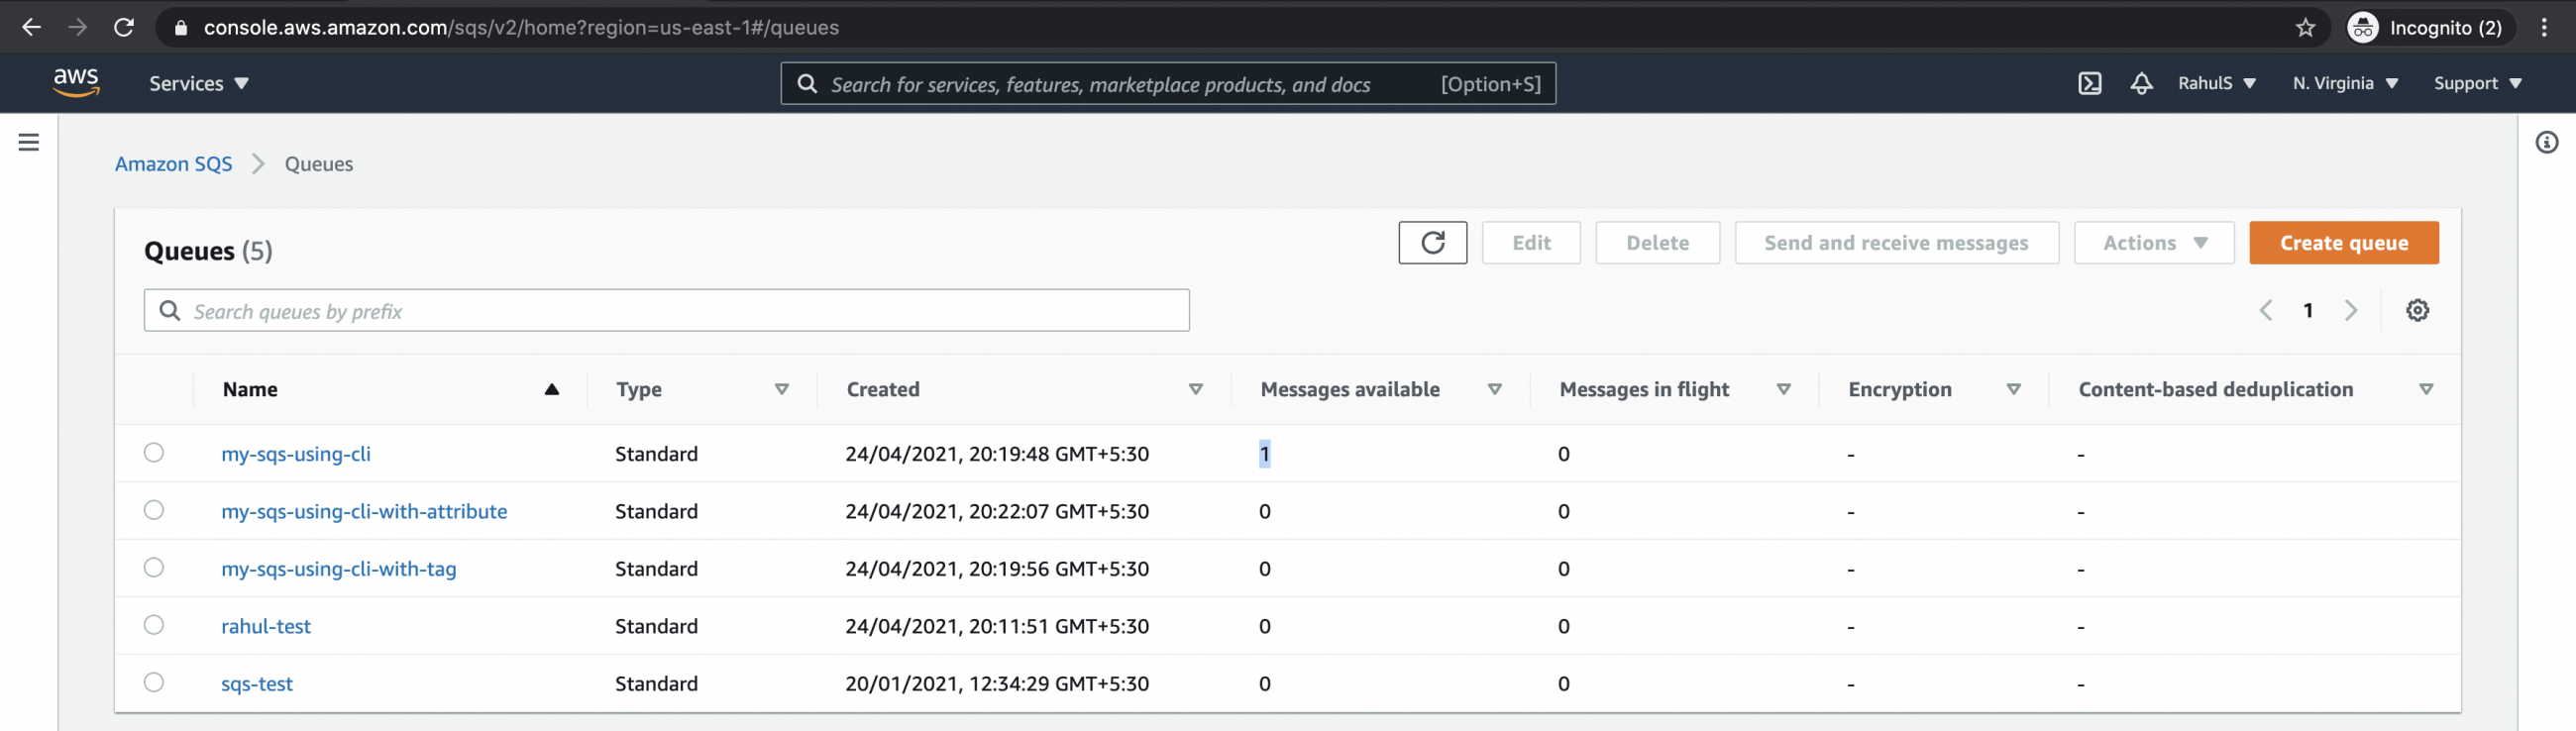
You can check the message count in the SQS Dashboard.
If you want to delete messages from the Queue, you can purge the Queue
sqs purge-queue --queue-url https://sqs.us-east-1.amazonaws.com/<aws-account-number>/my-sqs-using-cli
sqs receive-message --queue-url https://sqs.us-east-1.amazonaws.com/<aws-account-number>/my-sqs-using-cli

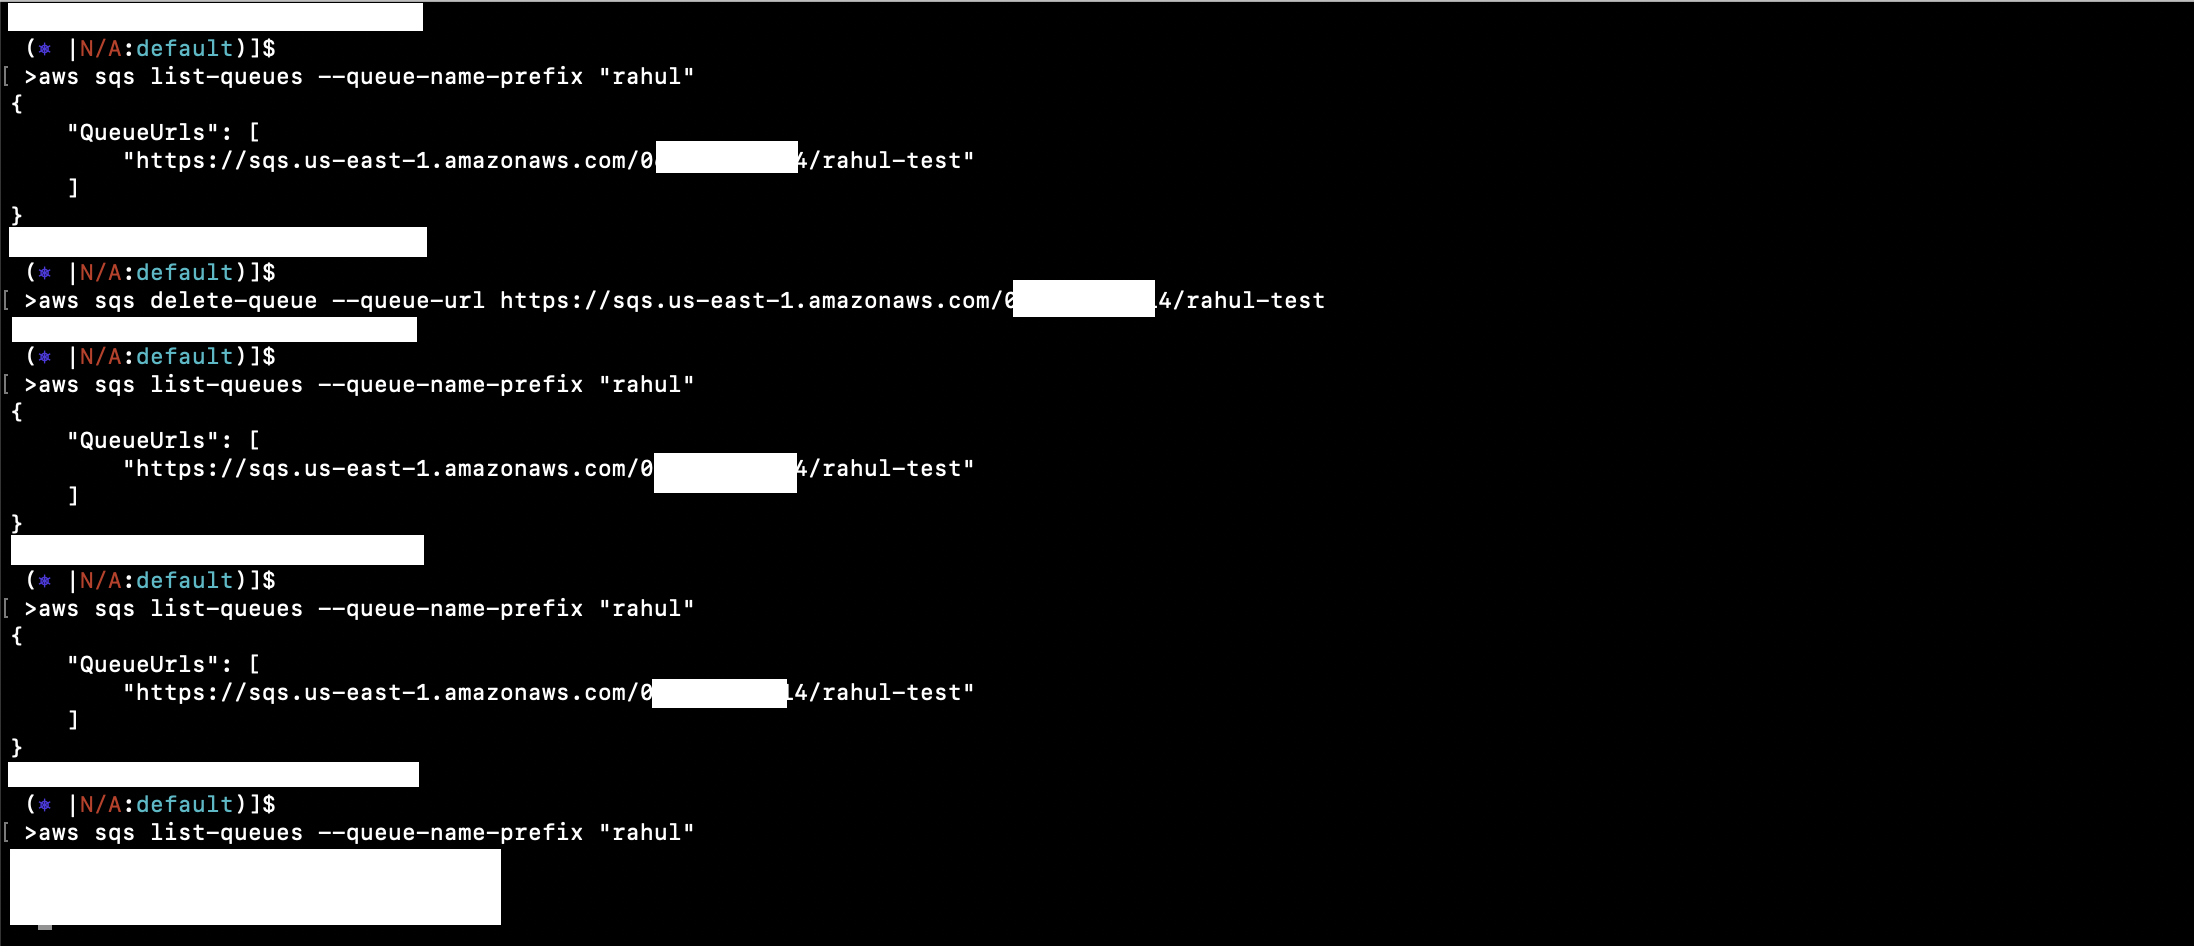
To delete a Queue, you will need its URL.
aws sqs list-queues --queue-name-prefix "rahul"
aws sqs delete-queue --queue-url https://sqs.us-east-1.amazonaws.com/<aws-account-number>/rahul-test
aws sqs list-queues --queue-name-prefix "rahul"
Conclusion
In this article, we saw the command to List, Create an SQS Queue, send and receive messages to/from it and check its attributes. This can be a guide to get started and now you can explore other operations on SQS queues on your own.

