MariaDB Galera Cluster is a database clustering solution that lets you set up a virtually synchronous multi-primary cluster for the MariaDB database. Clustering is a technology that provides high availability to your database by distributing the changes among multiple database nodes. If one of the database nodes fails others are quickly available to continue serving.
Features of Galera Cluster
- Provides synchronous replication so if one of the nodes crashed not data is lost.
- True multi-master. This means you can read and write on any node.
- Provides multi-threaded slave to handle any workload.
- Provision new node automatically. You don’t need to backup and copy the database to a new node.
- Supports InnoDB.
- Hot standby. This means there is no downtime of failover.
- Supports multi-cloud and multi-region deployments.
In this guide, we will show you how to deploy a MariaDB Galera cluster on the RoseHosting Cloud Platform.
Table of Contents
Install MariaDB Galera Cluster
First, log in to the RoseHosting cloud platform using the URL https://app.rosehosting.cloud as shown below:
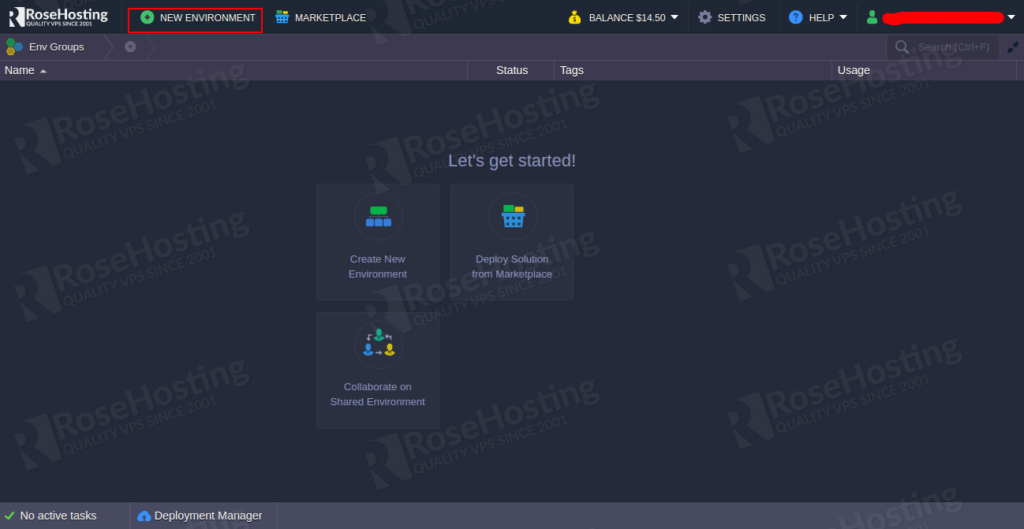
Click on the NEW ENVIRONMENT to create a new environment for MariaDB Galera. You should see the following page:
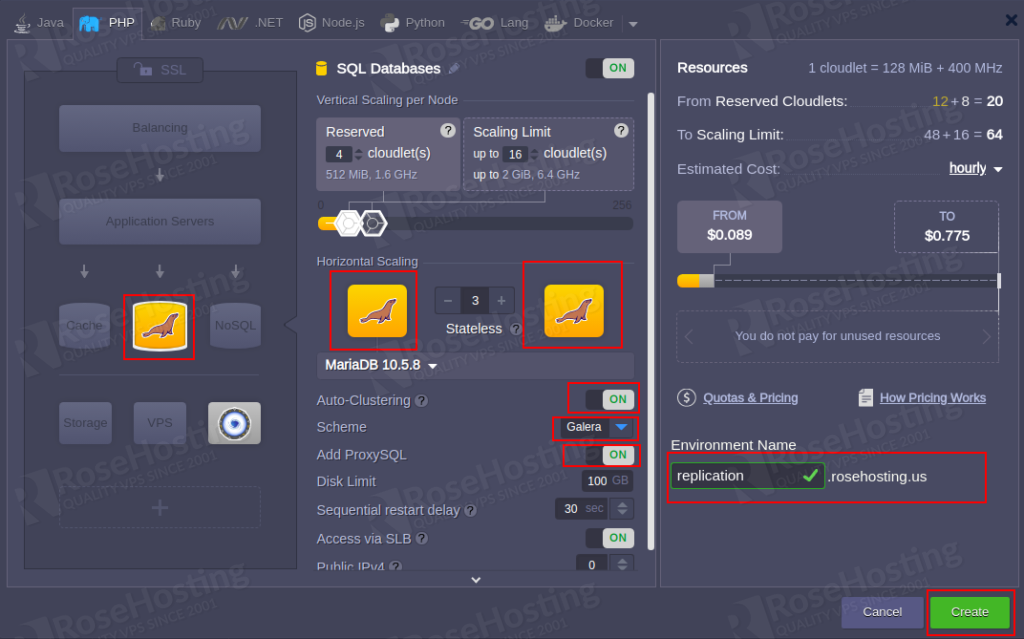
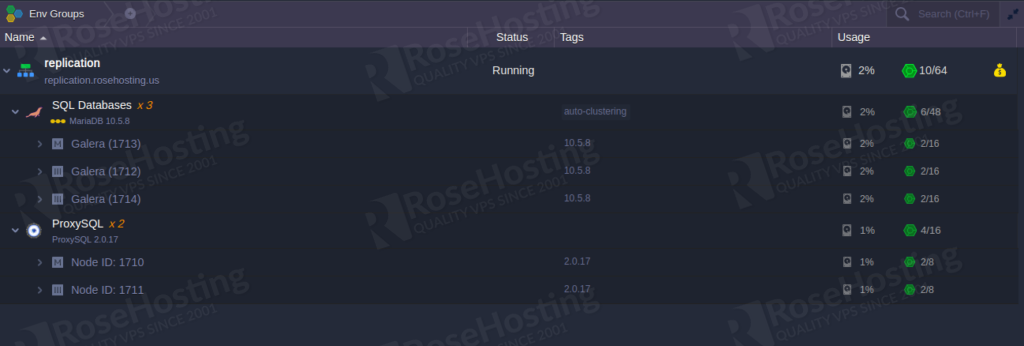
Here, select the MariaDB, Enable auto-clustering, Enable Add ProxySQL, Define your environment name and click on the Create button. After few minutes, your environment has been created as shown below:
You should also receive an email with access credentials of PhpMyAdmin and Orchestrator admin panel.
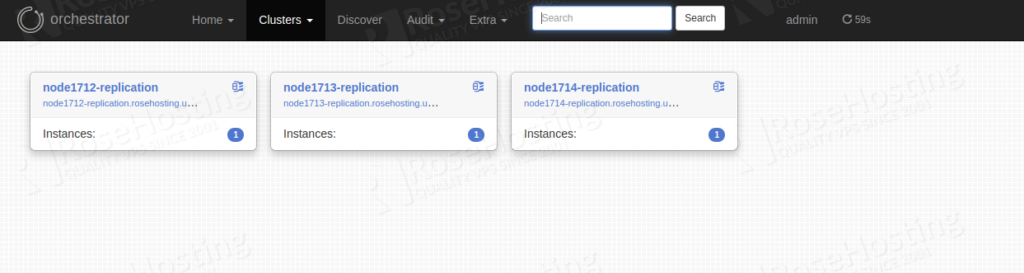
You can monitor the health of the cluster nodes by accessing the Orchestrator admin panel as shown below:
Access phpMyAdmin
After the creation of the MariaDB Galera cluster, you should receive an email with the phpMyAdmin access URL and credentials.
Now, log in to the phpMyAdmin admin console using the URL and credential received via email:
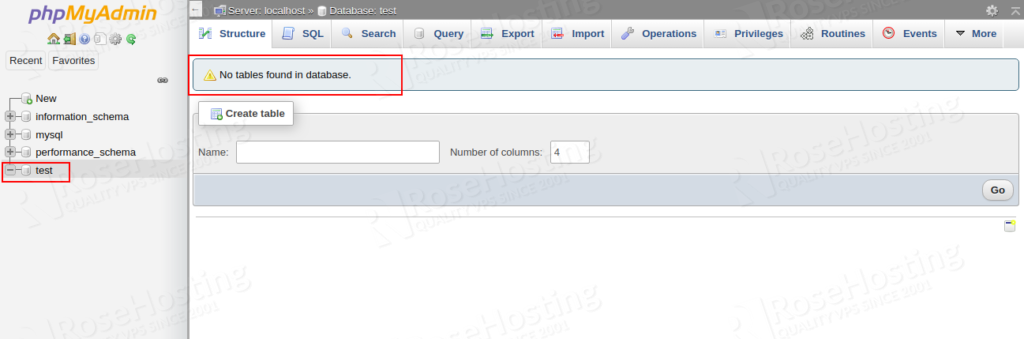
In the left pane, click on the test database. In the right pane, you should see that there are no tables in the database test.
Create a Tomcat Environment and Deploy a Test Application
In this guide, we will make a connection from the Java application to the Galera Cluster using ProxySQL. So you will need to create a new environment for the Tomcat application.
On the RoseHosting dashboard, click on the NEW ENVIRONMENT button. You should see the following page:
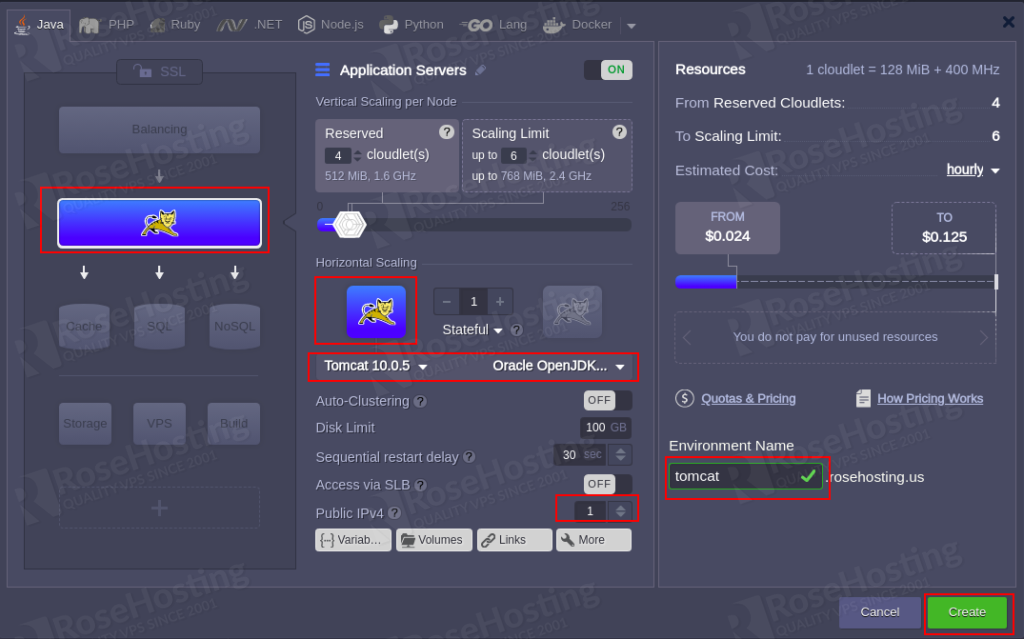
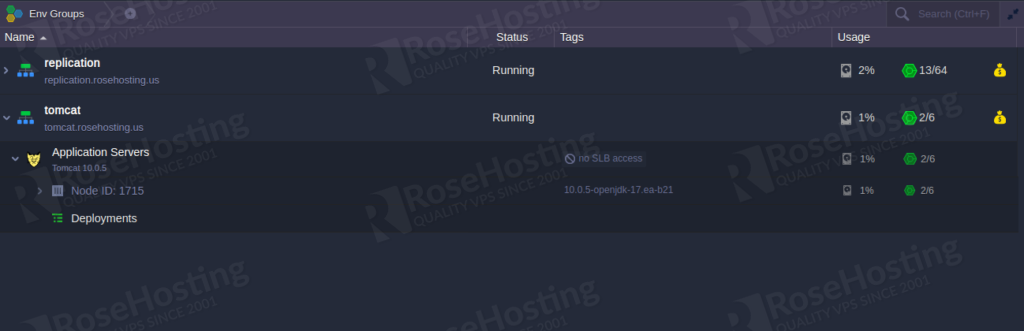
Select Tomcat application, Define your environment name and click on the Create button. Once the Tomcat environment has been created, you should see the following page:
Next, you will need to create a database config file for the Tomcat test application.
To do so, click on the Config icon inside your Tomcat application then click on the temp in the left-pane and create a new file mydb.cfg:

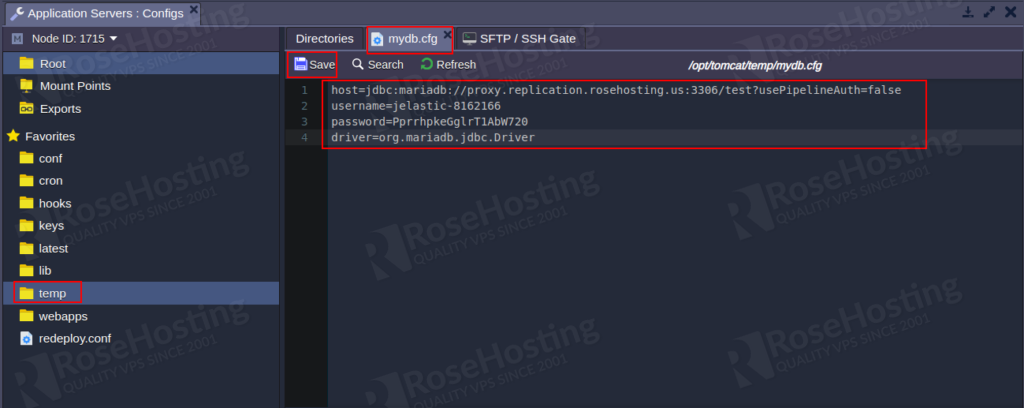
Write the following content in the mydb.cfg file:
host=jdbc:mariadb://proxy.replication.rosehosting.us:3306/test?usePipelineAuth=false
username=jelastic-8162166
password=PprrhpkeGglrT1AbW720
driver=org.mariadb.jdbc.Driver
Where:
- Host is the URL of the ProxySQL node that you received in your email.
- username and password are the credentials of ProxySQL node that you received in your email.
Now, click on the Save button to save the mydb.cfg file.
Next, you will need to deploy a test application on the Tomcat server.
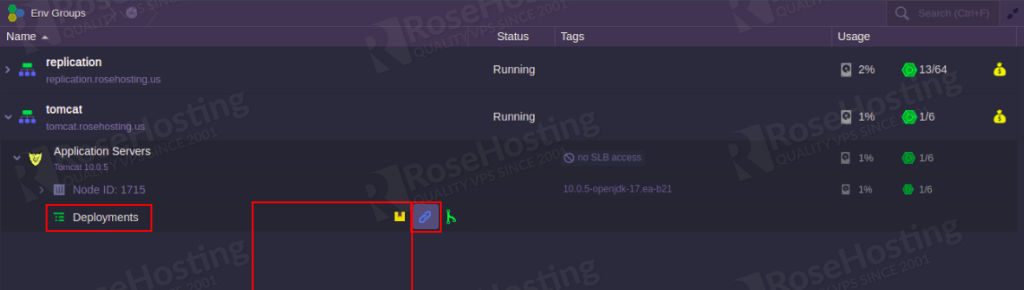
On the Tomcat environment, click on the URL icon in the Deployments section. You should see the following page:
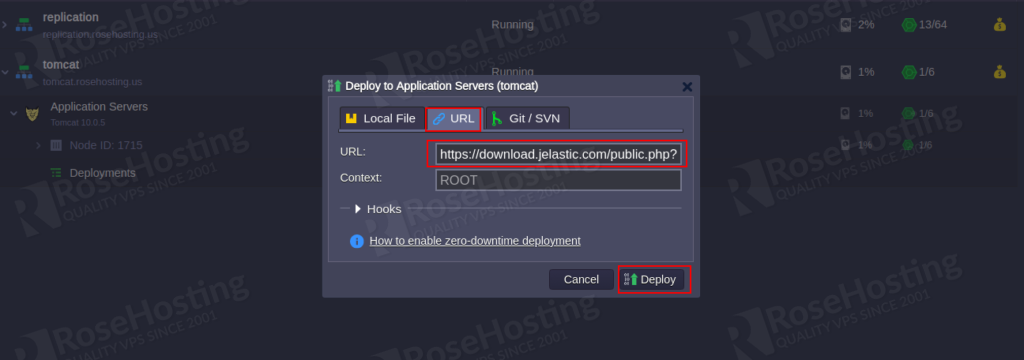
Now, copy and paste the following link based on your Tomcat version then click on the Deploy button.
For Apache Tomcat 9 and below use the following URL:
https://download.jelastic.com/public.php?service=files&t=40b1bd6e376db56df1945fade1cbd851&download
For Apache Tomcat 10 use the following URL:
https://download.jelastic.com/public.php?service=files&t=0ce6e86db89238ddb43ba18d5a89bbea&download
Once the test application has been deployed, you should see the following page:
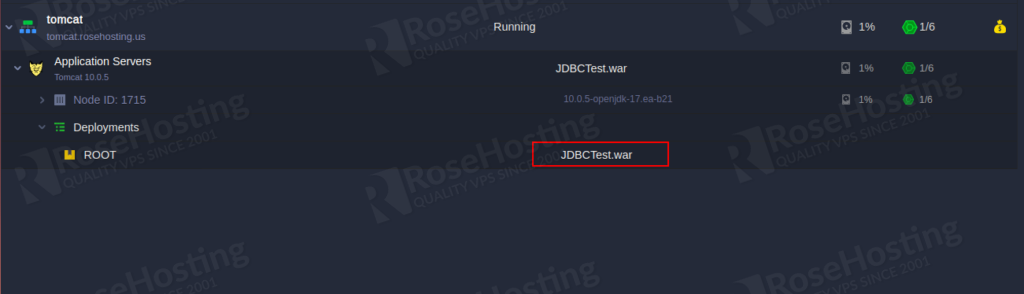
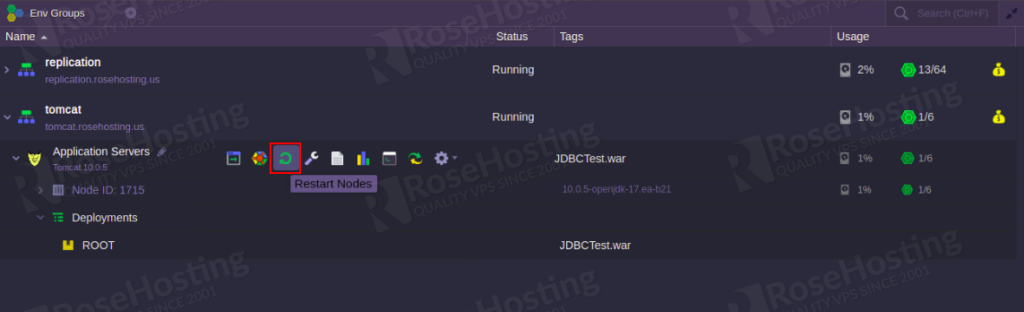
Now, click on the Restart Nodes button next to your Tomcat application to apply the changes.
Test Your Application
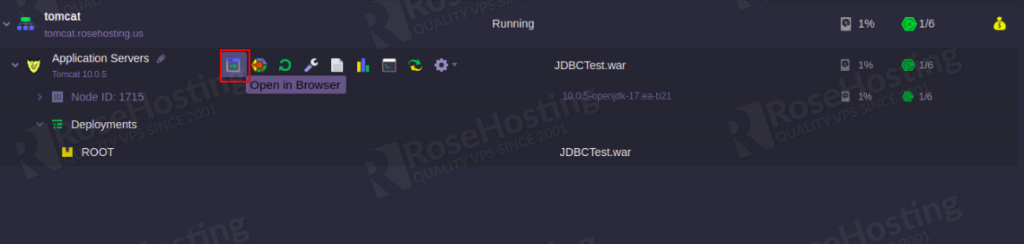
Once the Tomcat server is restarted, click on the Open in Browser next to the Tomcat application as shown below:
You should see the Java test application on the following page:
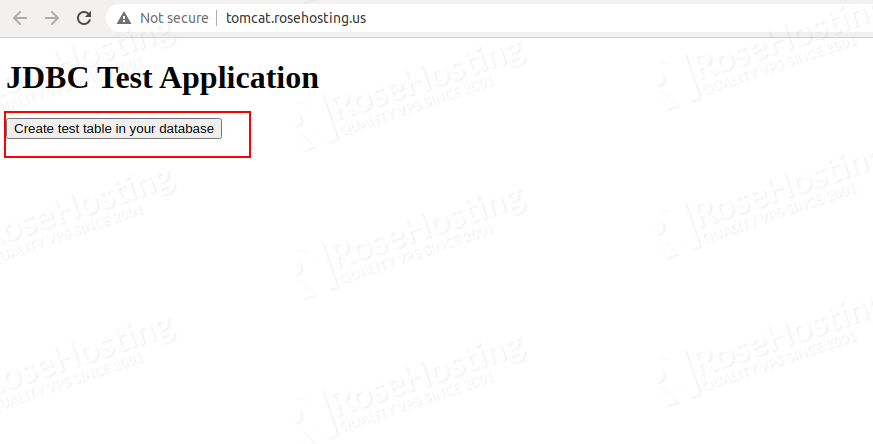
Click on the Create test table in your database. You should see the following page:

This will create a new table in the test database on the MariaDB Galera cluster.
To verify whether a new table is created or not. Access your phpMyAdmin interface and click on the test database. You should see a new table with the name (Current date and time).

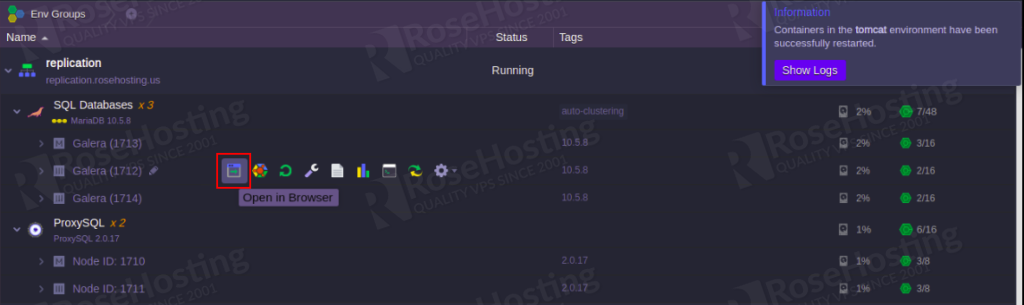
To test the replication between all nodes, access the phpMyAdmin panels of all nodes using the same credentials.
Congratulations! You have successfully deployed a highly available and reliable MariaDB Galera cluster on the RoseHosting Cloud platform.
Of course, you don’t have to do it by yourself, if you use one of our MariaDB Hosting services, in which case you can simply ask our friendly customer support for expertise. They are available 24/7, all year round, and will take care of the deployment and configuration immediately.