In this article, we’ll share the details of how to get Jitsi up and running with RoseHosting Cloud PaaS in order to achieve full control over your data, secure hosting in our cloud, instead of using your local machine or a VPS for example, so you can meet with no need in manual installation with complex maintenance. Follow the steps below and get your own self-hosted video conferencing application in minutes.

Table of Contents
What is Jitsi Meet?
Jitsi Meet is an open-source application that can be self-hosted in your own environment. It started to be more popular after people had to be in-home due to this COVID-19 situation, as an alternative for software like Zoom, Google Meet, and similar conference calls software.
Why should you use Jitsi?
Here are some advantages of using Jitsi instead of other meet software.
- Open-source solution provided for free and with wide community support.
- Installation in one click and easy setup with our Managed Cloud PaaS
- User-friendly process of arranging video and audio calls, as well as multi-meeting rooms.
- High level of privacy and security due to deployment inside isolated containers with encrypted traffic.
- Support of all available clients (Windows, Linux, Mac, iOS, Android).
Prerequisites
- You should have at least 1 dollar to access our PaaS Cloud hosting Panel. You can go to our Managed Cloud hosting page and then hit sign up.
Jitsi deployment
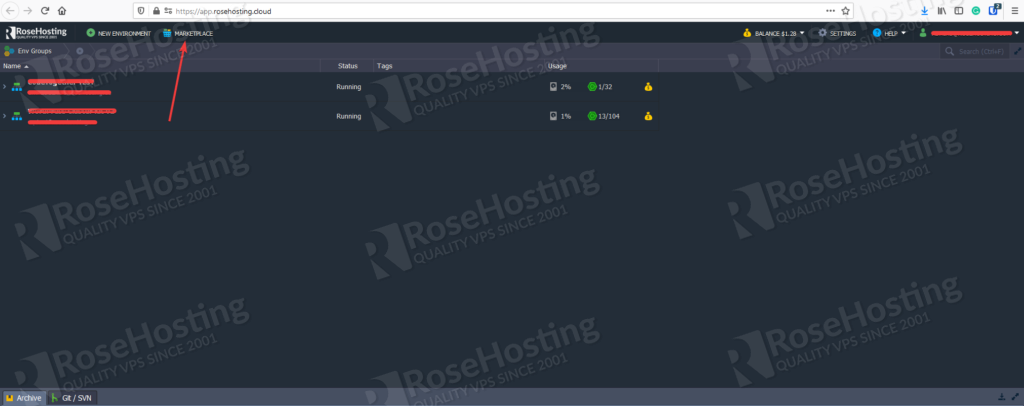
1. Sign in on your RoseHosting Cloud PaaS dashboard and hit Marketplace as shown below.
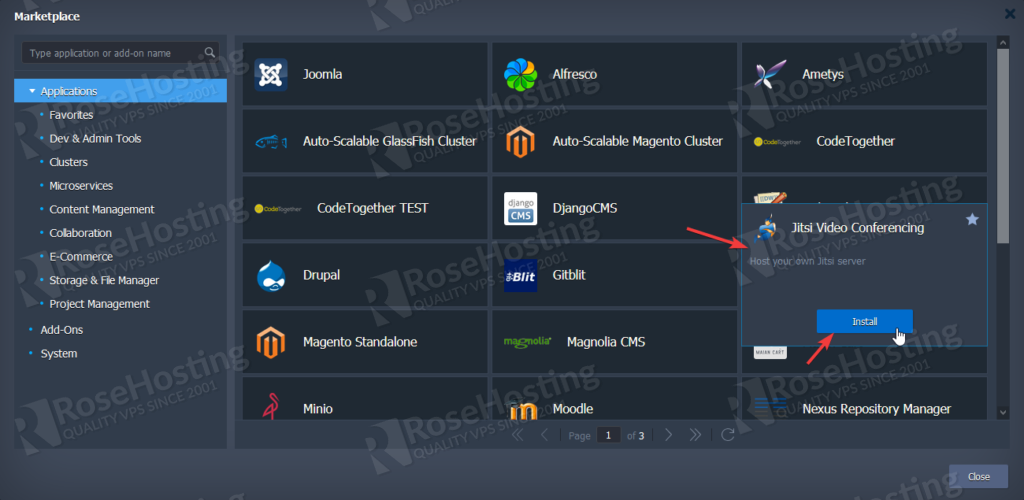
After opening the marketplace you’ll see the Jitsi on the start, just need to hit the Install button.
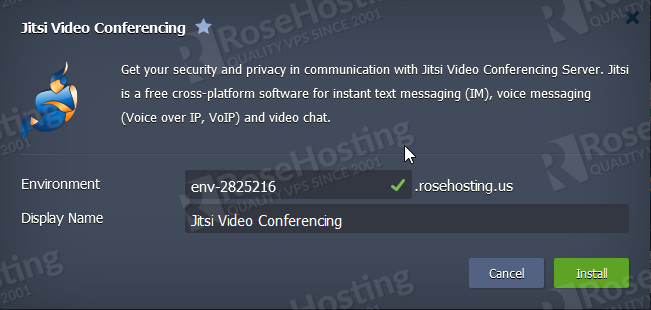
When you hit install, a box prompt will pop up like this one, so you can customize the environment name, then just hit install.
Once it’s successfully installed your new environment, you’ll have your admin credentials as shown below:
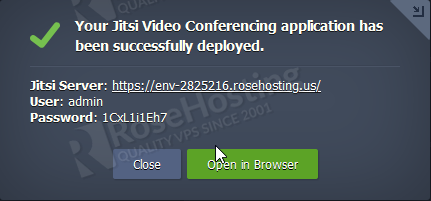
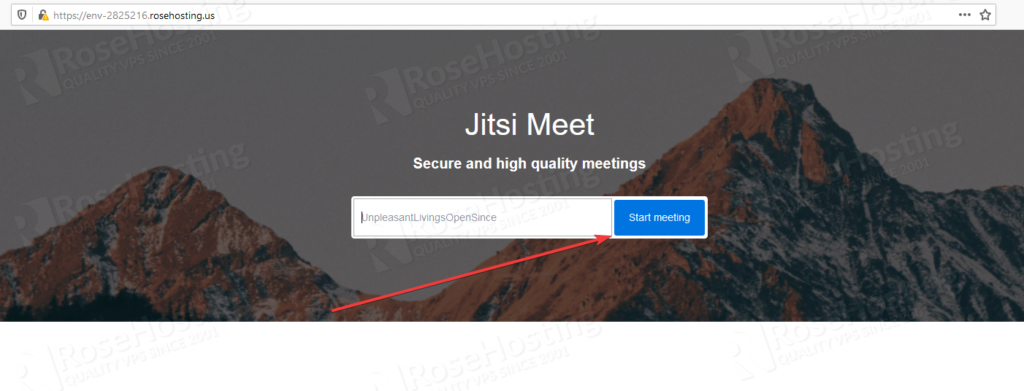
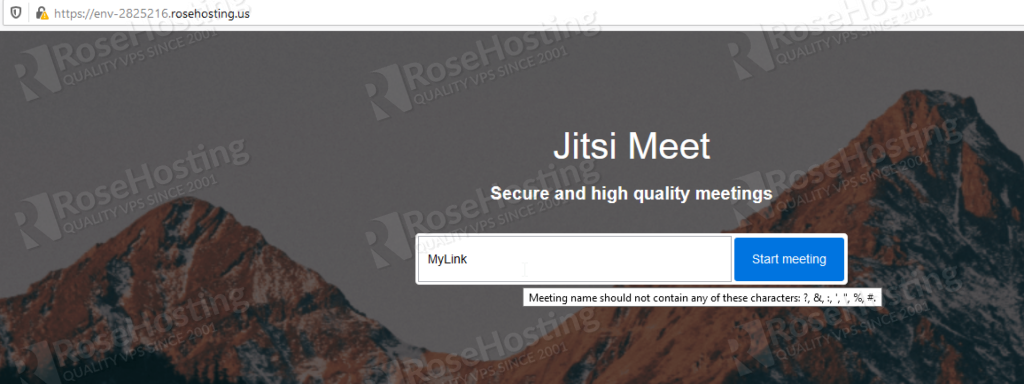
Now you can access your environment link and start meeting.
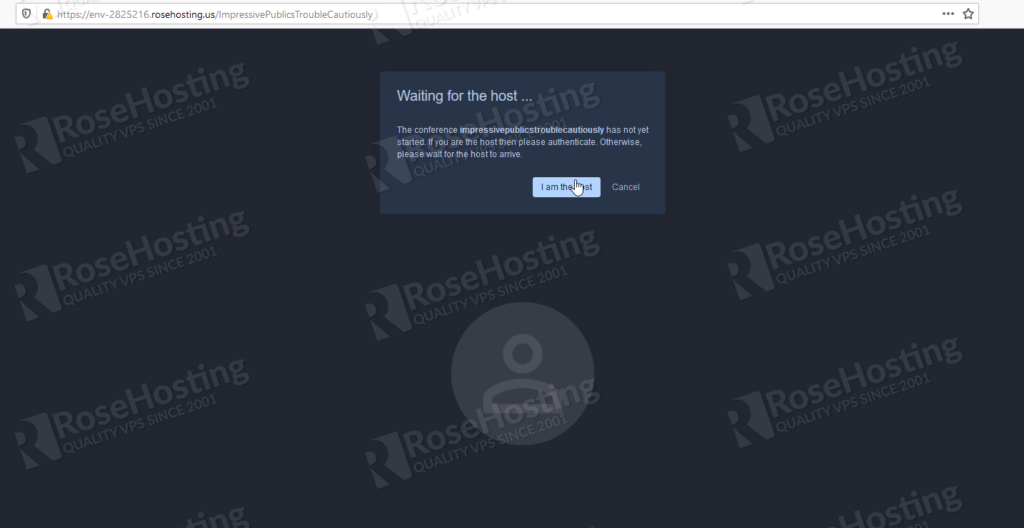
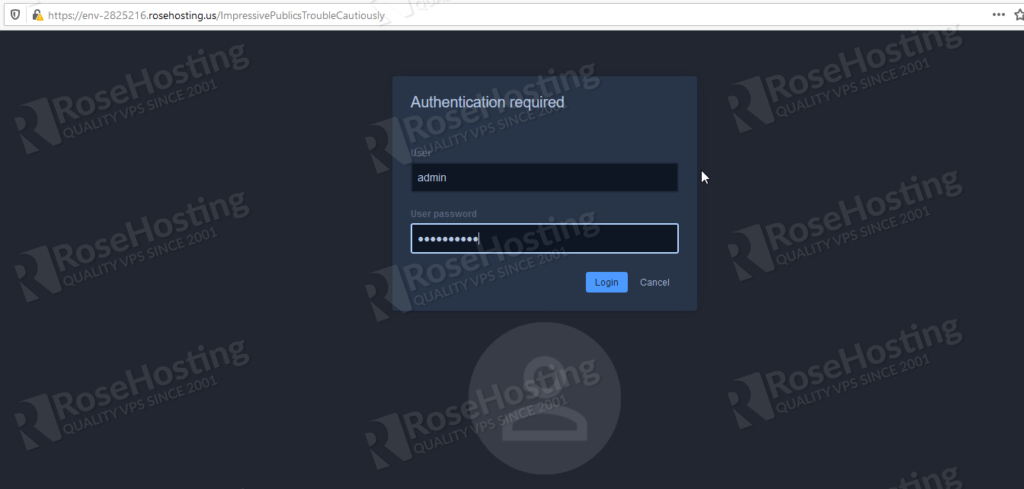
After starting your meeting, a prompt will pop up asking for waiting for host. You can simply hit I am the host and fill the boxes with your admin credentials.
Now, you’re done and you can share your meet link with your colleagues. You can create custom links by changing the name box before hitting Start meeting on the homepage.
Extra Jitsi Functionalities
Some features from Jitsi makes it a good option for your meets, below you can see some options that you can use on your meet.
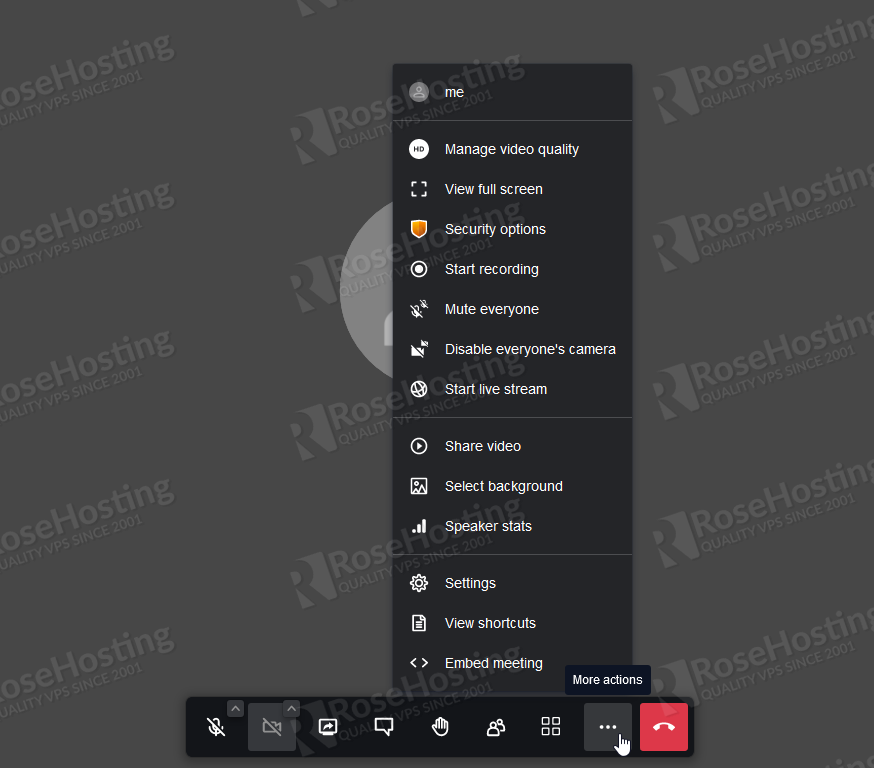
- Sart live stream – allows to stream audio and video from Youtube, you’ll need your Youtube Stream Key.
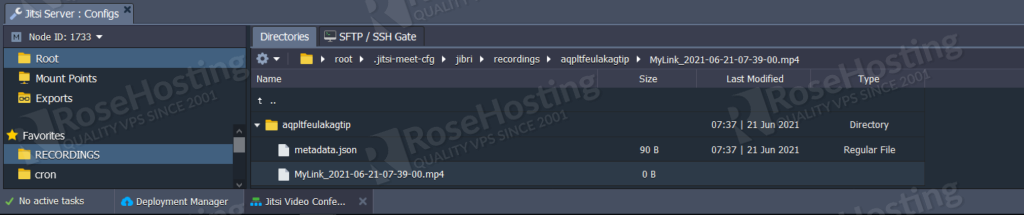
- Start recording – this option will record your meet and save it as mp4 video files to the /root/.jitsi-meet-cfg/jibri/recordings folder of your jitsi Environment
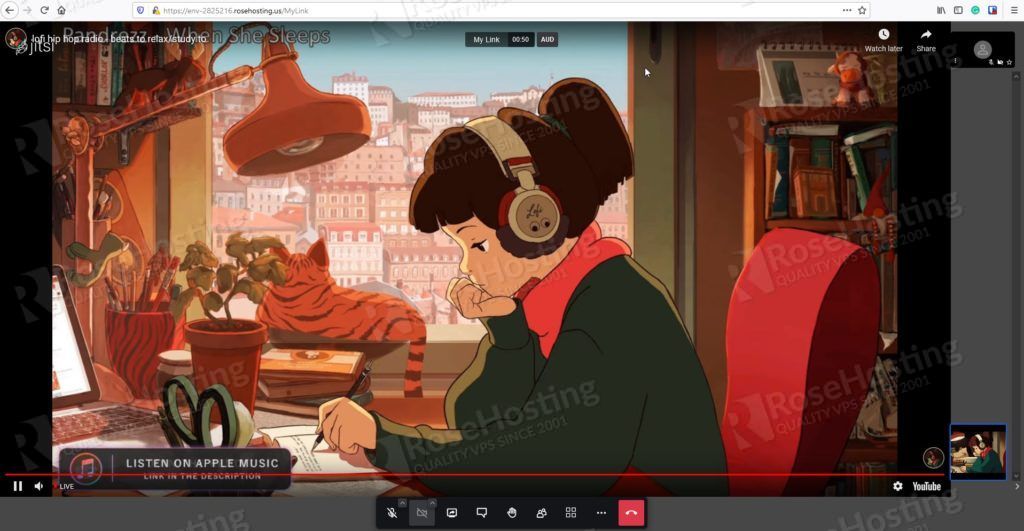
- Share a YouTube video – allows playing video from YouTube to all the meeting participants.
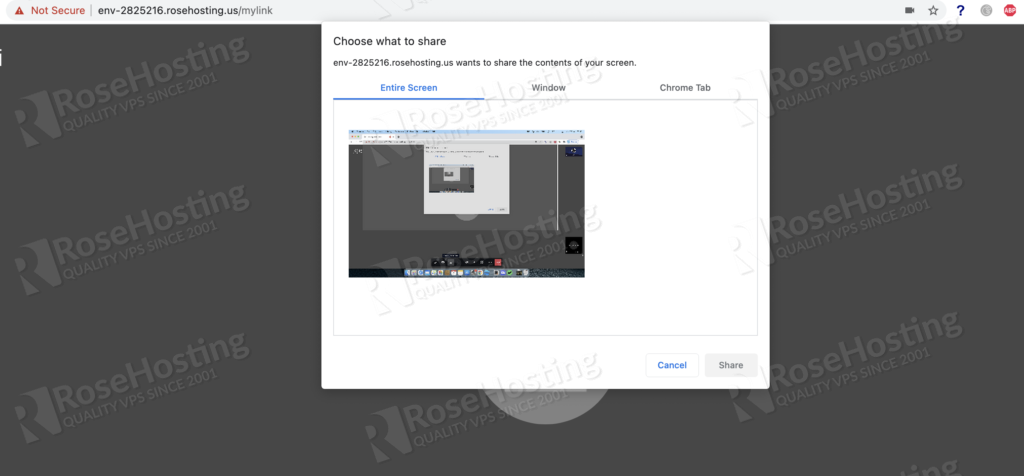
There is an option that you can share your screen using the button on the left bottom side of your Jitsi meeting panel, you can change between these options:
- Whole computer screen
- Window of a specific application
- Specific web browser tab
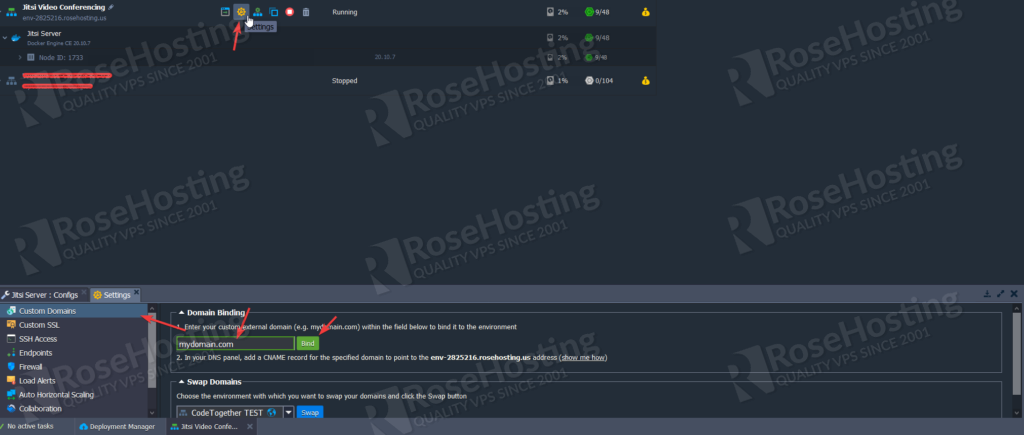
Binding a custom domain
On our Cloud PaaS, you’ll have a environment link that you can use, but it doesn’t come with SSL. So, if you want to use it professionally, you should consider using a custom domain in your Jitsi environment.
- Add your domain as shown below on your Jitsi instance running:
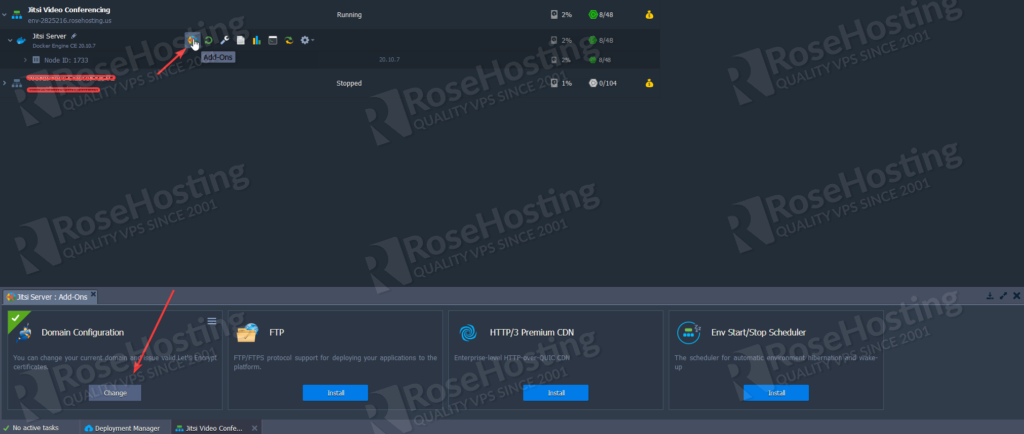
2. Go to add-ons option and hit “Domain change” to request the SSL certificate.
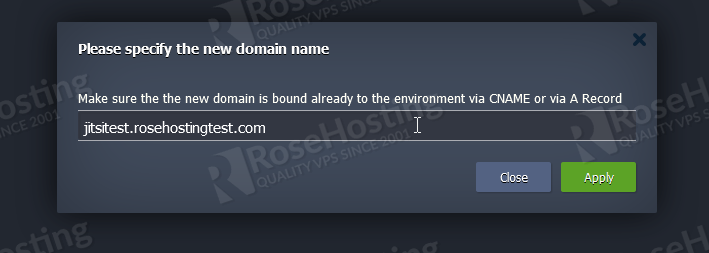
After the changes are made, you should wait for the task to finish. A notification window will pop up on the right side regarding the success of your SSL certificate. And then, you can start using your custom domain with a valid SSL certificate.
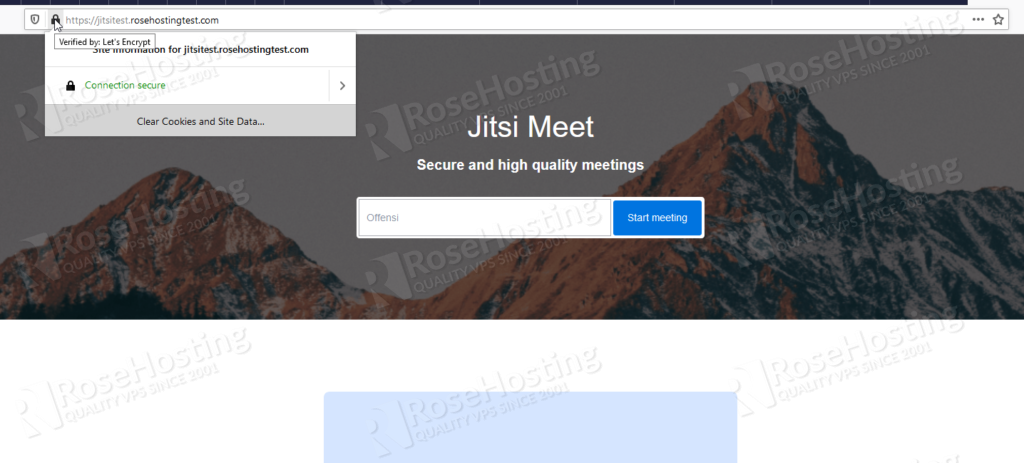
When you reach here, you’re done and you can use your custom domain to share your meeting links and use all the amazing features that Jitsi proposes.
Launch your own secure, simple and scalable communication service with Jitsi.
Of course, if you need any assistance on this deployment, you can ask our expert system administrators to help you with the environment setup. They would be more than glad to assist you and are available 24/7, all year long. Simply sign up and get our managed cloud hosting solution, and Jitsi will be easy to install.
PS. If you liked this post about Secure, Simple, and Scalable Video Conferencing with Jitsi, please share it with your friends on the social networks using the quick social share buttons, or simply leave a comment of appreciation below. Thanks.