
Debian 11, also known as Bullseye, marks a significant update in the Debian series, offering users enhanced performance, security, and compatibility. This guide focuses on guiding you through the process of how to upgrade from Debian 10 Buster to Debian 11 Bullseye, ensuring a smooth transition to the latest version. Debian 11 Bullseye is packed with features and improvements that cater to both new and experienced users. Let’s dive into what makes Debian 11 Bullseye an important upgrade:
- Enhanced Security Features: Debian 11 brings in critical security updates, ensuring your system is safeguarded against the latest vulnerabilities.
- Updated Software Packages: Experience the latest versions of popular software packages, offering improved functionality and user experience.
- Improved Hardware Support: Enhanced compatibility with a wide range of hardware, making Debian 11 ideal for diverse setups.
- Systemd Improvements: Enhanced performance and capabilities in systemd, Debian’s system and service manager.
- New Desktop Environments: Fresh updates to desktop environments like GNOME, KDE Plasma, and XFCE, offering a more refined user experience.
- Optimized Performance: General performance improvements, ensuring a smoother and more efficient operation of your system.
The upgrade from Debian 10 to Debian 11 is a crucial step for users seeking the latest features and security improvements. This transition not only updates your system to the latest standards but also prepares it for future developments. In the following sections, we will guide you through each step of the upgrade process, ensuring a hassle-free and successful update to Debian 11 Bullseye.
Step 1: Update Debian System Packages
Before initiating the upgrade from Debian 10 Buster to Debian 11 Bullseye, it’s essential to update all existing packages on your system. This step ensures that your system is up-to-date and minimizes potential conflicts during the upgrade process.
Updating Current Packages
To update your packages, open the terminal and execute the following command:
sudo apt update && sudo apt upgradeThis command performs two actions sequentially:
sudo apt update: Fetches the list of available updates for your current packages.sudo apt upgrade: Installs the latest versions of the packages based on the updated list.
Rebooting After Major Updates
If this update process includes a significant number of packages or a kernel update, a system reboot is advisable to ensure all changes are correctly applied. Reboot your system with the command:
rebootA reboot is particularly crucial after kernel updates, as it activates the new kernel version, enhancing your system’s security and performance.
Step 2: Modify the “sources.list” to Bullseye
Transitioning from Debian 10 Buster to Debian 11 Bullseye requires updating your system’s software sources. This step involves altering the sources.list file, which dictates where your system looks for software updates and installations.
Automating the Update of Sources List
Instead of manually editing the /etc/apt/sources.list file, a streamlined approach using a single command is recommended. This method not only saves time but also reduces the risk of manual errors.
Open your terminal and execute the following command:
sudo sed -i 's/buster/bullseye/g' /etc/apt/sources.listThis command uses sed, a stream editor, to replace all instances of “buster” with “bullseye” in the sources.list file:
sudo: Grants administrative privileges needed to modify system files.sed -i: Invokes the sed editor to perform an in-place edit without needing an additional file.'s/buster/bullseye/g': Specifies the substitution pattern; ‘buster’ is replaced with ‘bullseye’ globally within the file.
Executing this command, you ensure your system will retrieve packages from the Bullseye repositories during the upgrade process, a critical step for a successful transition to Debian 11.
Step 3: Execute the Upgrade to Debian 11 Bullseye
Advancing to Debian 11 Bullseye involves a sequence of commands that facilitate the transition. This stage is critical as it directly upgrades your system’s core components and applications to the latest version available in Debian 11.
Synchronizing with Bullseye Repositories
Begin by aligning your system’s package cache with the Bullseye repositories. This ensures that the upgrade process fetches packages from the correct source. Execute the following command in your terminal:
sudo apt updatesudo: Elevates your command to run with administrative privileges.apt update: Refreshes your system’s package list by syncing it with the repository changes you made in the previous step.
Performing the Full Upgrade
With your package list updated, you can now proceed to the actual upgrade. Use the command below:
sudo apt full-upgradeThis command differs from the standard upgrade as it:
sudo: Ensures administrative rights for system-wide changes.apt full-upgrade: Performs a more comprehensive upgrade, intelligently handling changes in dependencies and removing obsolete packages.
Rebooting Post-Upgrade
After the upgrade completes, it’s essential to reboot your system. This step ensures that all new configurations take effect and the new kernel, if updated, is loaded.
Reboot your system with the command:
rebootRebooting is a crucial step in finalizing the upgrade, as it transitions your system to fully operate under the new Debian 11 Bullseye environment.
Step 4: Post-Upgrade Verification
After completing the upgrade to Debian 11 Bullseye, it’s prudent to confirm that your system is now running the new version. This verification step is crucial to ensure the upgrade process was successful and your system is operating on the intended version of Debian.
Checking the Debian Version
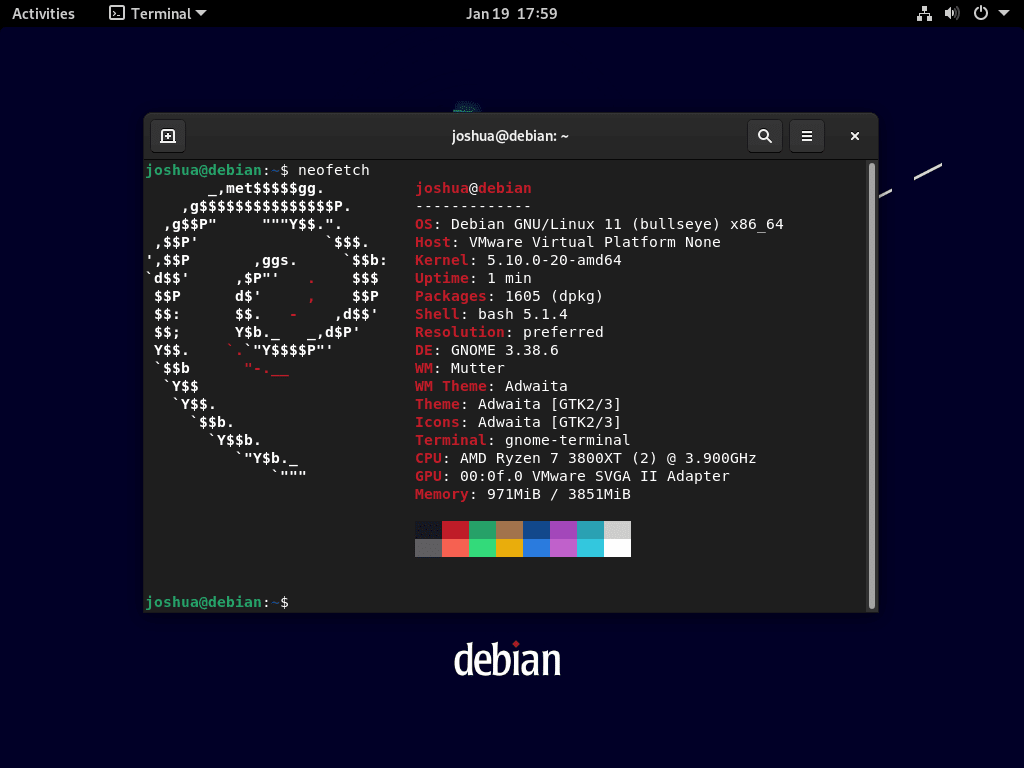
To verify the current operating version of Debian on your system, utilize the cat command to display the contents of the /etc/os-release file. This file contains information about the Debian release you are currently using. Enter the following command in your terminal:
cat /etc/os-releasecat: A standard Unix utility that reads and outputs the content of a file./etc/os-release: The file in the Linux filesystem that holds operating system identification data.
Interpreting the Output
After running the command, you should see output similar to this:
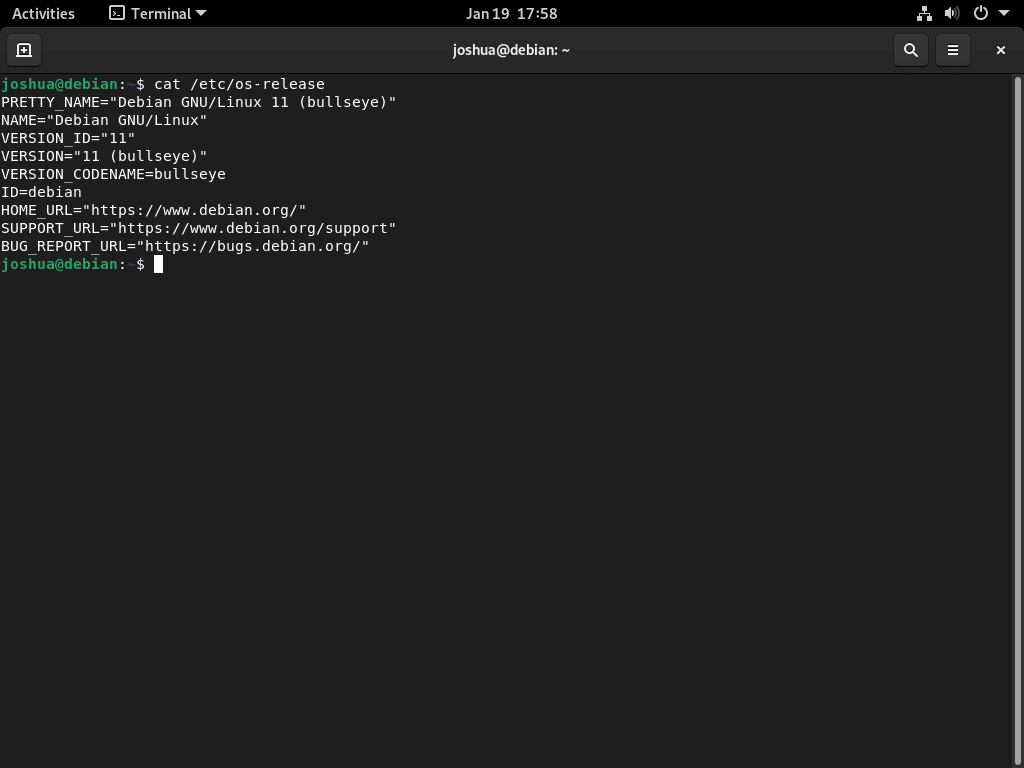
The output details various information about your Debian installation, including the NAME, VERSION, and VERSION_ID, which should now indicate Debian 11 Bullseye. Checking this information confirms that the system upgrade executed correctly, and you are now running Debian 11.
Step 5: Clean Up Obsolete Packages (Optional)
Post-upgrade maintenance is crucial for maintaining the efficiency of your Debian 11 Bullseye system. This step involves removing old packages that are no longer required. Such cleanup not only frees up space but also enhances system performance.
Removing Unused Packages
To remove these obsolete packages, execute the following command:
sudo apt --purge autoremovesudo: Grants administrative privileges for system changes.apt --purge autoremove: Cleans up any packages that were automatically installed to satisfy dependencies for other packages and are now no longer needed.
Troubleshooting: Nvidia Drivers
Some users may encounter issues with Nvidia drivers during the upgrade. Addressing these issues is essential for the smooth functioning of your system.
Method 1: Removing Nvidia Drivers
If Nvidia drivers are causing conflicts, you can remove them using this command:
sudo apt autoremove nvidia* --purgeThis command will:
autoremove: Remove packages that were automatically installed and are no longer required.nvidia*: Targets all packages related to Nvidia.--purge: Ensures complete removal, including configuration files.
Method 2: Handling .run File Installations
For systems where Nvidia drivers were installed using a .run file, use the following command to uninstall them:
sudo /usr/bin/nvidia-uninstallThis command locates and executes the Nvidia uninstall script, effectively removing drivers installed via this method.
Method 3: Removing CUDA Toolkit
In cases where the above methods don’t resolve the issue, consider removing the CUDA toolkit as a last resort:
sudo /usr/local/cuda-X.Y/bin/cuda-uninstallReplace X.Y with your installed version of CUDA. This command will initiate the uninstallation process for the CUDA toolkit, which can sometimes resolve lingering issues related to Nvidia drivers.
Conclusion
That’s a wrap! We’ve smoothly navigated through upgrading from Debian 10 Buster to Debian 11 Bullseye. Quick recap: we updated your current packages, tweaked the sources.list, launched the full upgrade, verified the new version, and tidied up with some optional cleanup. Just remember, keep an eye on any post-upgrade quirks and don’t hesitate to revisit the cleanup steps if needed. With your system now on Bullseye, you’re all set to enjoy the latest and greatest it has to offer. Stay curious, keep learning, and happy computing!