This is an optional step intended only for those who wish to host multiple sites on the same server. So far, our LAMP setup can only host one site. If you wish to host multiple sites, then you need to set up or configure virtual host files. Apache virtual host files encapsulate the configurations of multiple websites.
For this section, we will create an Apache virtual host file to demonstrate how you can go about setting your virtual hosts in Rocky Linux.
Requirements
- For this to be successful, you need to have a Fully Qualified Domain Name pointing to the public IP address of your server in your DNS hosting control panel.
- An instance of Rocky Linux 8 with LAMP stack installed.
Note: In our setup, we are using the domain name tecmint.info which is pointed to the public IP of our virtual server. Be sure to use your own domain name in all the instances where our domain name appears.
Creating an Apache Virtual Directory Structure
The first step is to create a directory that will accommodate the website or domain’s files. This will be the DocumentRoot which will be in the /var/www/ path. Therefore run the following command.
$ sudo mkdir -p /var/www/tecmint.info/html
Next, we will create a simple index.html file which we shall use to test our virtual host file.
$ sudo vim /var/www/tecmint.info/html/index.html
Insert the following HTML lines.
<!DOCTYPE html>
<html lang="en">
  <head>
    <title>Welcome to tecmint.info!</title>
  </head>
  <body>
    <h1>Success! The tecmint.info virtual host is active and running!</h1>
  </body>
</html>
Save the HTML file and exit.
Then assign the permissions to the currently logged-in user to allow them to edit the webroot directories without permission hiccups.
$ sudo chown -R $USER:$USER /var/www/tecmint.info/html
Creating an Apache Virtual Host File
At this point, we will create a separate virtual host file for our domain. By default, Rocky Linux 8, just like CentOS 8, loads all its configurations from the /etc/httpd/conf.d directory.
So, proceed and create a separate virtual host file.
$ sudo vim /etc/httpd/conf.d/tecmint.info.conf
Paste the content below to define the virtual host.
<VirtualHost *:80>
    ServerName www.tecmint.info
    ServerAlias tecmint.info
    DocumentRoot /var/www/tecmint.info/html

    <Directory /var/www/tecmint.info/html>
        Options -Indexes +FollowSymLinks
        AllowOverride All
    </Directory>

    ErrorLog /var/log/httpd/tecmint.info-error.log
    CustomLog /var/log/httpd/tecmint.info-access.log combined
</VirtualHost>
Save the changes and exit the virtual host file.
To check whether all the configurations are sound, execute the command:
$ sudo apachectl configtest

Next, restart Apache to effect the changes made.
$ sudo systemctl restart httpd
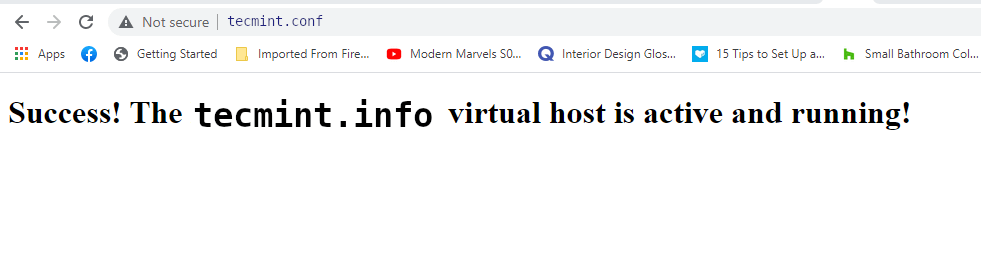
Then launch your web browser and browse your domain as follows:
http://tecmint.info
This should display the sample HTML page we configured in step 1 of this section. This is ironclad proof that our virtual host setup is working!
If you have multiple domain names, repeat the same steps to set up virtual host files for each domain or website.
Conclusion
And there you have it. We have successfully configured virtual host files to host several websites or domains in Rocky Linux 8 with the LAMP stack. You can proceed to host your web applications or secure your Apache with an SSL Certificate using free Let’s Encrypt.