How to Install and Configure Caddy Web Server with PHP on Fedora 34 / CentOS 8
Caddy is an open-source web server written in the Go language. It provides HTTP/3 support, TLS v1.3, automatic SSL configuration with Let's Encrypt, reverse proxy, and supports multiple plugins to extend its functionality. It has the advantage of all its configuration being served from a single file no matter how many sites you need to host.
This tutorial will cover installing and configuring Caddy and PHP on Fedora 34 and CentOS 8 based servers. We will cover how to host single and multiple sites and how to use reverse proxy along with few other security features.
Prerequisites
-
Fedora 34 or CentOS 8 based server
-
A non-root user with sudo privileges
-
A domain name pointing to the server IP address
-
SELinux is disabled.
$ sudo setenforce 0 -
Make sure everything is updated.
$ sudo dnf update
Step 1 - Configuring Firewall
The first step is to configure the Firewall to open HTTP and HTTPS ports. Fedora and CentOS come with the Firewalld firewall preinstalled.
Check if the firewall is running.
$ sudo firewall-cmd --state
You should get the following output.
running
Check the current allowed services/ports.
$ sudo firewall-cmd --permanent --list-services
It should show the following output.
dhcpv6-client mdns ssh
Allow HTTP and HTTPS ports.
$ sudo firewall-cmd --permanent --add-service=http
$ sudo firewall-cmd --permanent --add-service=https
Recheck the status of the firewall.
$ sudo firewall-cmd --permanent --list-services
You should see a similar output.
dhcpv6-client http https mdns ssh
Reload the Firewall.
$ sudo systemctl reload firewalld
Step 2 - Install Caddy
The First step is to install the server. The installation steps remain the same for both Fedora 34 and CentOS 8.
$ sudo dnf install 'dnf-command(copr)'
$ sudo dnf copr enable @caddy/caddy
$ sudo dnf install caddy
You can verify the installation by the following command.
$ caddy version
v2.4.3 h1:Y1FaV2N4WO3rBqxSYA8UZsZTQdN+PwcoOcAiZTM8C0I=
Step 3 - Caddy Configuration Basics
Caddy uses JSON as the primary format for storing or writing configuration. It is the most flexible way of writing the configuration and supports all Caddy's features. But if you don't know how to write JSON files, Caddy offers an easier way in the form of Caddyfile.
The Fedora / CentOS package includes a Caddyfile at /etc/caddy/Caddyfile. It should look like the following (ignoring the comments)
:80 {
        root * /usr/share/caddy
        file_server
}
Enable and start the caddy daemon.
$ sudo systemctl enable --now caddy
You can open the URL http://youripaddress to check. You should see the following welcome page.
Caddy offers many features and configurations, so we will only go with the important ones to serve our website. The default configuration serves over HTTP, which is specified as :80. The root directive tells Caddy to look for the files to be served in the /usr/share/caddy directory.
The file_server directive tells Caddy to act as a file server which means that it will serve only static files over the default address.
Configuring Caddy for a Basic HTML website
Let us create a basic caddy configuration file to serve a static website.
Create a directory to host your website and store your log files.
$ sudo mkdir -p /var/www/example.com/html
$ sudo mkdir /var/log/caddy
Set the ownership of the directory to Caddy.
$ sudo chown caddy:caddy /var/www/example.com/html -R
$ sudo chown caddy:caddy /var/log/caddy
Create an HTML file to test and open it for editing.
$ sudo nano /var/www/example.com/html/index.html
Add the following code.
<!DOCTYPE html>
<html>
<head>
<title>Hello from Caddy!</title>
</head>
<body>
<h1>Hello, from Caddy!</h1>
</body>
</html>
Press Ctrl + X to close the editor and press Y when prompted to save the file.
Open the Caddyfile for editing.
$ sudo nano /etc/caddy/Caddyfile
Replace the existing code with the following.
example.com {
    root * /var/www/example.com/html
    file_server
    encode gzip

    log {
        output file /var/log/caddy/example.access.log
    }

    @static {
        file
        path *.ico *.css *.js *.gif *.jpg *.jpeg *.png *.svg *.woff *.pdf *.webp
    }
    header @static Cache-Control max-age=5184000

    tls [email protected]
}
Press Ctrl + X to close the editor and press Y when prompted to save the file.
Let us go through all the directives in the file. The encode gzip directive tells Caddy to compress the files using Gzip compression.
The log directive outputs the access log for the site to the /var/log/caddy/example.access.log file. By default, Caddy rotates log files when they reach 100 MB. The rotated files are deleted after 90 days or when there are more than 10 rotated logs. You can change the default parameters in the following way.
log {
    output file /var/log/caddy/example.access.log {
        roll_size 10MB
        roll_keep 5
        roll_keep_for 240h
    }
}
In the above code, rotated log files are limited to 10 MB and deleted after 10 days (240 hours) or when there are more than 5 rotated logs.
Caddy will generate and install the SSL certificate automatically without any intervention. The tls directive allows us to provide extra options to configure HTTPS like the email address used for obtaining Let's Encrypt reports.
The header directive enables Cache-control on all static files (images/javascript/CSS files). You can add more file extensions or copy the code to set different duration for different file formats. You will have to change the value static to something different because that is a named reference.
Once finished, you can validate your configuration using the following command.
$ caddy validate --adapter caddyfile --config /etc/caddy/Caddyfile
We have to use the --adapter caddyfile option because, by default, the command only validates JSON configurations.
If you get the following warning, you can fix it easily with a single command.
WARN input is not formatted with 'caddy fmt' {"adapter": "caddyfile", "file": "/etc/caddy/Caddyfile", "line": 2}
Run the following command to fix the error.
$ caddy fmt --overwrite /etc/caddy/Caddyfile
The above command formats and overwrites the Caddyfile.
Restart Caddy to enable the configuration. You will need to restart the server every time you make a change in the configuration.
$ sudo systemctl restart caddy
Open in your browser, and you should see the following page which means, the configuration is working.

Configuring Multiple Sites in Caddy
You can configure multiple sites in a single caddy file. To do that, create separate blocks for each site in the following way.
example1.com {
	root * /var/www/example1.com/html
	...
}

example2.com {
	root * /var/www/example2.com/html
	...
}
This method is fine for a couple of sites, but a single can get pretty large and difficult to maintain if you are hosting multiple sites.
Create the directory `/etc/caddy/caddyconf.
$ sudo mkdir /etc/caddy/caddyconf
Now you can import the configuration files from the directory in your /etc/caddty/caddyfile at the top of the file.
import caddyconf/*.conf
The final step is to create individual configuration files for each site.
Configuring PHP sites
So far, we have talked only about serving static sites using Caddy. You can use Caddy just as easy to serve dynamic PHP sites as well. To enable the PHP support, add the following code within your site block.
example1.com {
	root * /var/www/example1.com/html
	...
	php_fastcgi unix//run/php-fpm/www.sock
}
You will also need to install PHP.
$ sudo dnf install php-fpm php-cli php-gd
You can install any additional PHP module that you require. You will also need to configure the file /etc/php-fpm.d/www.conf. Open the file for editing.
$ sudo nano /etc/php-fpm.d/www.conf
We need to set the Unix user/group of PHP processes to caddy. Find the user=apache and group=apache lines in the file and change them to nginx.
...
; Unix user/group of processes
; Note: The user is mandatory. If the group is not set, the default user's group
;       will be used.
; RPM: apache user chosen to provide access to the same directories as httpd
user = caddy
; RPM: Keep a group allowed to write in log dir.
group = caddy
...
Find the line listen.acl_users = apache,nginx and change its value to the following.
...
listen.acl_users = apache,nginx,caddy
...
Save the file by pressing Ctrl + X and entering Y when prompted.
Start the PHP-fpm process.
$ sudo systemctl start php-fpm
To test your PHP setup, create a file test.php in the html folder.
$ sudo nano /var/www/example.com/html/test.php
Add the following content to it and save the file by pressing Ctrl + X and entering Y when prompted.
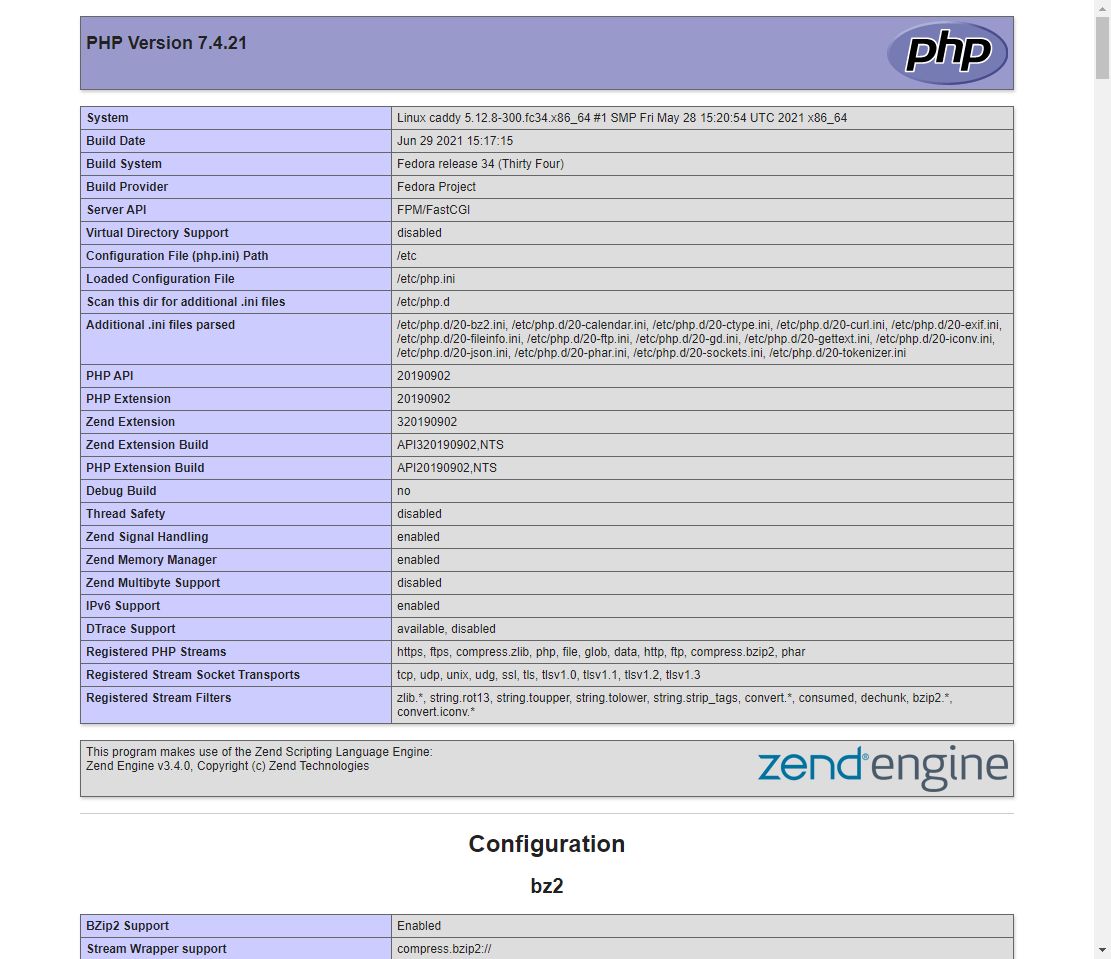
<?php phpinfo();
Launch http://example.com/test.php in your web browser, and you should see the following.
Configuring Reverse Proxy
Caddy can also be used as a reverse proxy server. To set it up, use the following code.
example1.com {
	...
	reverse_proxy localhost:8000 {
		header_up Host {http.reverse_proxy.header.X-Forwarded-Host}
	}
}
Step 4 - Caddy Global Options
The Caddyfile allows you to set some options which will be applicable globally, i.e., they will apply to all of your sites. It is beneficial to define global options so that you don't have to redeclare them in every server block.
You should include the global options at the very top of your Caddyfile. There are a lot of options that you can set globally. We will go through some important ones only. For the rest, you should refer to Caddy's documentation.
Here are some default options that you can use in your Caddyfile.
{
	#TLS Options
	email [email protected]

	servers	:443 {
		protocol {
			experimental_http3
		}
		max_header_size 5mb
	}

	servers :80 {
		protocol {
			allow_h2c
		}
		max_header_size 5mb
	}
}
In the above code email specifies the email ID used for registering the SSL certificate with Let's Encrypt authority. OCSP stapling improves the performance of HTTPS sites by providing certificate revocation information to the browsers automatically. The max_header_size option specifies the size of the client's HTTP request headers to be parsed.
We have also enabled HTTP/3 protocol for HTTPS sites and HTTP/2 support for HTTP sites. These are experimental features and will probably be removed eventually, so take care before enabling them.
Step 5 - Enhancing Security
Enabling HTTP Authentication
You can enable simple HTTP authentication for certain directories. First, you need to create authentication credentials for it.
Caddy only accepts hashed passwords in the configuration. So, you need to create a hashed password first. Run the following command to do that.
$ caddy hash-password
Enter password:
Confirm password:
JDJhJDEwJEVCNmdaNEg2Ti5iejRMYkF3MFZhZ3VtV3E1SzBWZEZ5Q3VWc0tzOEJwZE9TaFlZdEVkZDhX
Once you have the password ready, enter the following code in your Caddyfile.
basicauth /secret/* {
	John JDJhJDEwJEVCNmdaNEg2Ti5iejRMYkF3MFZhZ3VtV3E1SzBWZEZ5Q3VWc0tzOEJwZE9TaFlZdEVkZDhX
}
The above command will protect the /secret directory with the credentials you just created.
Hardening Site Security and enabling HSTS
There are other security configurations you can add to protect your sites. For that, we will create another file /etc/caddy/caddy_security.conf.
$ sudo nano /etc/caddy/caddy_security.conf
Add the following code to it.
header {
    Strict-Transport-Security "max-age=31536000; includeSubDomains; preload"
    X-Xss-Protection "1; mode=block"
    X-Content-Type-Options "nosniff"
    X-Frame-Options "DENY"
    Permissions-Policy "interest-cohort=()"
    Content-Security-Policy "upgrade-insecure-requests"
    Referrer-Policy "strict-origin-when-cross-origin"
    Cache-Control "public, max-age=15, must-revalidate"
    Feature-Policy "accelerometer 'none'; ambient-light-sensor 'none'; autoplay 'self'; camera 'none'; encrypted-media 'none'; fullscreen 'self'; geolocation 'none'; gyroscope 'none'; magnetometer 'none'; microphone 'none'; midi 'none'; payment 'none'; picture-in-picture *; speaker 'none'; sync-xhr 'none'; usb 'none'; vr 'none'"
}
The above code enables/implements the following.
- Enables HSTS support for the site and all its subdomains.
- Enables XSS filtering.
- Prevents Content/MIME Sniffing.
- It prevents your site from being loaded inside an IFRAME.
- It prevents your site from being included in FLOC tracking trials.
- Adds a Content security policy on how user agents treat insecure URLs.
- Implements a referrer policy so that only the referrer is sent for cross-origin requests if the protocol says the same.
- Feature Policy provides a mechanism to enable and disable certain browser features.
Next, import the file in any of the site blocks you want.
example.com {
	...
	import /etc/caddy/caddy_security.conf
}
Restart the server to implement the change.
Conclusion
This concludes the tutorial on installing and configuring the Caddy web server on Fedora 34 / CentOS 8 based servers. If you have any questions, post them in the comments below.

