How to Install UrBackup Server and Client on Ubuntu 20.04
Regularly backup the live server is a very important task of any system administrator. It will help you to recover your data in the event of data loss or system failure. There are a lot of free and commercial backup tools available in the market.
UrBackup is an open-source and client/server backup system for Linux operating systems. It supports both file and image backups in a live system without interrupting current processes. It provides a web-based interface to manage all backups. It is cross-platform and can be installed on Windows, FreeBSD, Linux, and many Linux-based NAS operating systems.
Features
UrBackup offers a rich set of features, some of them are listed below:
- Free and open-source
- Multi-platform
- Space efficient
- Easy to setup
- Consistent backups while in use
- Backup via Internet
Prerequisites
- Two servers running Ubuntu 20.04.
- A root password is configured on both servers.
In this tutorial, I will show you how to install the UrBackup server and Client on Ubuntu 20.04.
Update the System
Before starting, it is recommended to update all system packages on both server and client machines.
Run the following command to perform the update:
apt-get update -y
Once all the packages are updated, install other required dependencies using the following command:
apt-get install curl gnupg2 software-properties-common -y
After installing all the dependencies, you can proceed to the next step.
Install UrBackup Server
By default, UrBackup is not available in the Ubuntu default repository. So you will need to add UrBackup repository to your system.
You can add the UrBackup repository with the following command:
add-apt-repository ppa:uroni/urbackup
Once the repository is updated, install the UrBackup server with the following command:
apt-get install urbackup-server -y
During the installation, you will be asked to provide the backup location as shown below:

Provide your backup location and click on the Ok button to finish the installation.
Next, start the UrBackup service and enable it to start at system reboot:
systemctl start urbackupsrv
systemctl enable urbackupsrv
Next, verify the status of the UrBackup service with the following command:
systemctl status urbackupsrv
You should see the following output:
? urbackupsrv.service - LSB: Server for doing backups
     Loaded: loaded (/etc/init.d/urbackupsrv; generated)
     Active: active (running) since Mon 2021-08-09 05:37:54 UTC; 1min 3s ago
       Docs: man:systemd-sysv-generator(8)
      Tasks: 17 (limit: 2353)
     Memory: 119.8M
     CGroup: /system.slice/urbackupsrv.service
             ??7081 /usr/bin/urbackupsrv run --config /etc/default/urbackupsrv --daemon --pidfile /var/run/urbackupsrv.pid

Aug 09 05:37:54 ubuntu2004 systemd[1]: Starting LSB: Server for doing backups...
Aug 09 05:37:54 ubuntu2004 systemd[1]: Started LSB: Server for doing backups.
By default, UrBackup listens on ports 55413 and 55414. You can check them with the following command:
ss -antpl | grep urbackupsrv
You should see the following output:
LISTEN    0         4096               0.0.0.0:55413            0.0.0.0:*        users:(("urbackupsrv",pid=7081,fd=27))
LISTEN    0         4096               0.0.0.0:55414            0.0.0.0:*        users:(("urbackupsrv",pid=7081,fd=6))
LISTEN    0         4096                  [::]:55413               [::]:*        users:(("urbackupsrv",pid=7081,fd=28))
LISTEN    0         4096                  [::]:55414               [::]:*        users:(("urbackupsrv",pid=7081,fd=7))
Next, set proper ownership to the /mnt directory with the following command:
chown -R urbackupsrv:urbackupsrv /mnt
Access UrBackup Web Interface
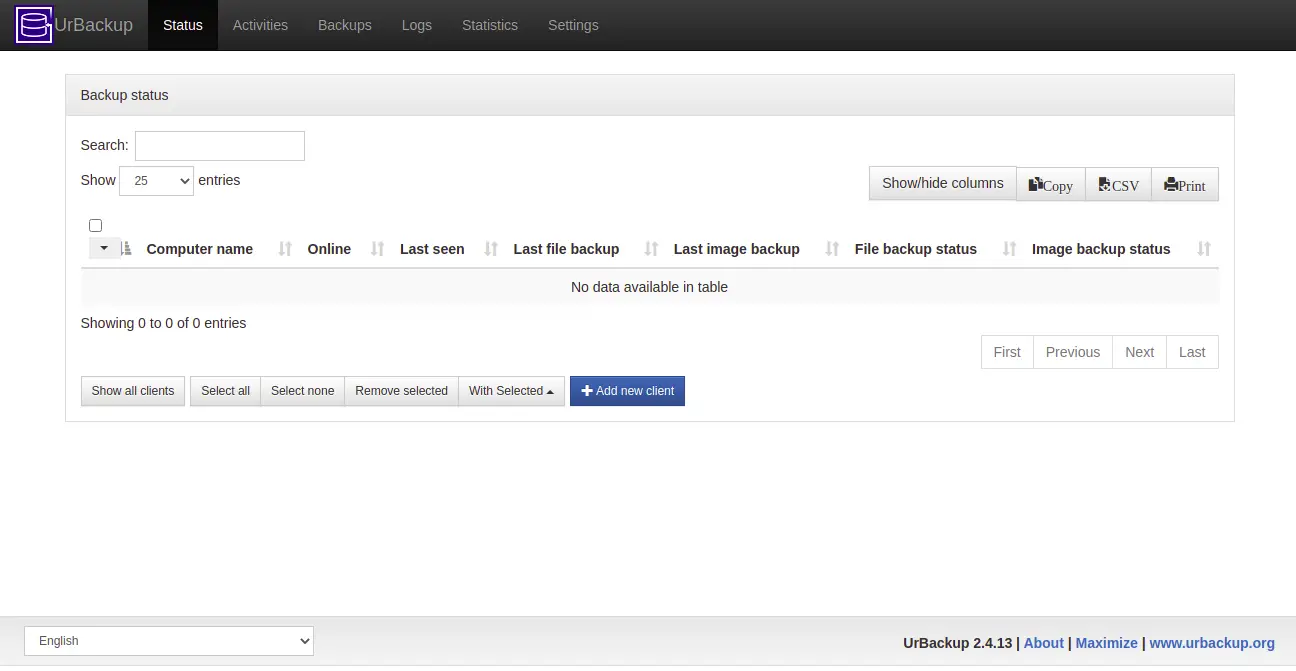
Now, open your web browser and access the UrBackup web interface using the URL http://your-server-ip:55414. You should see the following screen:
Next, click on the Settings tab. You should see the following screen:
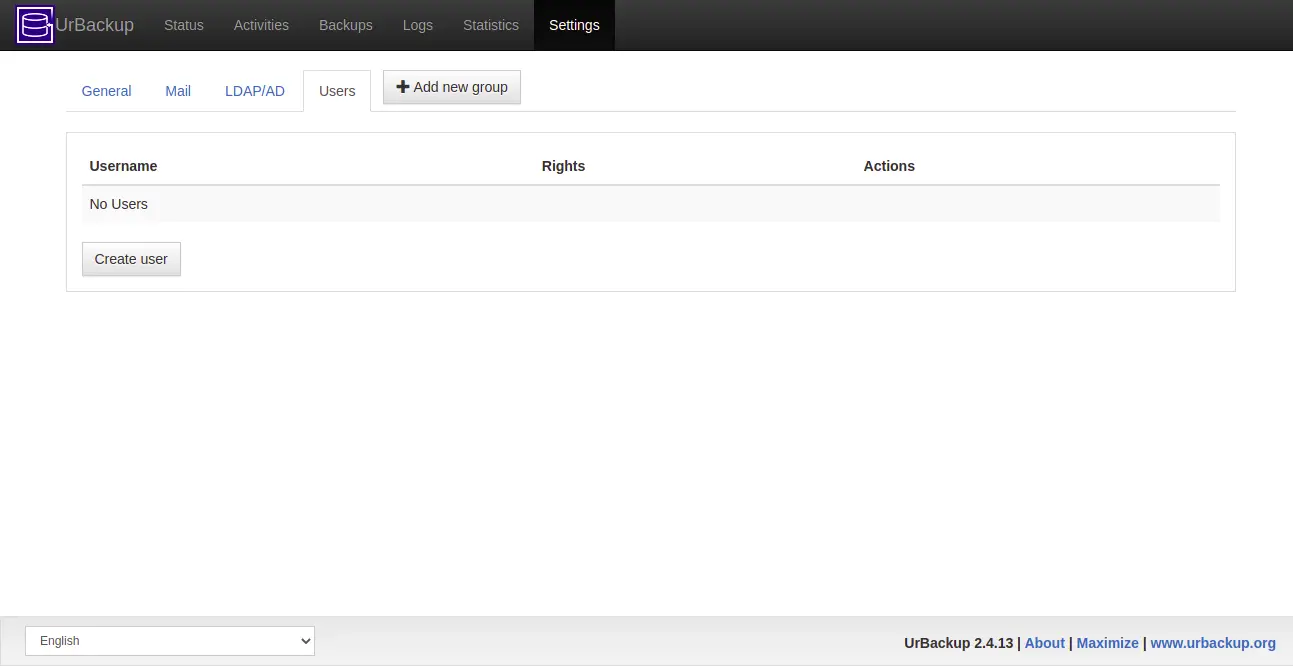
In the Users tab, click on the Create button to create an admin user. You should see the following screen:
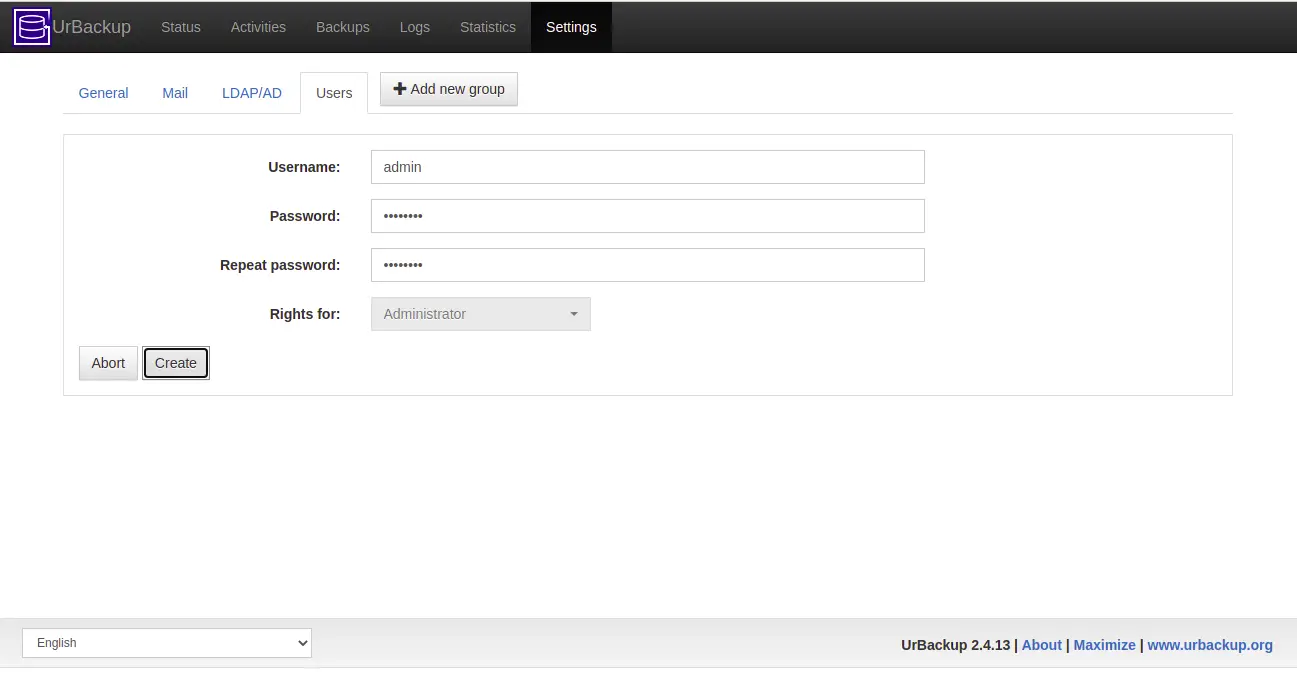
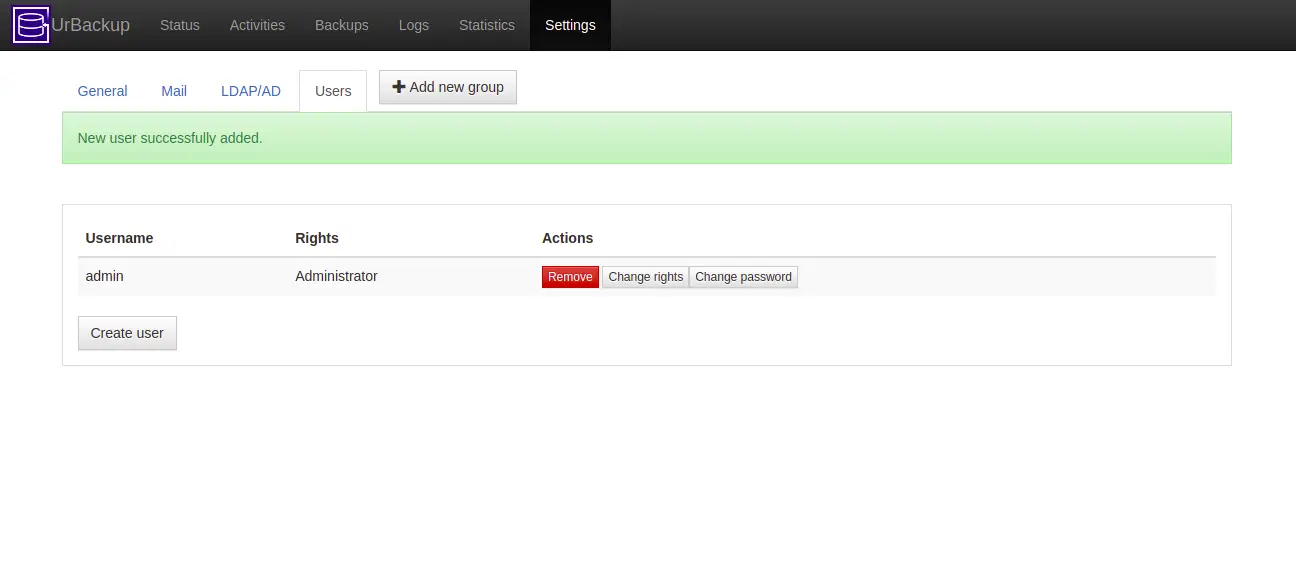
Provide your admin username, password and click on the Create button. You should see the following screen:
Add UrBackup Client
On the UrBackup web interface, click on the Status tab. You should see the following page:
Now, click on the Add new client button. You should see the following page:
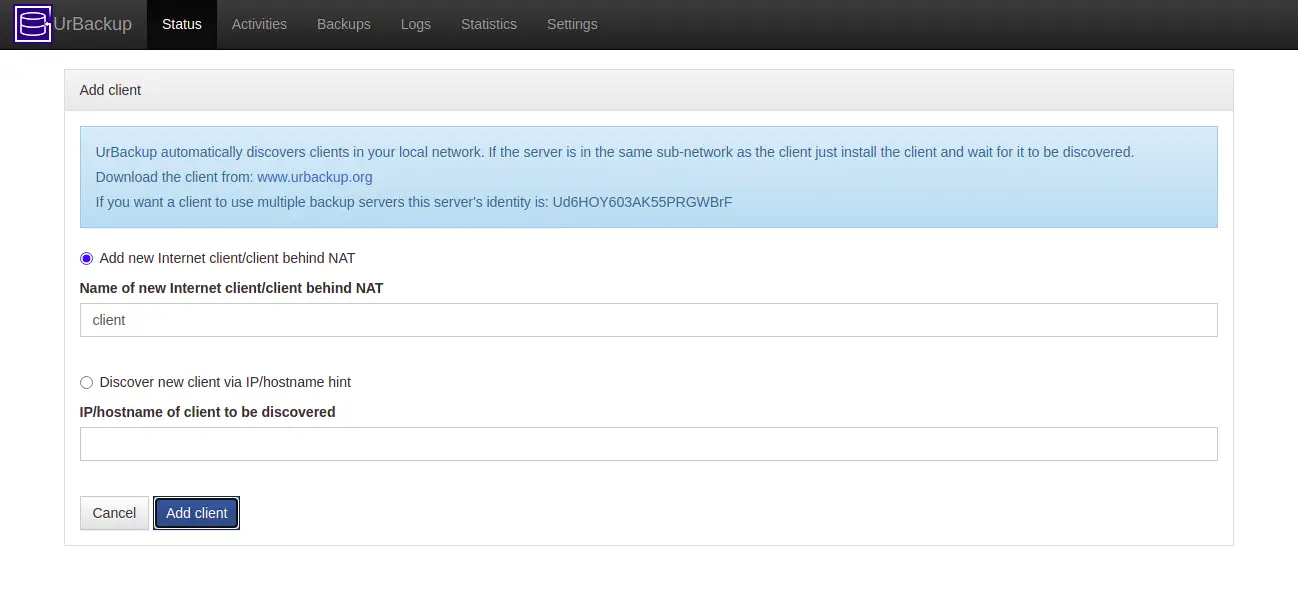
Now, provide your client name and click on the Add client button. Once the client has been added, you should see the client installation information on the following page:
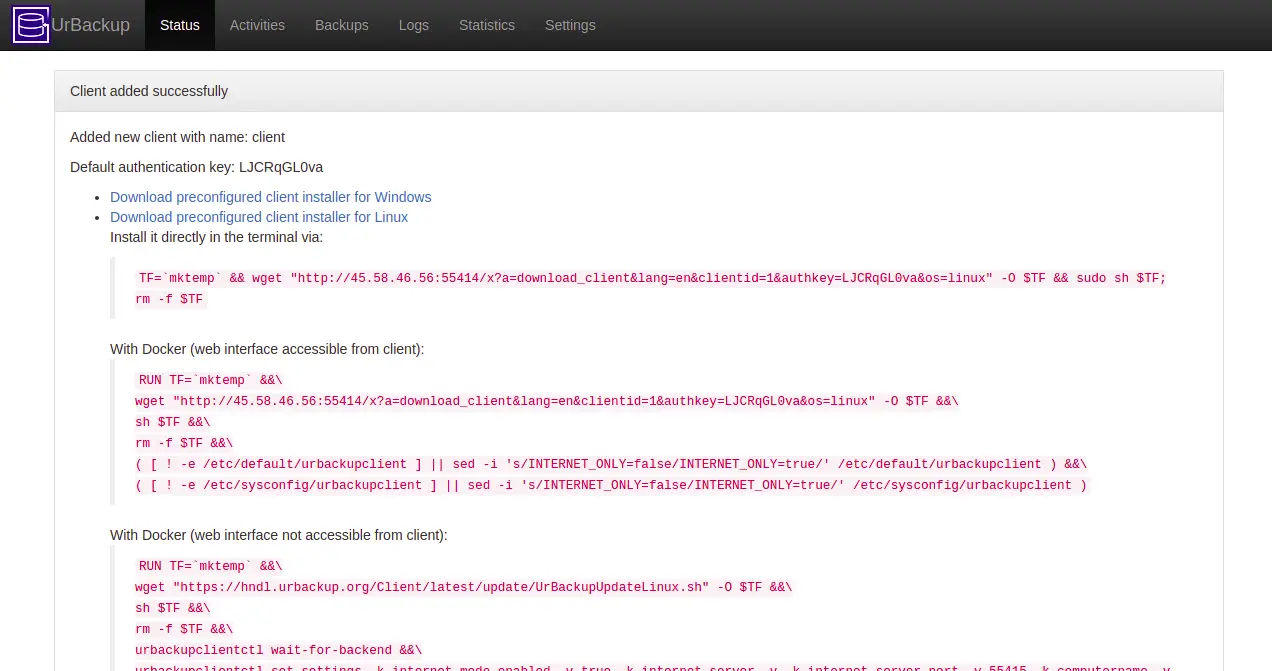
Install UrBackup Client
Next, log in to the client system, copy the installation URL from the previous step and run it using the following command:
TF=`mktemp` && wget "http://45.58.46.56:55414/x?a=download_client&lang=en&clientid=1&authkey=LJCRqGL0va&os=linux" -O $TF && sudo sh $TF; rm -f $TF
Once the UrBackup client is installed, you should see the following output:
--2021-08-09 06:08:43--  http://45.58.46.56:55414/x?a=download_client&lang=en&clientid=1&authkey=LJCRqGL0va&os=linux
Connecting to 45.58.46.56:55414... connected.
HTTP request sent, awaiting response... 200 ok
Length: 22724321 (22M) [application/octet-stream]
Saving to: ‘/tmp/tmp.ZW4L3P0XeC’

/tmp/tmp.ZW4L3P0XeC                 100%[==================================================================>]  21.67M  72.4MB/s    in 0.3s

2021-08-09 06:08:44 (72.4 MB/s) - ‘/tmp/tmp.ZW4L3P0XeC’ saved [22724321/22724321]

Verifying archive integrity... All good.
Uncompressing UrBackup Client Installer for Linux  100%
Installation of UrBackup Client 2.4.11 to /usr/local ... Proceed ? [Y/n]
Y
Uncompressing install data...
Detected Debian (derivative) system
Detected systemd
Detected architecture x86_64-linux-glibc
Installed daemon configuration at /etc/default/urbackupclient...
Info: Restoring from web interface is disabled per default. Enable by modifying /etc/default/urbackupclient.
Installing systemd unit...
Cannot find systemd unit dir. Assuming /lib/systemd/system
Created symlink /etc/systemd/system/multi-user.target.wants/urbackupclientbackend.service → /lib/systemd/system/urbackupclientbackend.service.
Starting UrBackup Client service...
Successfully started client service. Installation complete.
+Detected Ubuntu LTS. Dattobd supported
-Detected no btrfs filesystem
-LVM not installed
Please select the snapshot mechanism to be used for backups:
1) dattobd volume snapshot kernel module from https://github.com/datto/dattobd
4) Use no snapshot mechanism
4
Configured no snapshot mechanism
Next, verify the UrBackup client service using the following command:
ssystemctl status urbackupclientbackend
You should see the following output:
? urbackupclientbackend.service - UrBackup Client backend
     Loaded: loaded (/lib/systemd/system/urbackupclientbackend.service; enabled; vendor preset: enabled)
     Active: active (running) since Mon 2021-08-09 06:09:31 UTC; 49s ago
   Main PID: 1133 (urbackupclientb)
      Tasks: 10 (limit: 2353)
     Memory: 1.7M
     CGroup: /system.slice/urbackupclientbackend.service
             ??1133 /usr/local/sbin/urbackupclientbackend --config /etc/default/urbackupclient --no-consoletime

Aug 09 06:09:31 client systemd[1]: Started UrBackup Client backend.
Add a Backup Directory
Next, you will need to add a backup directory that you want to backup on the client system.
Here, we will backup an /etc directory on the client system.
Run the following command to add a backup directory:
/usr/local/bin/urbackupclientctl add-backupdir -x -f -d /etc
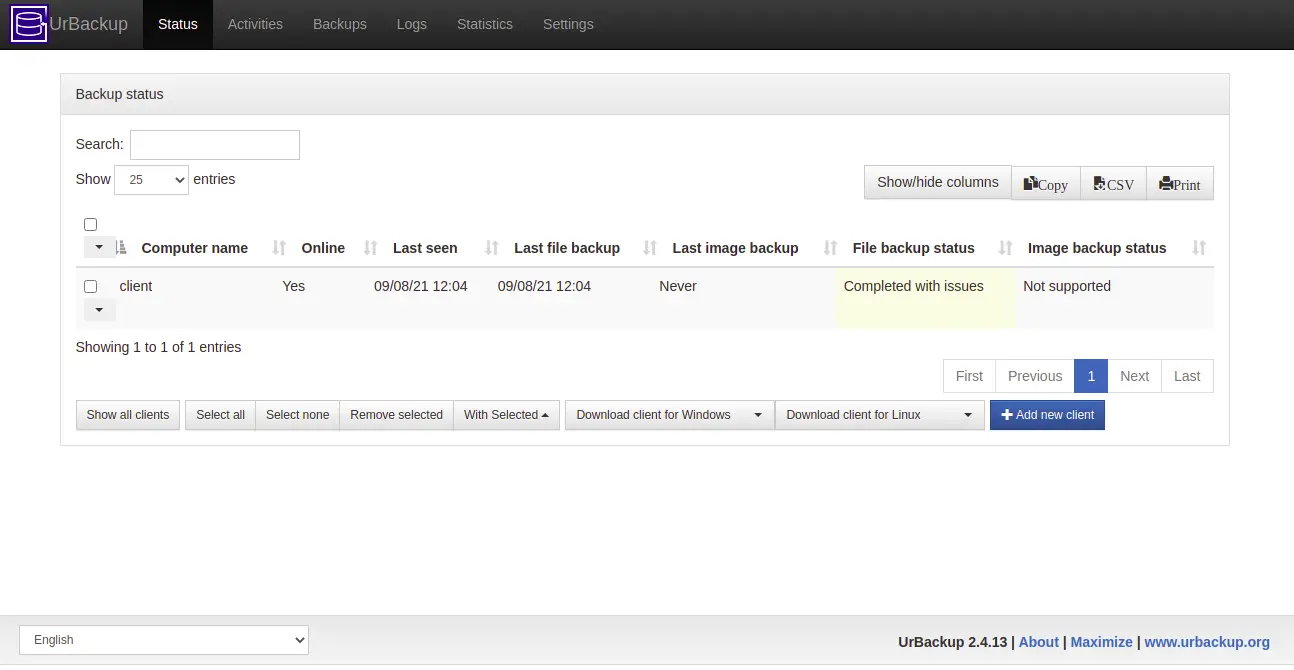
Verify Backup Status on UrBAckup Server
Next, go to the UrBackup web interface and click on the Status tab. You should see your backup client on the following page:
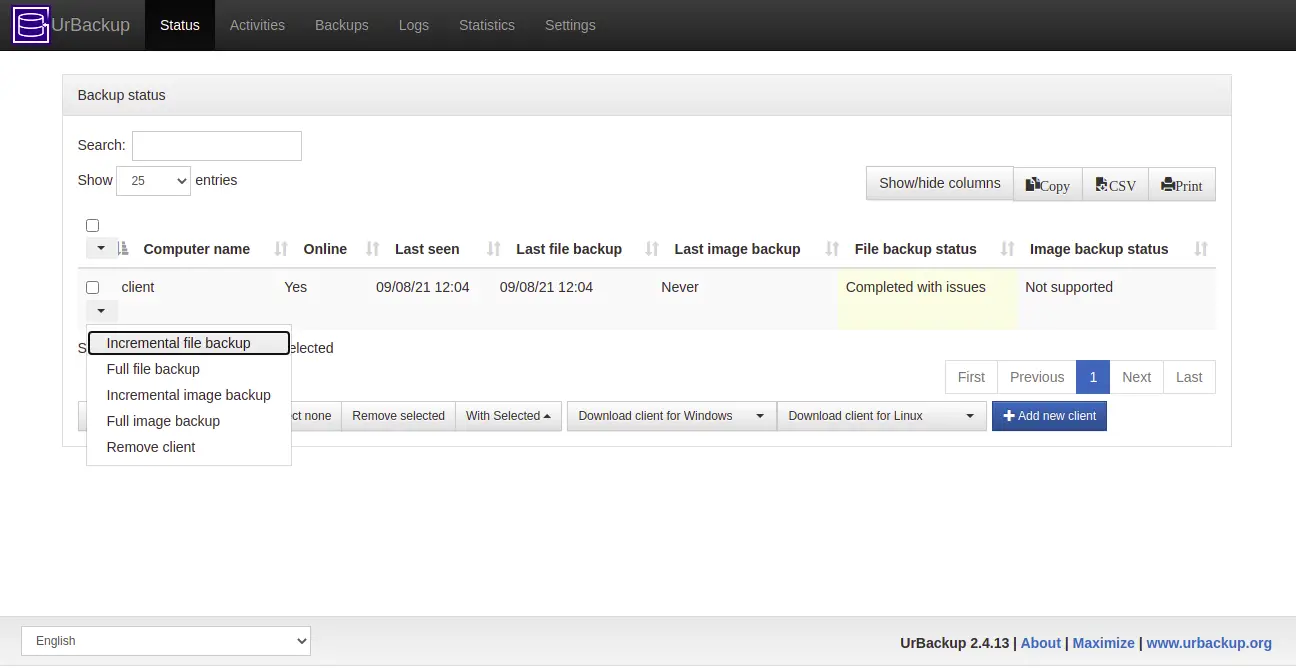
Click on the client and select Incremental file backup to take your first backup.
To verify your backup, click on the Backups tab. You should see the following page:
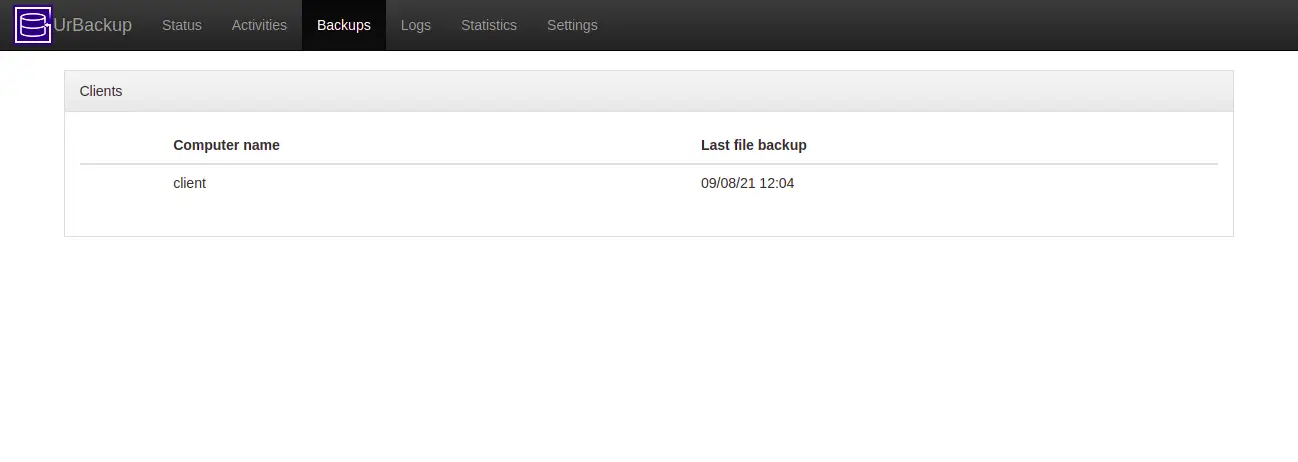
Click on the client. You should see your File backups on the following page:
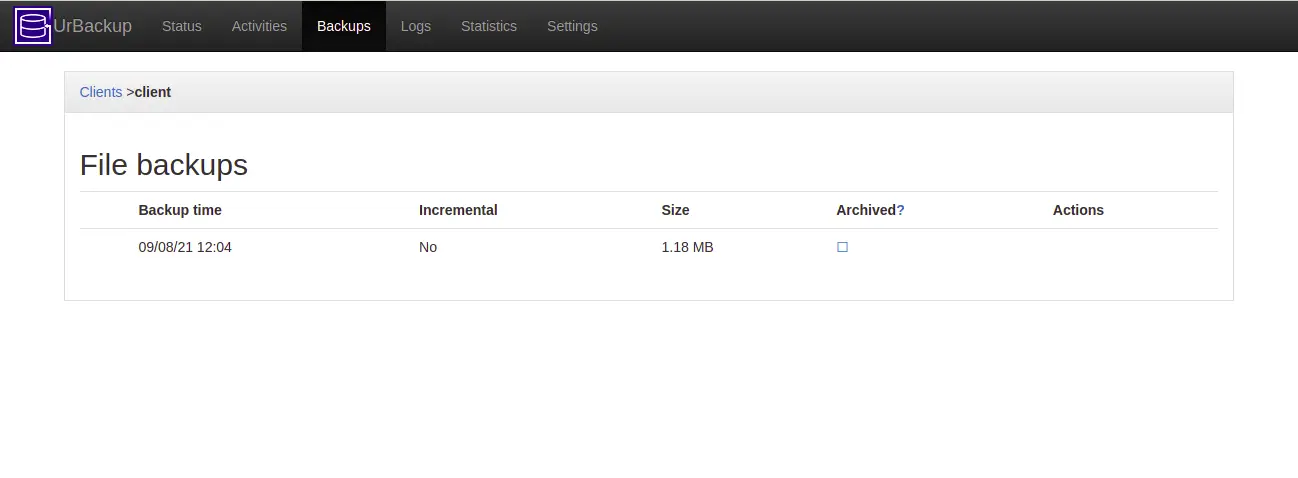
Now, click on your backup to see detailed information about your backup:
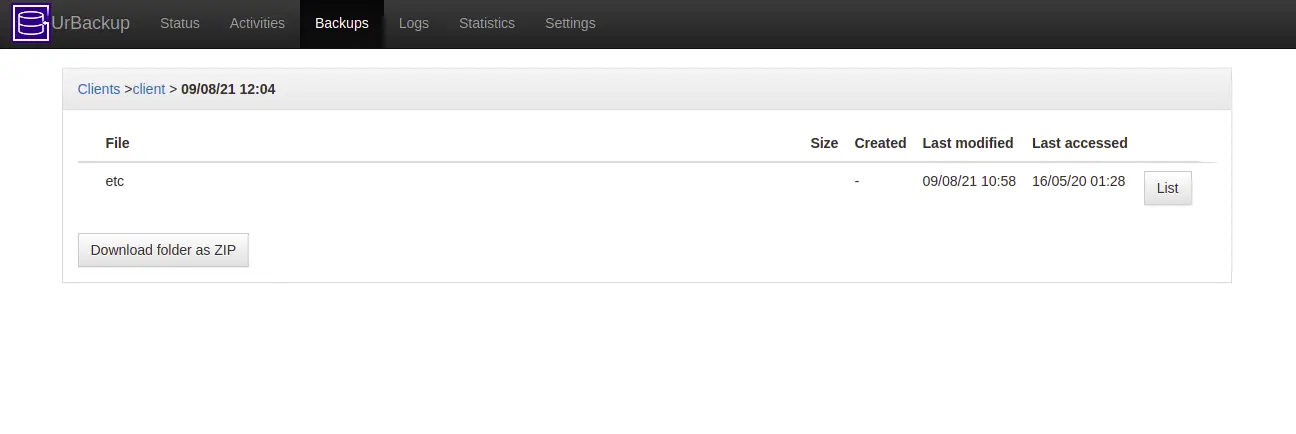
From here, you can also download your backup to the local system.
Conclusion
In the above guide, we explained how to install the UrBackup server and client on Ubuntu 20.04. You can now add multiple clients to the UrBackup server and manage all backups from the central location.

