How to Install Cockpit on Rocky Linux 8
Cockpit is a server management dashboard that provides real-time information on the state of your machine. In addition to CPU load, filesystem statistics, processes, and other data, it also gives access to the system. When you're not signed in to the control panel, Cockpit doesn't use any server resources. The Cockpit service only begins when you go to the control panel and use it.
You can use Cockpit to manage your server and solve network problems. It also logs in with sudo, which allows you elevated privileges on the system - so there's no need for a separate group of users.
In this guide, we will show you how to install the Cockpit Web Console on a Rocky Linux 8 system.
Prerequisites
- In order to use Cockpit, your system must be running the systemd service manager and Linux 3.14+ kernel.
- A non-root user with sudo privileges.
Updating the System
Log in as the root user via SSH and update the system usin the following command.
sudo dnf update
Installing Cockpit
Now that the system has been updated, it is time to install Cockpit.
The Cockpit package and modules are available in the Rocky Linus repositories by default. So the installation process is just to install the package via dnf .
sudo dnf install cockpit
Once installed, start the Cockpit service using the systemctl start command .
sudo systemctl start cockpit.socket
In order to have the Cockpit service started upon system reboots, enable it using the systemctl enable command.
sudo systemctl enable cockpit.socket
You can verify the status of the Cockpit service using the systemctl status command.
sudo systemctl status cockpit.socket
You should get an output like this:
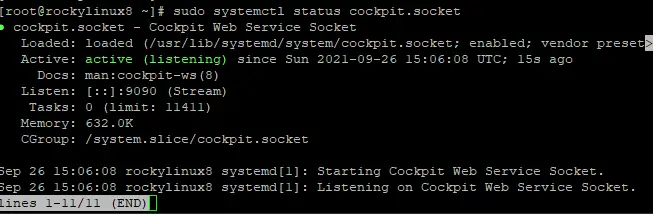
This output confirms that the Cockpit service is up and running. The installation was successful.
Configuring the Firewall
Because Cockpit is a web-based service, it uses port 9090 for HTTP access. You can configure your firewall to allow traffic on this port.
sudo firewall-cmd --permanent --zone=public --add-service=cockpit
After making this change, remember to reload the firewall service for the changes to take affect.
sudo firewall-cmd --reload

Let’s confirm that the firewall has been configured correctly.
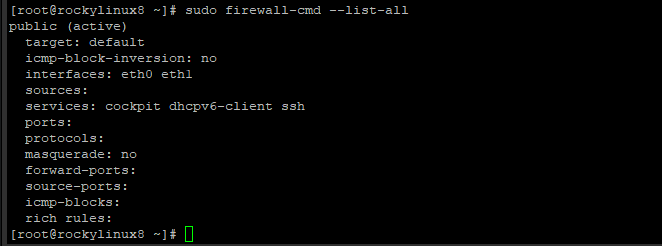
sudo firewall-cmd --list-all
You should see the following output confirming that Cockpit is enabled on port 9090.
Accessing the Cockpit Web Console
Now that the Cockpit package has been installed and the server is up and running, you can access the Cockpit web console by visiting the URL displayed below.
https://<server-address>:9090/
Where: <server-address> is the actual IP address or hostname of your server.
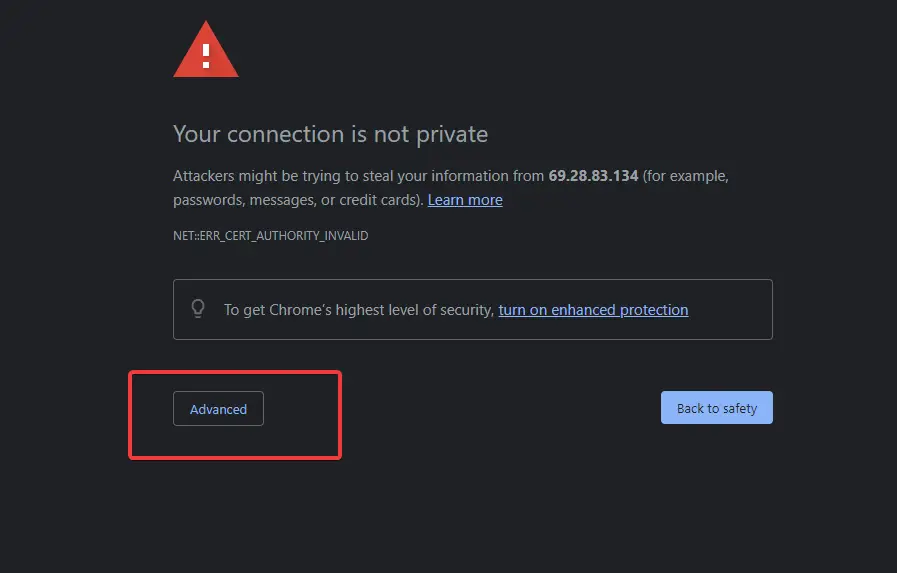
You will be taken to a warning saying "Your connection is not private" as your connection is not encrypted. This is normal as we haven't configured SSL for this service yet. This warning will only be displayed once for security reasons.
In order to proceed, you must click on the Advance button.
In the next window, you should click on the Proceed to...unsafe link at the bottom left.

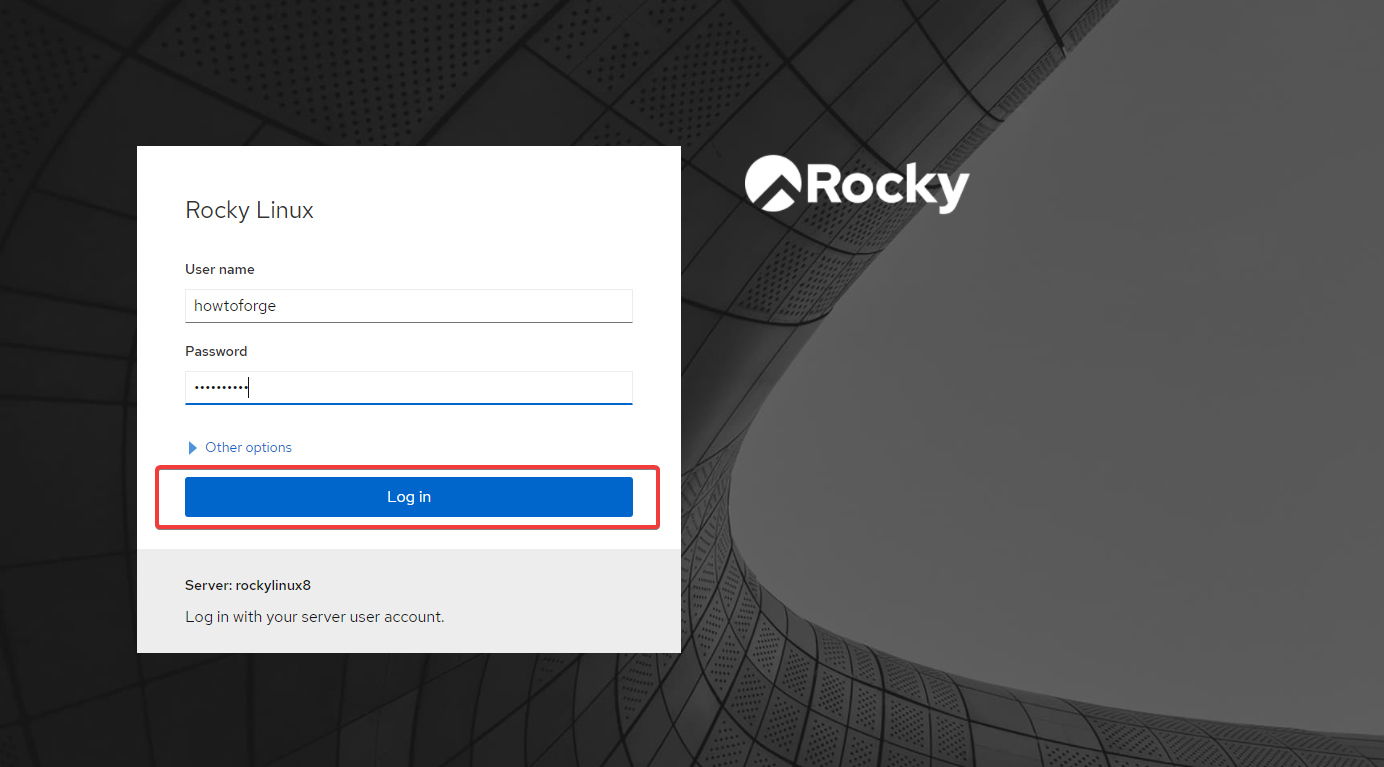
The Cockpit login interface should now be displayed along with a short introduction to the product and links to download documentation.
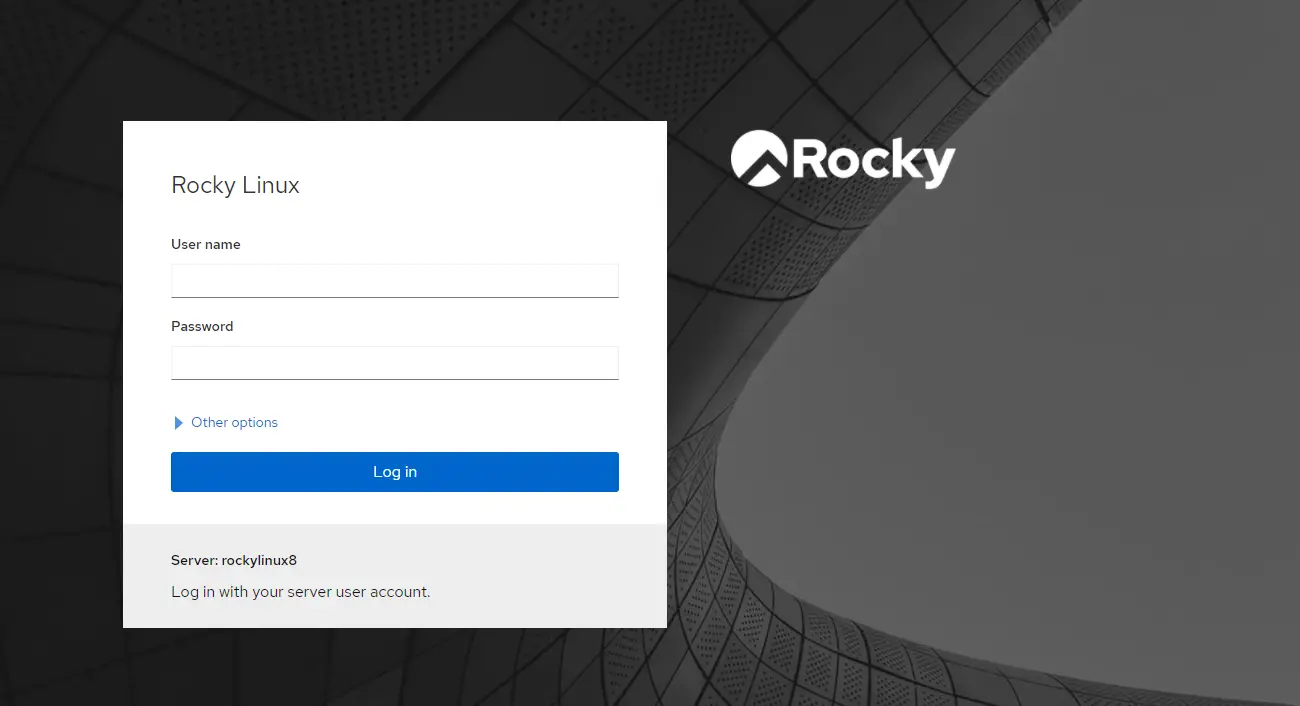
Now, enter the non-root user credentials you created at the beginning of this guide and click on Log In.
After successfully logging in, you will be taken to Cockpit's main screen. The main window has the following features: A menu bar that allows access to major configuration areas in Cockpit. A navigation bar on the left which shows all available dashboard widgets in different categories.
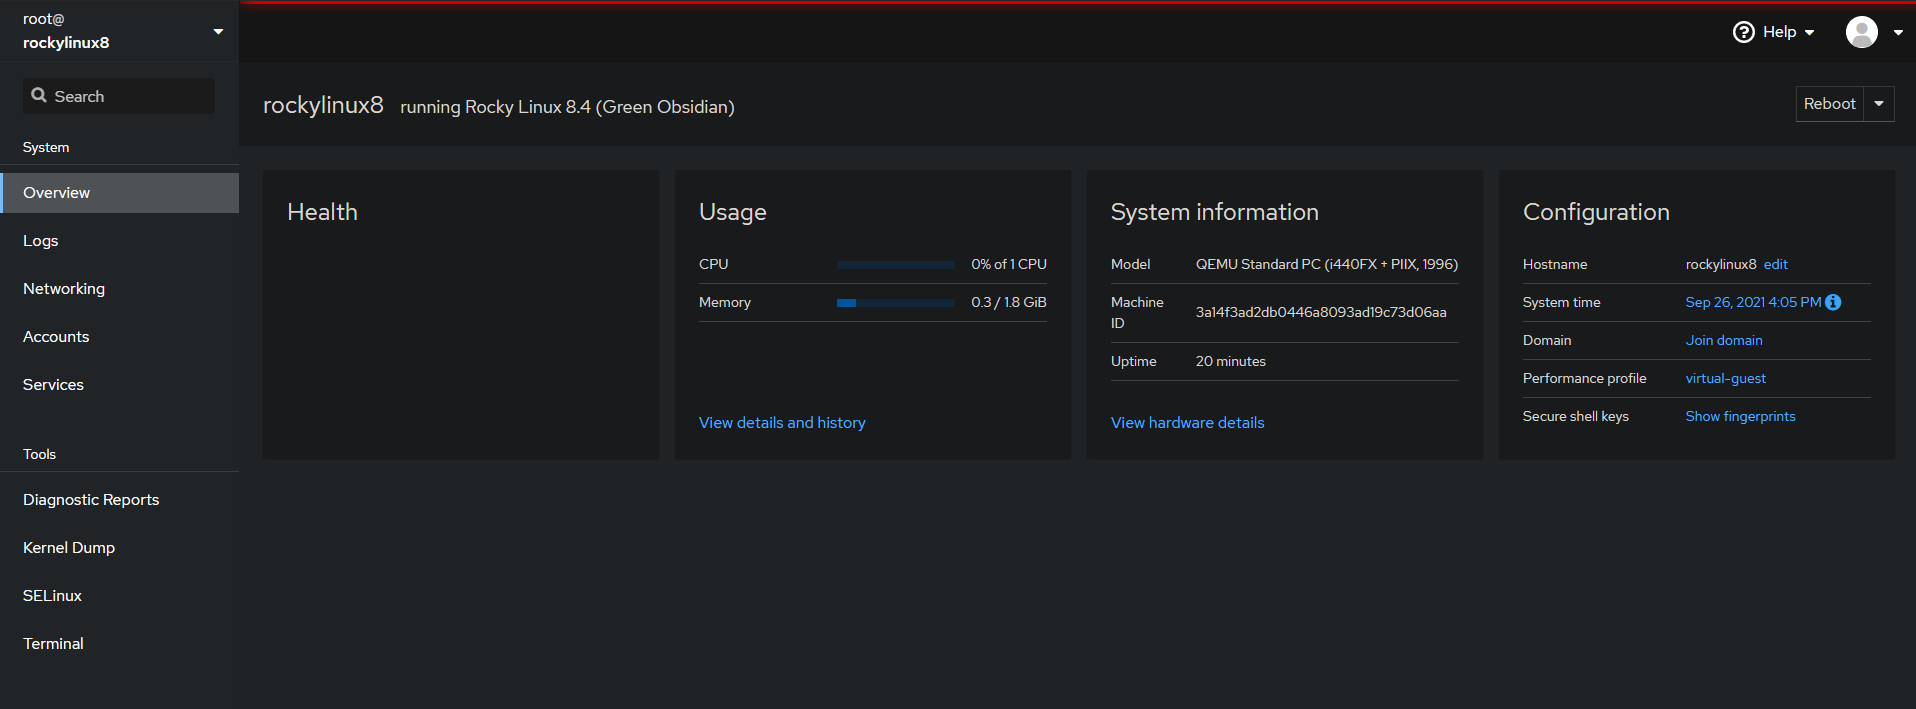
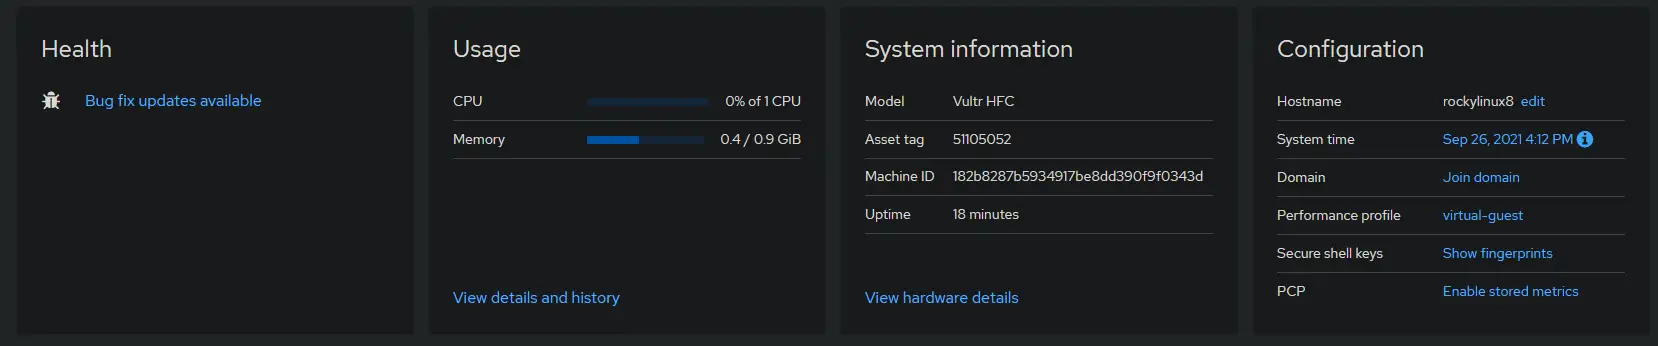
A list of dashboards in the center of your screen, which displays the overview information you selected, such as Resource usage , Logs and Network.
A search bar at the top left, which allows searching for any entity displayed on Cockpit's main window. By typing a string here and pressing Enter or clicking "Search" will list all the entities which have the typed string in them.
Conclusion
In this tutorial, we have learned how to install and configure Cockpit on a Rocky Linux 8 system. We hope you find this tool as useful and powerful as we do.
Do let us know your comments and feedback in the comments section below. If you found this tutorial helpful, please share it with others who may be interested in using Cockpit for server management. Happy monitoring.

