
A few weeks ago, I received Microchip PolarFire SoC FPGA Icicle Kit with FPGA fabric and hard RISC-V cores capable of handling Linux. I wrote “Getting Started with Yocto Linux BSP” tutorial for the board, and I had initially titled the current post “Getting Started with FPGA development using Libero SoC and Polarfire FPGA SoC”.
I assumed I would write one or two paragraphs about the installation process, and then show how to work with Libero SoC Design Suite to create an FPGA bitstream. But instead, I spent countless hours trying to install the development tools. So I’ll report my experience to let readers avoid some of the pitfalls, and hopefully save time.
(Failing to) Install Libero SoC v2021.v2 on Ubuntu 20.04
If we go to the download page, we’ll see Libero SoC v2021.2 for Windows and Libero SoC v2021.2 for Linux. Since my computer is running Ubuntu 20.04, I decided to go with the Linux version. Note you’ll need to create an account with MicroSemi/Microchip before getting started. The very first time it failed due to errors with the website when registering for a new account.
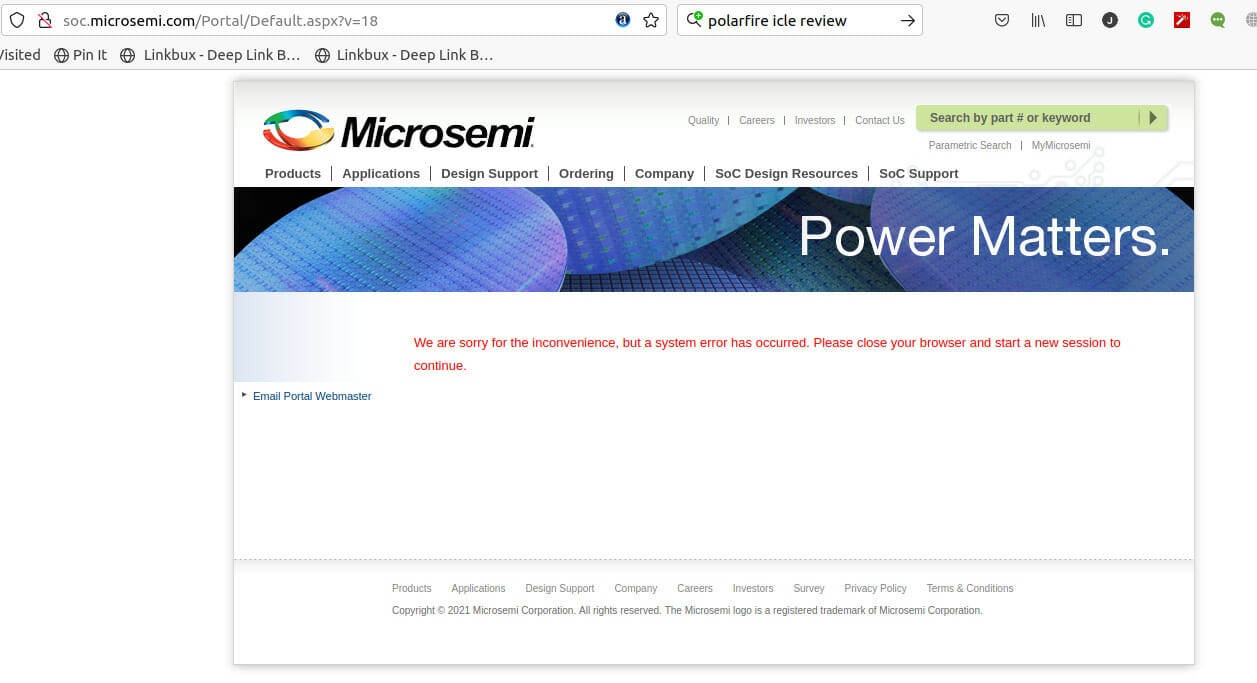
No matter how many times I would try, it would fail with the same error, but I tried a week later and I could eventually access the download link to the Linux version with some simple installation instructions:
Site 1: Download Libero SoC v2021.2 (Linux) (BIN)
MD5:c43f8d4f399bcb4101e0db095c1a7012
sha256sum: d8c748fcc0fe2f0a3cb31d00f0111e86e3c523be485d3a7a55a93ec5fa3258c8
Instructions for Installation†
Ensure that you have at least 30GB free (for Installation) and 35GB (in temp directory during installation) on your hard drive.
Copy Libero_SoC_v2021.2.bin from above path to a temp directory.
Change directory to the temp directory
“chmod +x Libero_SoC _v2021.2.bin”
Type: “./Libero_SoC _v2021.2.bin” to launch libero installer.
Follow the installation instructionsIf you experience any problems downloading Microsemi’s software, please send an email to [email protected].
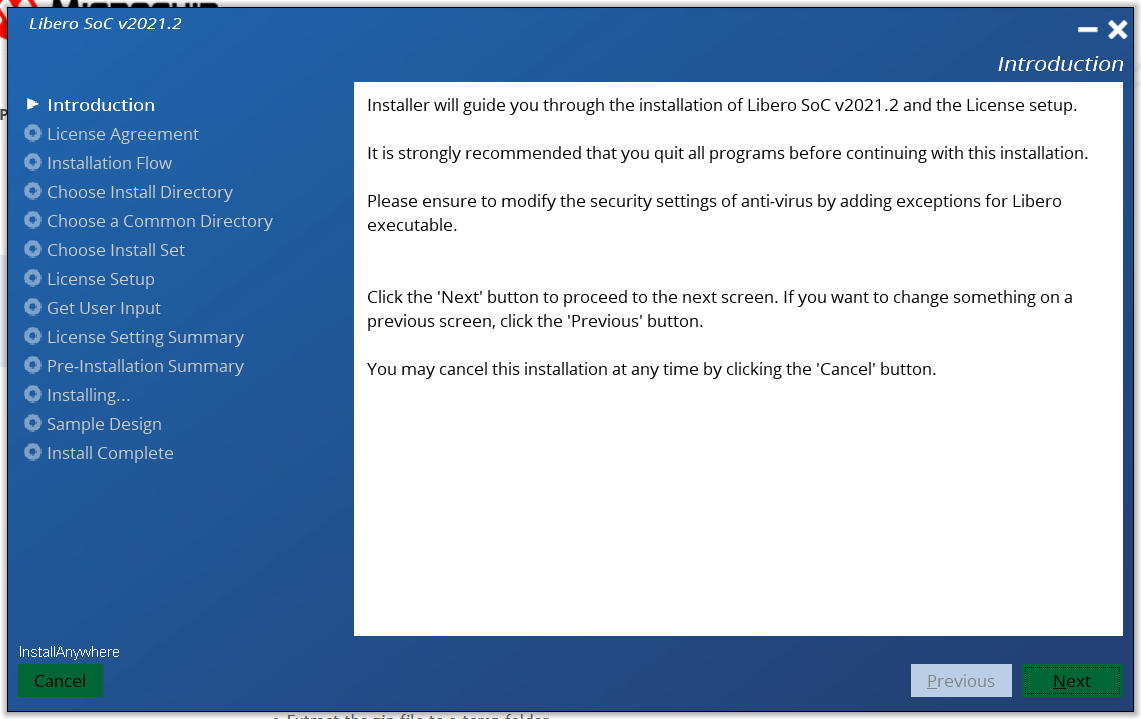
This will start a GUI to install the software.
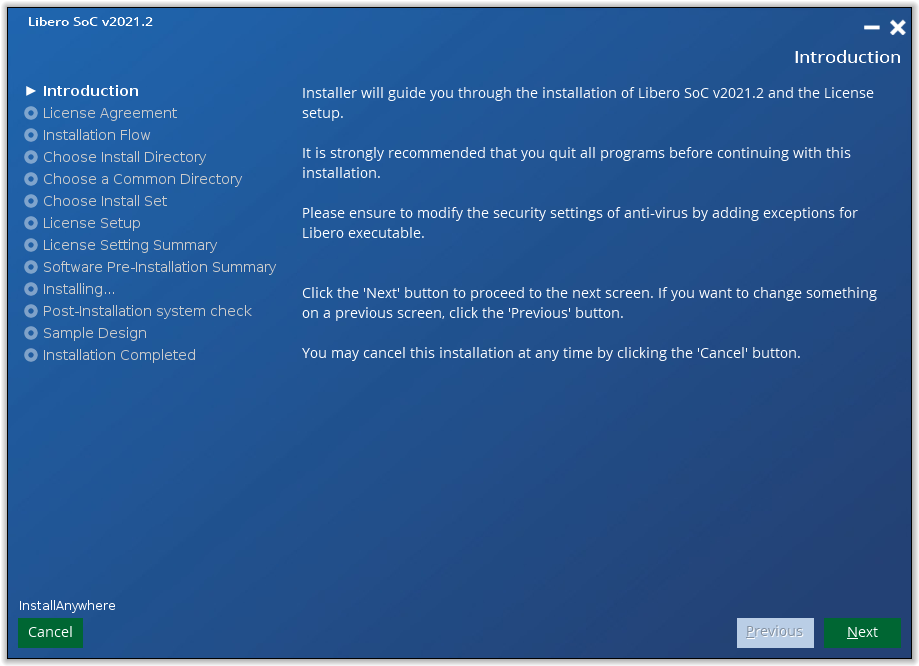
After accepting a license agreement, I opted to install both Libero SoC and setup License since this is required, and I should get a free one-year “Silver” license. 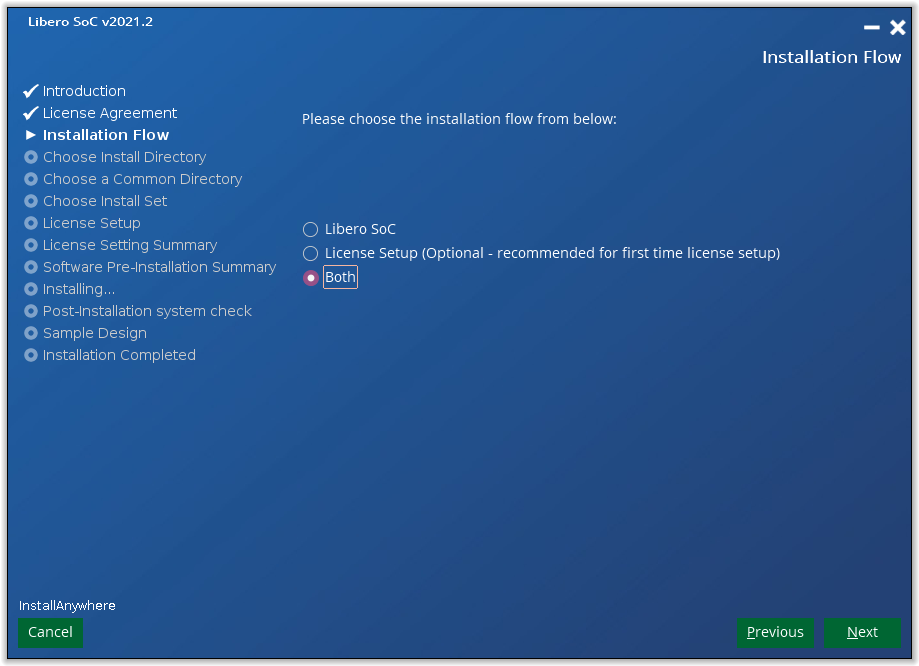
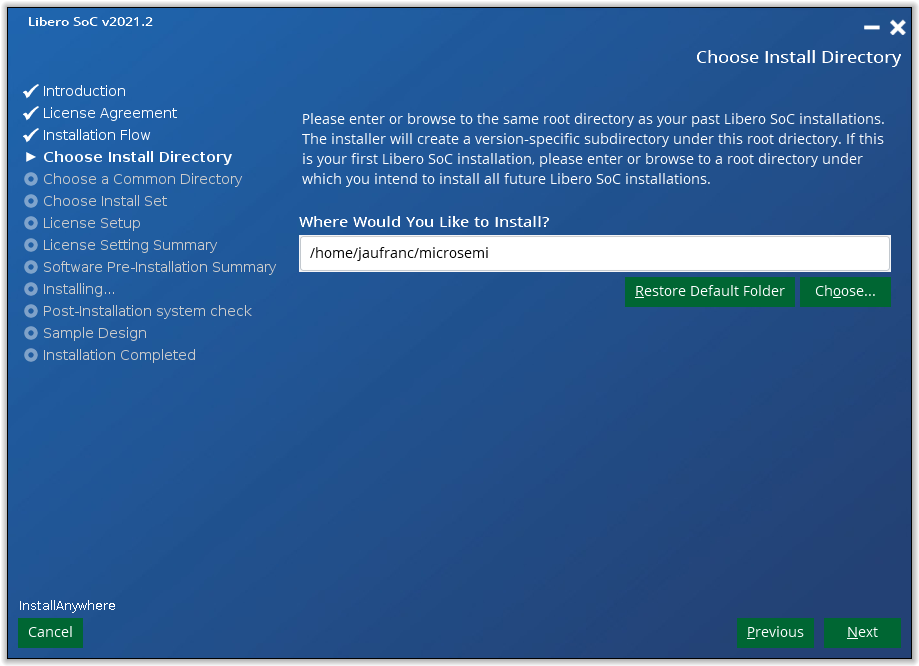
You should install the program in a directory where you have R/W permissions, and installation with the root user/sudo is not recommended. So I went with /home/jaufranc/microsemi.
We’re also being asked for a common directory, and I type /home/jaufranc/microsemi/common. Next up is the license.
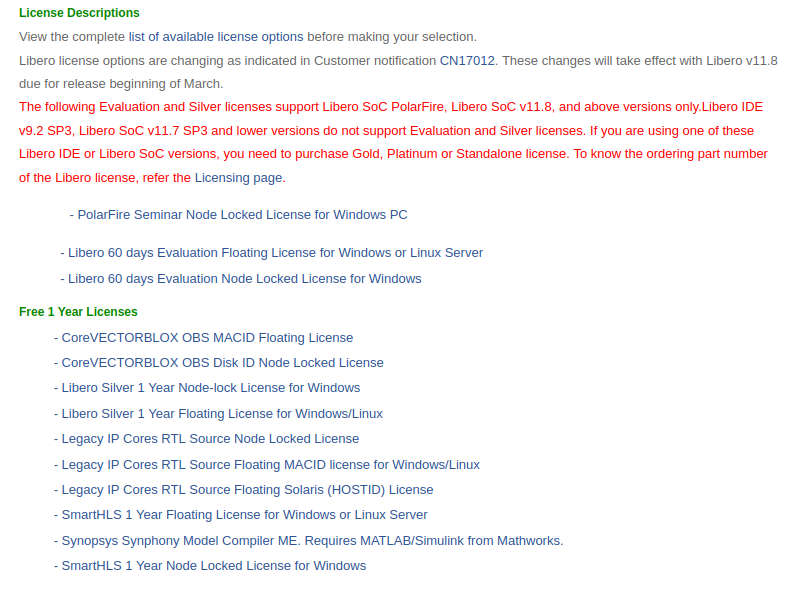 It’s a little confusing as there are a bunch of those, but considering I read I needed a Silver license for the board, and I’m running Linux, I went with a “Libero Silver 1 Year Floating License for Windows/Linux”. I was asked to enter the MAC address of the server, and then I got a confirm message:
 No need to wait for the license to arrive, we can carry on with the installation.
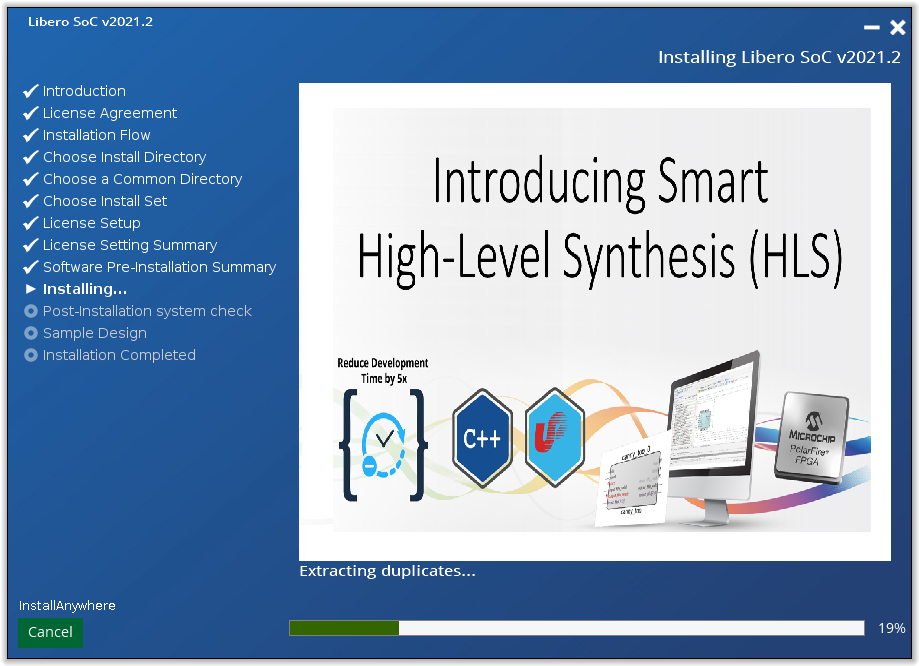 The software installation will already take a while (I think about one+ hour), and after it will check for the required packages, which will also take a while…
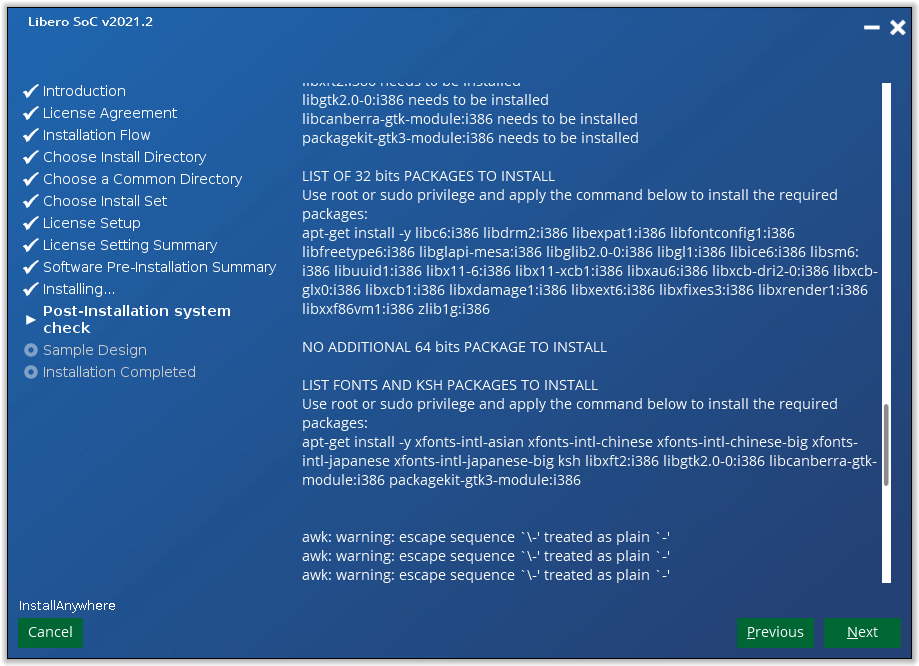
And I had to manually install some packages… Not sure why we have a graphical user interface, doing everything from the command line might be just as convenient…
Fir the 32-bit packages:
|
1 |
sudo apt install -y libc6:i386 libdrm2:i386 libexpat1:i386 libfontconfig1:i386 libfreetype6:i386 libglapi-mesa:i386 libglib2.0-0:i386 libgl1:i386 libice6:i386 libsm6:i386 libuuid1:i386 libx11-6:i386 libx11-xcb1:i386 libxau6:i386 libxcb-dri2-0:i386 libxcb-glx0:i386 libxcb1:i386 libxdamage1:i386 libxext6:i386 libxfixes3:i386 libxrender1:i386 libxxf86vm1:i386 zlib1g:i386 |
and then fonts and ksh packages:
|
1 2 3 4 5 |
sudo apt install -y xfonts-intl-asian xfonts-intl-chinese xfonts-intl-chinese-big xfonts-intl-japanese xfonts-intl-japanese-big ksh libxft2:i386 libgtk2.0-0:i386 libcanberra-gtk-module:i386 packagekit-gtk3-module:i386 Reading package lists... Done Building dependency tree Reading state information... Done E: Unable to locate package packagekit-gtk3-module:i386 |
There’s no i386 package for packagekit-gtk3-module, so I just installed the 64-bit one:
|
1 |
sudo apt install -y xfonts-intl-asian xfonts-intl-chinese xfonts-intl-chinese-big xfonts-intl-japanese xfonts-intl-japanese-big ksh libxft2:i386 libgtk2.0-0:i386 libcanberra-gtk-module:i386 packagekit-gtk3-module |
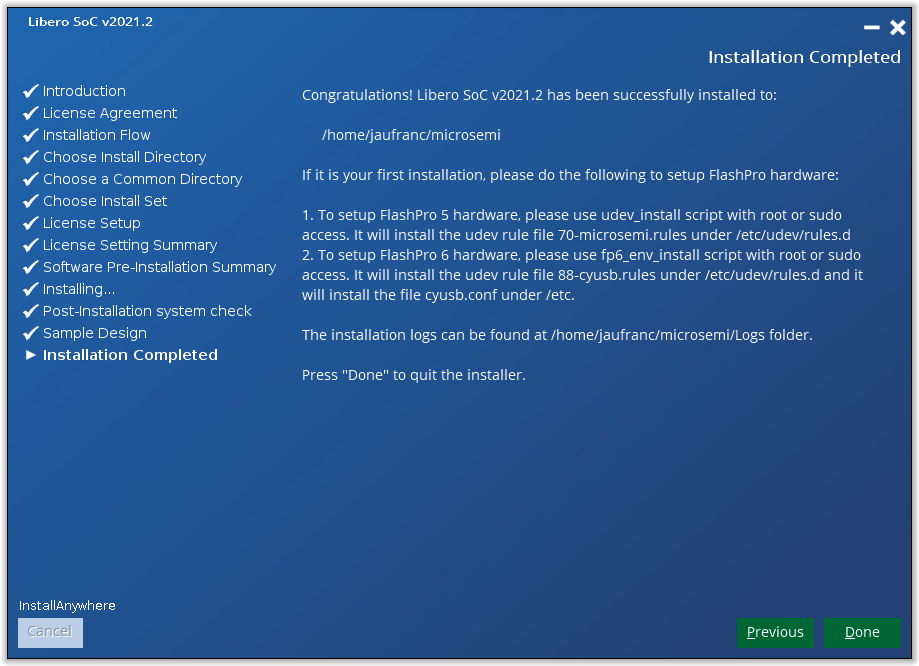
Then click on Next to continue.
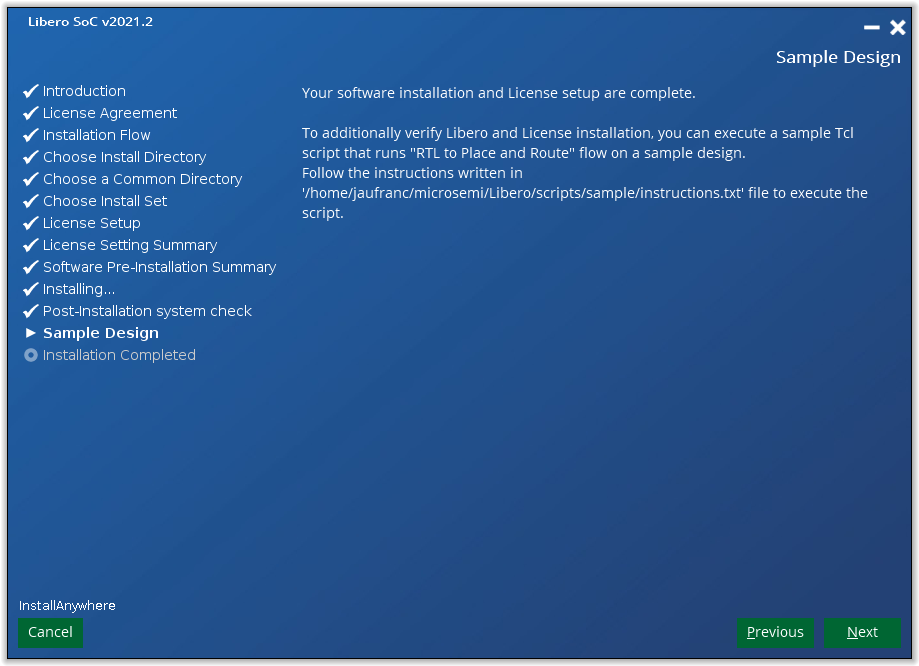
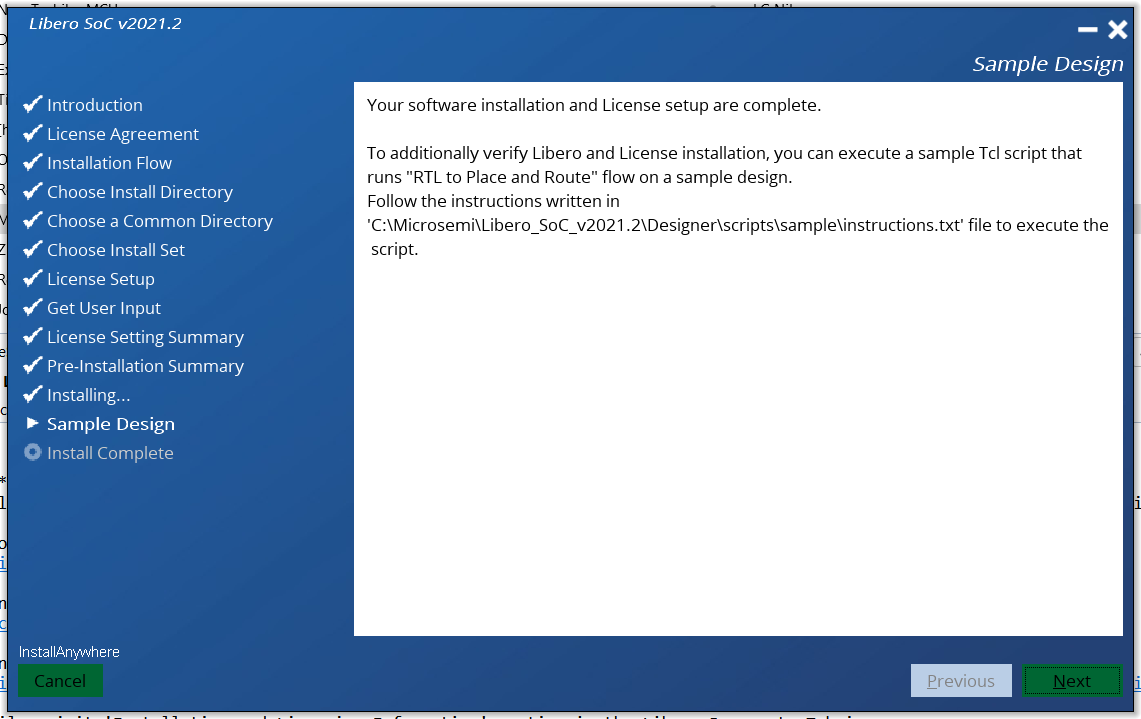
We have a link to some instructions to execute a sample scrip that may be good to try later on.
All good. I’ve also received a “Microsemi Libero Silver 1Yr Floating License for Windows/Linux Server License” in my email. I could not believe the step I had to go through:
- Save the License.dat file sent to my email. I did that in microsemi/license directory I created. That’s the easy part 🙂
- Download the required license manager daemons for Linux. Microsemi recommends placing these files into the same location as the License.dat file. So we have the following files in the license directory
1234567891011121314jaufranc@cnx-laptop-4:~/microsemi/license$ ls -ltotal 22988-rwxr-xr-x 1 jaufranc jaufranc 1258644 Dec 15 2018 actlmgrd-rw-rw-r-- 1 jaufranc jaufranc 7506 Oct 20 17:37 License.dat-rwxr-xr-x 1 jaufranc jaufranc 1149048 May 19 2020 lmdiag-rwxr-xr-x 1 jaufranc jaufranc 1149048 May 19 2020 lmdown-rwxr-xr-x 1 jaufranc jaufranc 1171800 May 19 2020 lmgrd-rwxr-xr-x 1 jaufranc jaufranc 1149048 May 19 2020 lmhostid-rwxr-xr-x 1 jaufranc jaufranc 1149048 May 19 2020 lmreread-rwxr-xr-x 1 jaufranc jaufranc 1149048 May 19 2020 lmutil-rwxr-xr-x 1 jaufranc jaufranc 3361324 Jul 30 2020 mgcld-rwxr-xr-x 1 jaufranc jaufranc 10117728 Nov 25 2020 snpslmd-rwxr-xr-x 1 jaufranc jaufranc 402432 Apr 23 2016 syncad-rwxr-xr-x 1 jaufranc jaufranc 1448880 Apr 23 2016 synplctyd - Open License.dat to edit the first line by replacing <put.hostname.here> with your machine hostname (locahost in my case)
- Libero Linux floating licenses include Libero, Synplify Pro ME, Identify ME, Synphony Model Compiler ME and ModelSim ME tools. Edit each VENDOR and DAEMON line with the correct path to each vendor daemon and then save the License.dat file. I just had three such lines so the top of my license file looks like:
1234SERVER localhost abcdefghijl 1702DAEMON actlmgrd ./actlmgrdDAEMON mgcld ./mgcldVENDOR snpslmd ./snpslmd - Run the following command to start the License Manager:
1<path_to_lmgrd>/lmgrd -c <path_to_License.dat/License.dat>
Or alternatively, if you prefer to have the License Manager output written to a Logfile, then run the following command at the command prompt:
1<path_to_lmgrd>/bin/lmgrd -c <path_to_License.dat>/License.dat -l <path_to_logfile>/license.log
In theory, I should be done, but running lmgrd command failed:
|
1 2 |
./lmgrd -c License.dat bash: ./lmgrd: No such file or directory |
Those license daemons are apparently common and apply to Keil MDK as well, and there’s a solution on Arm website. We can check libraries used by the utility with ldd:
|
1 2 3 4 5 6 7 8 9 |
$ ldd lmgrd linux-vdso.so.1 (0x00007ffdd3fea000) libpthread.so.0 => /lib/x86_64-linux-gnu/libpthread.so.0 (0x00007fc534d80000) libm.so.6 => /lib/x86_64-linux-gnu/libm.so.6 (0x00007fc534c31000) libgcc_s.so.1 => /lib/x86_64-linux-gnu/libgcc_s.so.1 (0x00007fc534c16000) libc.so.6 => /lib/x86_64-linux-gnu/libc.so.6 (0x00007fc534a24000) libdl.so.2 => /lib/x86_64-linux-gnu/libdl.so.2 (0x00007fc534a1e000) librt.so.1 => /lib/x86_64-linux-gnu/librt.so.1 (0x00007fc534a13000) /lib64/ld-lsb-x86-64.so.3 => /lib64/ld-linux-x86-64.so.2 (0x00007fc534dcd000) |
And there’s a missing library:
|
1 2 |
$ ls /lib64/ld-linux-x86-64.so.3 ls: cannot access '/lib64/ld-linux-x86-64.so.3': No such file or directory |
and we are advised to install lsb:
|
1 |
sudo apt install lsb |
It did not work immediately, but a couple of minutes later, I could progress:
|
1 2 3 |
17:57:08 (snpslmd) Can't make directory /usr/tmp/.flexlm, errno: 2(No such file or directory) 17:57:08 (snpslmd) Can't make directory /usr/tmp/.flexlm, errno: 2(No such file or directory) 17:57:08 (snpslmd) Can't make directory /usr/tmp/.flexlm, errno: 2(No such file or directory) |
Nice! Another error. I tried to run the program as root, but it is not recommended either for security reasons, and it did not work either. The solution is just to create the directory and make it writeable to the user.
|
1 2 |
sudo mkdir -p /usr/tmp sudo chown -R jaufranc.jaufranc /usr/tmp |
I still did not work properly because I had launched lmgrd several times, and other instances were still running taking port 1702. So I killed all lmgrd processes, and gave it a final try which appeared to work. The log is long so I posted it to CNX Pastebin.
Let’s start Libero SoC program to see if it is working…
|
1 2 3 |
/home/jaufranc/microsemi/Libero/bin/libero Gtk-Message: 20:03:11.684: Failed to load module "appmenu-gtk-module" Gtk-Message: 20:03:11.759: Failed to load module "pk-gtk-module" |
After high CPU usage for a couple of minutes, and then nothing. I was then told to open a ticket with Microchip support. The good news is that I got an answer pretty fast:
Libero 12.4 and later is supported only in Ubuntu 18.04, no other version.
Identify and Modelsim ME Pro do not directly support the Ubuntu platform.
(mentioned in libero release note)
But obviously, it was not the answer I hoped for, and indeed looking at page 28 of the release notes, we can see the list of supported operating systems:
- Windows 10 OS
- Red Hat Enterprise Linux 7.2-7.6 and Red Hat Enterprise Linux 8.x
- CentOS 7.2-7.6
- OpenSUSE Leap 42.3 (SLES 12.3 equivalent)
- Ubuntu 18.04 (Identify and Modelsim ME Pro do not directly support the Ubuntu platform. FlashPro5 programmer is not supported with Ubuntu. The Job Manager tool is not supported.)
At this point, I noticed somebody posted instructions to install Libero SoC 2021.v1 on Ubuntu 20.04. I tried it, but it would not work for me either.
There are a few features not working on Ubuntu 18.04. I first thought about installing Ubuntu 18.04 in VirtualBox, but the minimum requirements to use Libero SoC including having 16GB RAM, and my PC only has 16 GB RAM, so a virtual machine would have less than that. The next option would be to install Ubuntu 18.04 on a USB drive, but seeing some features are not supported, I decided to switch my current internal HDD with one with Windows 10 to keep things safe, and avoid wasting even more time.
Libero SoC Design Suite installation in Windows 10
And you wonder why people want open-source tools! Anyway… Let’s try again with Windows 10…
There are two download options:
Site 1: Download Libero SoC v2021.2 (Windows) (small EXE, Web Install*)
MD5: a5df01a7199c076cd9c954e952b006f2
sha256sum: ff0ddcd9c64b86a34e243df92651352d158d4aa436fbddb828f690af050c91c8
* Instructions for Installation:†Ensure that you have at least 25GB free on your hard drive.
Download Libero_SoC_v2021.2_Web.exe from the above path to temp directory.
Execute Libero_SoC_v2021.2_Web.exe file as admin and follow instructionsSite 2: Download Libero SoC v2021.2 (Windows)
MD5: 1ac4e3e5d70adfa3269c26cebb7b7b4b
sha256sum: a3ca9527d72764a0d58d3c7627ef6dc029799ba460873f04f52eb0191dd39336
Instructions for Installation†Ensure that you have at least 25GB free on your hard drive.
Copy Libero_SoC_v2021.2_win.zip from the above path to a temp directory.
Extract the zip file to a temp folder.
Execute “Libero_SoC_v2021.2.lnk” shortcut and follow installation instructions.
I went with the Web install.
The procedure is basically the same as under Ubuntu, except we don’t need to manually install libraries, and I skipped the license applications since I already have one. It took little under two hours to complete.
My Silver license is valid for both Linux and Windows, so I did not apply for another one, although a node-locked license should also be an option in Windows, and could be easier to set up. So let’s carry on with the floating license in Windows.
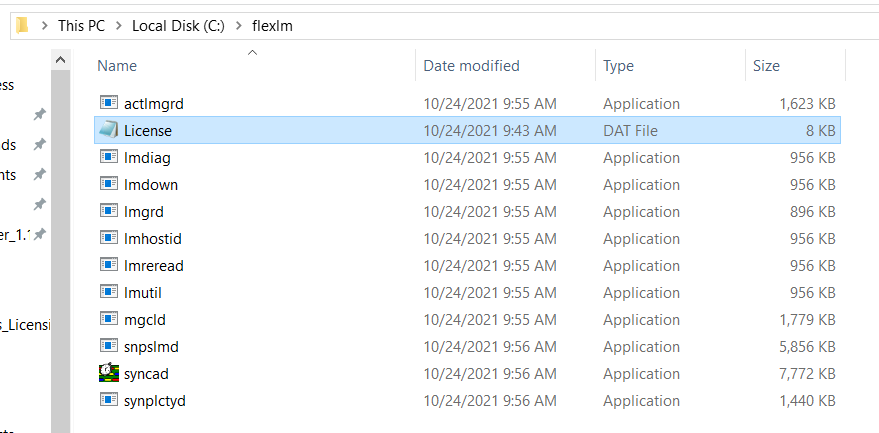
Again I had to save Licence.dat, and download the daemons for Windows. I saved everything in the C:\flexlm directory as per the instructions.
Since I’m using a server license I need localhost in Windows. Techwalla has the instructions, so I enabled the “Internet Information Services” in Turn Windows Features On and Off section of the Control Panel. While I had the documentation open I also edited the first four lines of License.dat with the server name (localhost) and the correct path to the daemon just like we did in Linux:
|
1 2 3 4 |
SERVER localhost acbcdefghjik 1702 DAEMON actlmgrd C:\flexlm\actlmgrd DAEMON mgcld C:\flexlm\mgcld VENDOR snpslmd C:\flexlm\snpslmd |
Then rebooted the computer to enable the “Internet Information Services” I’ve just installed…

…and ran the following command to start the license manager:
|
1 |
C:/flexlm/lmgrd -c C:/flexlm/License.dat |
I will start 5 additional terminals, one for each daemon part of the Flexera licensing system.
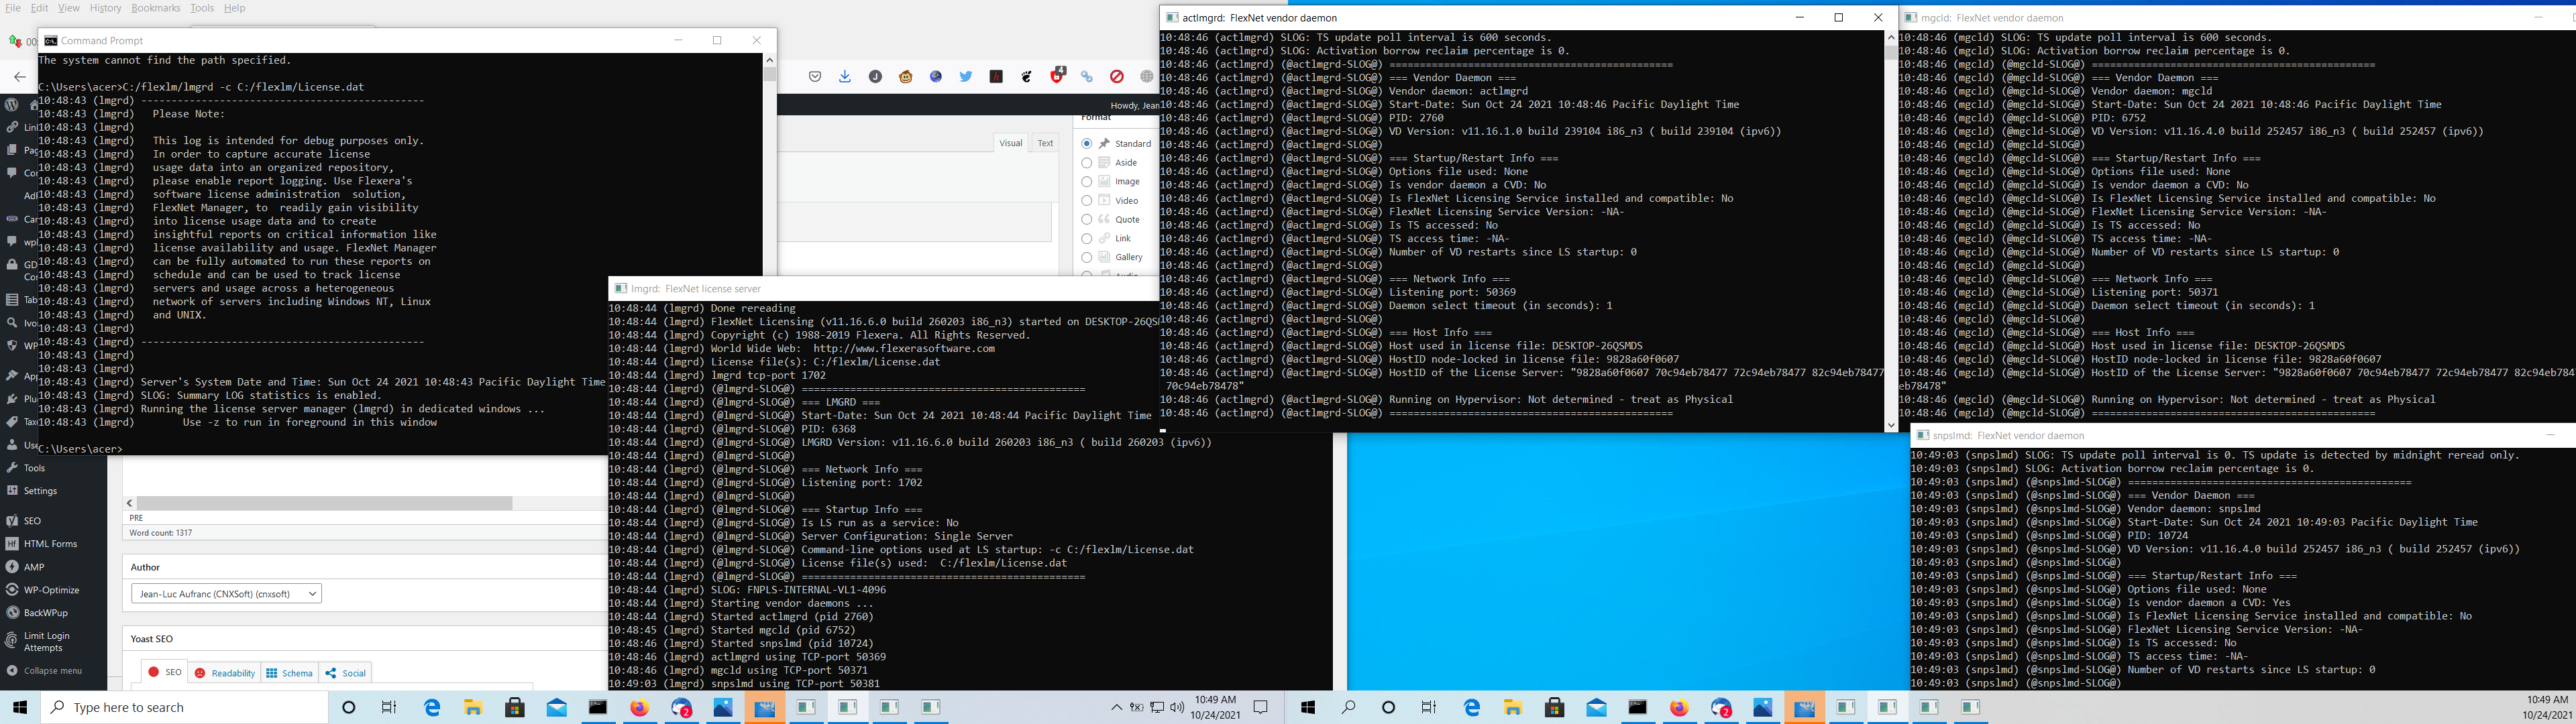
I can not see any obvious error messages, so I’ll try to start Libero SoC.
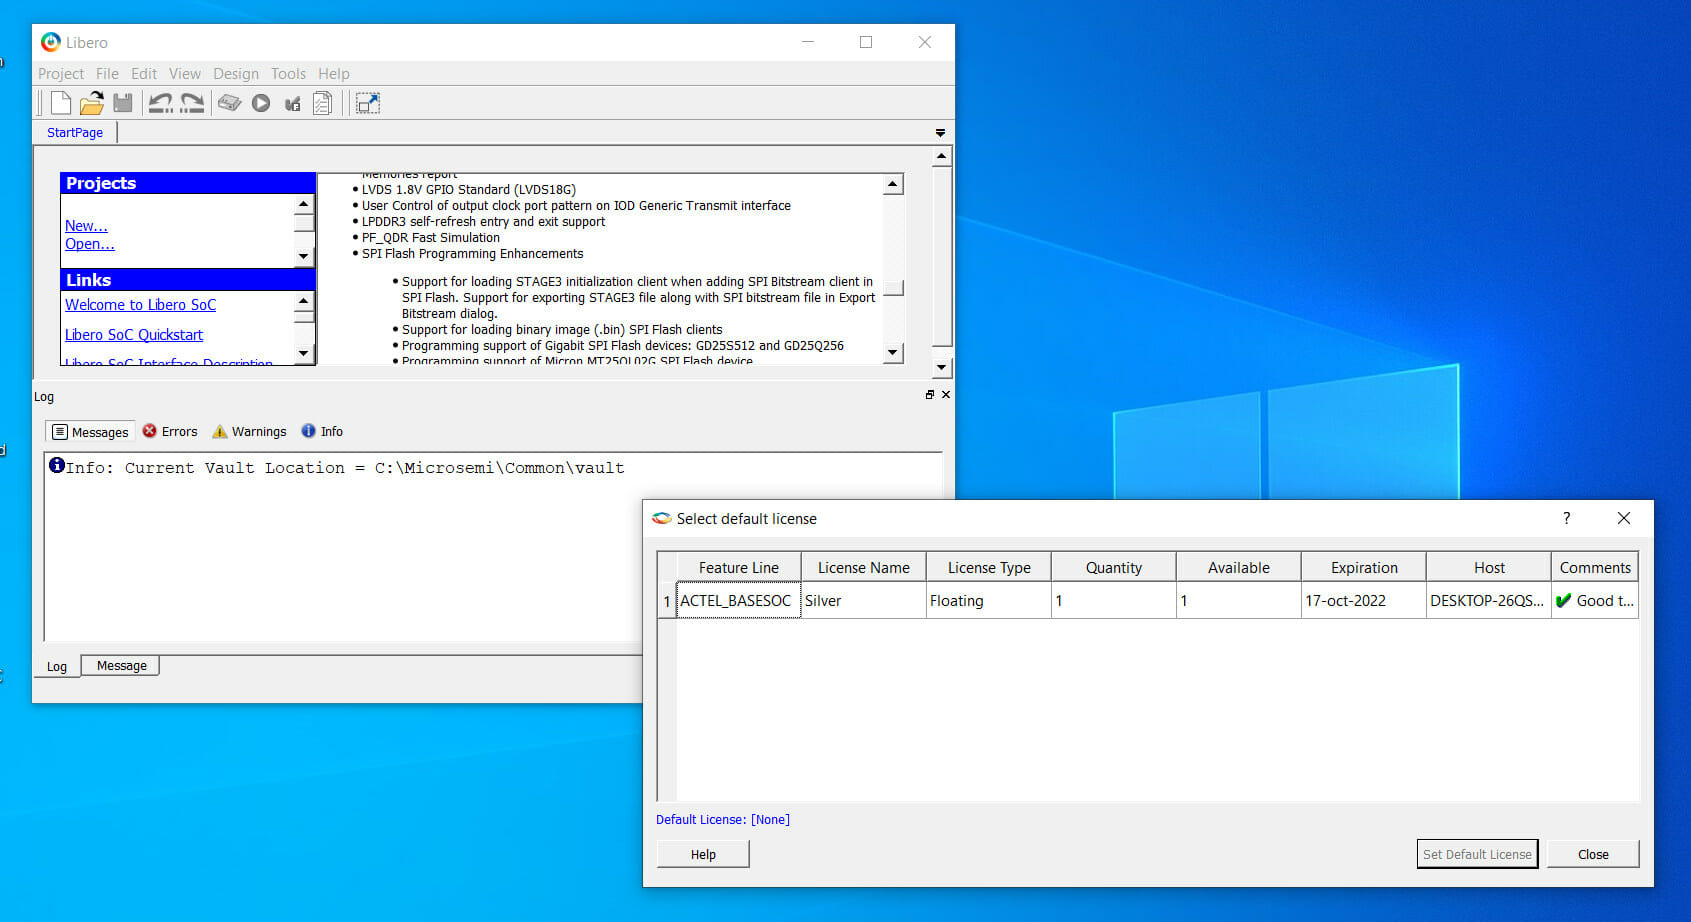
Oh my god! It looks like it’s working! I think I’m going to cry! 😉 I easily spent over 10 hours installing Libero SoC… Time for a celebratory drink! I think I’ll take a break for a while, as I have to study to find out how to actually use it, and I’ve got some other hardware needing some love, so I’ll try to actually synthesize a bitstream for the FPGA sometimes next month.

Jean-Luc started CNX Software in 2010 as a part-time endeavor, before quitting his job as a software engineering manager, and starting to write daily news, and reviews full time later in 2011.
Support CNX Software! Donate via cryptocurrencies, become a Patron on Patreon, or purchase goods on Amazon or Aliexpress


I’d really like to say that this is a unique experience that you’ve just lived through, but I can’t honestly say that as pretty much every commercial program with a license manager has been just like this going back to the early 90’s when I was a sysadmin. Nothing seems to have changed.
You have my condolences.
It’s the typical for most FPGA toolchains, though this is on the higher end of, “annoying,” compared to where Xilinx and Intel have brought their tools. It’s still GIGS of downloads, etc.
There was a RISC-V core design challenge in which I got a free Microsemi FPGA board to participate with. I ended up giving up when I had to try and install Libero SOC, so I never even started the challenge because of it.
Finally, I don’t think I’m going to go ahead with Libero SoC. Documentation is really poor, I’d have to read hundreds of pages to understand the flow of programming, and it would probably take me around 40 hours to come up with something that works.