How to Install Bitwarden Password Manager on Debian 11
Bitwarden is a free and open-source password manager that stores website credentials in an encrypted vault. It allows you to store all of your login credentials and keep them synced between all of your devices. It is designed for individuals, teams, and business organizations to manage their credentials from a centralized location. Bitwarden provides a client application for Desktop PC as well as, smartphones and tablets. It also provides a password generator for generating strong and secure passwords.
In this post, we will show you how to install the Bitwarden password manager on Debian 11.
Prerequisites
- A server running Ubuntu 20.04.
- A root password is configured on the server.
Install Docker and Docker Compose
Bitwarden provides a free version that you can install with Docker. By default, the latest version of Docker is not included in the Debian 11 default repository. So you will need to install it from Docker's official repository.
First, install all required dependencies using the following command:
apt-get install apt-transport-https ca-certificates curl gnupg-agent software-properties-common
Once all the dependencies are installed, download and add the GPG key with the following command:
curl -fsSL https://download.docker.com/linux/debian/gpg | gpg --dearmor -o /usr/share/keyrings/docker-archive-keyring.gpg
Next, add the Docker CE repository to the APT using the following command:
echo "deb [arch=amd64 signed-by=/usr/share/keyrings/docker-archive-keyring.gpg] https://download.docker.com/linux/debian $(lsb_release -cs) stable" | tee /etc/apt/sources.list.d/docker.list
Next, update the repository and install the Docker CE with the following command:
apt-get update -y
apt-get install docker-ce docker-ce-cli containerd.io -y
Once the installation has been completed, you can verify the Docker CE version using the following command:
docker --version
You will get the following output:
Docker version 20.10.9, build c2ea9bc
You can also check the status of the Docker with the following command:
systemctl status docker
You should see the following output:
? docker.service - Docker Application Container Engine
     Loaded: loaded (/lib/systemd/system/docker.service; enabled; vendor preset: enabled)
     Active: active (running) since Sat 2021-10-25 09:33:15 UTC; 14min ago
TriggeredBy: ? docker.socket
       Docs: https://docs.docker.com
   Main PID: 11656 (dockerd)
      Tasks: 29
     Memory: 1.0G
     CGroup: /system.slice/docker.service
             ??11656 /usr/bin/dockerd -H fd:// --containerd=/run/containerd/containerd.sock
             ??27717 /usr/bin/docker-proxy -proto tcp -host-ip 0.0.0.0 -host-port 80 -container-ip 172.18.0.5 -container-port 8052

Oct 25 09:33:14 ubuntu2004 dockerd[11656]: time="2021-10-03T09:33:14.865741428Z" level=info msg="Default bridge (docker0) is assigned with an >
Oct 25 09:33:14 ubuntu2004 dockerd[11656]: time="2021-10-03T09:33:14.951326143Z" level=info msg="Loading containers: done."
Oct 25 09:33:14 ubuntu2004 dockerd[11656]: time="2021-10-03T09:33:14.974570590Z" level=info msg="Docker daemon" commit=4484c46d9d graphdriver(>
Oct 25 09:33:14 ubuntu2004 dockerd[11656]: time="2021-10-03T09:33:14.974729712Z" level=info msg="Daemon has completed initialization"
Oct 25 09:33:15 ubuntu2004 dockerd[11656]: time="2021-10-03T09:33:15.030128906Z" level=info msg="API listen on /run/docker.sock"
Oct 25 09:33:15 ubuntu2004 systemd[1]: Started Docker Application Container Engine.
Oct 25 09:45:52 ubuntu2004 dockerd[11656]: time="2021-10-03T09:45:52.583474433Z" level=info msg="ignoring event" module=libcontainerd namespac>
Oct 25 09:45:52 ubuntu2004 dockerd[11656]: time="2021-10-03T09:45:52.619380786Z" level=info msg="ignoring event" module=libcontainerd namespac>
Oct 25 09:45:52 ubuntu2004 dockerd[11656]: time="2021-10-03T09:45:52.635359740Z" level=info msg="ignoring event" module=libcontainerd namespac>
Oct 25 09:45:52 ubuntu2004 dockerd[11656]: time="2021-10-03T09:45:52.637507396Z" level=info msg="ignoring event" module=libcontainerd namespac
Next, download the latest version of Docker Composer with the following command:
wget https://github.com/docker/compose/releases/download/v2.0.1/docker-compose-linux-x86_64
Next, copy the downloaded binary to the system path using the following command:
mv docker-compose-linux-x86_64 /usr/bin/docker-compose
Next, set the execution permission to the Docker Compose binary:
chmod 755 /usr/bin/docker-compose
Install Bitwarden on Debian 11
First, go to the Bitwarden website and provide your email address as shown below:
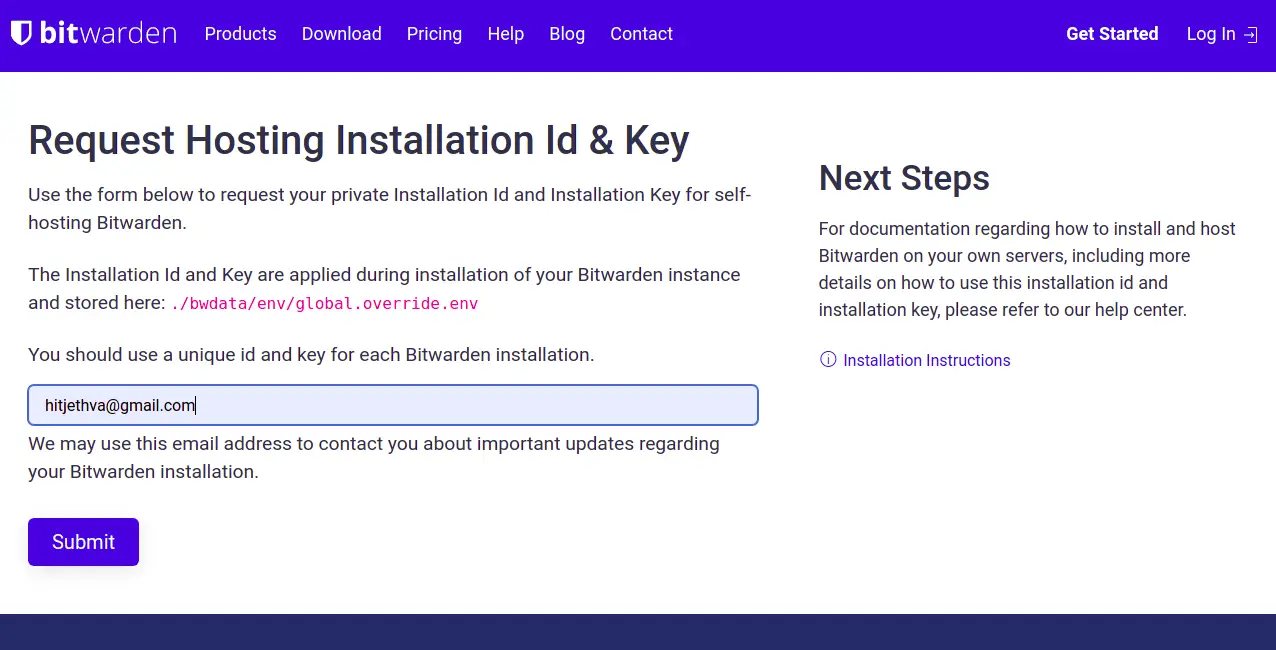
Next, click on the submit button. You will get the installation id and key on the following screen. Note them down as you need them later during install.
Now, download the Bitwarden installation script using the following command:
curl -Lso bitwarden.sh https://go.btwrdn.co/bw-sh
Once the script is downloaded, set the execution permission with the following command:
chmod +x bitwarden.sh
Next, start the installation using the following command:
./bitwarden.sh install
You will be asked to provide your domain name or IP address and vault as shown below:
 _     _ _                         _
| |__ (_) |___      ____ _ _ __ __| | ___ _ __
| '_ \| | __\ \ /\ / / _` | '__/ _` |/ _ \ '_ \
| |_) | | |_ \ V  V / (_| | | | (_| |  __/ | | |
|_.__/|_|\__| \_/\_/ \__,_|_|  \__,_|\___|_| |_|

Open source password management solutions
Copyright 2015-2021, 8bit Solutions LLC
https://bitwarden.com, https://github.com/bitwarden

===================================================

bitwarden.sh version 1.43.0
Docker version 20.10.9, build c2ea9bc
docker-compose version 1.25.0, build unknown

(!) Enter the domain name for your Bitwarden instance (ex. bitwarden.example.com): 69.28.84.207

(!) Do you want to use Let's Encrypt to generate a free SSL certificate? (y/n): n

(!) Enter the database name for your Bitwarden instance (ex. vault): vault
Provide all required information then press Enter. You will be asked to provide your installation id and key as shown below:
Digest: sha256:29bd0777de8b902bd26a67f74c832c8032f1bea41e716277a98f7d439a8f2912
Status: Downloaded newer image for bitwarden/setup:1.43.0
docker.io/bitwarden/setup:1.43.0

(!) Enter your installation id (get at https://bitwarden.com/host): xxxxxxx-xxxxxx-xxxx-xxxx-xxxxxxxxxx

(!) Enter your installation key: xxxxxxxxxxx

(!) Do you have a SSL certificate to use? (y/n): n

(!) Do you want to generate a self-signed SSL certificate? (y/n): y
Provide all required information then hit the Enter to start the installation. Once the installation has been finished, you will get the following output:
Generating self signed SSL certificate.
Generating a RSA private key
.....++++
...........................................................................................................................++++
writing new private key to '/bitwarden/ssl/self/69.28.84.207/private.key'
-----
Generating key for IdentityServer.
Generating a RSA private key
........................................................................................................................................................................++++
..............................................................................................................++++
writing new private key to 'identity.key'
-----

!!!!!!!!!! WARNING !!!!!!!!!!
You are using an untrusted SSL certificate. This certificate will not be
trusted by Bitwarden client applications. You must add this certificate to
the trusted store on each device or else you will receive errors when trying
to connect to your installation.

Building nginx config.
Building docker environment files.
Building docker environment override files.
Building FIDO U2F app id.
Building docker-compose.yml.

Installation complete

If you need to make additional configuration changes, you can modify
the settings in `./bwdata/config.yml` and then run:
`./bitwarden.sh rebuild` or `./bitwarden.sh update`

Next steps, run:
`./bitwarden.sh start`
Next, start the Bitwarden using the following command:
./bitwarden.sh start
You will get the following output:
 _     _ _                         _
| |__ (_) |___      ____ _ _ __ __| | ___ _ __
| '_ \| | __\ \ /\ / / _` | '__/ _` |/ _ \ '_ \
| |_) | | |_ \ V  V / (_| | | | (_| |  __/ | | |
|_.__/|_|\__| \_/\_/ \__,_|_|  \__,_|\___|_| |_|

Open source password management solutions
Copyright 2015-2021, 8bit Solutions LLC
https://bitwarden.com, https://github.com/bitwarden

===================================================

bitwarden.sh version 1.43.0
Docker version 20.10.9, build c2ea9bc
docker-compose version 1.25.0, build unknown

Pulling mssql         ... done
Pulling web           ... done
Pulling attachments   ... done
Pulling api           ... done
Pulling identity      ... done
Pulling sso           ... done
Pulling admin         ... done
Pulling portal        ... done
Pulling icons         ... done
Pulling notifications ... done
Pulling events        ... done
Pulling nginx         ... done

Creating network "docker_default" with the default driver
Creating network "docker_public" with the default driver
Creating bitwarden-web           ... done
Creating bitwarden-mssql         ... done
Creating bitwarden-sso           ... done
Creating bitwarden-icons         ... done
Creating bitwarden-attachments   ... done
Creating bitwarden-identity      ... done
Creating bitwarden-notifications ... done
Creating bitwarden-api           ... done
Creating bitwarden-events        ... done
Creating bitwarden-admin         ... done
Creating bitwarden-portal        ... done
Creating bitwarden-nginx         ... done
1.43.0: Pulling from bitwarden/setup
Digest: sha256:29bd0777de8b902bd26a67f74c832c8032f1bea41e716277a98f7d439a8f2912
Status: Image is up to date for bitwarden/setup:1.43.0
docker.io/bitwarden/setup:1.43.0


Bitwarden is up and running!
===================================================

visit https://69.28.84.207
to update, run `./bitwarden.sh updateself` and then `./bitwarden.sh update`
Once you are finished, you can proceed to the next step.
Access Bitwarden Web Interface
Now, open your web browser and access the Bitwarden web interface using the URL https://your-server-ip. You will get the following page:
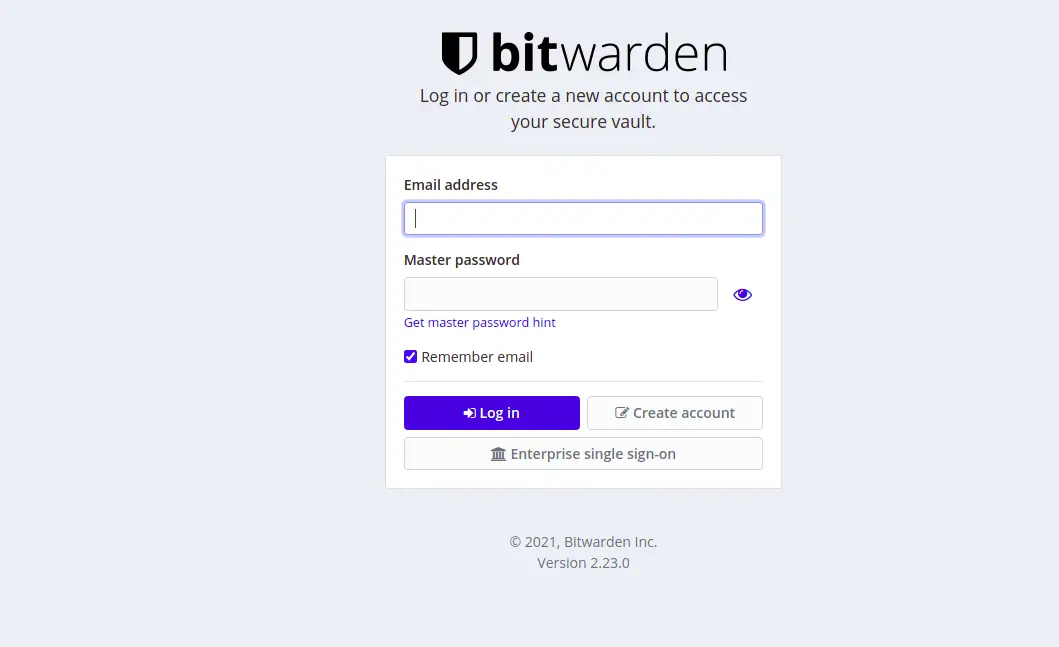
Click on the Create Account button. You will get the following page:
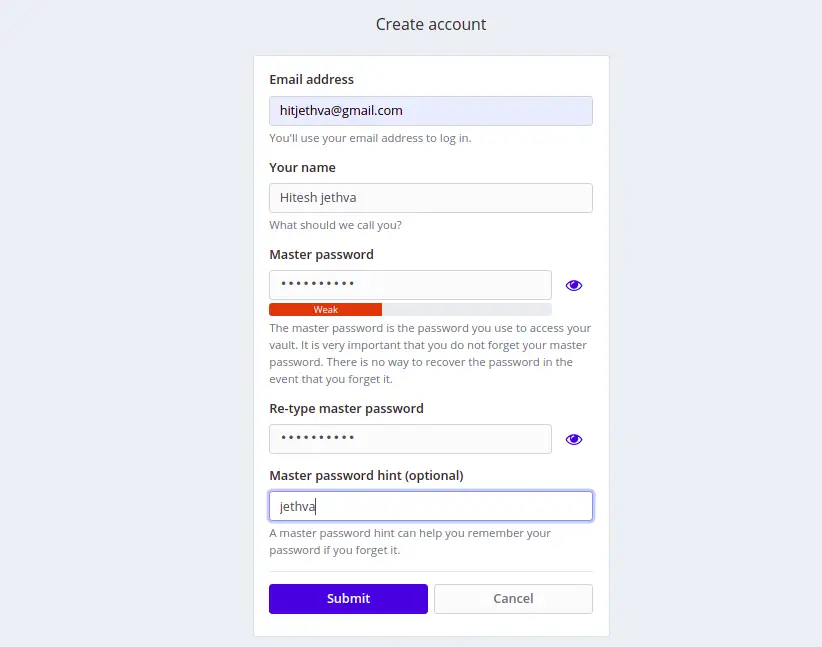
Provide your email, name, master password and click on the Submit button. You will get the Bitwarden login screen:
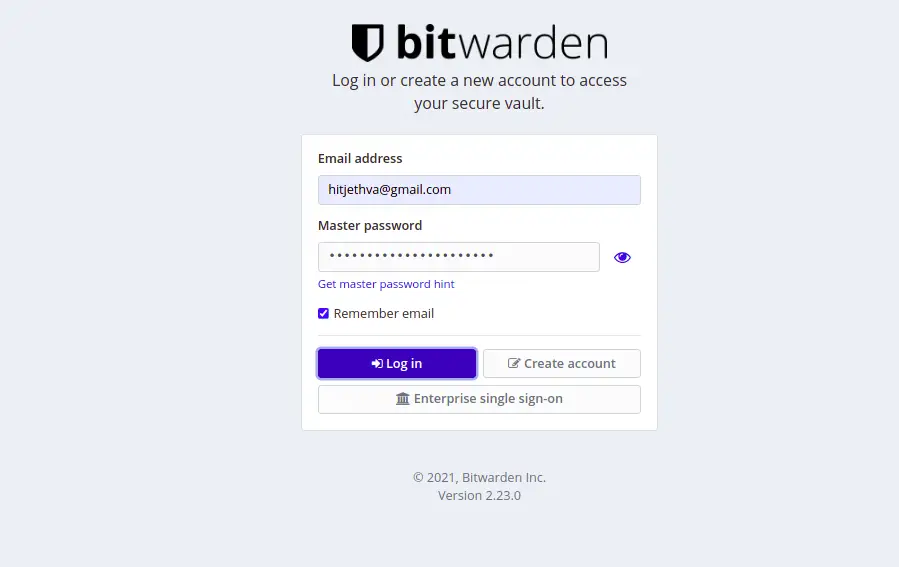
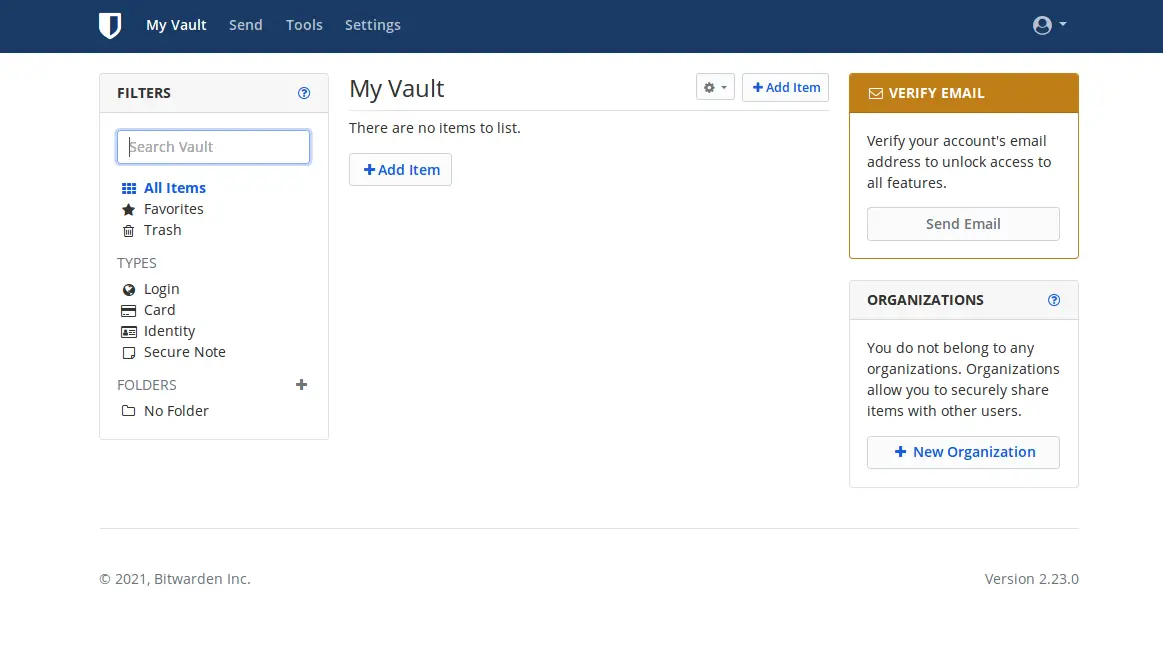
Provide your email address, password and click on the Login button. You should see the Bitwarden dashboard on the following page:
Conclusion
Congratulations! you have successfully installed Bitwarden password manager on Debian 11. You can now implement this solution in your organization and start managing all credentials from the central location. Feel free to ask me if you have any questions.

