How to create a VPC using Python Boto3 on Ubuntu
Boto3 is the Amazon Web Services (AWS) SDK for Python. It is the Python library that allows users or developers to create, configure, and manage AWS services and resources. Boto3 provides an API for AWS services that can be used to manage AWS services and resources such as EC2, RDS, S3, etc.
To learn more about Boto3, you can visit its official site here.
Before we continue, I assume that you are familiar with VPC. If not, you can click here to learn how to create a VPC from the AWS console.
In this article, we will see how to install the Boto3 library and use it to create a simple VPC together with its dependent components in AWS. We will create a public subnet in the VPC.
Pre-requisites
- AWS Account (Create if you don’t have one)
- Basic understanding of VPC
- Basic understanding of Python
- Python available on the system
What we will do
- Install Boto3
- Know the required method
- Create a VPC using Python Boto3
Install Boto3
Python comes by default in Ubuntu 18.04 Server, so you do not need to install it.
To check the Python version on your system, use the following command.
which python
/usr/bin/python --version
OR
python --version

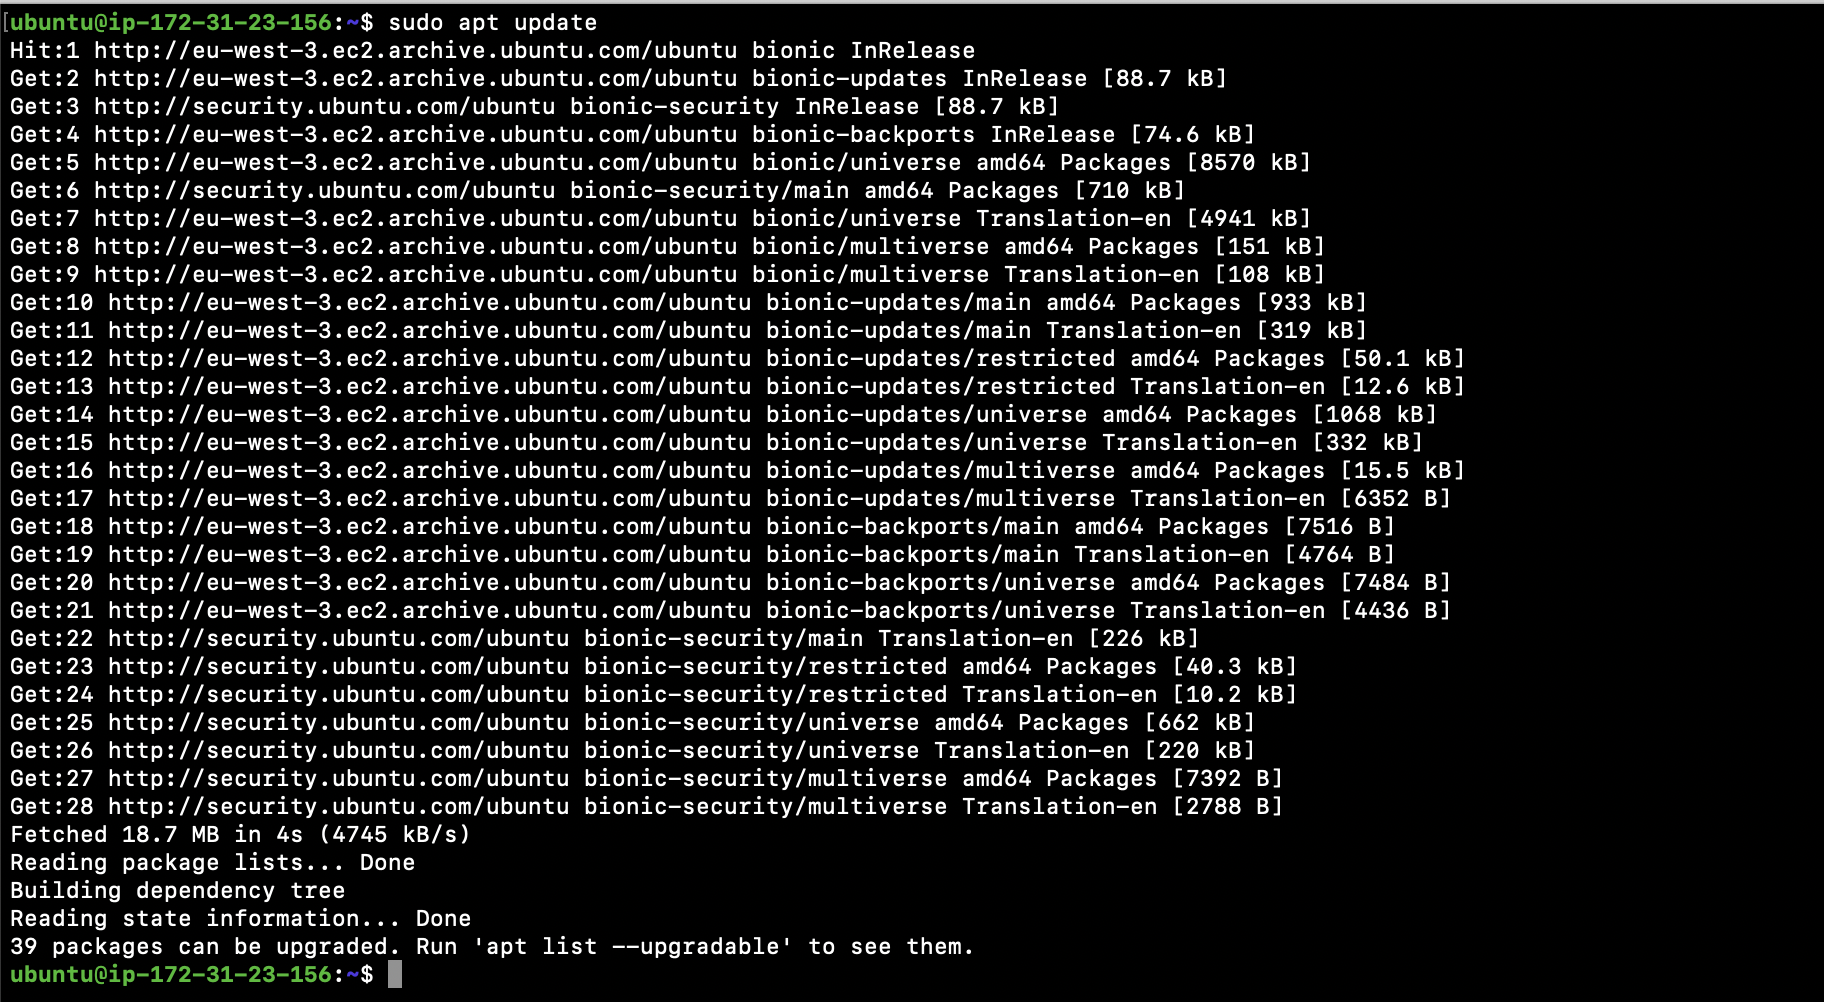
If you do not have pip and you are using Ubuntu 18.04, execute the following command to first update the local repo.
sudo apt update
To install pip use the following command
sudo apt install python-pip

To check the version of Pip installed, execute the following command.
pip --version

Once you have python and pip, you can install Boto3.
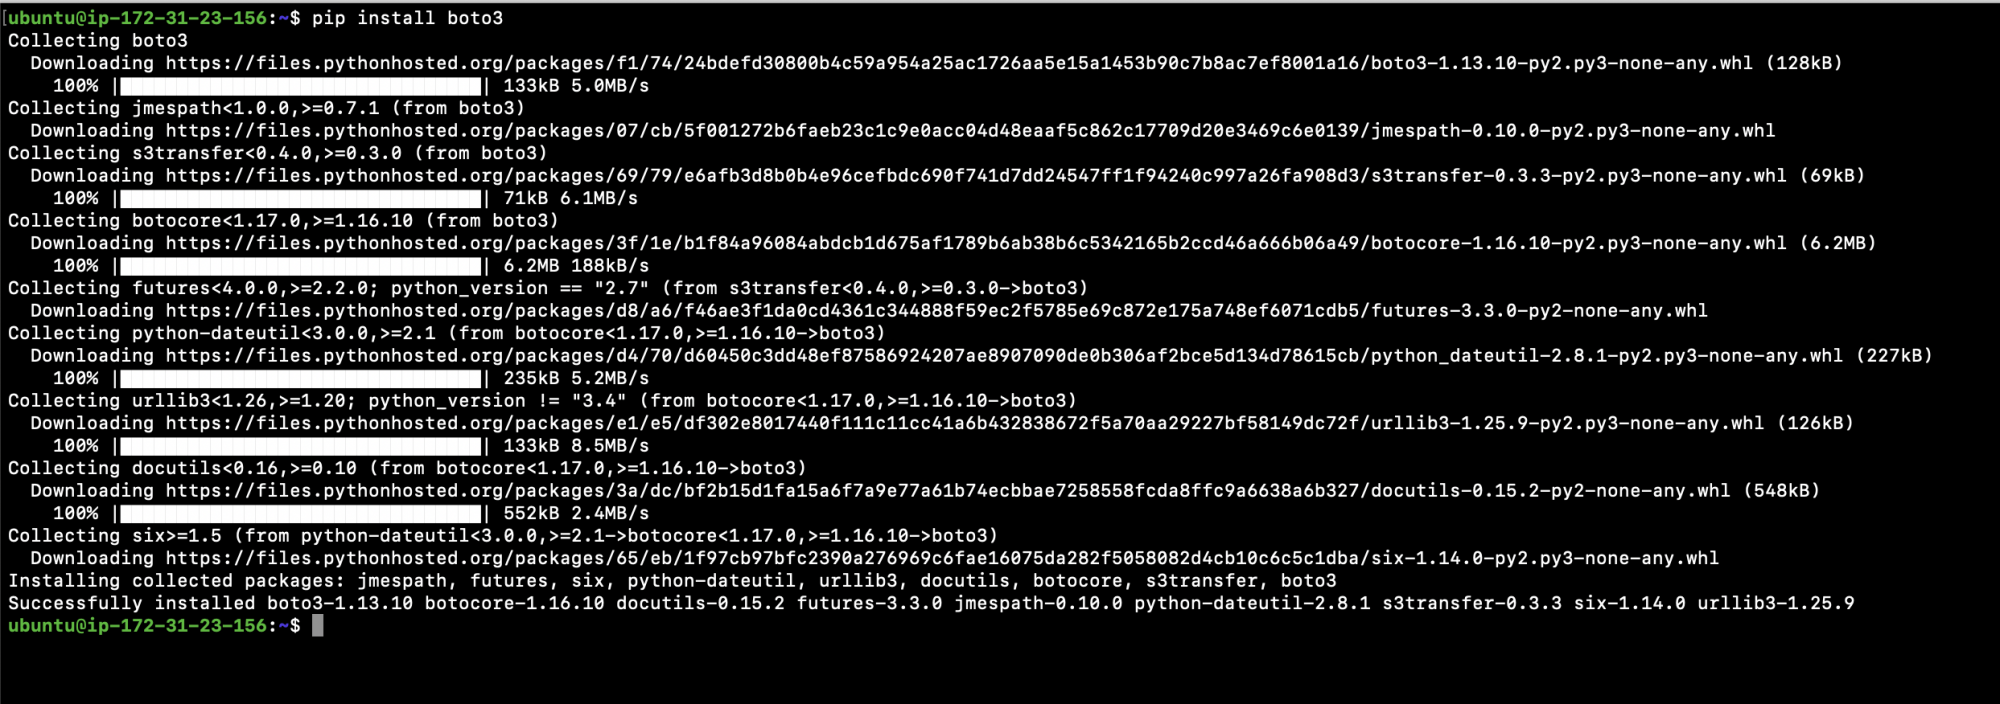
Installing Boto3 is very simple and straight. To install Boto3 use the following command.
pip install boto3
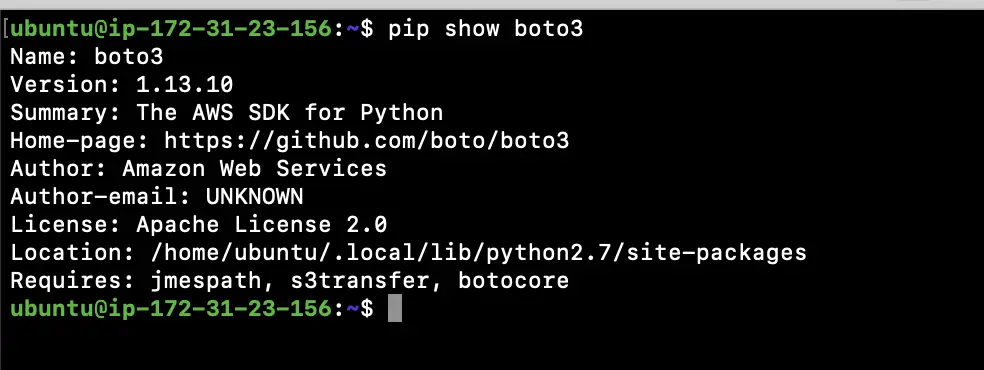
To check if the Boto3 is installed and to check its version, execute the following command.
pip show boto3
Know the required methods
To create a VPC and its dependent components we will use the following methods.
- create_vpc
- create_route_table
- create_internet_gateway
- create_subnet
- associate_with_subnet
Now, let's see the methods with their list of acceptable parameters. We shall not use all parameters but you can give it a try if you want.
Request Syntax of create_vpc method
response = client.create_vpc(
    CidrBlock='string',
    AmazonProvidedIpv6CidrBlock=True|False,
    Ipv6Pool='string',
    Ipv6CidrBlock='string',
    DryRun=True|False,
    InstanceTenancy='default'|'dedicated'|'host',
    Ipv6CidrBlockNetworkBorderGroup='string'
)
- CidrBlock: The IPv4 network range for the VPC, in CIDR notation. This is a mandatory field and a VPC can not be created without this.
Request Syntax of create_route_table method
route_table = ec2.create_route_table(
    DryRun=True|False,
    VpcId='string'
)
- VpcId: The ID of the VPC. This is a mandatory field and used to create a Route Table in the Specified VPC
Request Syntax of create_internet_gateway method
response = client.create_internet_gateway(
    DryRun=True|False
)
Every VPC has a single Internet Gateway. This will be attache with the VPC
Request Syntax of create_subnet method
subnet = ec2.create_subnet(
    AvailabilityZone='string',
    AvailabilityZoneId='string',
    CidrBlock='string',
    Ipv6CidrBlock='string',
    OutpostArn='string',
    VpcId='string',
    DryRun=True|False
)
- CidrBlock: The IPv4 network range for the subnet, in CIDR notation. This is used to Subdivide the VPC.
- VpcId: The ID of the VPC.
Request Syntax of associate_with_subnet method
route_table_association = route_table.associate_with_subnet(
    DryRun=True|False,
    SubnetId='string',
    GatewayId='string'
)
- SubnetId: The ID of the subnet.
Or - GatewayId: The ID of the internet gateway or virtual private gateway.
Create a VPC using Python Boto3
To create a VPC, create "vpc.py" with the following block of code.
Make sure you change the value of "aws_access_key_id_value" and "aws_secret_access_key_value" with your own access_key_id and access_key_value respectively. Also change the value of "region_name".
If you want you can change the values of CidrBlock for "create_vpc" and "create_subnet" or you can keep as is.
vim vpc.py
import boto3

ec2 = boto3.resource('ec2', aws_access_key_id='ACCESS-KEY-OF-THE-AWS-ACCOUNT',
                     aws_secret_access_key='SECRETE-KEY-OF-THE-AWS-ACCOUNT',
                     region_name='AWS-Region')

vpc = ec2.create_vpc(CidrBlock='192.168.0.0/16')
# Assign a name to the VPC
vpc.create_tags(Tags=[{"Key": "Name", "Value": "my_vpc"}])
vpc.wait_until_available()
print(vpc.id)

# Create and Attach the Internet Gateway
ig = ec2.create_internet_gateway()
vpc.attach_internet_gateway(InternetGatewayId=ig.id)
print(ig.id)

# Create a route table and a public route to Internet Gateway
route_table = vpc.create_route_table()
route = route_table.create_route(
    DestinationCidrBlock='0.0.0.0/0',
    GatewayId=ig.id
)
print(route_table.id)

# Create a Subnet
subnet = ec2.create_subnet(CidrBlock='192.168.1.0/24', VpcId=vpc.id)
print(subnet.id)

# associate the route table with the subnet
route_table.associate_with_subnet(SubnetId=subnet.id)

Now, to create a VPC with the above specified configuration, execute the python script using the following command.
python vpc.py

You can verify if the VPC has been created from the AWS Console.
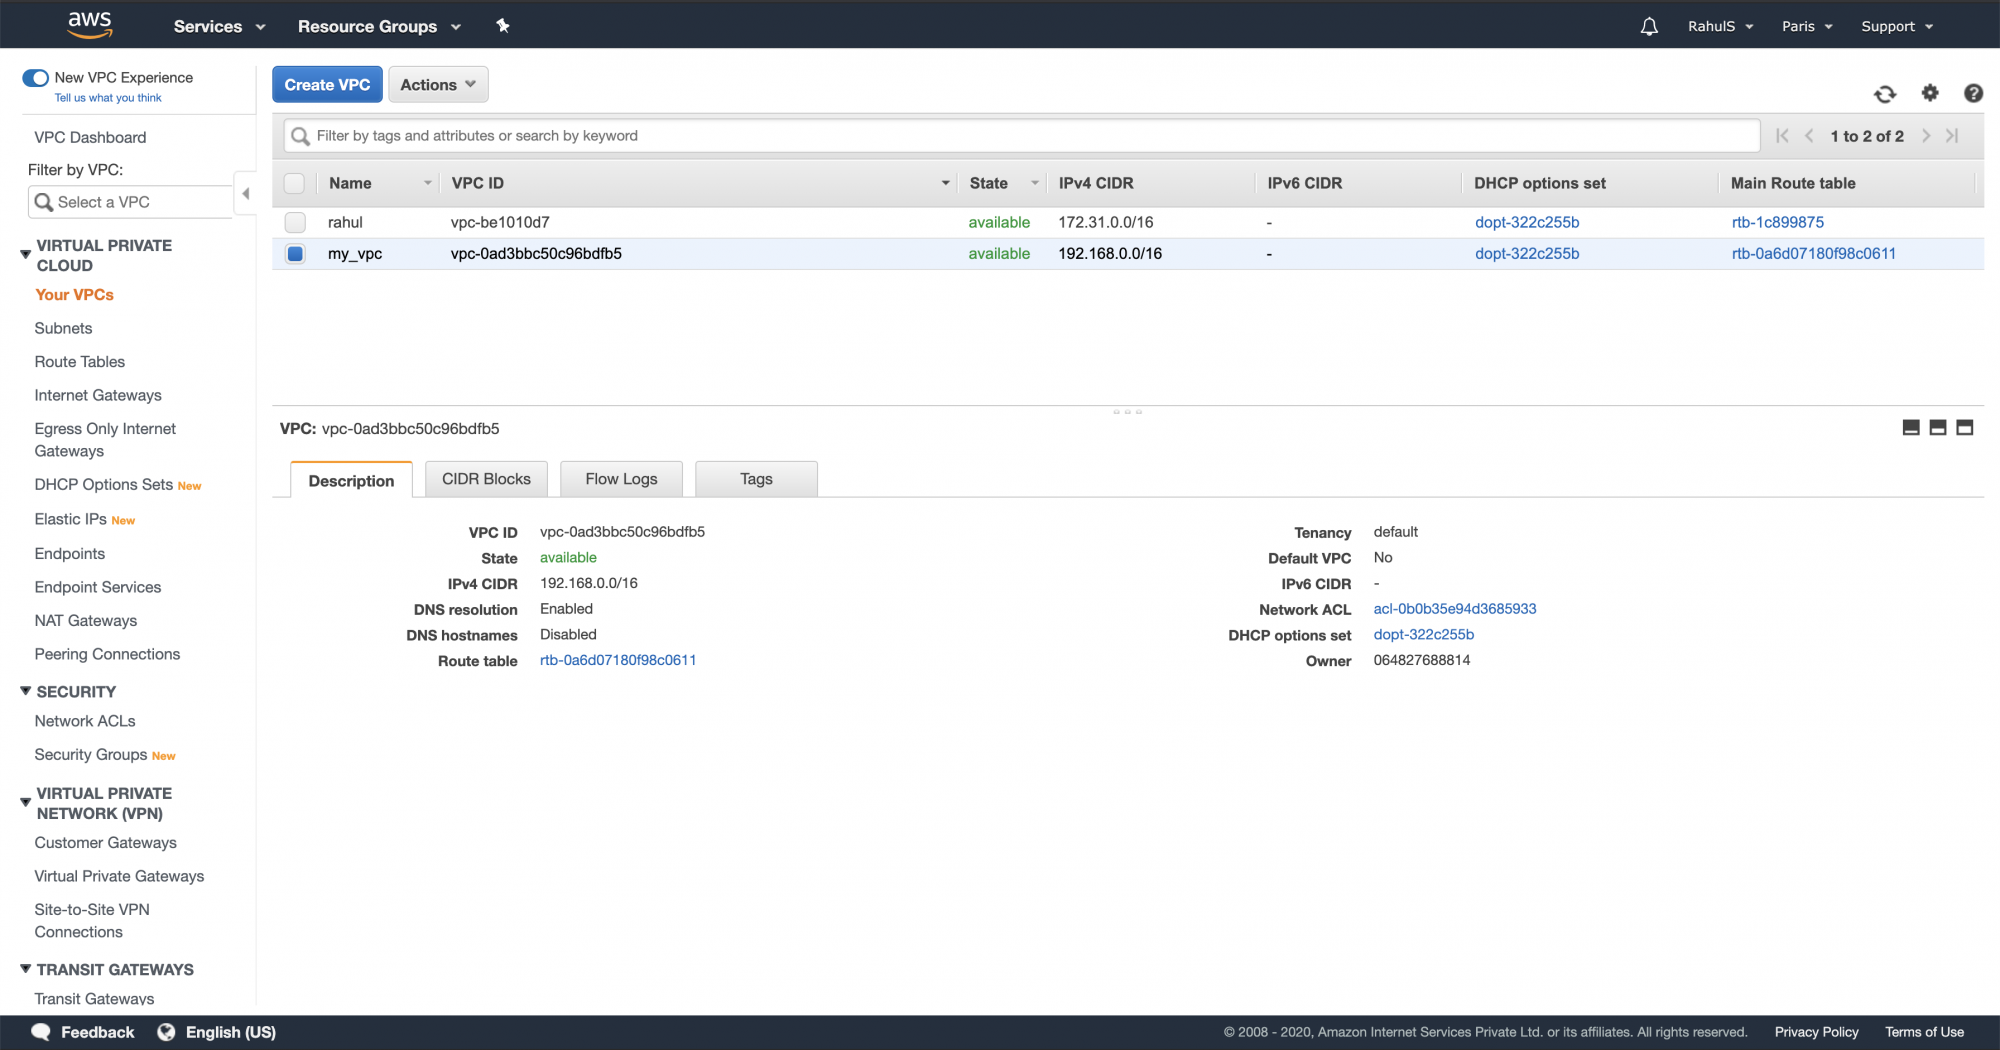
In the above screenshot, you can see that the VPC with the specified CIDR and Name has been created. You can check for components like Subnet, Internet Gateway, Route Table.
Conclusion
In this article, we saw how to create a VPC with Public Subnet. We created a Route Table, Internet Gateway, Subnet in the VPC. We saw how a subnet can be associated with the Route Table which has a Public route to an Internet Gateway. You can now customize this code and create a VPC with multiple subnets, associate them with Route Table and have Public or Private Subnets as per your requirement. To create a Private Subnet, you would need to create a Nat Gateway and associate it with the Subnet. This association will then make the Subnet Private with an outgoing connection to the Internet.

