Web applications have gained wide popularity over the past few years as a means of providing services to different clients. With a web application, you can reach out to a wider audience regardless of the device or operating system they are using.
Being able to install and configure a web server is a valuable skill to have both as a web developer and software engineer. A web server is a program responsible for delivering your web content to clients over the internet or a network.
Let's take a look at how to install and configure the Nginx web server on Ubuntu.
Why Use Nginx?
Nginx is a lightweight and high-performance web server that can run on both Windows and Linux. Apart from being a web server, Nginx is also extensively used as a reverse proxy server and mail proxy server. Note that Nginx is pronounced as "engine x."
As a reverse proxy server, you configure Nginx to route traffic from a specified port to some application running on the server. The Nginx reverse proxy provides an extra layer of security as it checks and filters the traffic before hitting the server.
Nginx runs as a service or daemon on a server and can be easily managed by service managers such as systemctl on Linux. Last but not least, Nginx is well documented and enjoys enormous community support.
How to Install Nginx Server on Ubuntu
For the purpose of this guide, we'll demonstrate how you can install the Nginx server on a Linux machine running Ubuntu.
Step 1: Installing Security Prerequisites
If you are installing Nginx on a secure server then it is important that you install these prerequisites to ensure that your installation is secure and you are getting stable versions of the programs.
First, update your system's package list.
sudo apt update
Install gnupg2 for a secure communication channel when downloading the application.
sudo apt install curl gnupg2 ca-certificates lsb-release ubuntu-keyring
Next, you should get the official signing key from Nginx to verify the authenticity of the package.
curl https://nginx.org/keys/nginx_signing.key | gpg --dearmor | sudo tee /usr/share/keyrings/nginx-archive-keyring.gpg >/dev/null
Now, verify that the imported file contains the proper key by running:
gpg --dry-run --quiet --import --import-options import-show /usr/share/keyrings/nginx-archive-keyring.gpg
The output should contain the fingerprint as shown below.
573BFD6B3D8FBC641079A6ABABF5BD827BD9BF62
Register and set up the Nginx repository on your system to get stable packages, which is important for production and secure environments.
echo "deb [signed-by=/usr/share/keyrings/nginx-archive-keyring.gpg] http://nginx.org/packages/ubuntu `lsb_release -cs` nginx" | sudo tee /etc/apt/sources.list.d/nginx.list
Step 2: Installing Nginx
The next step is to install the Nginx server. Remember to update your package sources before downloading new packages.
sudo apt update
Installing the Nginx server is pretty straightforward. Simply run the following command:
sudo apt install nginx
Nginx in Action
The default page served by Nginx is stored in the directory /usr/share/nginx/html. You can place your static web pages either in this location or another location of your choice and configure a virtual host.
A virtual host allows you to serve multiple web pages on the same server hardware or infrastructure.
You can check the status of the Nginx server using the following command:
sudo systemctl status nginx
The output here shows that the Nginx daemon is active and running. If it is not active, start it by issuing the following command:
sudo systemctl start nginx
If you make some configuration changes to Nginx, you can restart the server using the systemctl command as follows:
sudo systemctl restart nginx
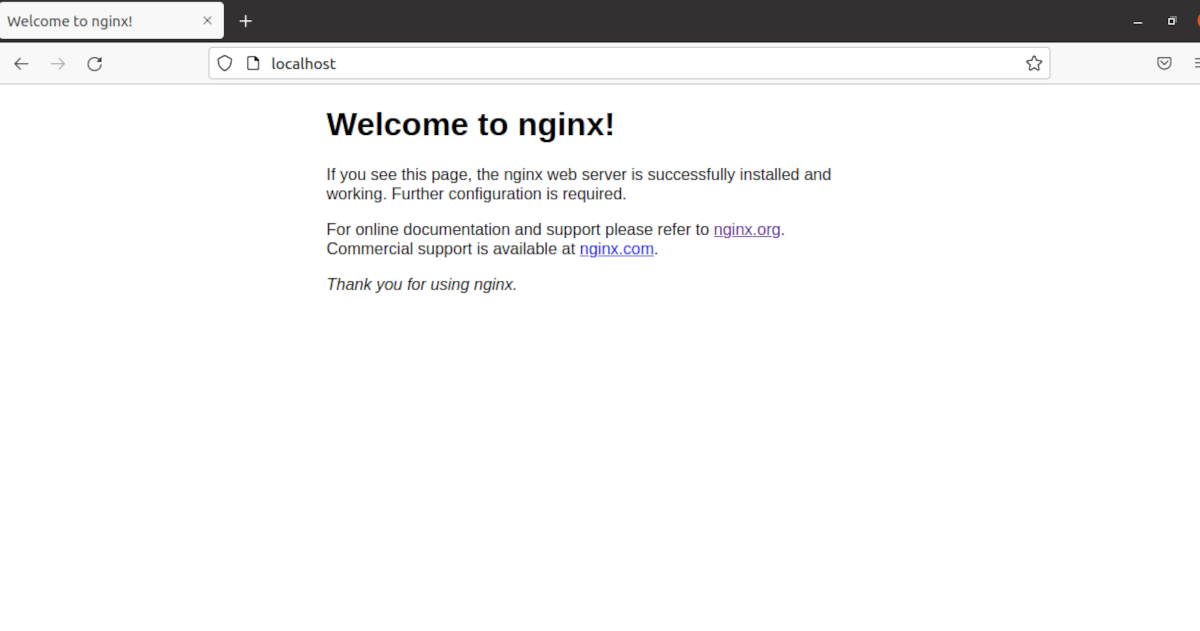
To serve the default Nginx webpage, open the URL http://localhost:80 in a web browser. You will be greeted by a page similar to the one below.
Learn How to Develop Web Apps
Congratulations, you've successfully installed and configured Nginx. This guide has looked at how to install and configure a web server on Ubuntu. In addition, we discussed how you can manage the Nginx server daemon using systemctl.
The demand for web developers has never been this huge, and it shows no signs of slowing down anytime soon. Start your web development journey by learning the basics of HTML today.


