How to create a Virtual Machine scale set on Azure
An Azure Scale Set helps to create and manage a group of identical, load-balanced Virtual Machines. The number of Virtual Machines belonging to the scale set can grow and shrink automatically based on the load. This helps to have high availability for our applications deployed in Virtual Machines.
Scale set improves the performance of the applications, it distributes the applications all over multiple instances. These Virtual Machines can be accessed through the Load Balancer.
Using Scale Set, we can easily create and manage multiple VMs. It provides high availability of the applications.
To know more about Scale Set, click here
In this article, we will see the steps to create a simple Scale Set having a minimum of 2 Virtual Machines in it.
Pre-requisites
- Azure Account (Create if you don’t have one).
What will we do?
- Login to Azure.
- Create a Scale Set
Login to Azure
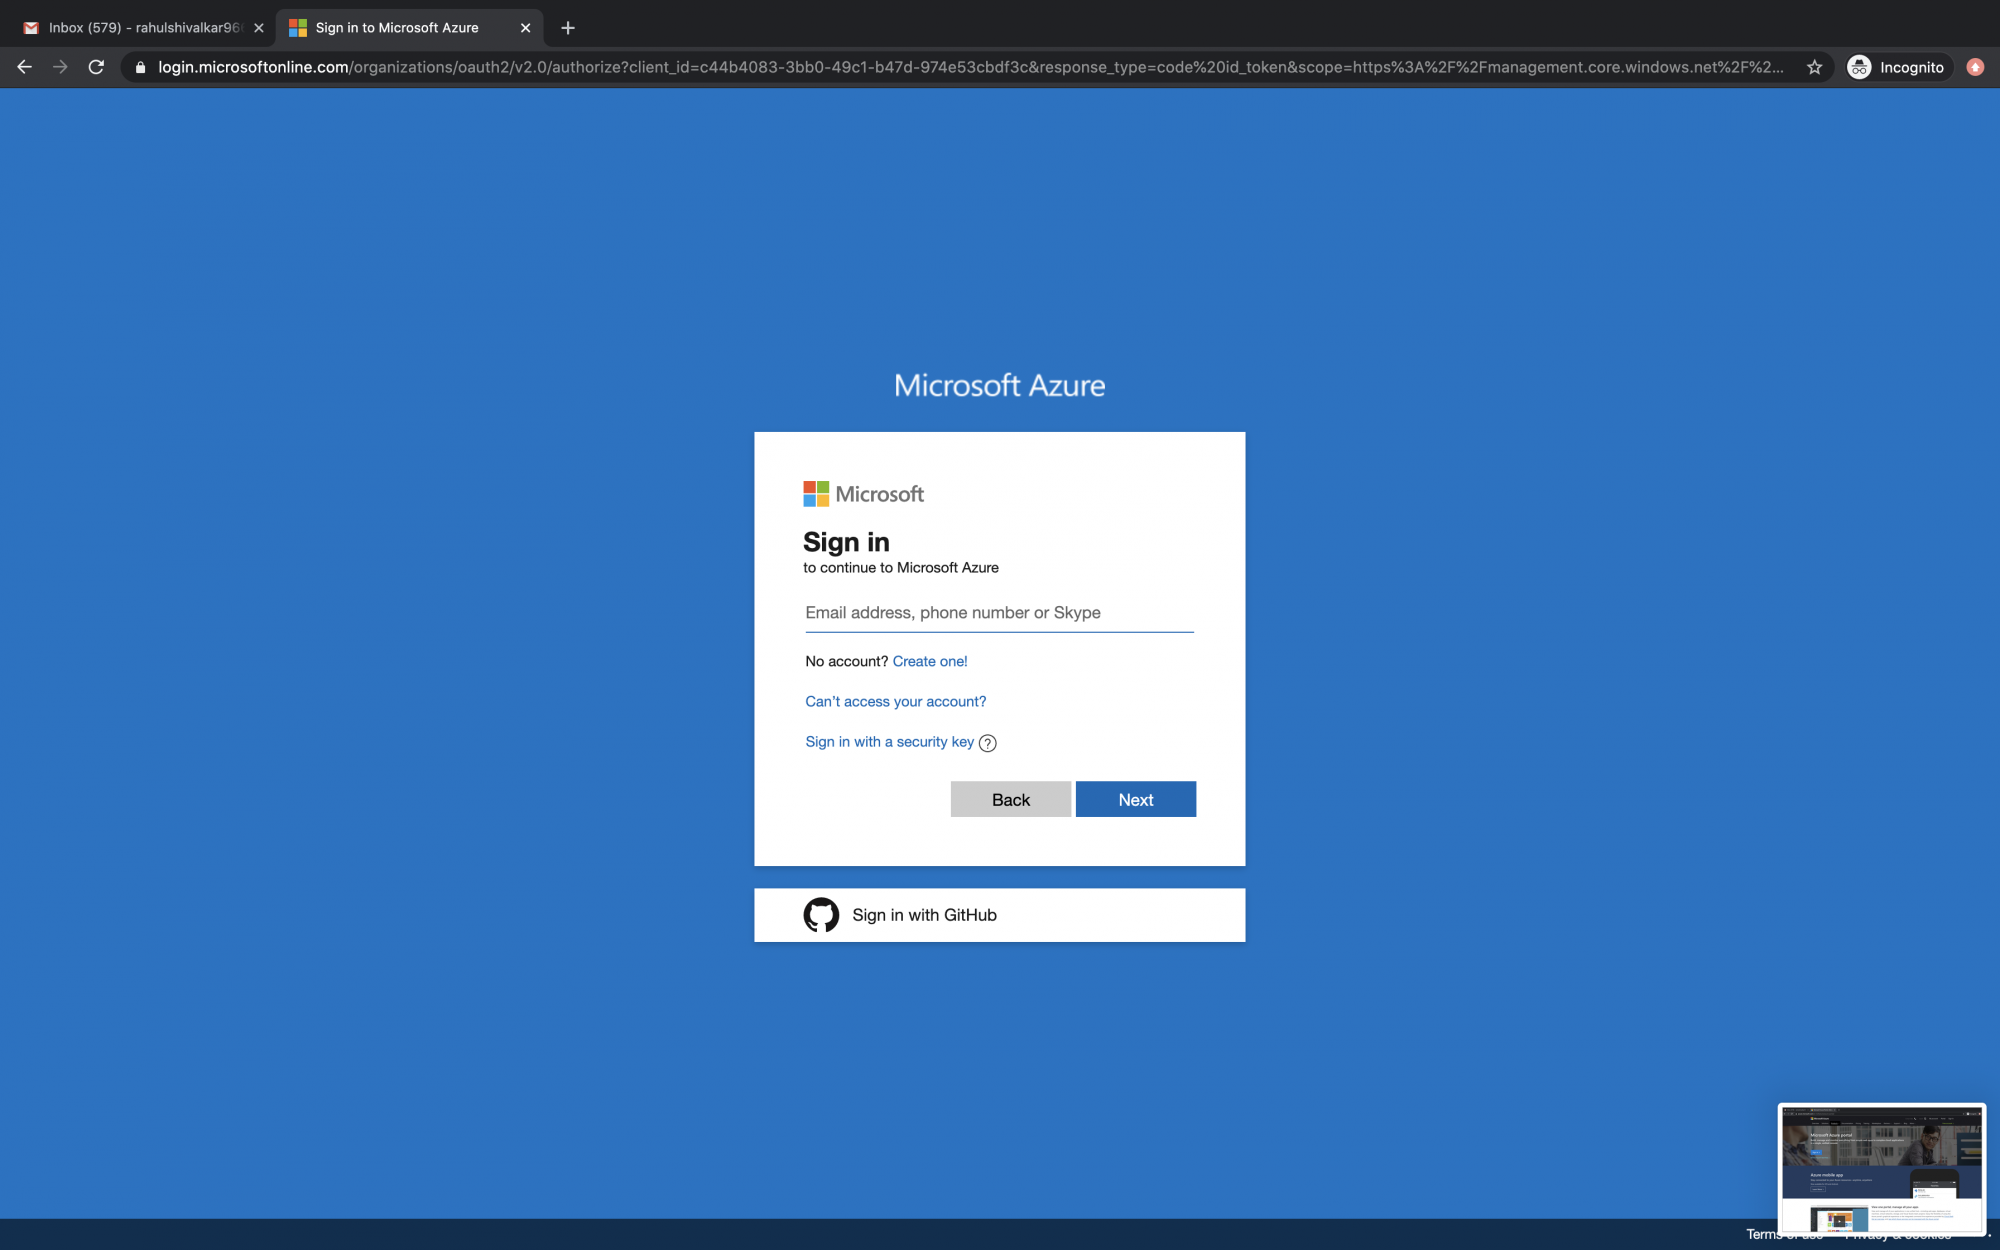
Click here to go Azure portal and click on Portal.

Use your credentials to log in to the account.
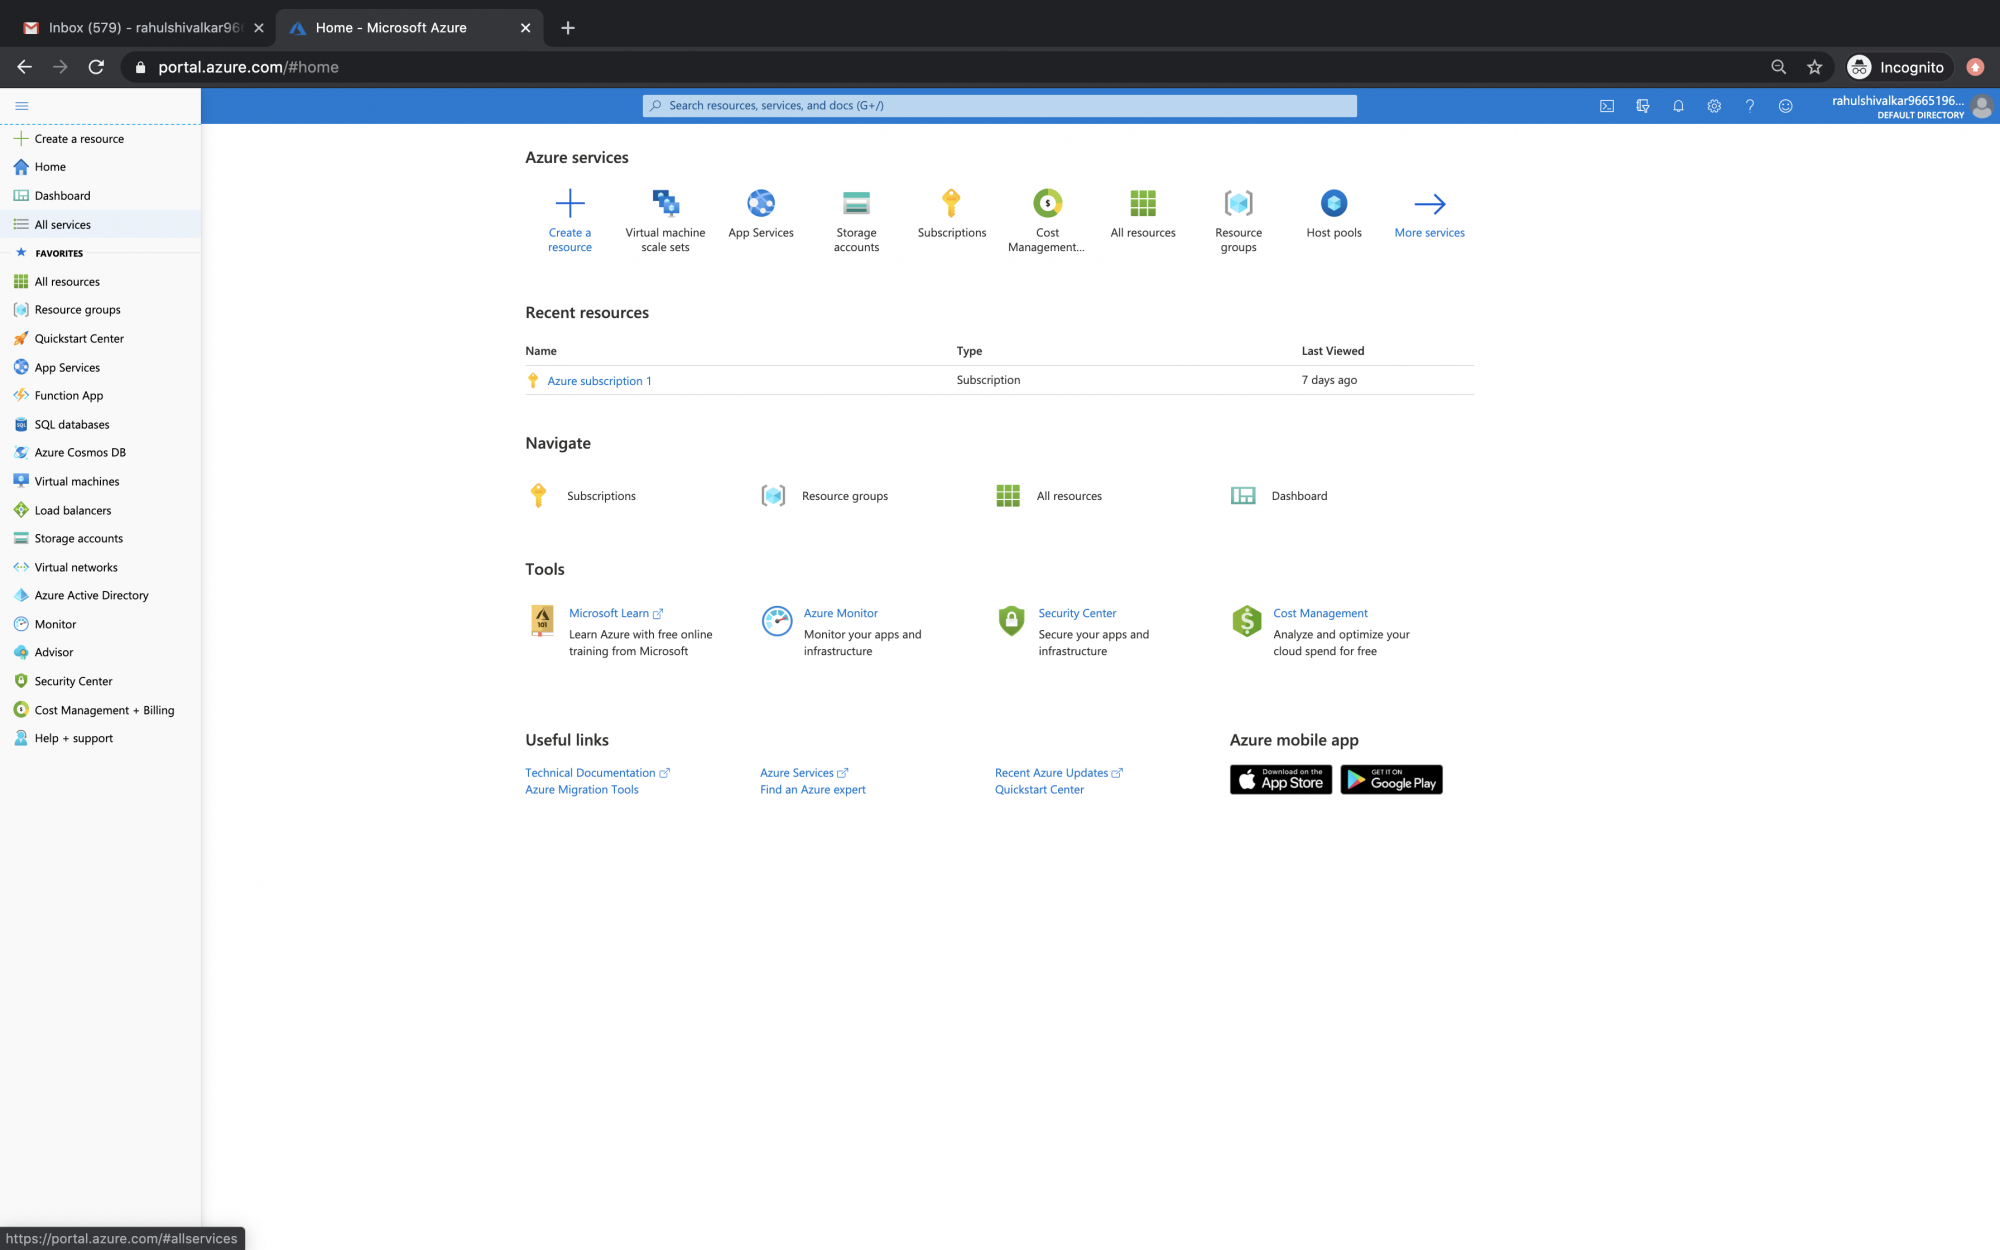
You will see the main page as follows once you successfully login to your account. Click on 3 lines near "Microsoft Azure" in the upper left-hand corner of the Azure portal to show the portal menu.

Create a Scale Set
Click on "All Services" in the left panel.
Click on Virtual Machine Scale Set to go to its dashboard under Compute.
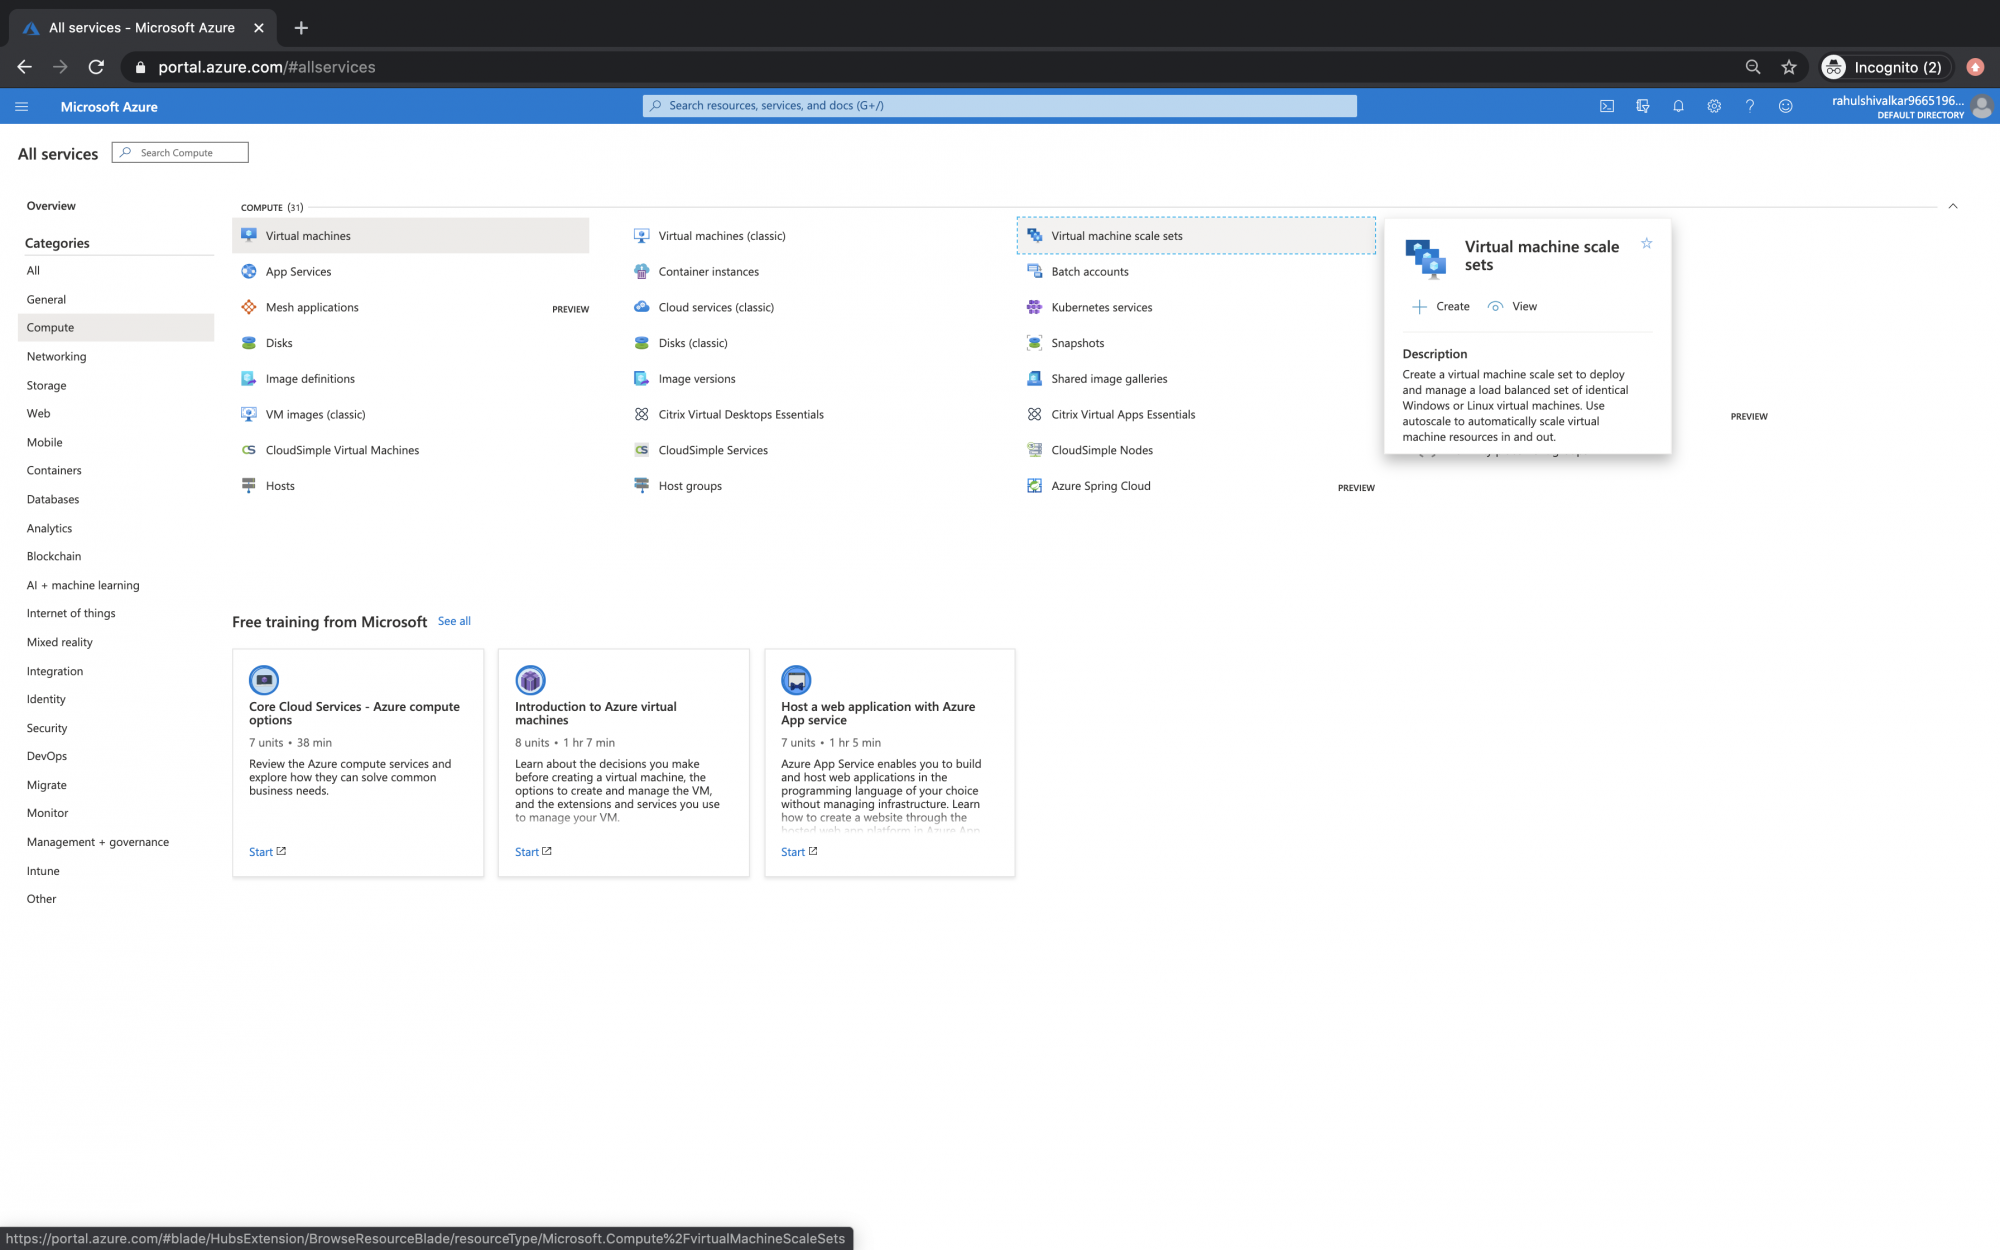
Click on "Add" to create a Scale Set.

In the Basics tab, select the correct subscription and then choose to create a new resource group. Type "test-rg" for the name and then select OK.
Select a region of your choice, provide a system login user name and password.
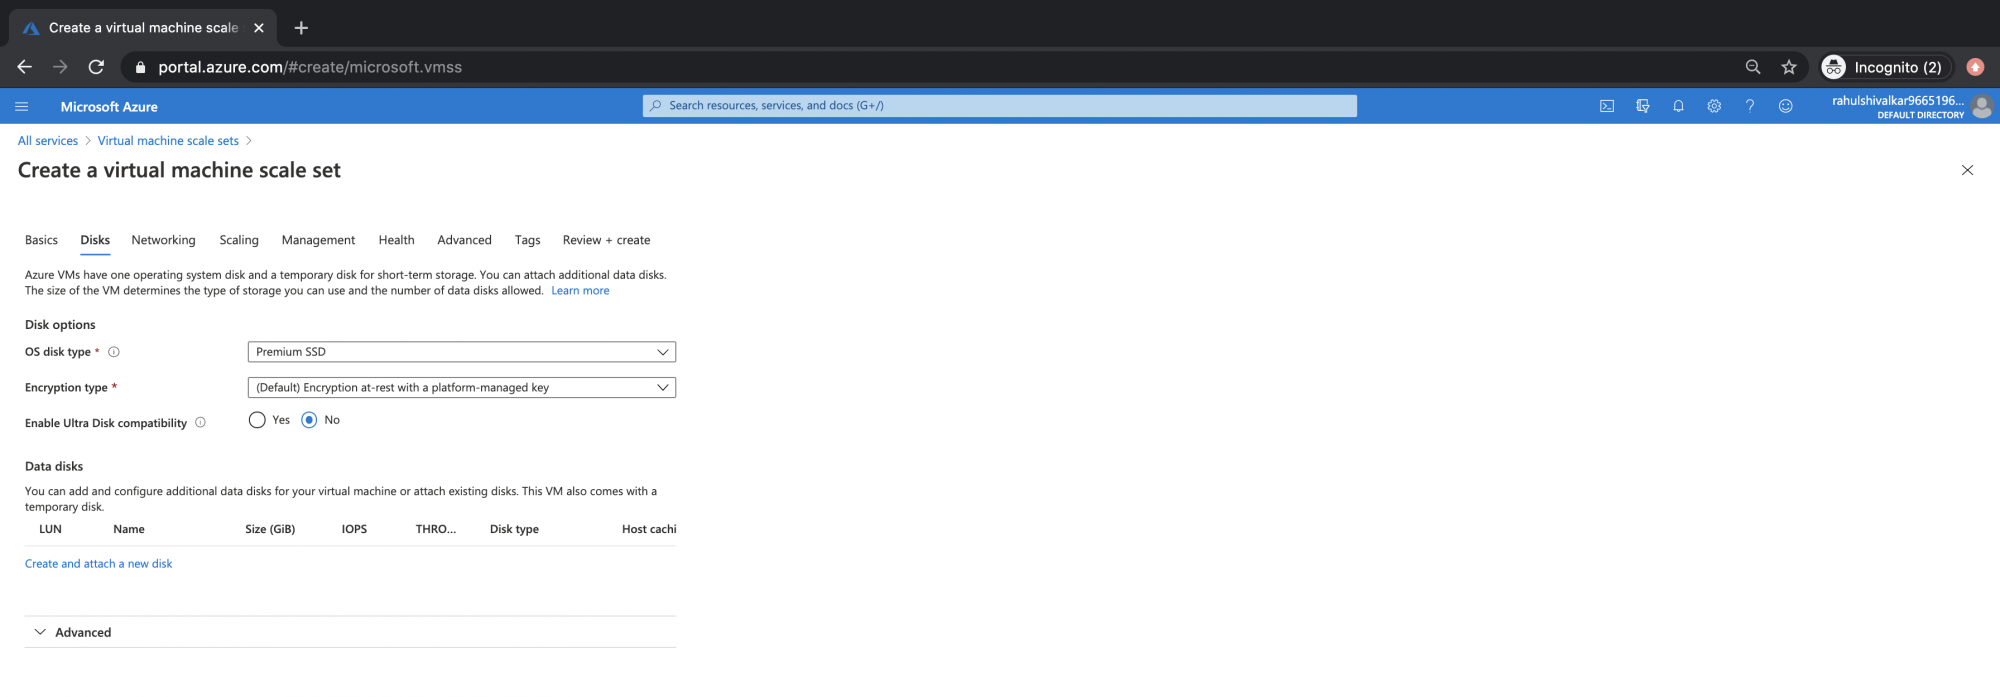
Click on "Next: Disks".

Proceed with the default configuration on this page.
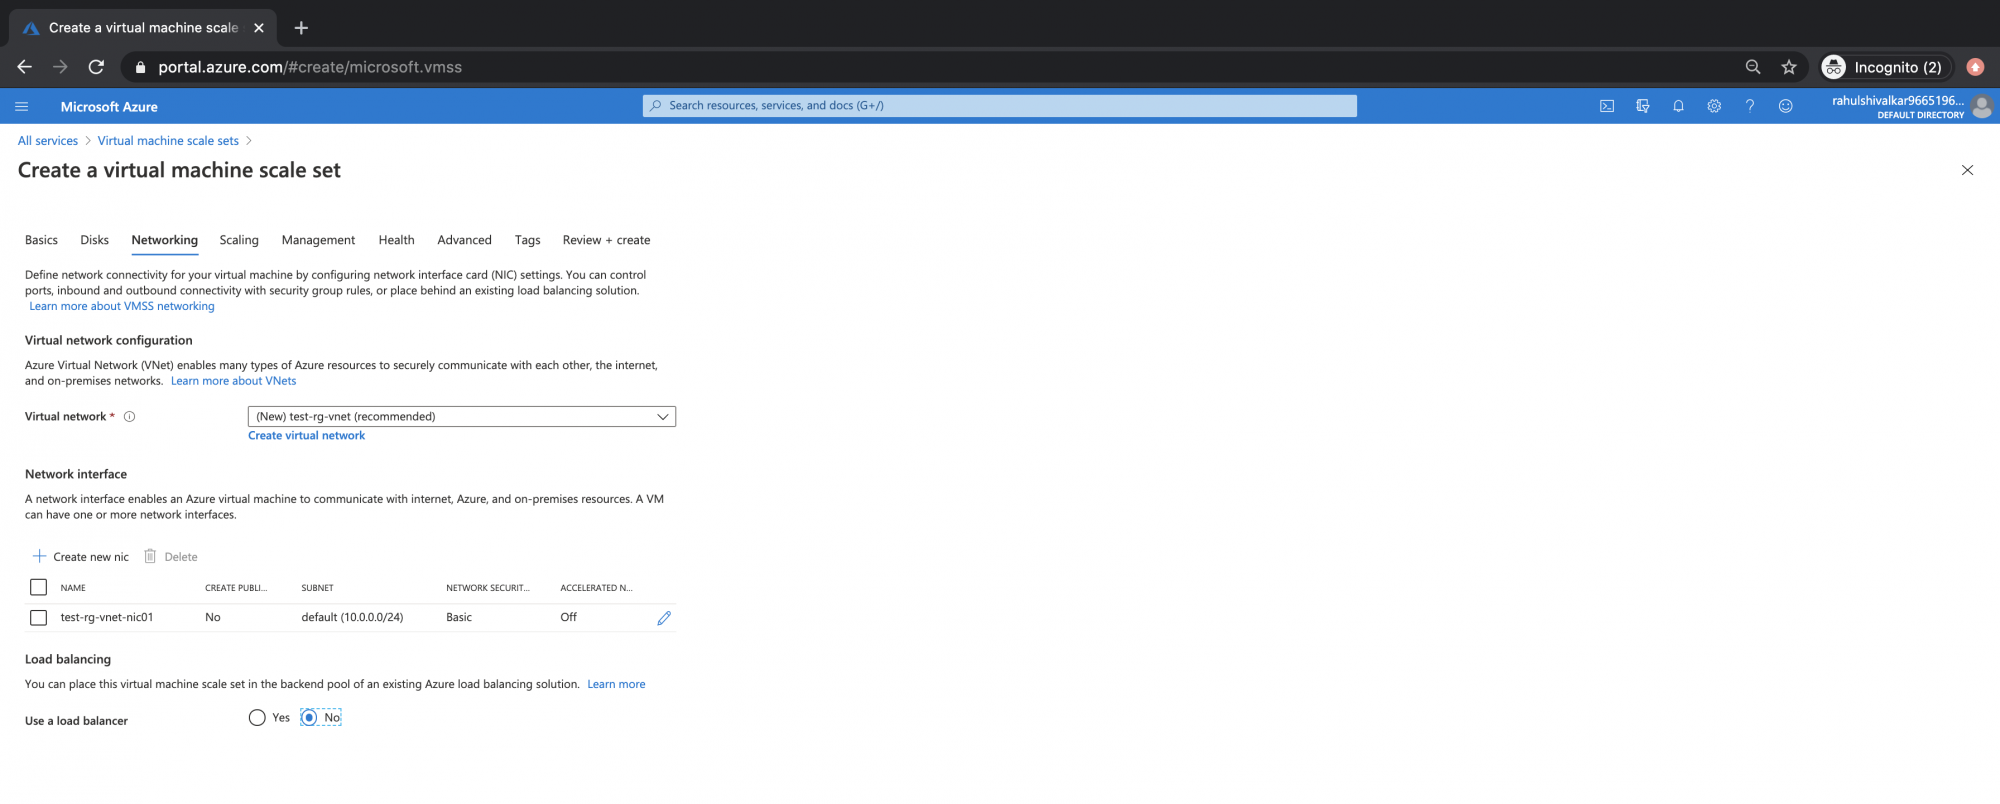
In the "Networking" tab, proceed with the default configuration.
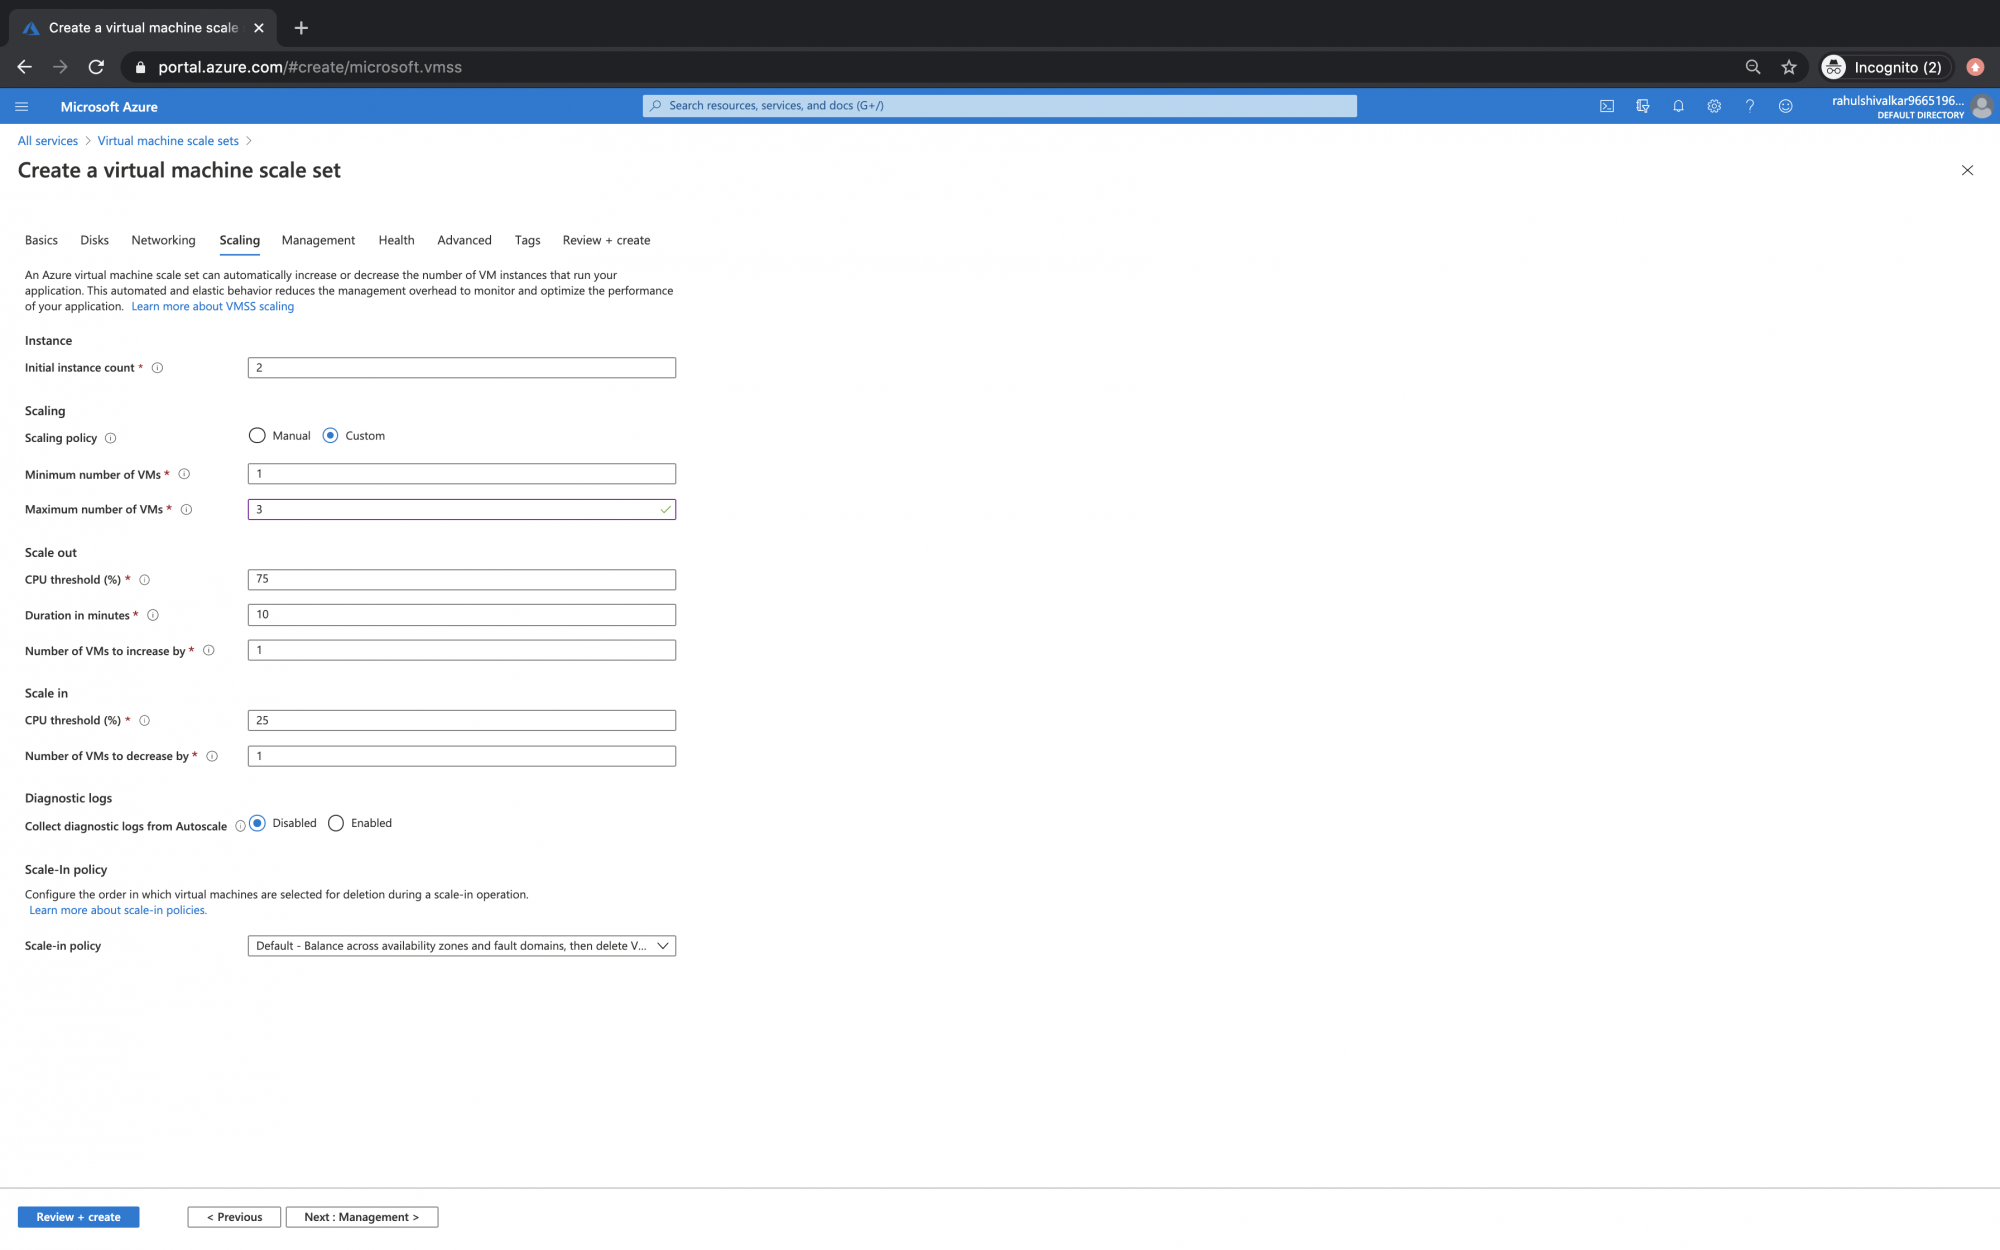
In the "Scaling" tab, select "" as "custom" and specify 2 as "". Click on "Next: Management".
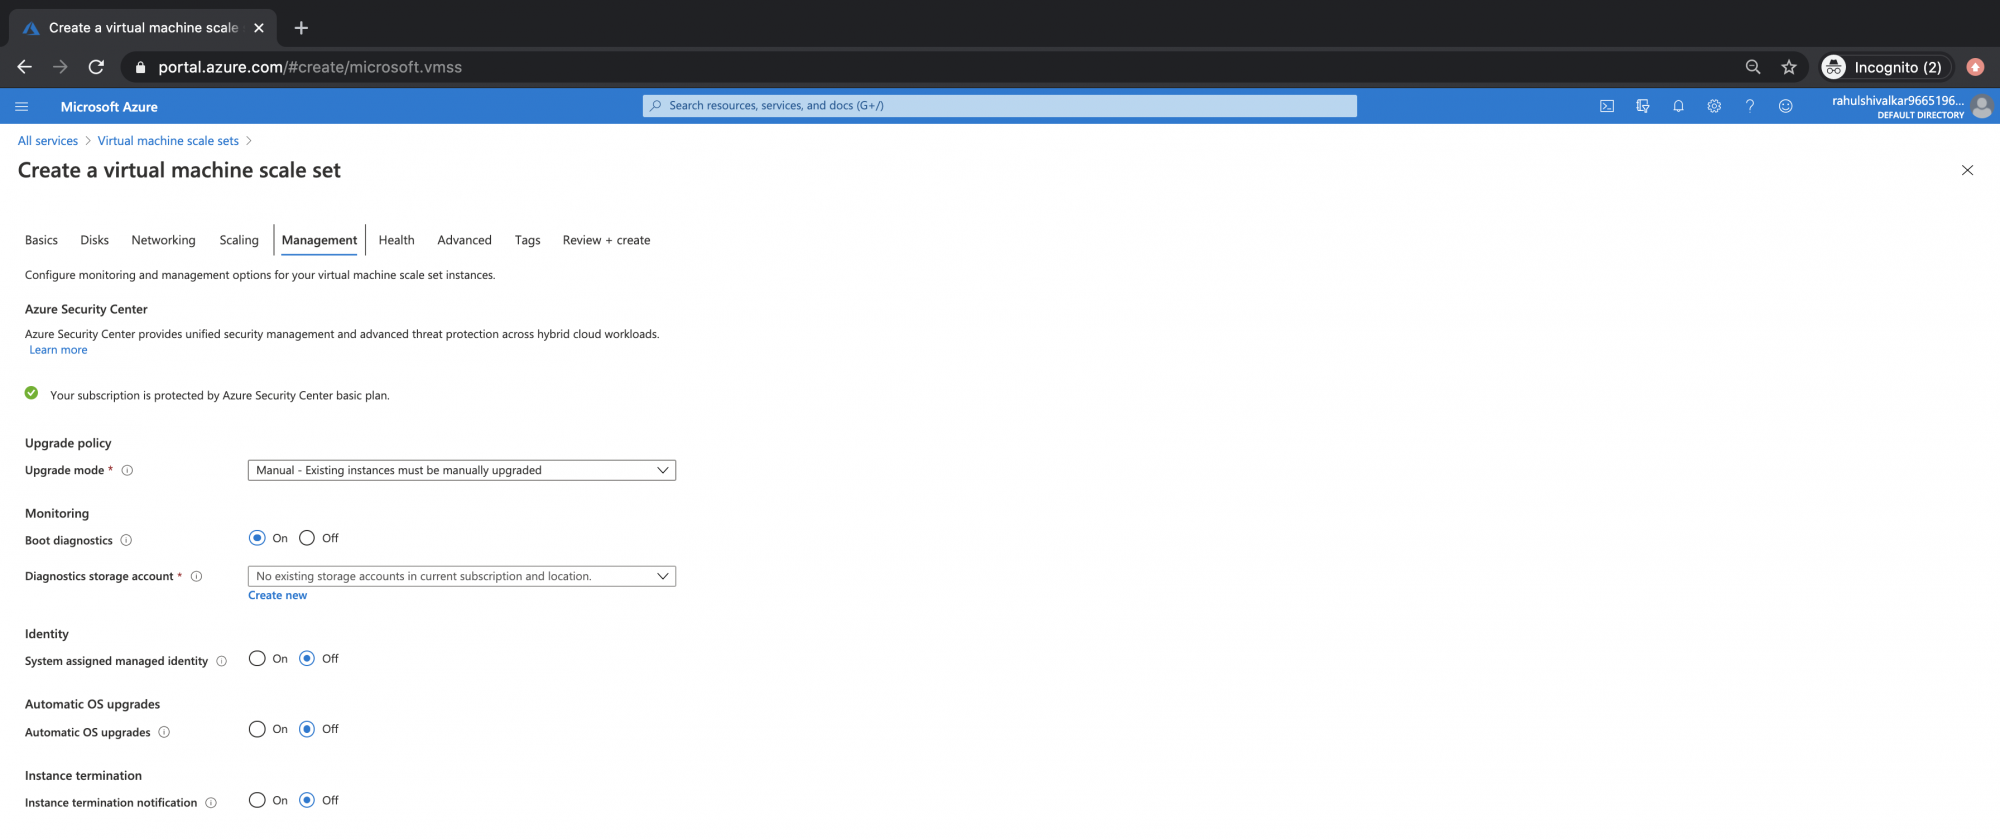
Proceed with the default configuration here.
Keep the default setting on the "Health" and "Advanced" tab.

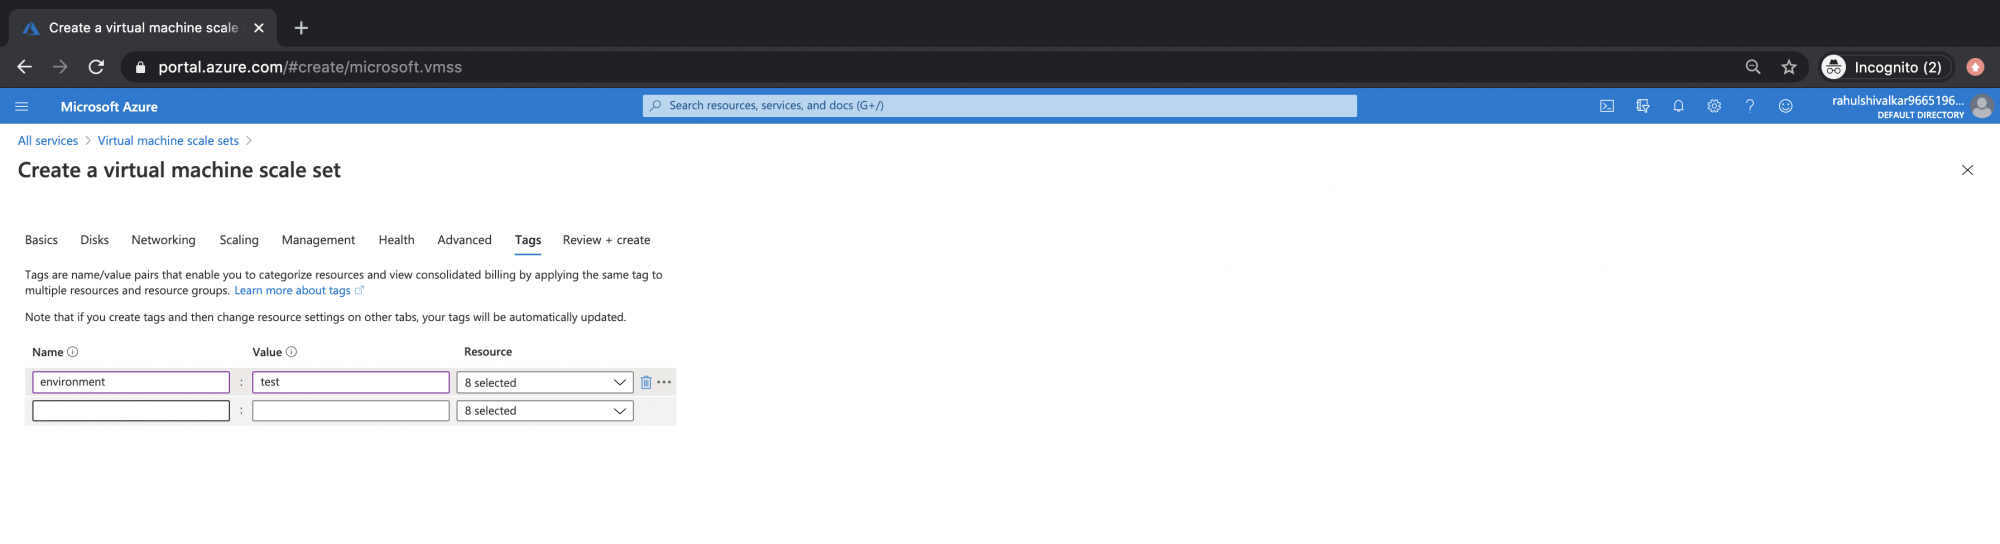
Add a tag as "environment:test", you can add more tags if you want and then click on "Review+create".
If you see any error, go to the respective tab to fix the error.

Here, to fix this specific issue, select "off" for "Boot diagnostic"

Now, click on "Review+create".

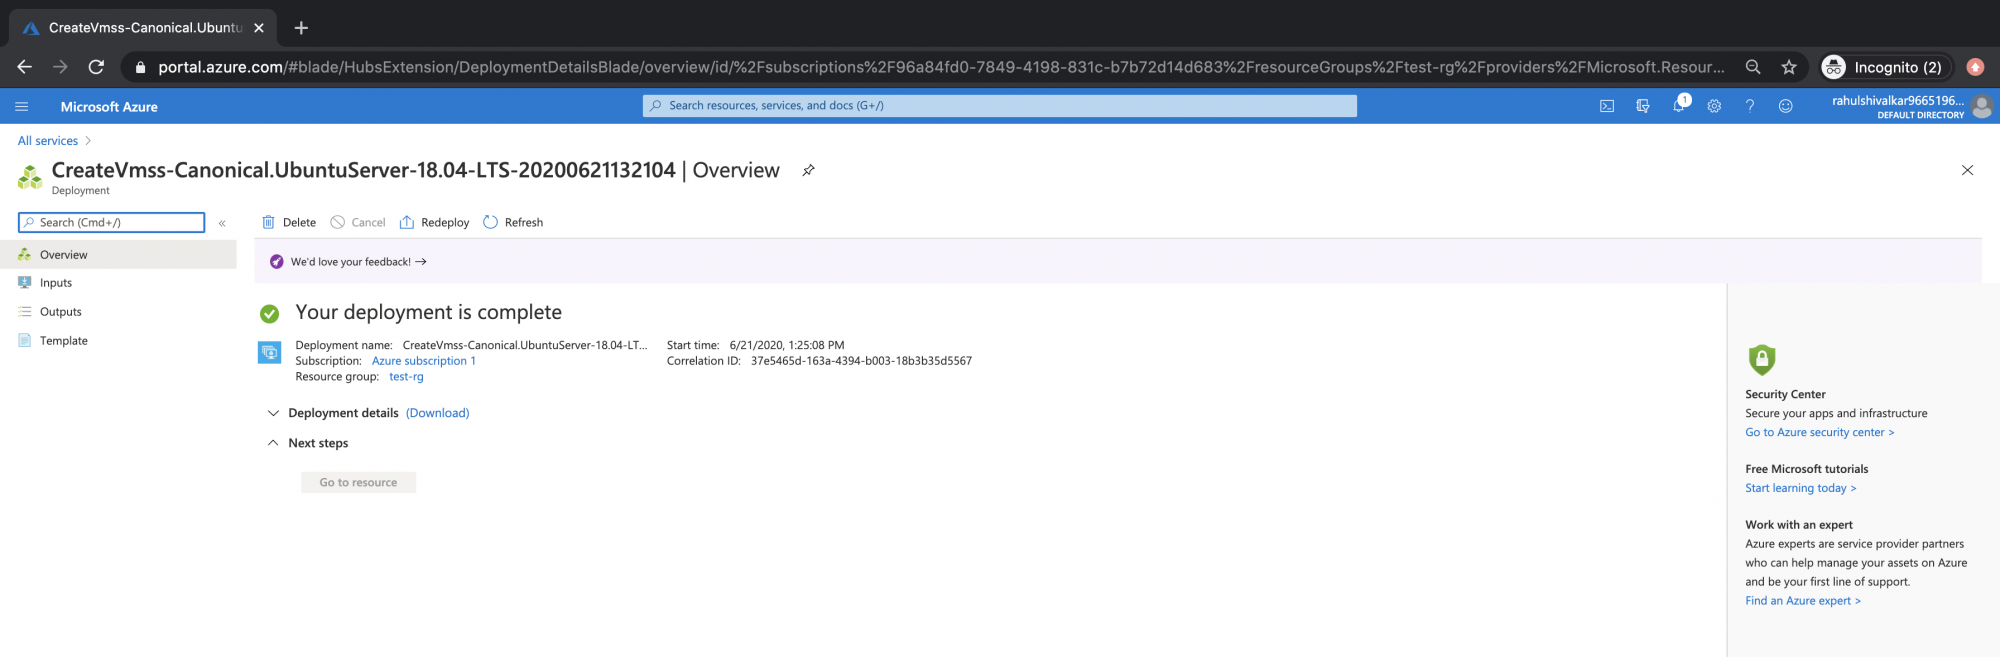
Within a few minutes, you will see a message as "Your deployment is complete". Click on Resurce group "test-rg" to go to the Resource Group Dashboard.
Here, you will see that a few other objects have also been created upon creating a Scale Set.
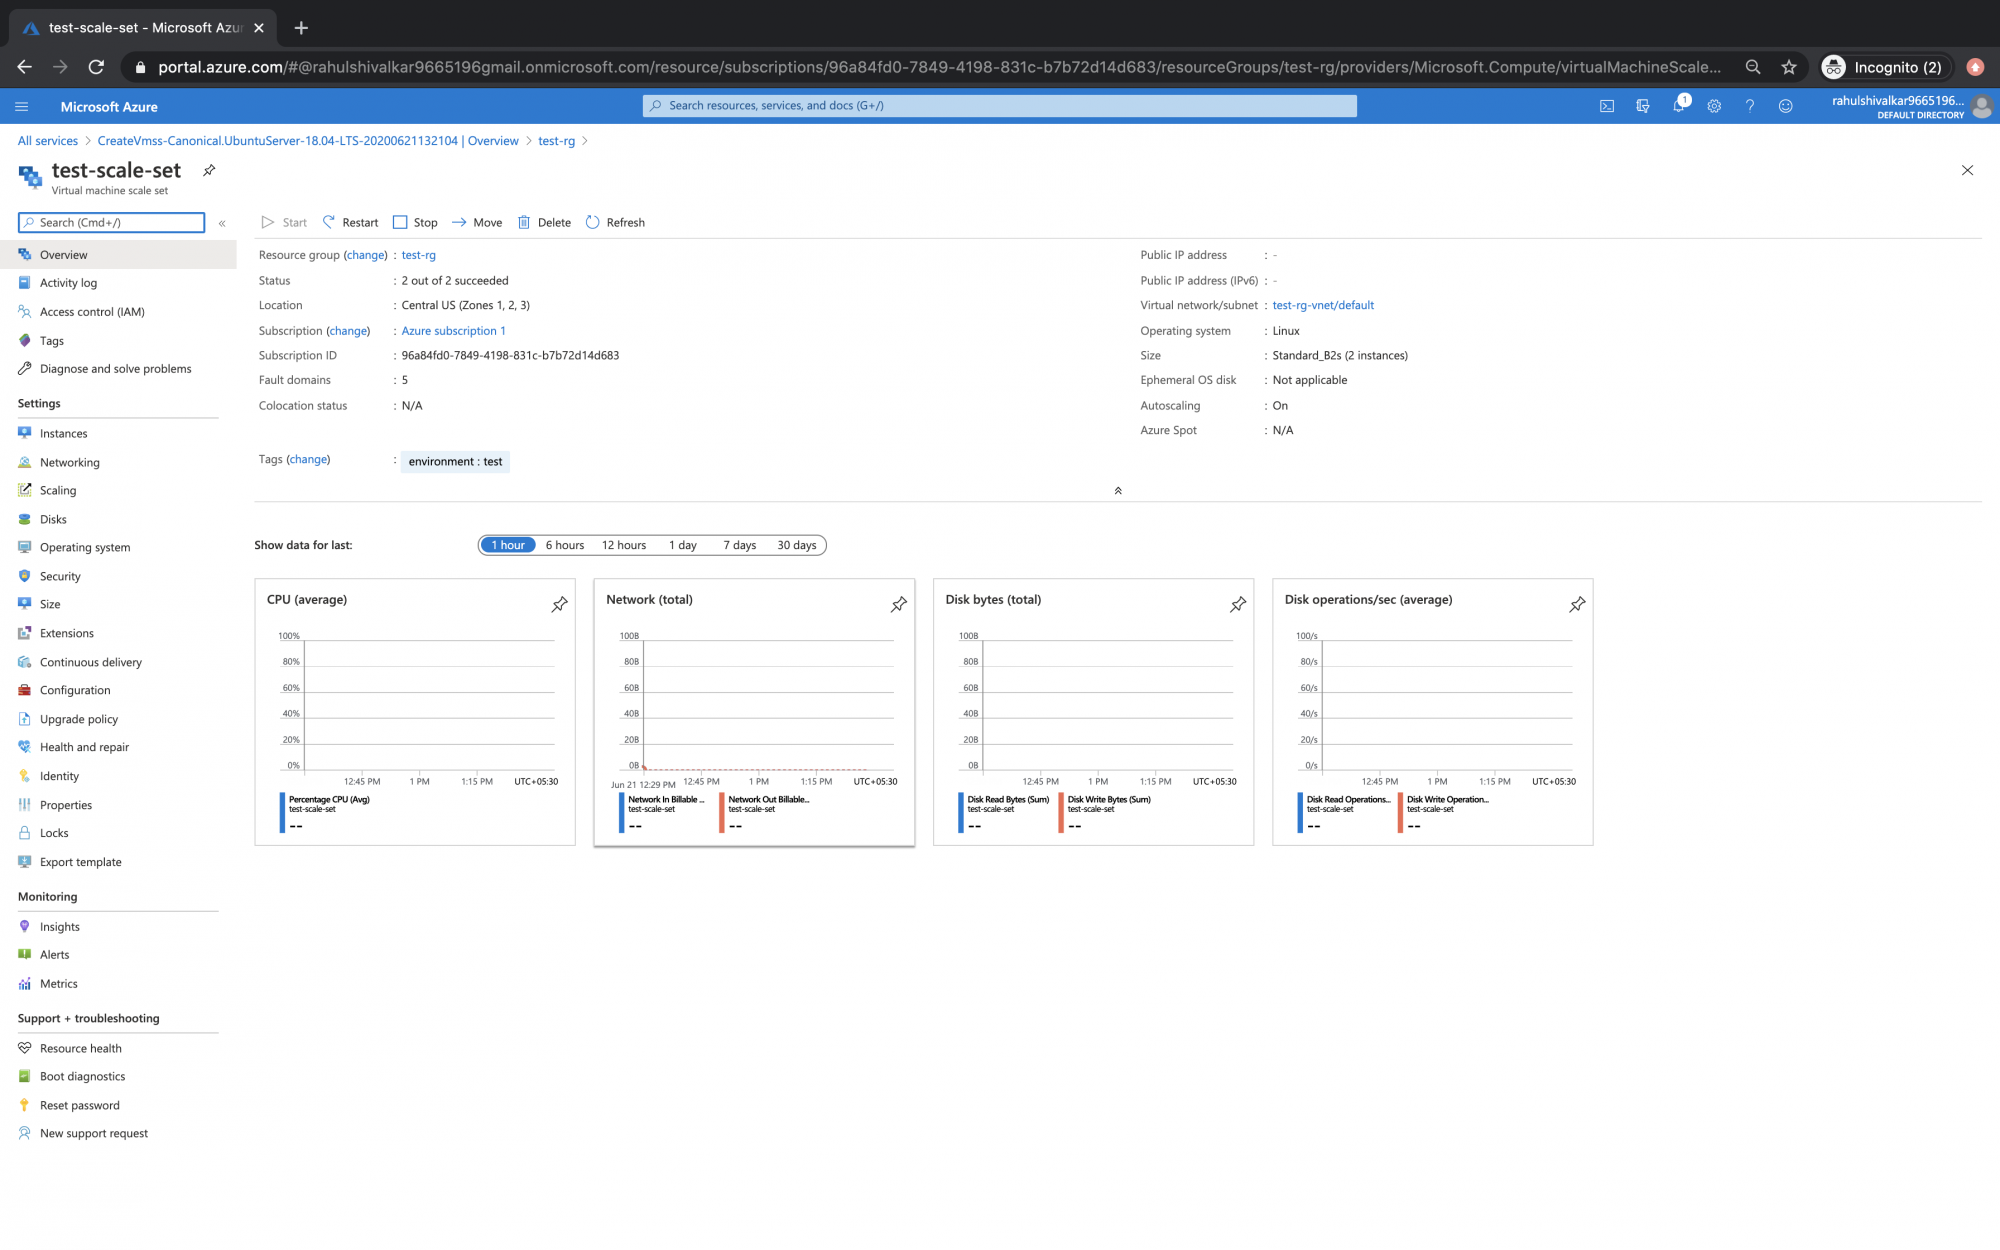
Click on the Scale Set object to go to its dashboard.

Here, you will see an overview of the Scale Set we just created.
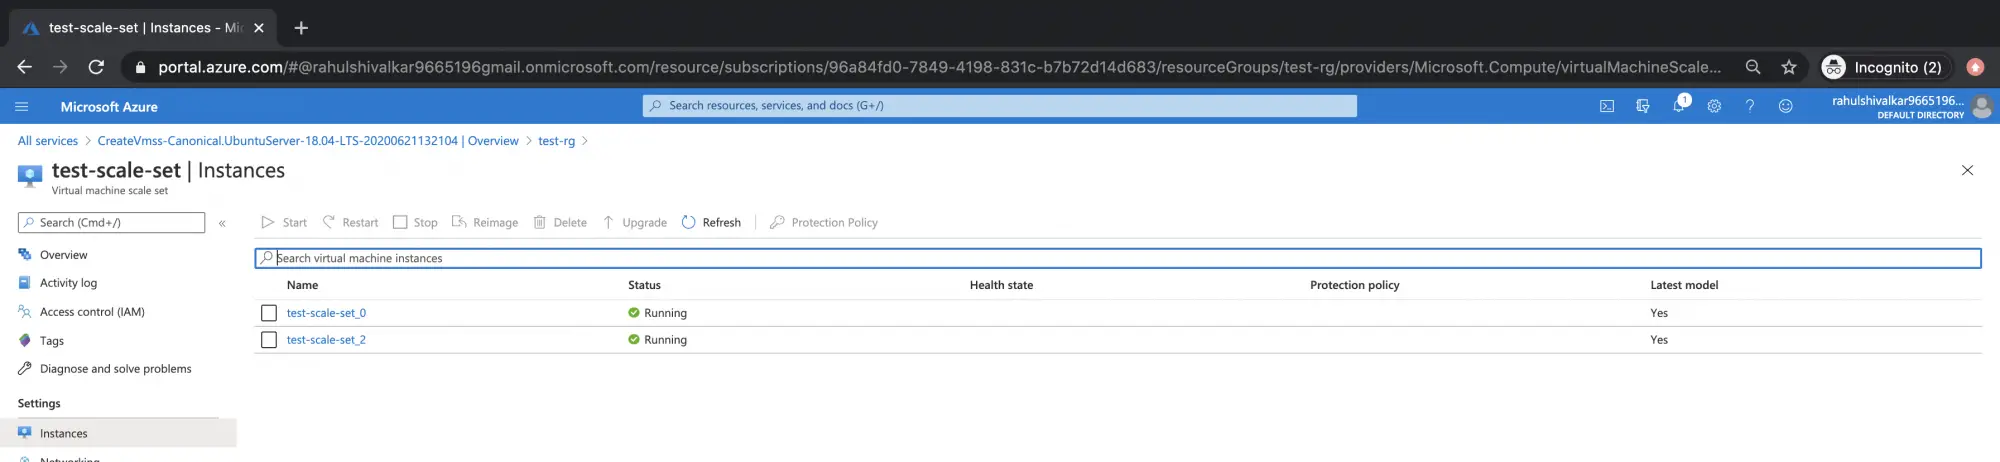
Click on "Instances" in the left panel to see the Virtual Machines which belong to the Scale Set.
Here, you can see that there are 2 Virtual Machines as we had specified 2 minimum number of instances in the scaling policy.
Conclusion
In this article, we saw the steps to create a Scale Set for Virtual Machines. We specified 2 as a minimum number of instances in the Scale Set which can increase up to 10 if the load on the servers increases.

