How to create a Virtual Network in Azure Cloud
Azure Virtual Network is one of the most important resources to create a private network in Azure. It enables many types of Azure services to communicate with each other securely. It can also enable communication with the On-Premises network. It is similar to the network any private data center has.
Let's understand its concepts before we create it.
- Address space:
This address space is an IP range used to assign IPs to the resources which will be created in it. For example, if we create a Virtual Machine in a Virtual Network with 10.0.0.0/24, a Virtual Machine which will be assigned an IP 10.0.0.5. from the Address Space defined to the Virtual Network. - Subnets:
Subnets are used to subdivide the Address Space. This improves address allocation efficiency. - Regions:
Virtual Network does not span across multiple regions and is scoped to a single region. But multiple virtual networks from different regions can be connected together using Virtual Network Peering.
While creating a Virtual Network, we should make sure that we do not have overlapping address spaces, the subnet should never cover the entire Address Space.
We can integrate other Azure Services with Virtual Network to enable private access to the services, it means services can then be privately accessed within the virtual network.
There is no charge for using Azure Virtual Network, it is free of cost. But there are other resources like Peering, IP Addresses which incur charges. To know more about Virtual Network pricing, click here.
In this article, we will see the steps to create a Virtual Network and how to add a subnet to it. We will also come through Resource Group which is a logical collection of resources.
Pre-requisites
- Azure Account (Create if you don’t have one).
What will we do?
- Login to Azure.
- Create a Virtual Network.
- Delete the Virtual Network
Login to Azure
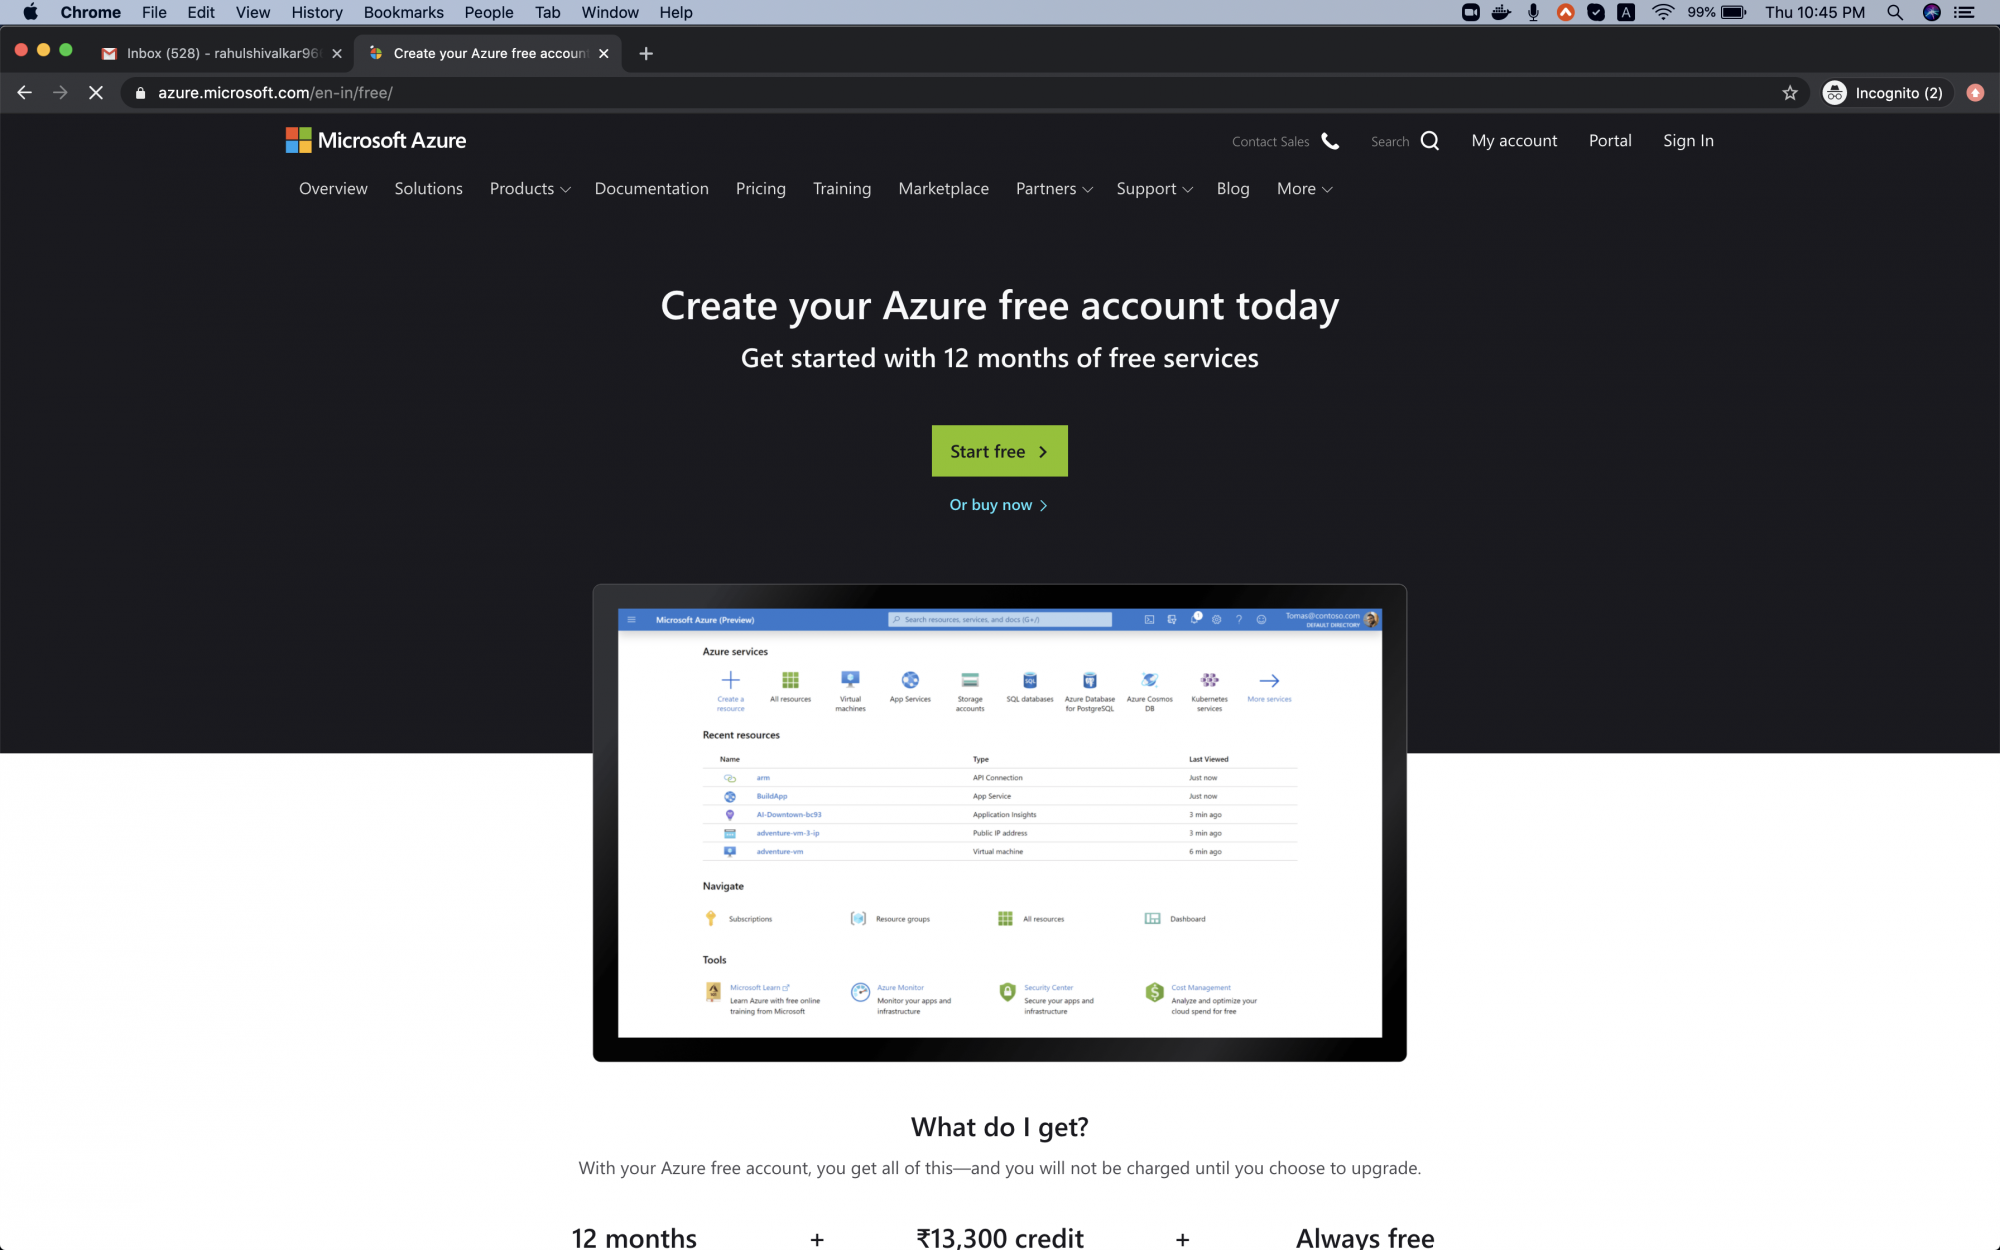
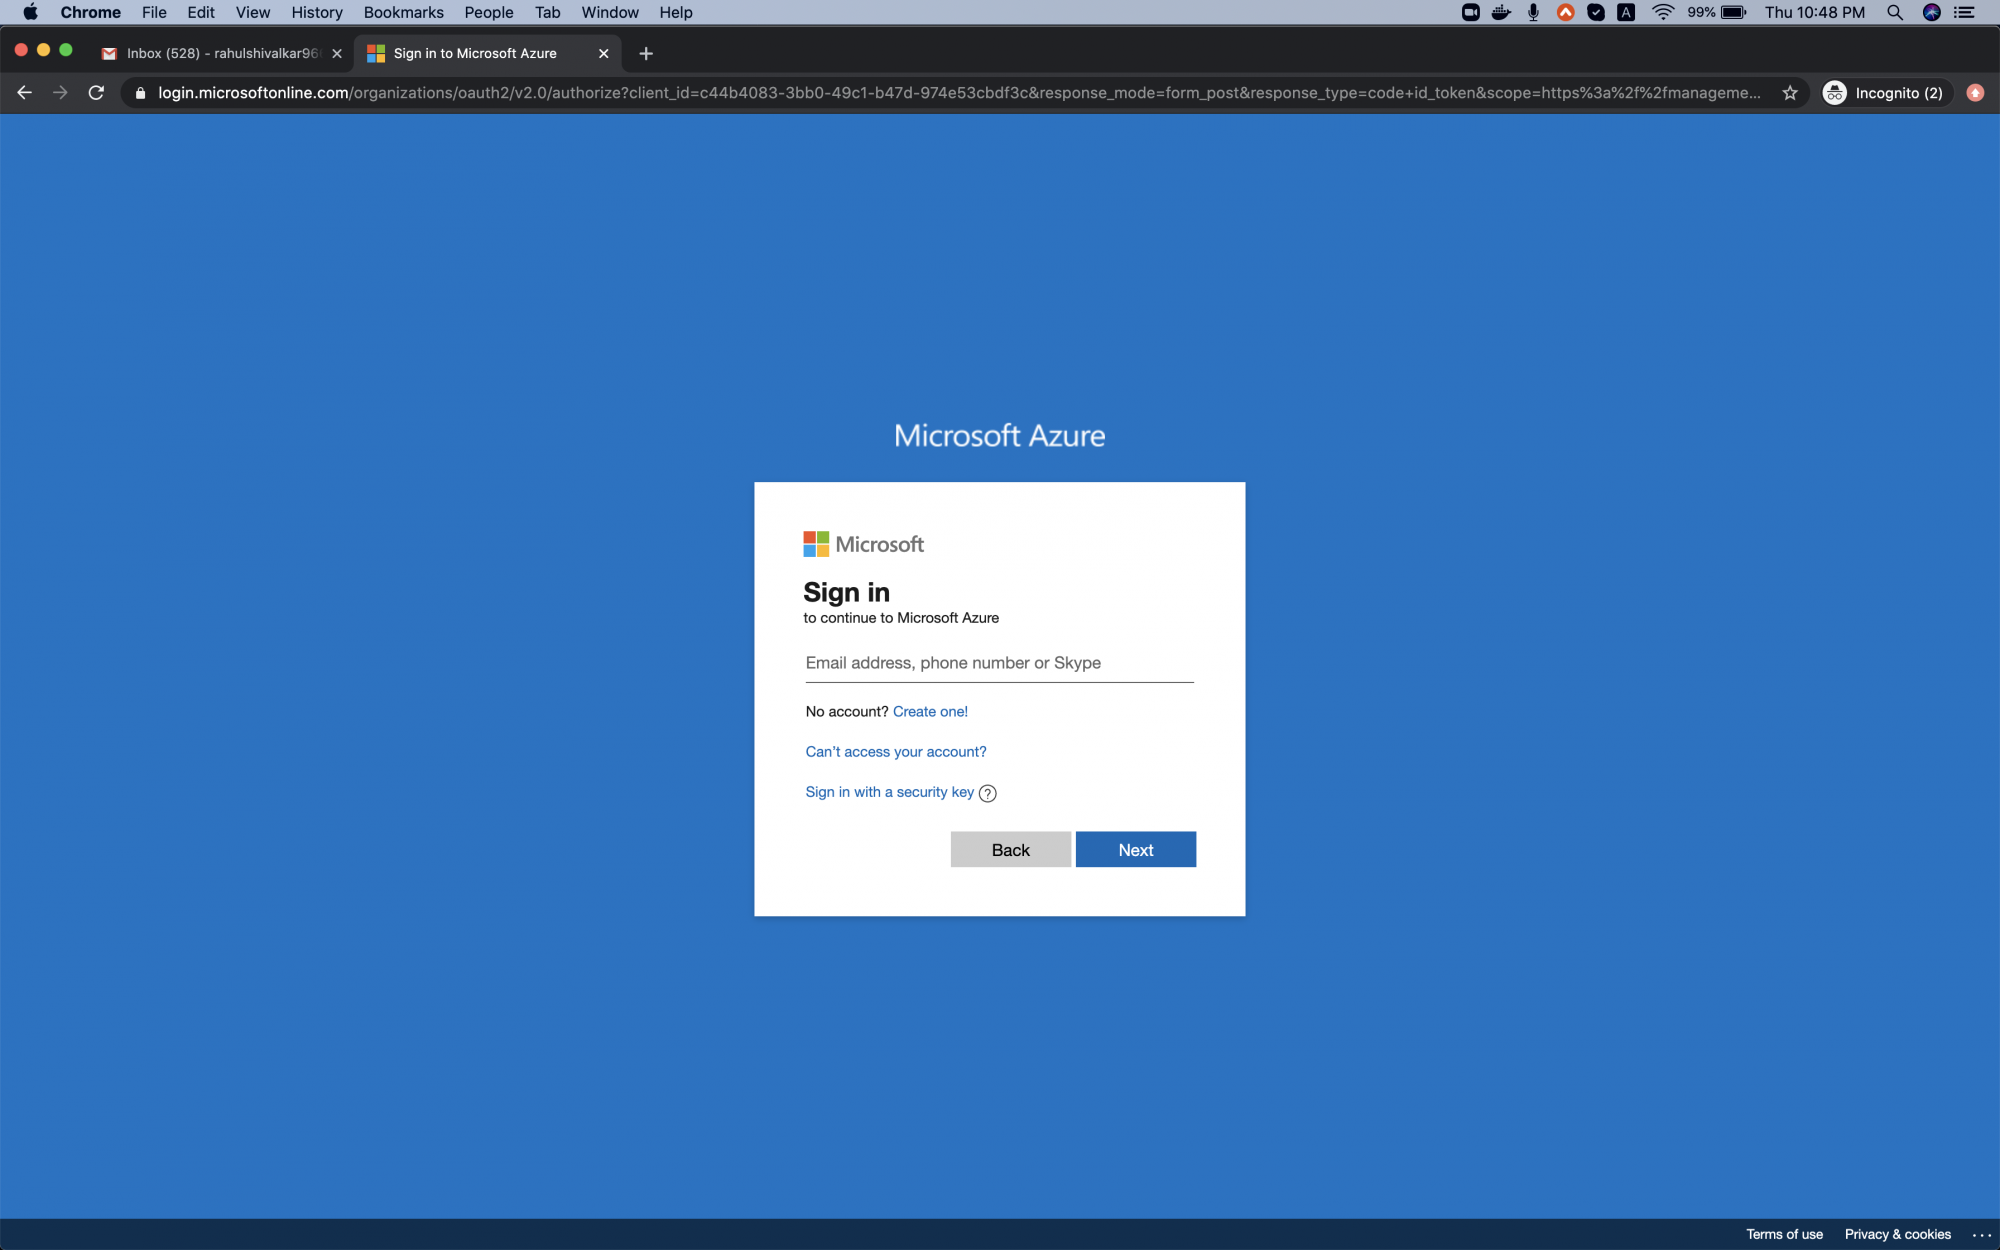
Click here to go Azure portal and click on Sign in.
Use your credentials to log in to the account.
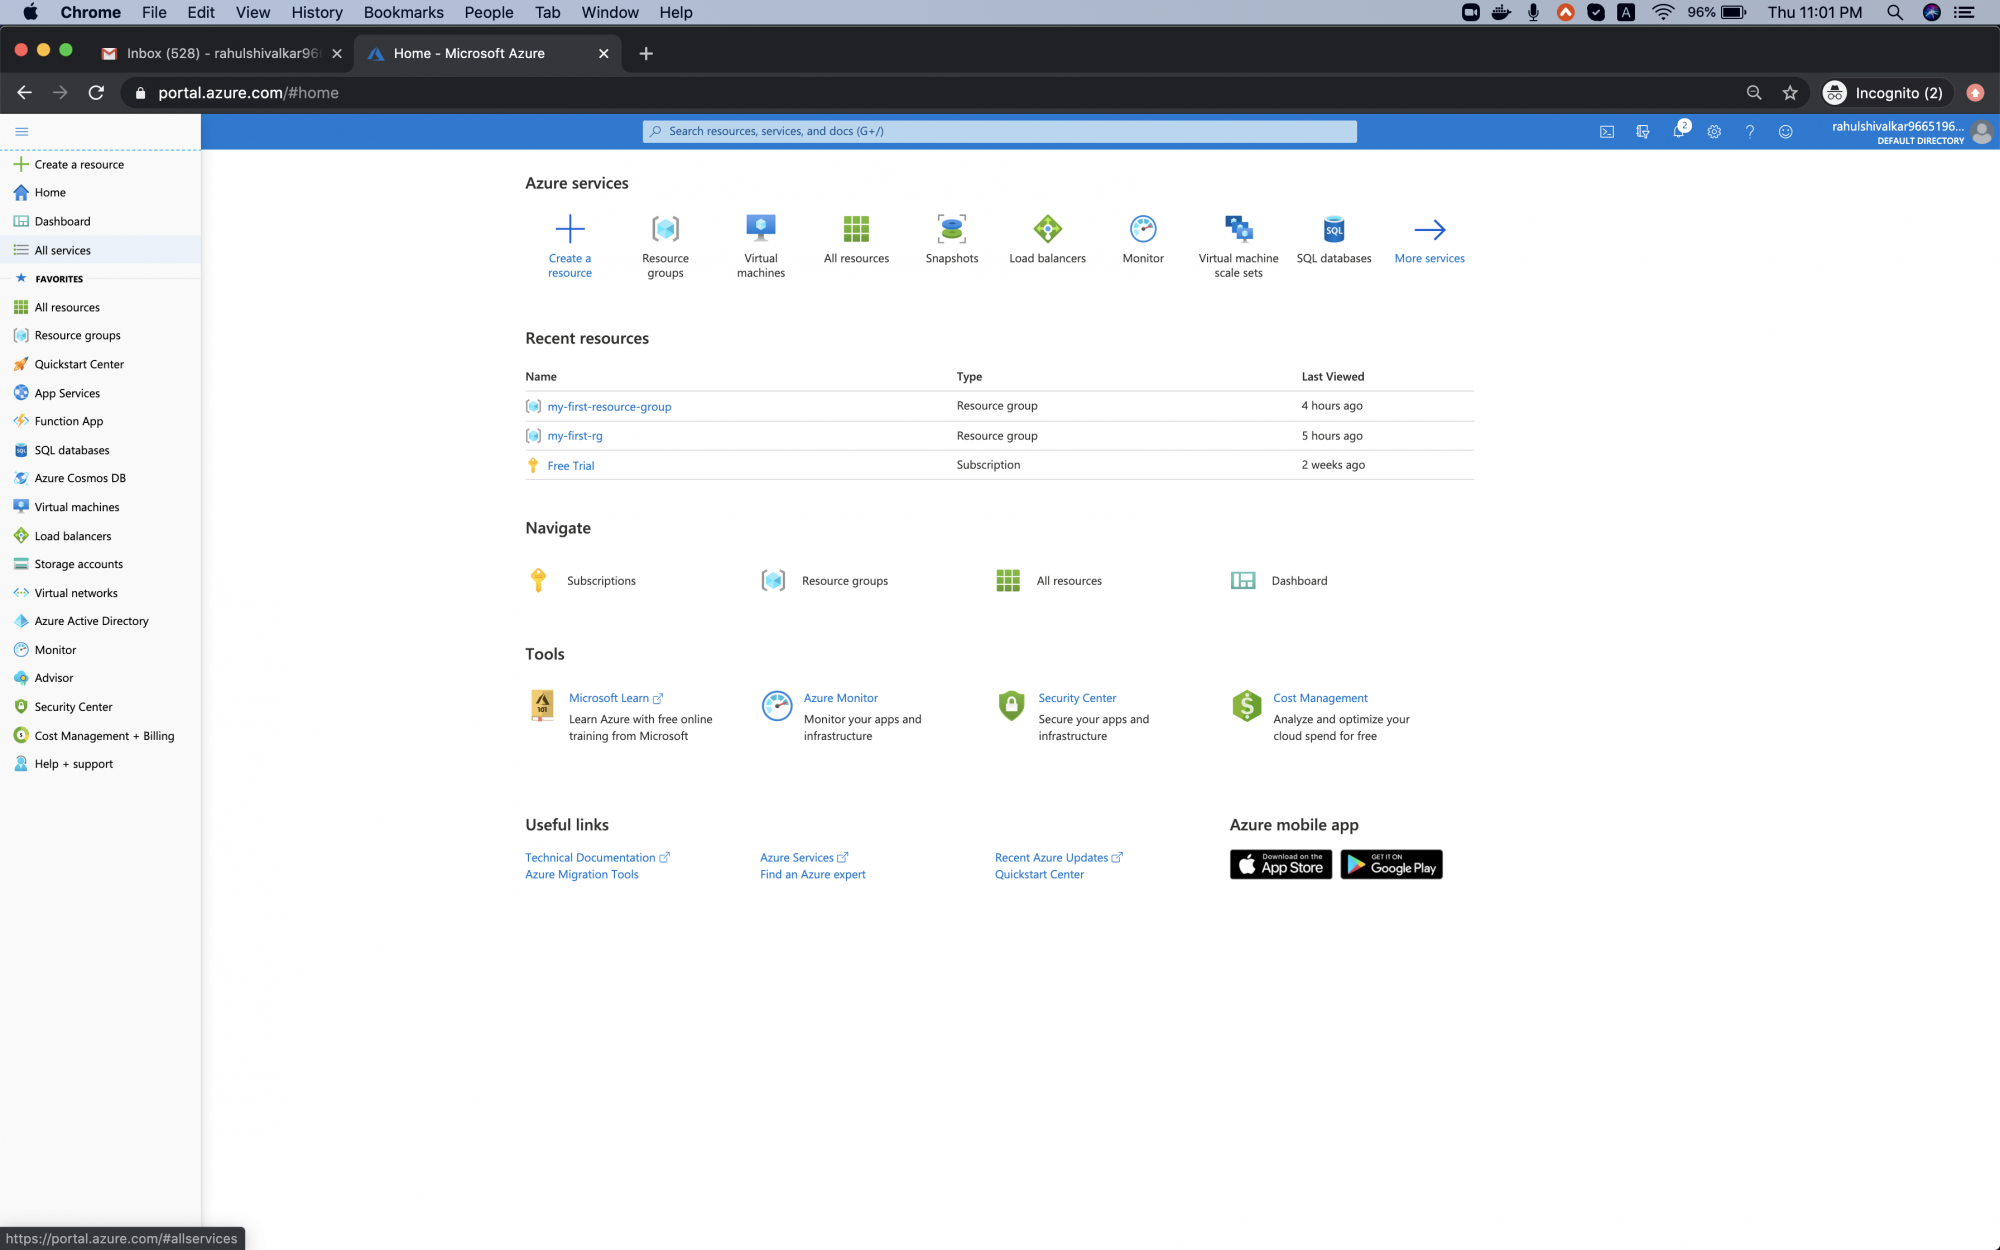
You will see the main page as follows once you successfully login in to your account. Click on 3 lines near "Microsoft Azure" in the upper left-hand corner of the Azure portal to show the portal menu.

Create a Virtual Network
Click on "All services" in the left panel.
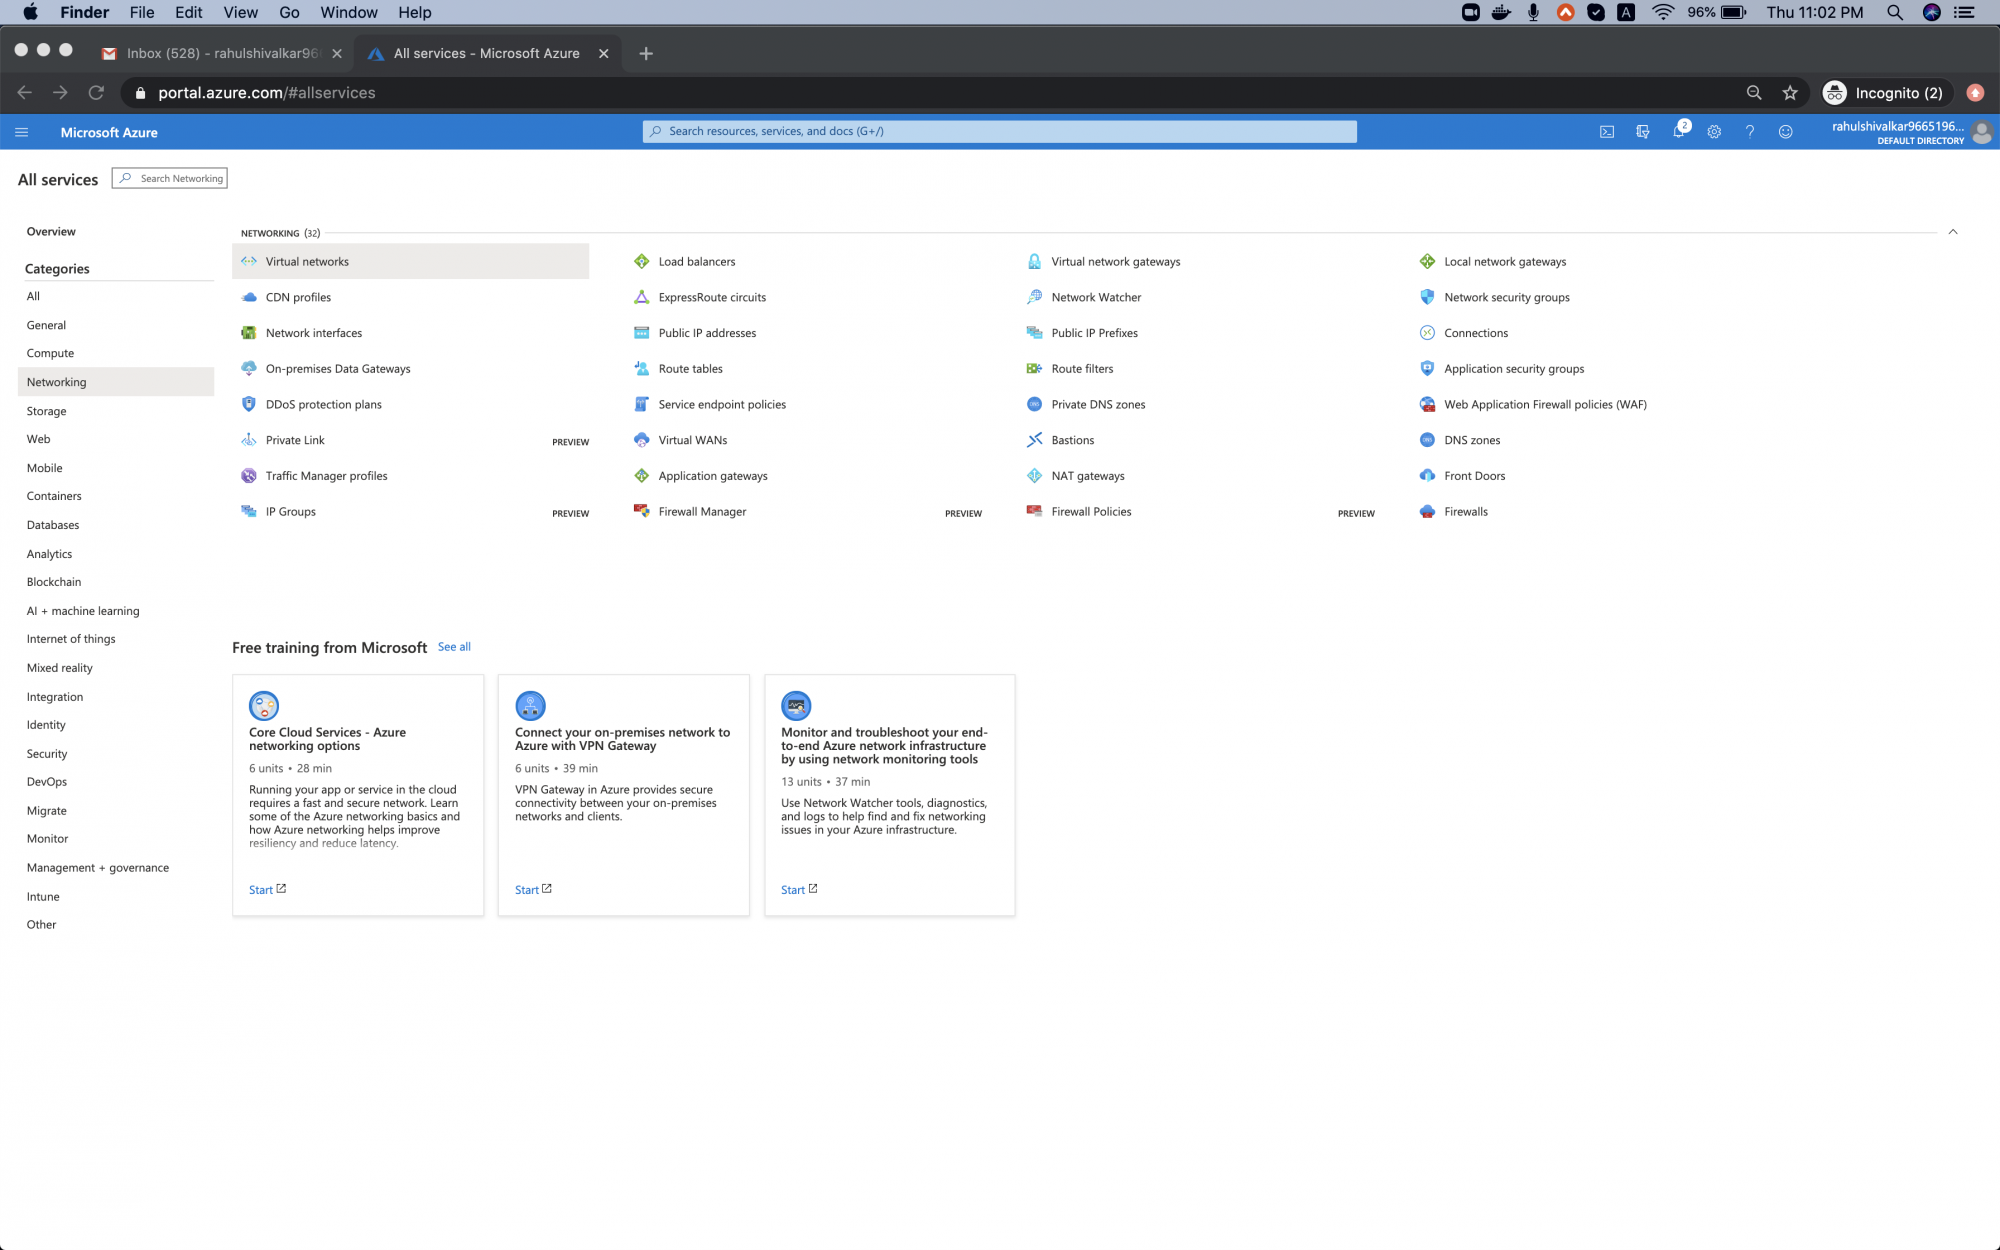
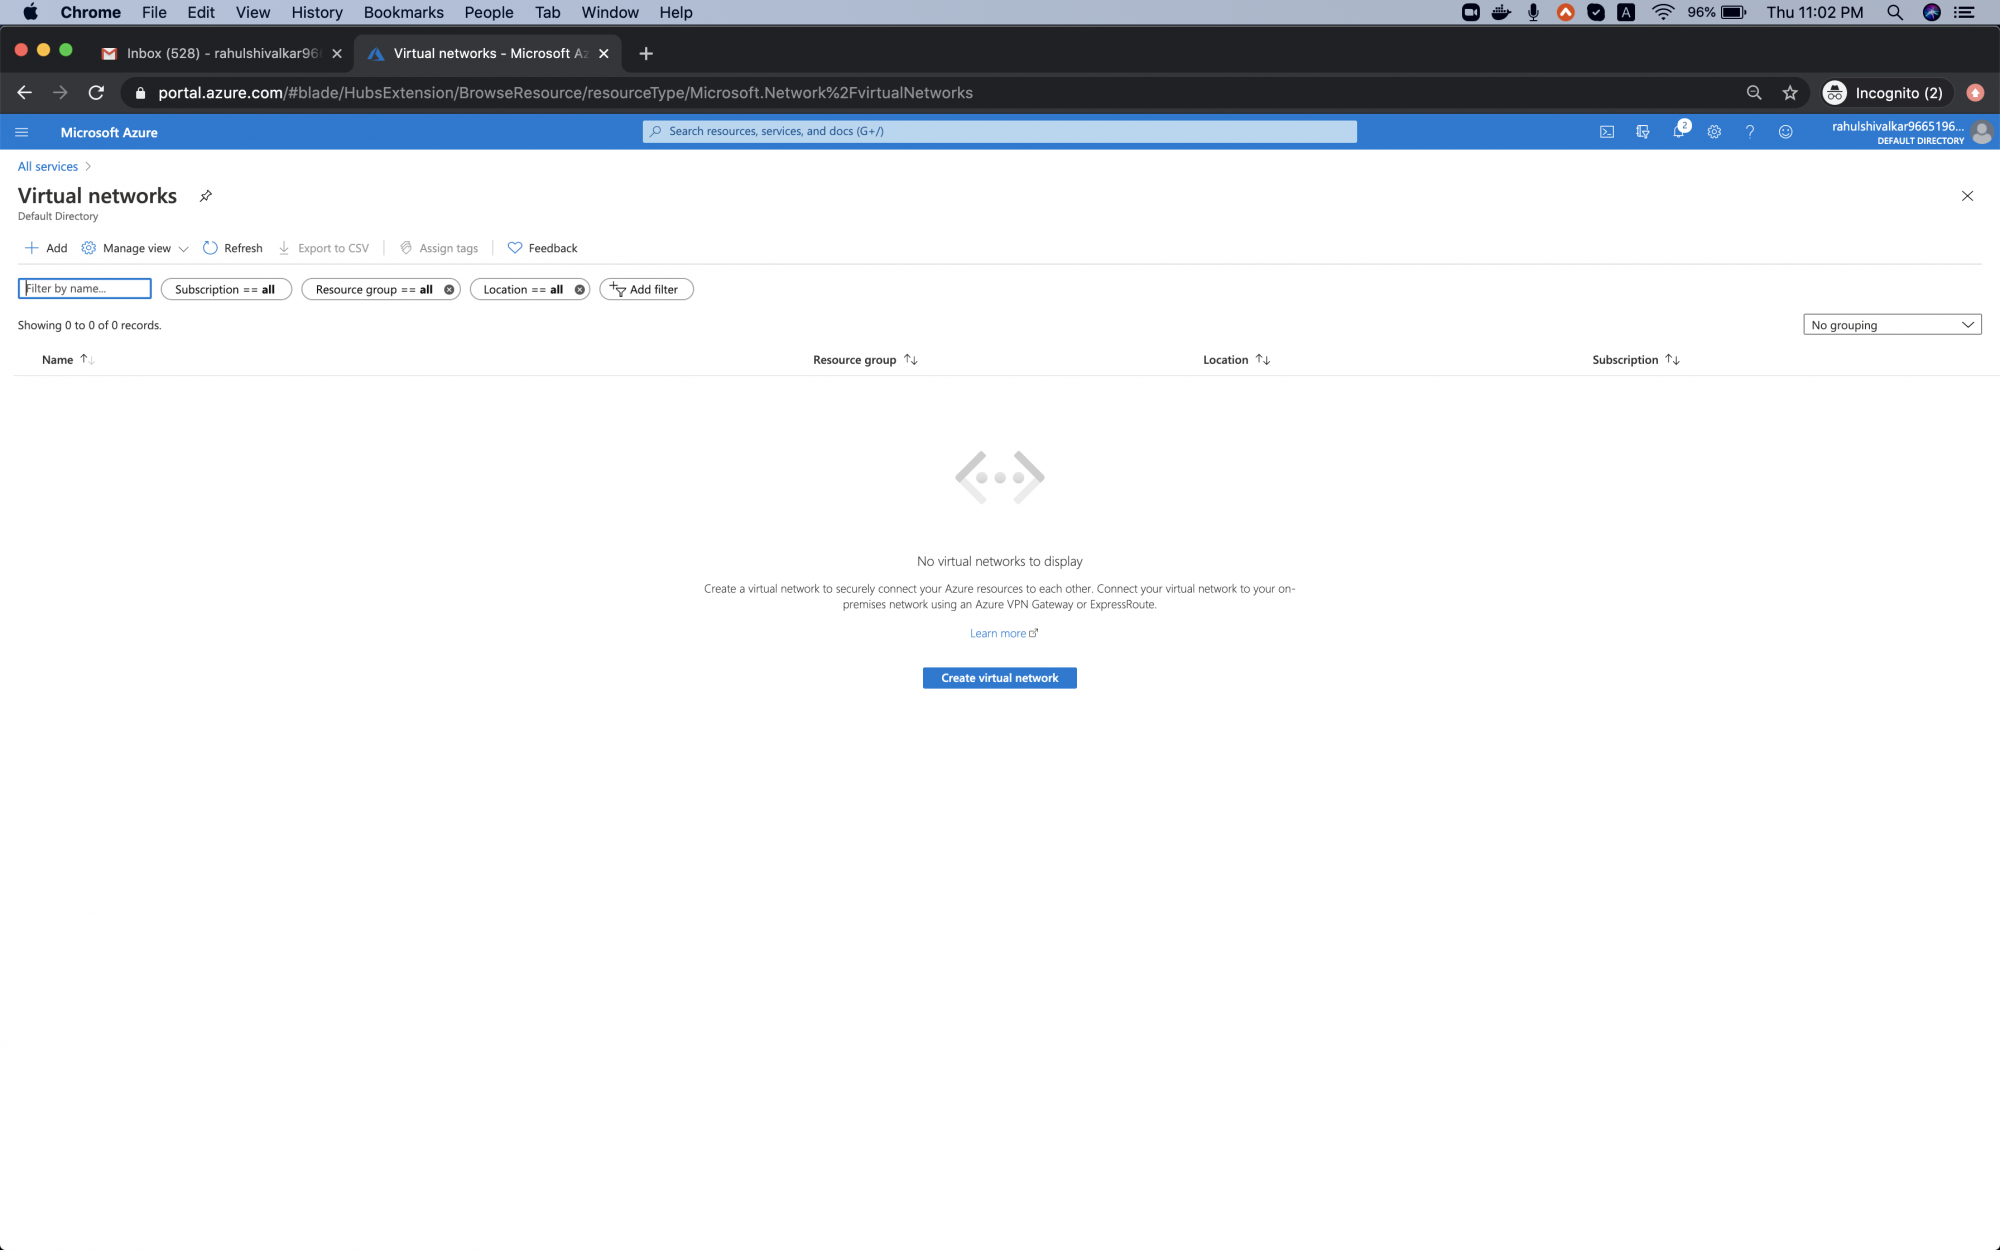
You will see a screen with all the services, click on Networking - > Virtual Network.
Click on "Add" to create your first Virtual Network.
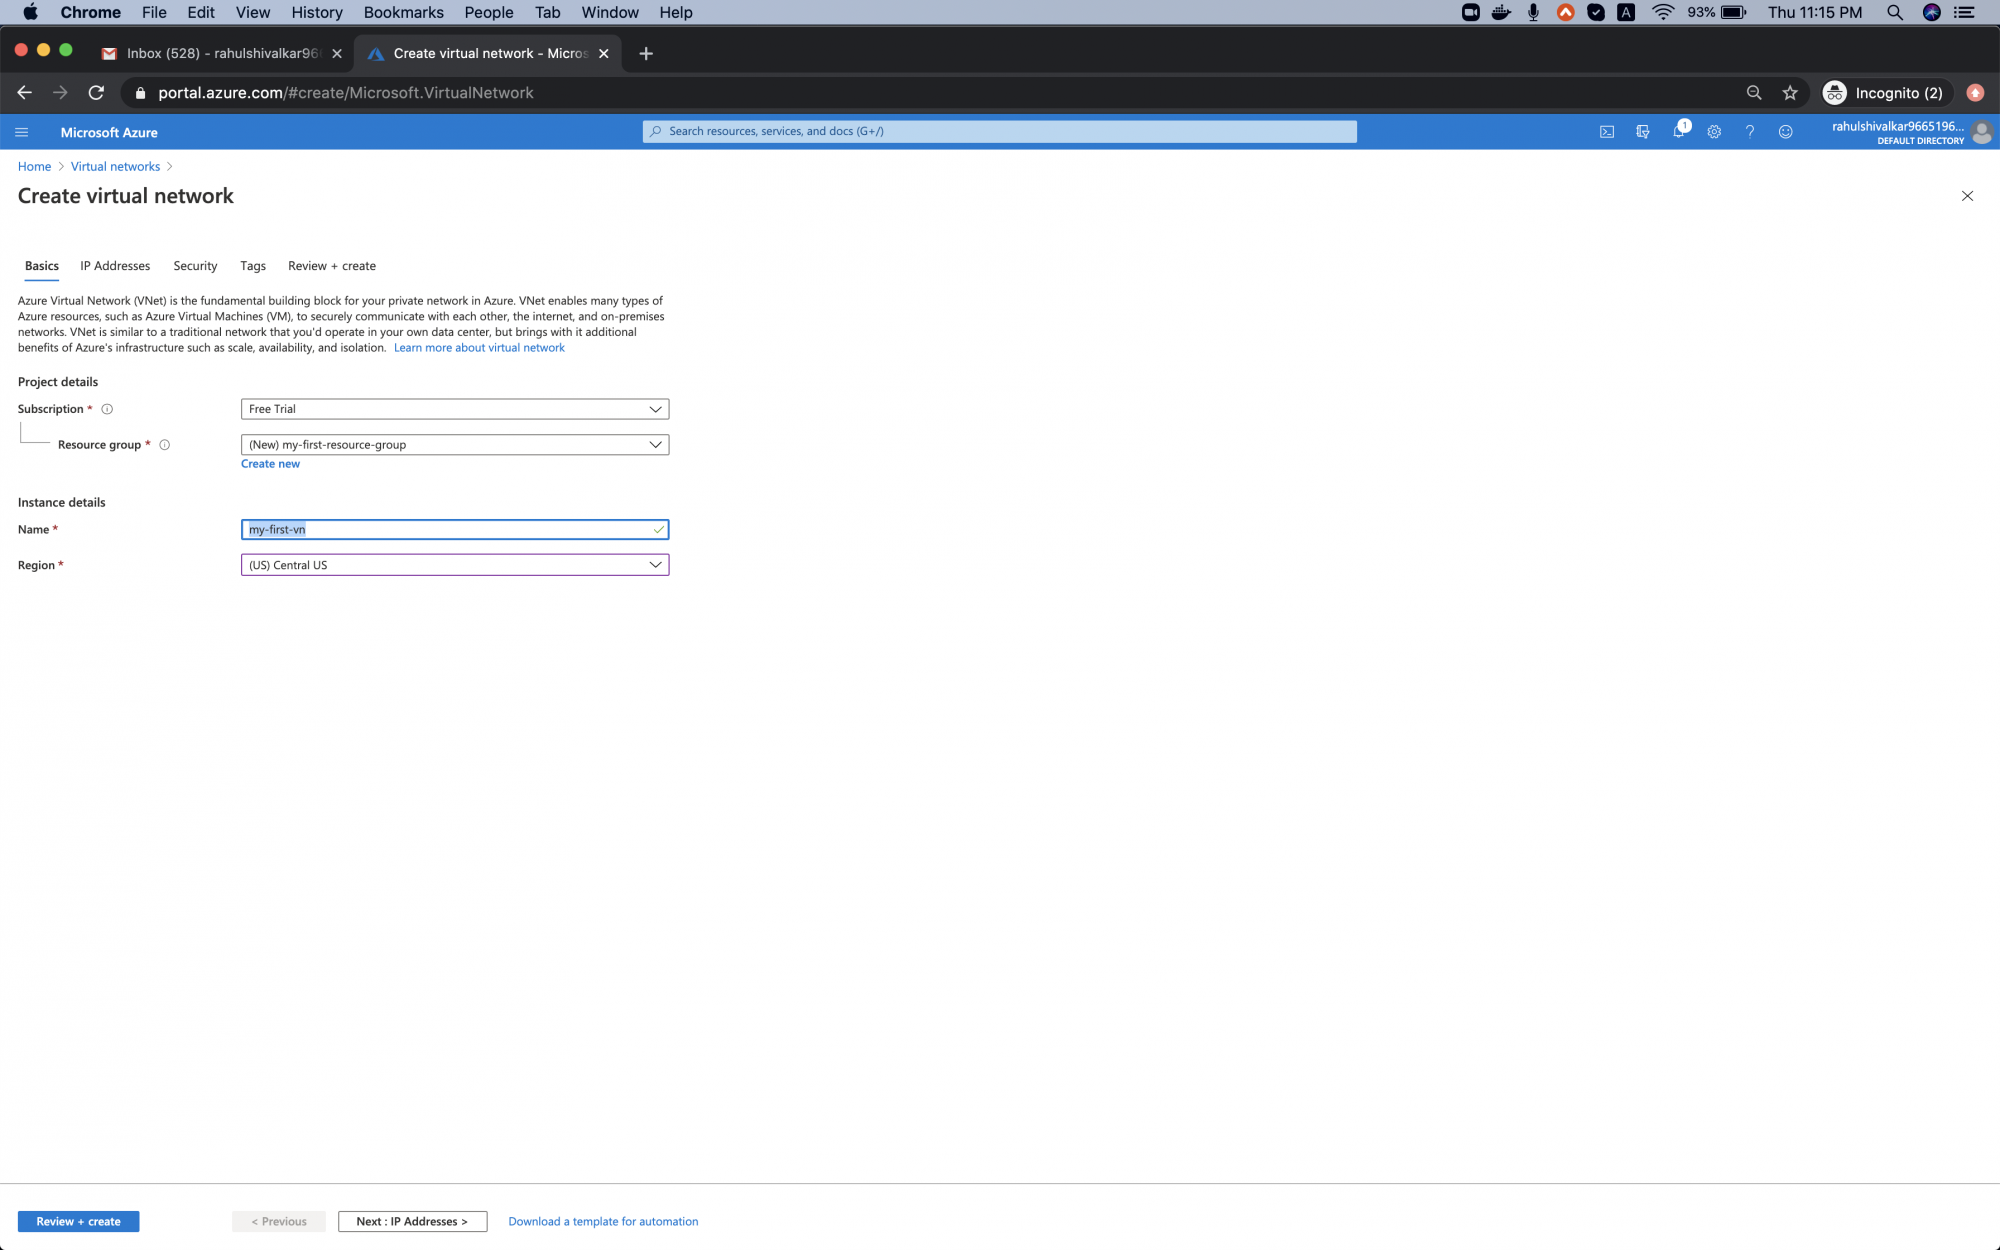
Here, for Resource Group click on create new, enter my-first-resource-group name and then select OK, Add Name as my-first-vn and Select Region as Central US. Click on "Next: IP Addresses"
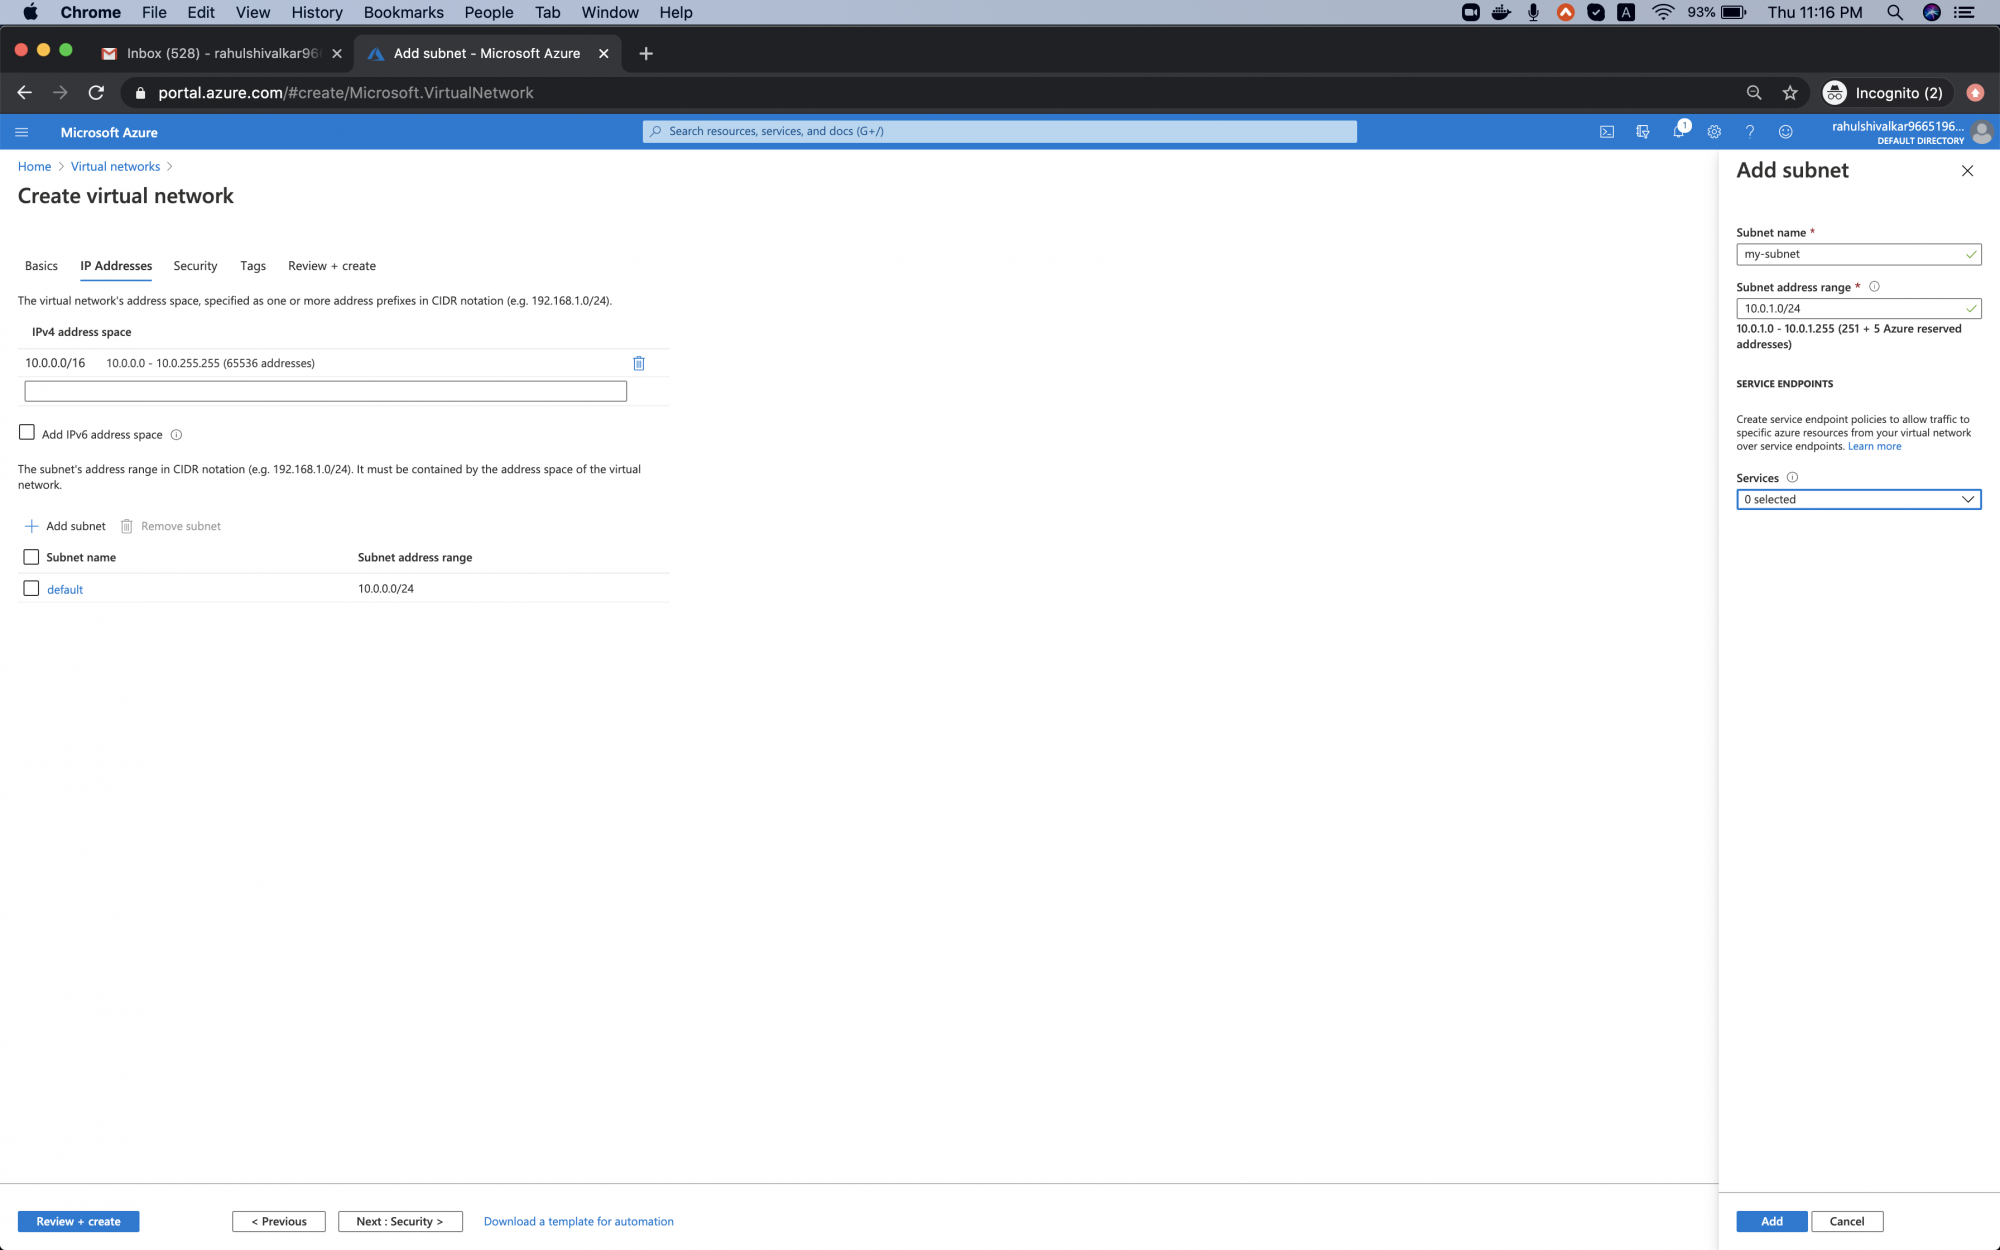
Keep the default IP Address space, click on Add subnet, name it as my-subnet, add subnet range 10.0.1.0/24 and click on Add. This will add a new subnet in the address space. Click on "Next Security".
You can assign IP to the Address Space of your choice, but make sure that it is not overlapping with the existing IP Address Space.
Keep the following options unchanged and click on "Next: Tags"

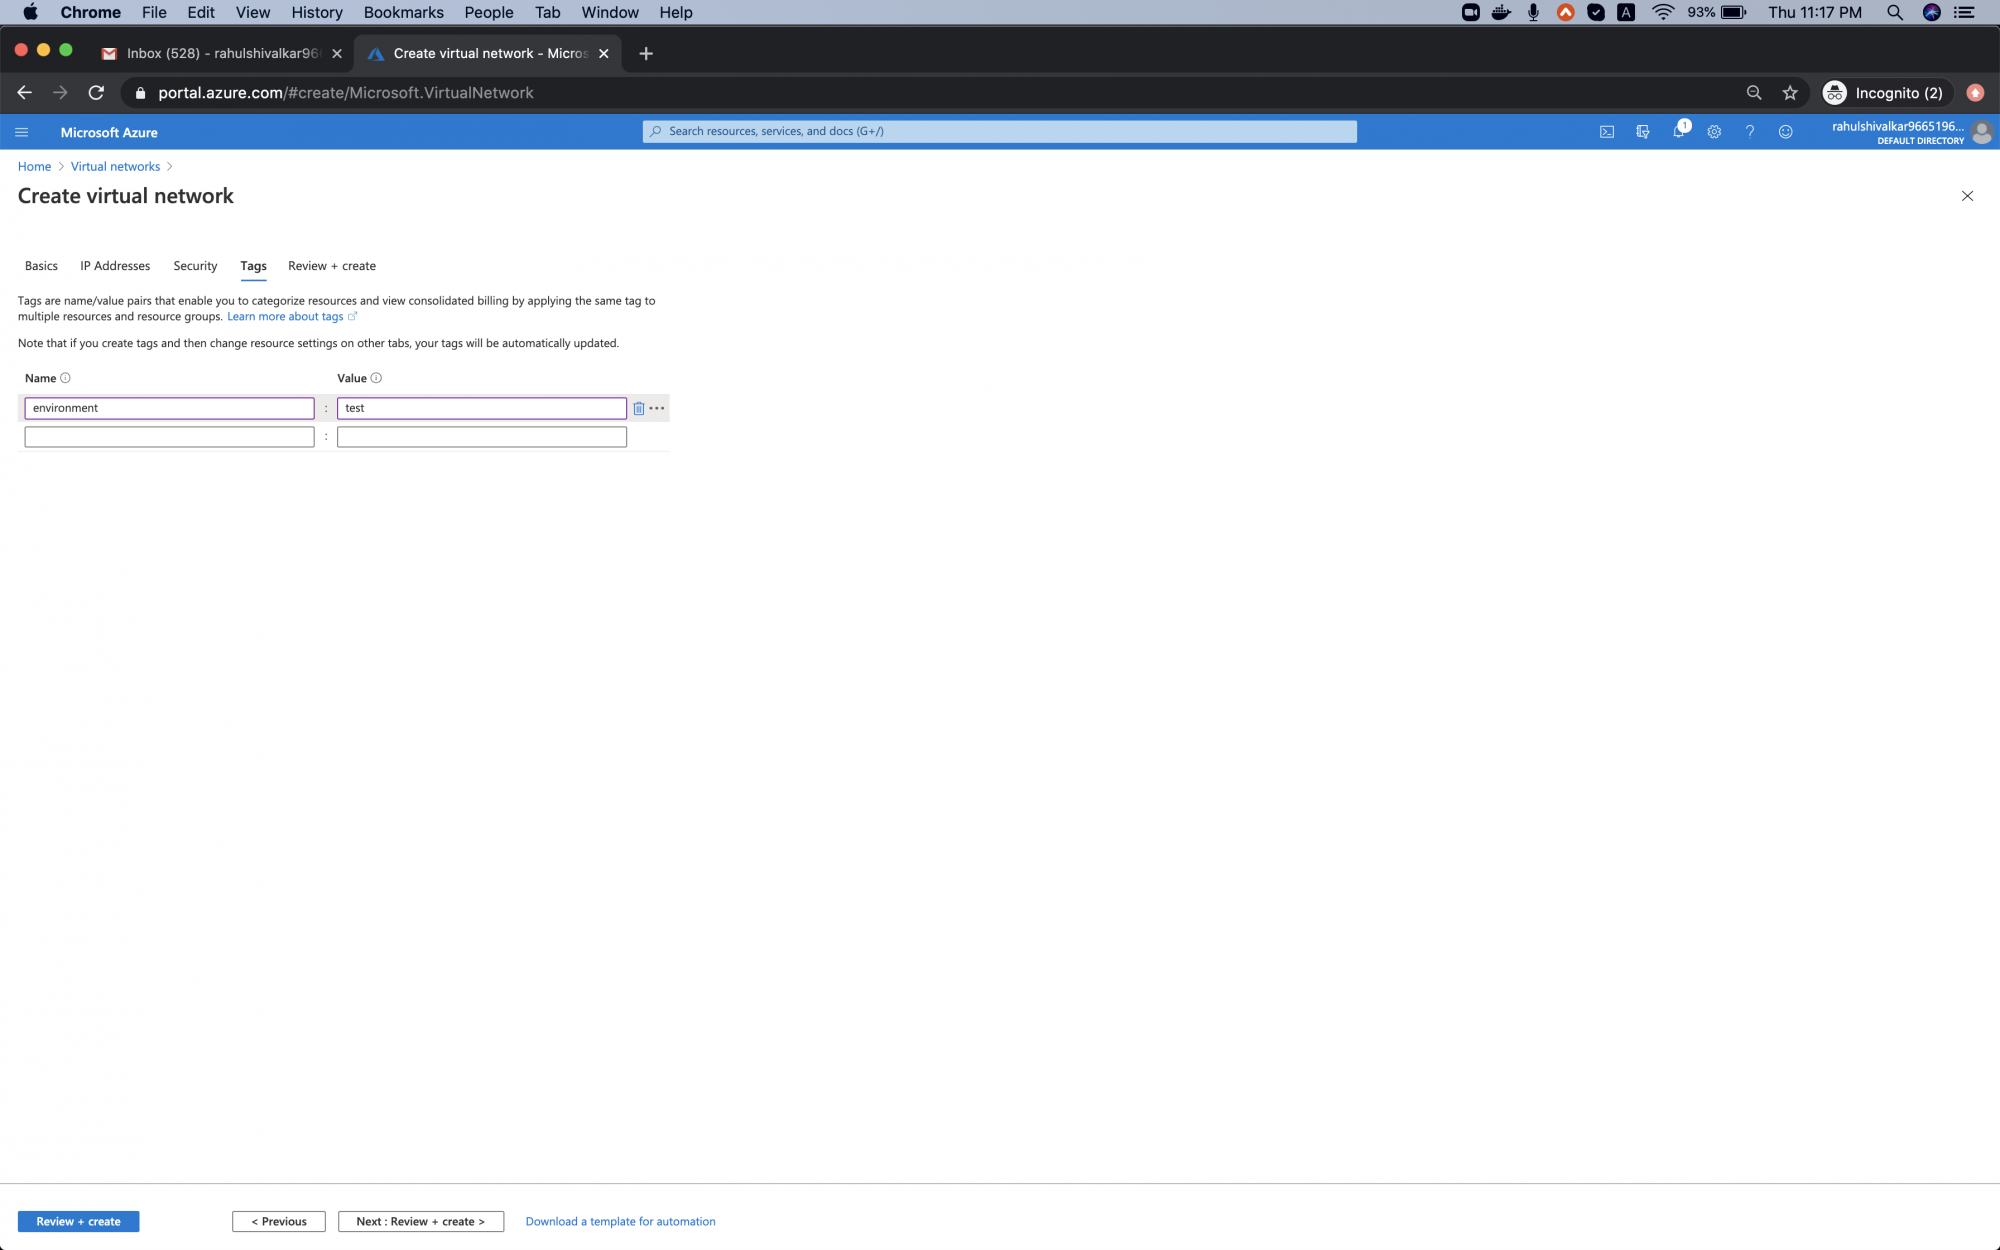
Add a tag as "environment: test". You can add more tags if you want. Tags are name-value pairs that are used to organize resources in Azure Portal.
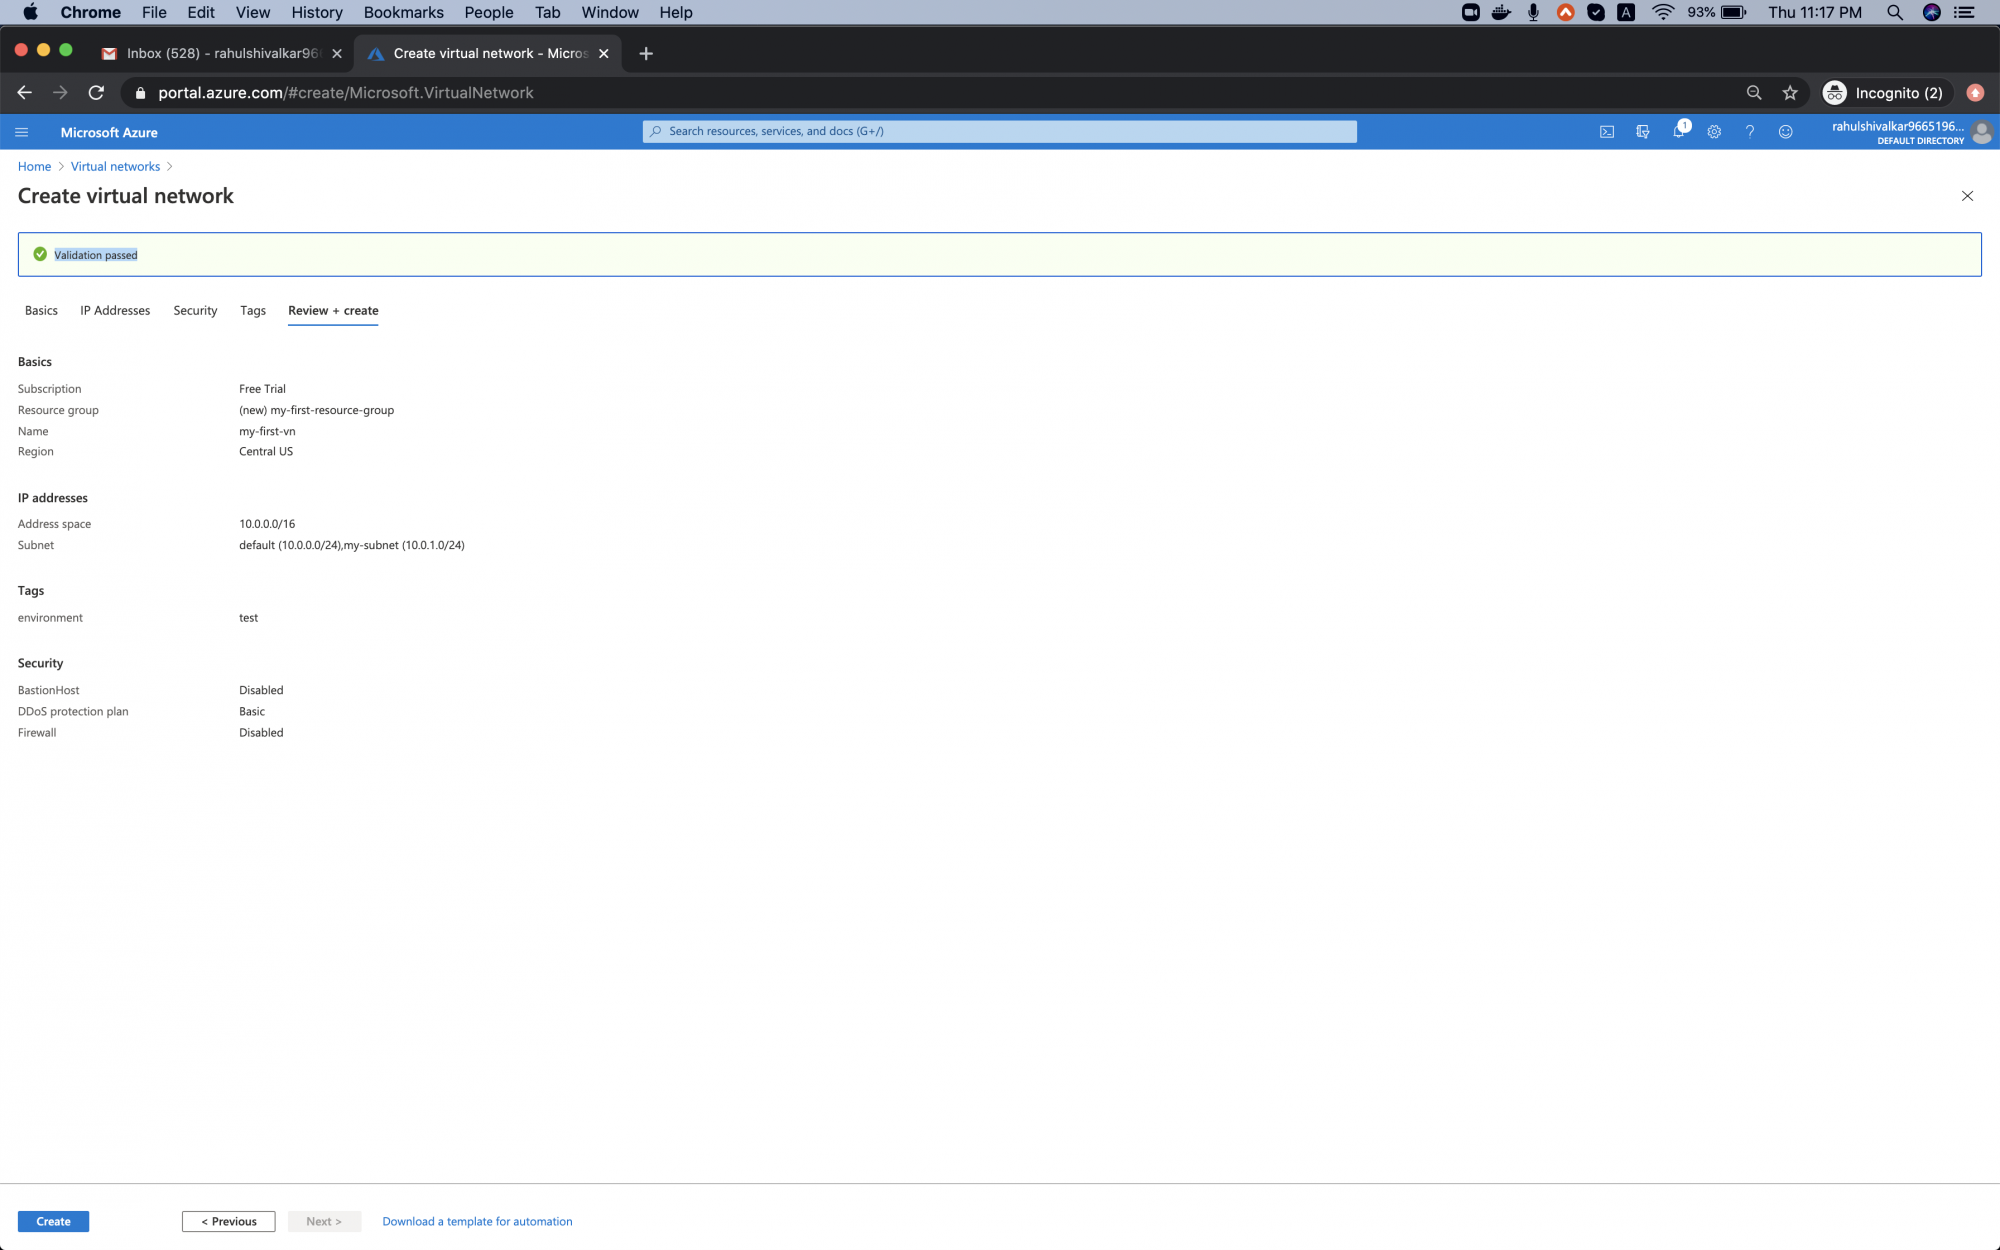
Click on "Next: Review + create".
If you get a message as "Validation Passed" click on "Create".
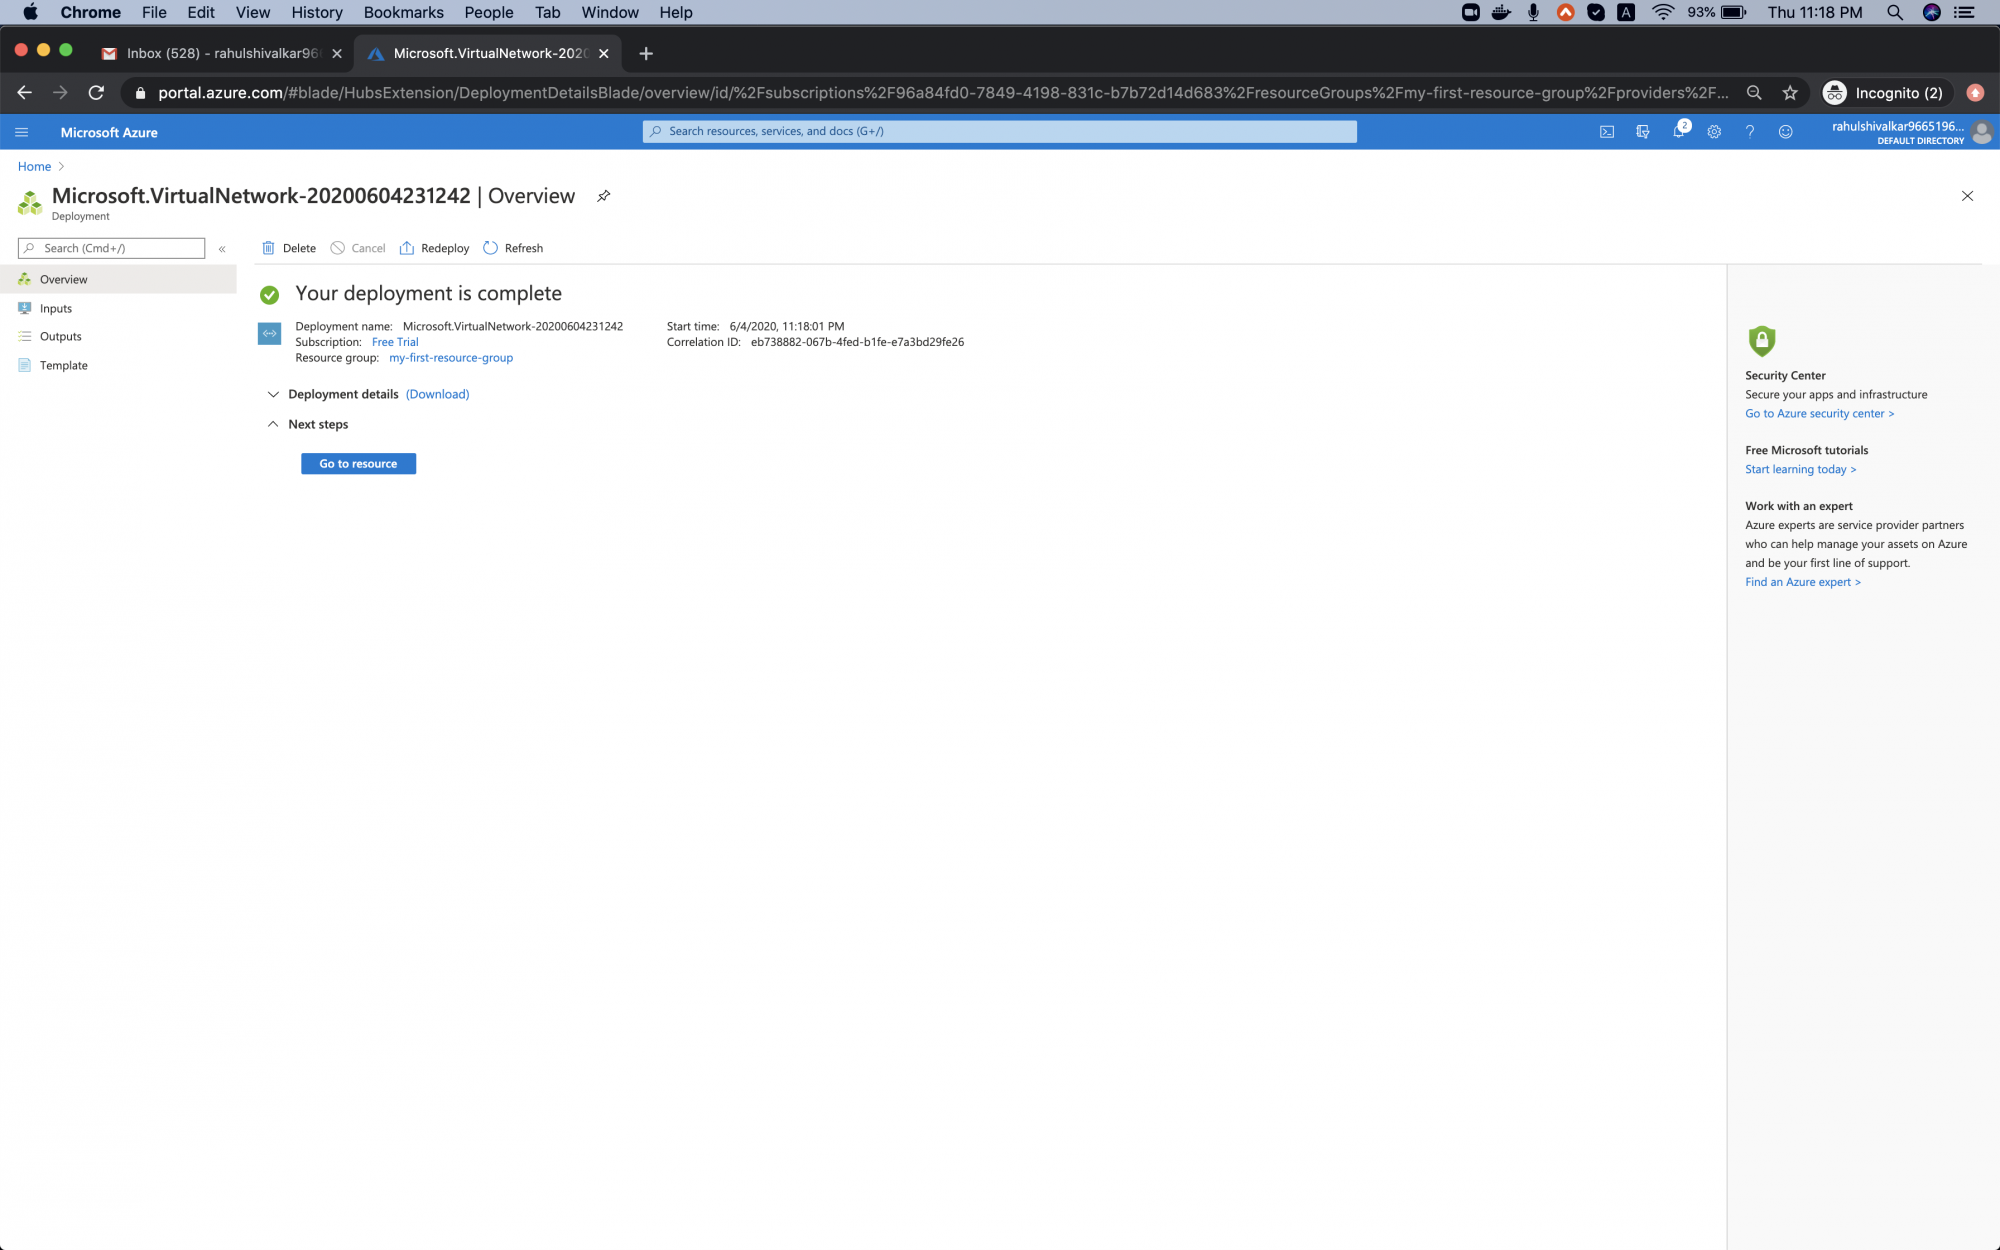
After a few moments, the Virtual Network will be ready. Click in "Go to resources" to open the resource we created.
Go to the Resource Group to see if it has been created.

Under the resource groups, you can see that the resource group you named has been created.

When you open the resource group you can see that the my-first-vn is available under it.

Delete the Virtual Network
Now, if you want to delete the Virtual Network you created, you can delete it individually or you can delete the resource group which will delete all the resources which belong to it.
To delete the resource group, click on "Delete resource group" -> type its name in the text box and click on Delete.

This will delete the resource group and the virtual network which was created in it will also get deleted.
Conclusion
We saw the steps to create a Resource Group, create a Virtual Network in the Resource Group, and added a custom Subnet to the Virtual Network. We also deleted the Resource Group which deletes all the resources which belong to it. Here in our case, the Resource Group had only the Virtual Network which we had created.

