
In this tutorial, we are going to install the code-server IDE platform on Ubuntu 20.04 OS.
Code-Server IDE is a development platform running remotely on a server that can be accessed via a web browser. The main purpose of this code IDE platform is to be accessible from everywhere for better collaboration between developers. It is an open-source project integrated with Git support that allows developers to run Visual Studio Code.
Installing the code-server IDE platform on Ubuntu 20.04 is a very easy and straightforward process that can take up to 20 minutes. Let’s get started!
Prerequisites
- A server with Ubuntu 20.04 as OS
- A server with 4GB of RAM (Our NVMe 4GB VPS plan)
- User privileges: root or non-root user with sudo privileges
</ul
Step 1. Update the System
Update the system packages to the latest versions available before you start with the installation:
sudo apt-get update -y && sudo apt-get upgrade -y
Step 2. Install Apache Web Server
Install the Apache Web server with the following command:
sudo apt install apache2
Once, installed start and enable the service.
sudo systemctl enable apache2 && sudo systemctl start apache2
Check if the service is up and running:
sudo systemctl status apache2
You should receive the following output:
root@vps:~# sudo systemctl status apache2
● apache2.service - The Apache HTTP Server
     Loaded: loaded (/lib/systemd/system/apache2.service; enabled; vendor preset: enabled)
     Active: active (running) since Sun 2022-04-17 13:30:54 UTC; 2min 14s ago
       Docs: https://httpd.apache.org/docs/2.4/
   Main PID: 44892 (apache2)
      Tasks: 55 (limit: 4617)
     Memory: 5.9M
     CGroup: /system.slice/apache2.service
             ├─44892 /usr/sbin/apache2 -k start
             ├─44894 /usr/sbin/apache2 -k start
             └─44895 /usr/sbin/apache2 -k start

Apr 17 13:30:54 test.vps systemd[1]: Starting The Apache HTTP Server...
Step 3. Install Code-Server IDE
Download the latest version of code-server IDE in /opt directory on your server.
cd /opt && wget https://github.com/cdr/code-server/releases/download/v4.3.0/code-server-4.3.0-linux-amd64.tar.gz
Once, downloaded extract the file with the following command:
tar -xvzf code-server-4.3.0-linux-amd64.tar.gz

mv code-server-4.3.0-linux-amd64/ code-server/
Create a code-server directory for storing the user’s data:
cd /opt && mkdir code-server-data
Before we create a systemd service file, we need to create a user and set a password for that user:
useradd -m -s /bin/bash code-server
To set a password for the user, execute the following command and enter the password twice:
passwd code-server
New password:
Retype new password:
Next is to create a systemd service file, so we can start the code-server IDE with one command only:
touch /etc/systemd/system/code-server.service
Once, the file is created, open it with your favorite editor and paste the following lines of code:
[Unit]
Description=code-server
After=apache2.service

[Service]
User=code
WorkingDirectory=/opt/code-server/
Environment=PASSWORD=YourStrongPasswordHere
ExecStart=/opt/code-server/bin/code-server --host 0.0.0.0 --user-data-dir /opt/code-server-data --auth password
Restart=always

[Install]
WantedBy=multi-user.target
Save the file, close it and restart the daemon
sudo systemctl daemon-reload
To start and enable the service on system boot execute the following commands:
sudo systemctl start code-server && sudo systemctl enable code-server
To check if the service is started successfully execute the following command:
sudo systemctl status code-server
You should get the following output:
root@vps:/opt/code-server-data# sudo systemctl status code-server
● code-server.service - code-server
     Loaded: loaded (/lib/systemd/system/code-server.service; enabled; vendor preset: enabled)
     Active: active (running) since Sun 2022-04-17 14:04:39 UTC; 4min 43s ago
   Main PID: 53685 (node)
      Tasks: 22 (limit: 4617)
     Memory: 41.6M
     CGroup: /system.slice/code-server.service
             ├─53685 /opt/code-server/lib/node /opt/code-server --host 0.0.0.0 --user-data-dir /opt/code-server-data --auth password
             └─53715 /opt/code-server/lib/node /opt/code-server --host 0.0.0.0 --user-data-dir /opt/code-server-data --auth password

Apr 17 14:04:39 test.vps systemd[1]: Started code-server.
Apr 17 14:04:42 test.vps code-server[53685]: [2022-04-17T14:04:42.130Z] info  code-server 4.3.0 09bc30027a7fbba170f907a527eaa9f7219fe739
Apr 17 14:04:42 test.vps code-server[53685]: [2022-04-17T14:04:42.134Z] info  Using user-data-dir /opt/code-server-data
Apr 17 14:04:42 test.vps code-server[53685]: [2022-04-17T14:04:42.193Z] info  Using config file ~/.config/code-server/config.yaml
Apr 17 14:04:42 test.vps code-server[53685]: [2022-04-17T14:04:42.193Z] info  HTTP server listening on http://127.0.0.1:8080/
Apr 17 14:04:42 test.vps code-server[53685]: [2022-04-17T14:04:42.193Z] info    - Authentication is enabled
Apr 17 14:04:42 test.vps code-server[53685]: [2022-04-17T14:04:42.193Z] info      - Using password from $PASSWORD
Apr 17 14:04:42 test.vps code-server[53685]: [2022-04-17T14:04:42.193Z] info    - Not serving HTTPS
Step 4. Create Apache Virtual Host File and Reverse Proxy
We are going to create Apache virtual host and set up a reverse proxy for the code-server IDE to be accessible via a domain name.
Create a code-server configuration file.
touch /etc/apache2/sites-available/code-server.conf
Open the configuration file and paste the following lines of code:
 <VirtualHost *:80>
    ServerName YourDomain.com

    ProxyRequests Off
    <Proxy *>
    Order deny,allow
    Allow from all
    </Proxy>

    ProxyPass / http://YourDomain.com:8080/
    ProxyPassReverse / http://YourDomain.com:8080/
    <Location />
    Order allow,deny
    Allow from all
    </Location>
</VirtualHost>
Save the file, close it and check the Apache syntax:
apachectl -t
You should receive the following output:
root@vps:~# apachectl -t
Syntax OK
Enable Proxy mode and restart the Apache service
sudo a2enmod proxy

sudo a2enmod proxy_http

sudo systemctl restart apache2
Step 5. Access Code-Server IDE in Browser
Once, the service is up and running, you can access the code-server IDE GUI via your domain name at http://YourDomainName
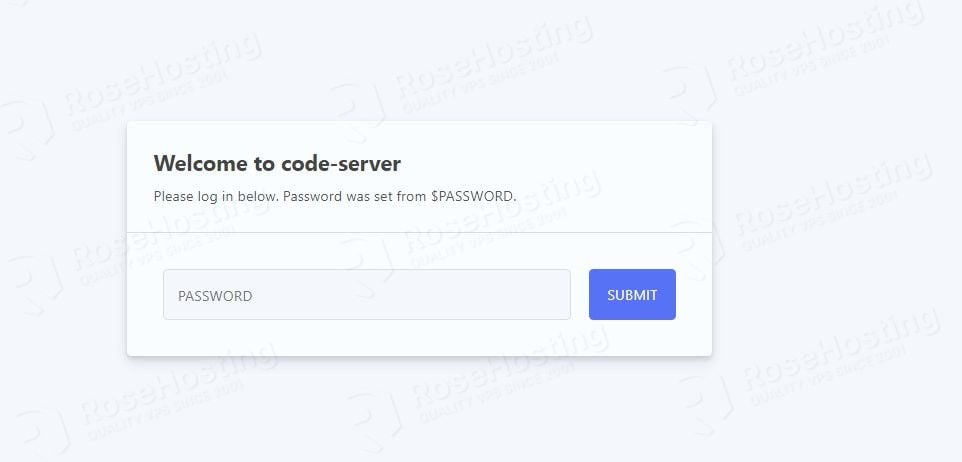
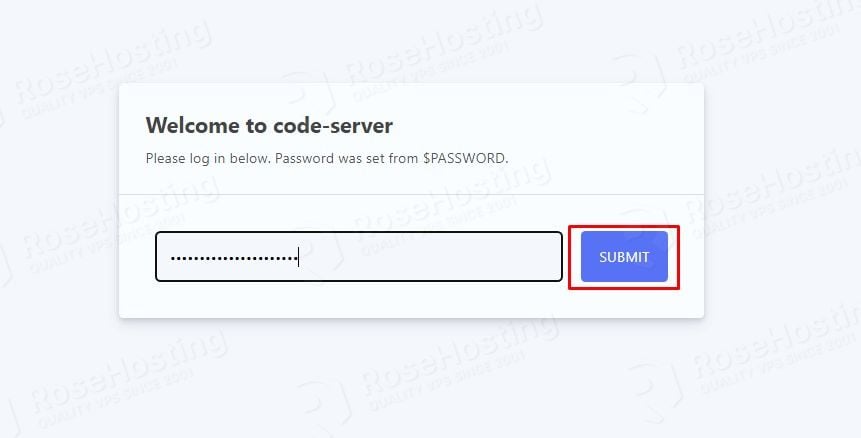
Enter the password you set before for the user in the previous step and hit on the blue “Submit” button.
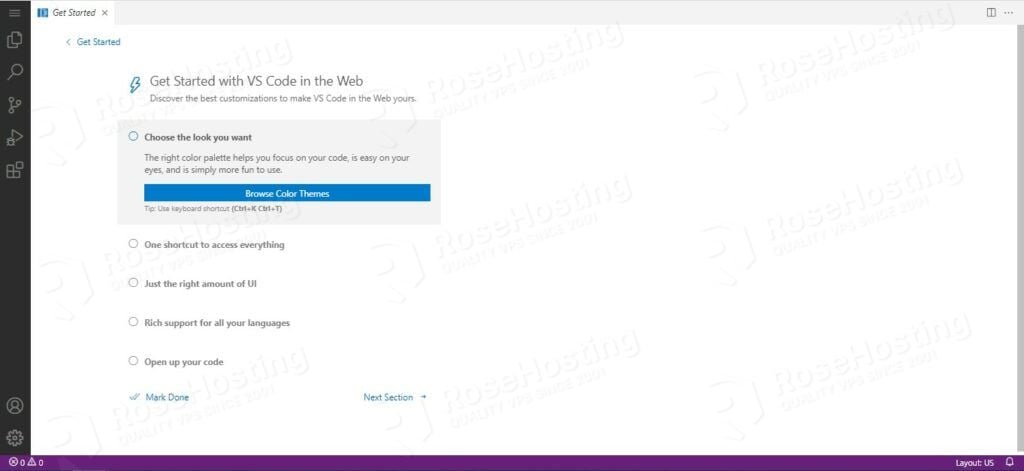
You should see the following screen:
We believe our post today has successfully guided you on how to install code-server IDE platform on Ubuntu 20.04 without any hassles.
We’re now eager to hear your thoughts. Did we skip something you think is important or is there any step that you need more explanation on? Are there any other subjects or tutorials you wish we’d focus on next?
Whatever your thoughts are, we’d love to hear from you in the comments below.