

This guide will demonstrate the process to install Ubuntu Mainline Kernel Installer on Ubuntu 24.04, 22.04, or 20.04 LTS releases. You’ll learn to utilize the command-line terminal with the Ubuntu Mainline Kernel Installer LaunchPAD PPA to obtain the latest version and receive future updates via APT.
Ubuntu Mainline Kernel Installer stands as a pivotal tool for Linux enthusiasts and professionals, providing streamlined access to the latest kernel updates. Its functionality extends beyond mere installation, delving into comprehensive kernel management. This software harbors a range of features and benefits, specifically tailored to enhance your Ubuntu experience:
- Ease of Access: Simplifies the process of obtaining the newest kernel versions directly from the Ubuntu Mainline.
- Compatibility: Seamless integration with Ubuntu 24.04, 22.04, and 20.04 LTS releases.
- Regular Updates: Ensures your system stays up-to-date with kernel developments through the LaunchPAD PPA.
- User Control: Offers users the autonomy to choose specific kernel versions based on their requirements.
- Stability and Security: Regular updates mean enhanced system stability and the latest security patches.
- Efficient Management: Facilitates the installation, upgrade, and removal of kernels without the need for extensive technical know-how.
In the upcoming sections, we delve into the technical nuances of utilizing the Ubuntu Mainline Kernel Installer, ensuring you can leverage its full potential to maintain an efficient, secure, and up-to-date system.
Update Ubuntu Before Mainline Installer Installation
To avoid any potential conflicts, we recommend updating your system before proceeding. Run the following command to do so:
sudo apt update && sudo apt upgradeImport Ubuntu Mainline Kernel Installer PPA
The Ubuntu Mainline Kernel Installer has its official LaunchPAD PPA, which you must import. In your terminal, run the following command:
sudo add-apt-repository ppa:cappelikan/ppa -yTo update the package list on your system with the newly imported PPA, run the following command:
sudo apt updateInstall Ubuntu Mainline Kernel Installer on Ubuntu
To install the Ubuntu Mainline Kernel Installer tool on your system, run the following command in the terminal:
sudo apt install mainlineUbuntu Mainline Kernel Installer Desktop UI
After successfully installing the tool, you can launch the graphical user interface (GUI) by executing the following command:
mainline-gtkDesktop users can launch the Ubuntu Mainline Kernel Installer application icon by navigating to the specified path.
Activities > Show Applications > Ubuntu Mainline Kernel Installer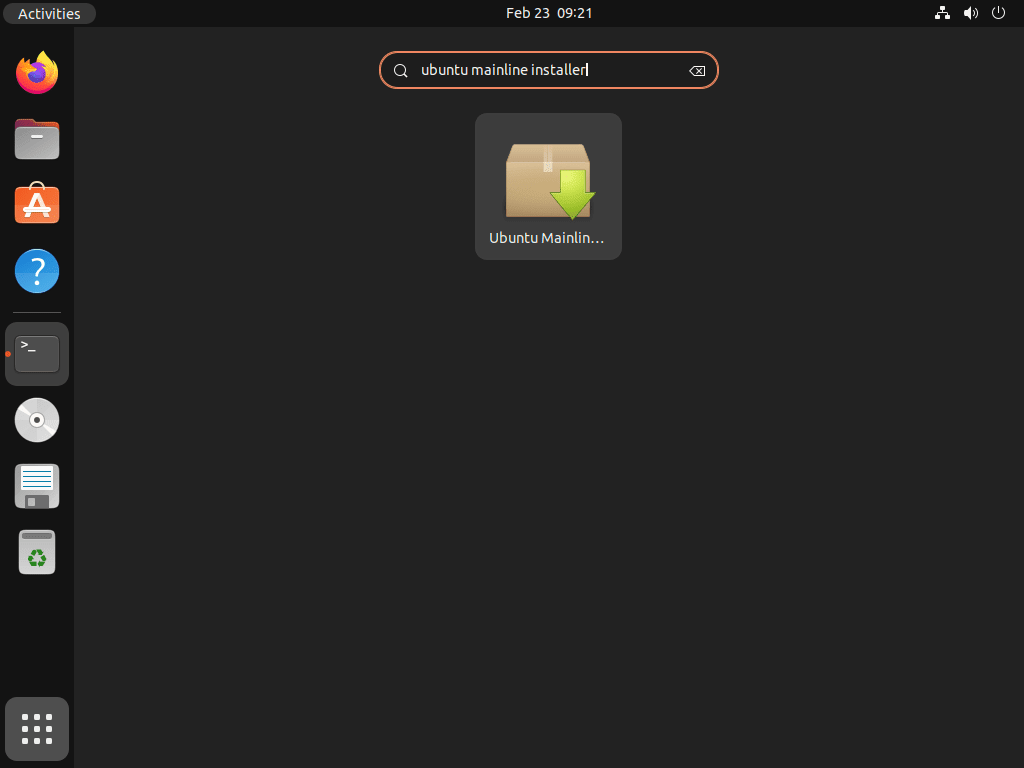
When you open the tool, it syncs the cache of all available Linux kernels for installation. This process might take a minute or two. After syncing the cache, you can access and install the latest Linux kernel using the tool’s interface.
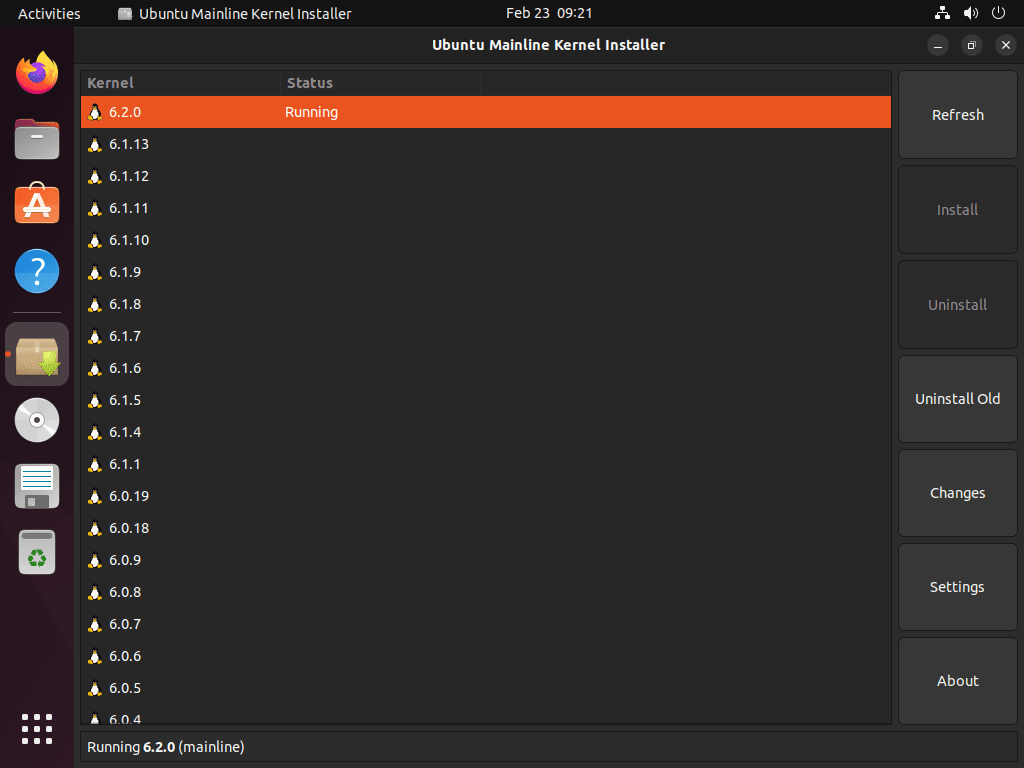
Choose the latest Linux Kernel mainline or the newest LTS release from the list of available kernels and click the “Install” button. A new terminal window will display the installation progress, along with any errors or warnings that arise.
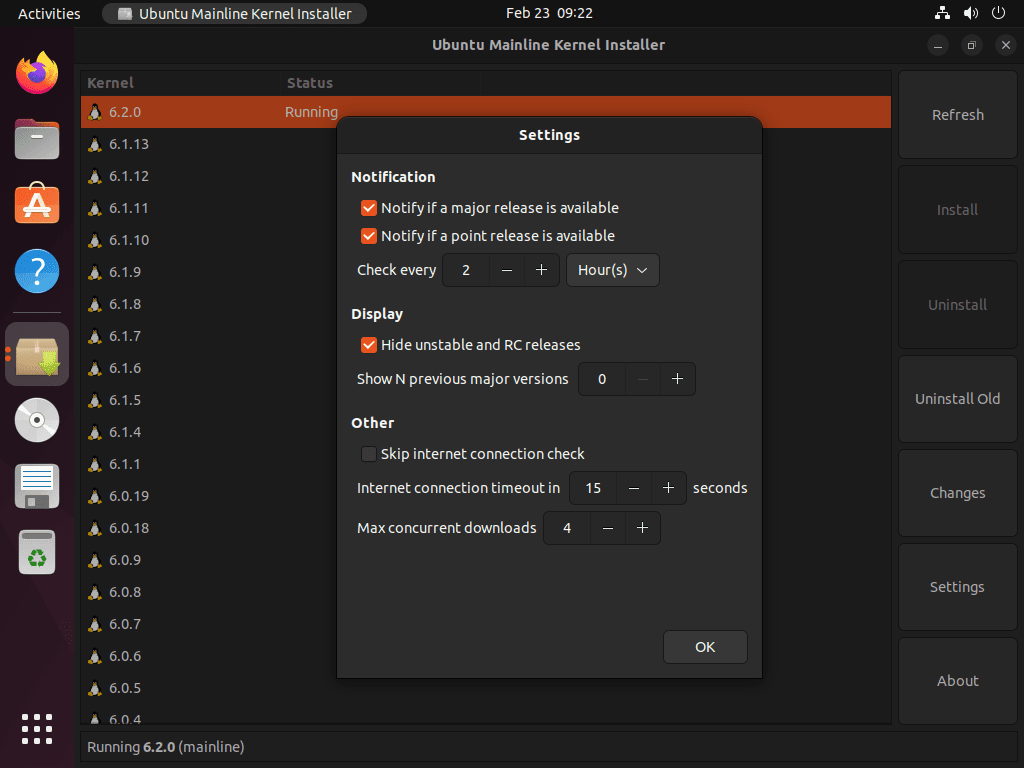
The Ubuntu Mainline Kernel Installer configures the notifications feature to check for updates to the current kernel on your system by default. This allows you to stay updated with the latest kernel versions easily.
Ubuntu Mainline Kernel Installer with Ubuntu Server
The Ubuntu Mainline Kernel Installer tool provides a command-line interface (CLI) for efficient kernel management. This section highlights key CLI commands and their functions, enhancing your interaction with the software.
Command-List For Ubuntu Mainline Kernel Installer
Displaying Available Kernel Versions
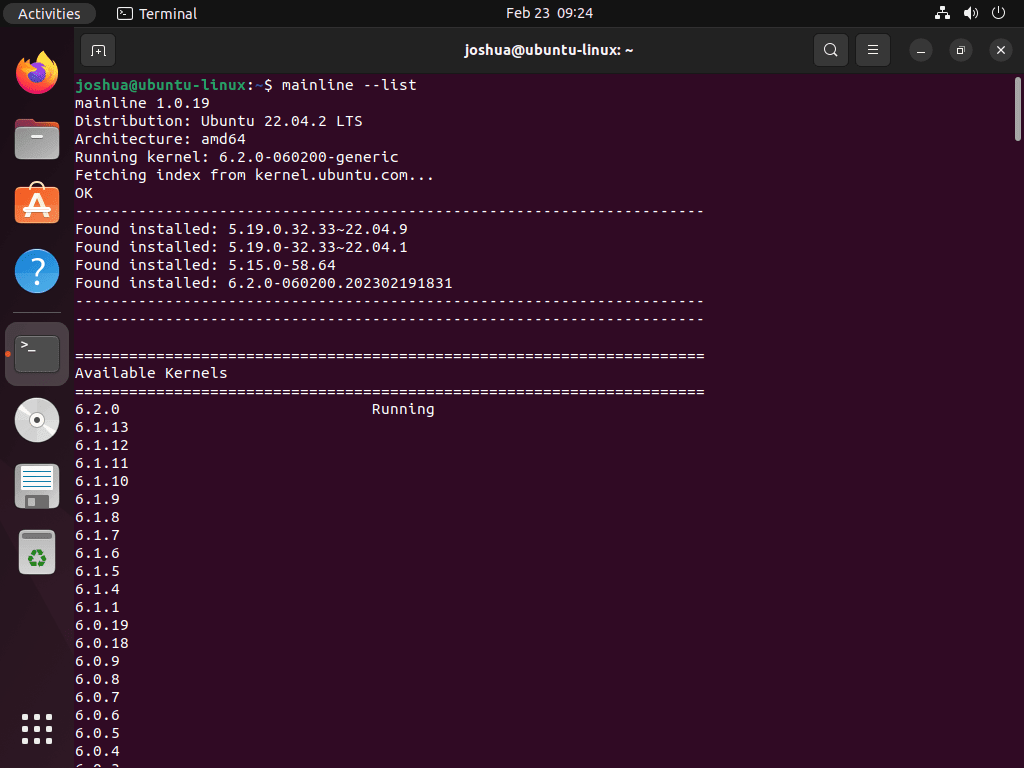
To list all available mainline kernel versions, use the following command:
mainline --listThis command is essential for identifying which kernel versions are installable. Execute it in the terminal to see a list of kernels, including their release dates and download sizes.
Checking Installed Kernel Versions
To view the mainline kernel versions currently installed on your system, use:
mainline --list-installedThis command is particularly useful for managing multiple kernel versions or preparing for new installations.
Downloading Specific Kernel Versions
The command below allows you to download a particular kernel version:
mainline --download <version>Replace <version> with the desired version number. This command is useful when you need to download multiple kernels or if your internet access is limited.
Installing a Specific Kernel Version
To install a specific Linux Kernel version, use:
mainline --install <version>Replace <version> with the target version number. This command simplifies the installation process, ensuring you get the exact kernel version you need.
Installing the Latest Kernel Version
Run the following command to automatically download and install the latest mainline kernel version:
sudo mainline --install-latestThis command is a time-saver for those looking to keep their system up-to-date with minimal effort.
Installing the Latest Point Update
For updating to the latest point release within your current kernel series, use:
mainline --install-pointThis command is ideal for maintaining stability and security within a specific kernel version series.
Checking for New Kernel Versions
The following command displays detailed information about specific mainline kernel versions:
mainline --checkIt’s useful for users who want in-depth details before proceeding with an installation.

Check for kernel updates and notify the user:
mainline --notifyNotifying of Kernel Updates
Use this command to check for available kernel updates and receive notifications:
mainline --download-headers <version>This feature ensures you are always informed about the latest kernel developments.
Downloading Kernel Headers
To download headers for a specific kernel version, execute:
mainline --install-headers <version>This command is crucial for users looking to build custom kernel modules or install software requiring specific kernel headers.
Installing Kernel Headers
Use the following command to install previously downloaded kernel headers:
mainline --install-all <version>This command is vital for users who need to install kernel headers independently of the kernel itself.
Installing Kernel and Headers Together
For simultaneous installation of a kernel and its headers, use:
mainline --set-default <version>It streamlines the process, making it efficient for users requiring both the kernel and its headers.
Setting Default Boot Kernel
To set a specific kernel version as your default boot kernel, use:
mainline --uninstall <version>This command offers flexibility and control over which kernel version your system boots by default.
Uninstalling Kernel Versions
For uninstalling a specific kernel version, use the command:
mainline --remove-oldThis functionality is critical for system maintenance and version management.
Removing Old Kernels
Utilize the following command to delete older kernel versions, thereby freeing up disk space:
mainline --clean-cacheThis command is a key aspect of system hygiene, keeping your installation lean and efficient.
Clearing Application Cache
To clean the application cache, execute:
mainline --helpConclusion
That’s a wrap on our guide to installing and using the Ubuntu Mainline Kernel Installer. We’ve covered the steps to get this powerful tool up and running on your Ubuntu 24.04, 22.04, or 20.04 LTS system, making sure you stay on the cutting edge of kernel updates. Remember, regular updates are key to keeping your system secure and running smoothly. So, give it a whirl, keep your system in top shape, and don’t hesitate to explore the advanced features at your own pace. Here’s to a more efficient and up-to-date Ubuntu experience!
Hi, I am trying to change kernels on an Ubuntu 20 server release but when running mainline –set-default 6.7.8 it returns Unknown option “–set-default”
Any help or advice would be most appreciated. Not sure what I may be doing wrong. Mainline seemed to install ok and other functions with it work fine.
Hi RichBos,
The set default should be two
--and not–. For example, this is correct--set-defaultnot–set-default.It’s weird, sometimes the fonts can change this when I create the articles, sometimes I seen people copying it then it somehow gets converted. Try doing this, let me know and if this does not work I’ll take a look asap.
Thanks for the message.